I'm going to start this and document it as I go - if that's inappropriate, let me know. Trying to write and upload pictures as I can.
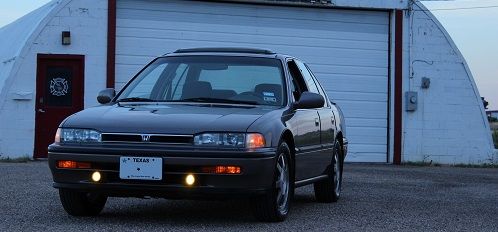
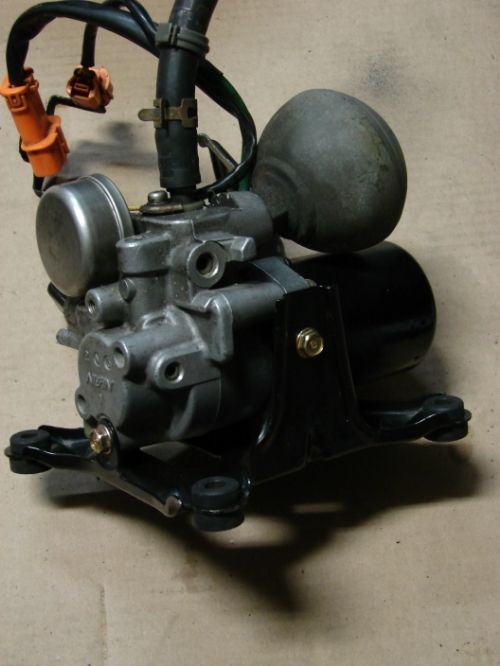
I was embarrassed to sell a working (when removed) ABS pump to a member, then when he got it, it didn't work. It had admittedly been sitting on a shelf for over a year since the car from which it was removed had been wrecked. I refunded his purchase price and had it shipped back. The service manual say that unit should be replace if there is a problem, but >$600 for a new one is not an option. I like to try to fix things, so I figured what could it hurt to take it apart and see what I could do.
Tools:
10 mm socket and ratchet.
Medium Phillips screwdriver
3/8 electric drill
Rotary wire brush (fine works better) and scotchbrite discs
Dremel tool with small wire brush
Small flat bladed screwdriver
2 offset flat bladed screwdrivers
1.75 inch hole saw
1500 grit wet/dry sandpaper
Q-tip cotton swabs
32 mm socket (or similar sized item to use as a driver for the pump retainer plate)
This assumes you already have the pump assembly out of the car.
Remove the pump assembly from the bracket: (3) 10 mm screws
Separate the motor from the pump assembly: (2) 10 mm screws
Pull back the rubber boot from the motor wire connections; remove the screws to detach the wires.
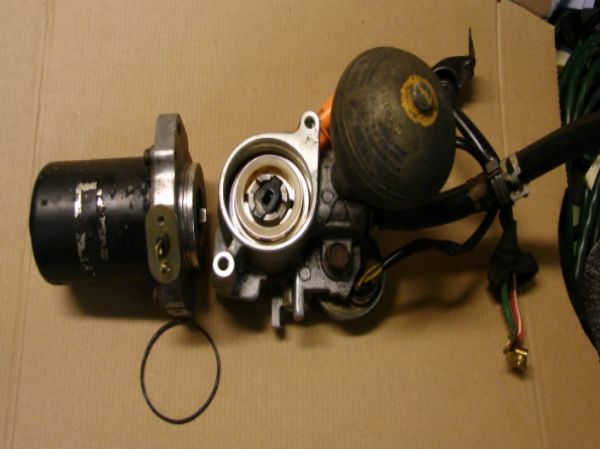
When I separated the motor, there was a fair amount of corrosion around the pilot diameter. I removed the o-ring, then used a large wire brush on a drill to clean up the pilot diameter and a small wire brush on the dremel tool to clean the o-ring groove. The motor ran very well when separated from the pump assembly. Set the motor aside.
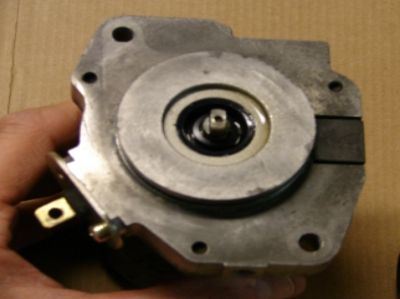
Remove the coupling from on top of the pump rotor.
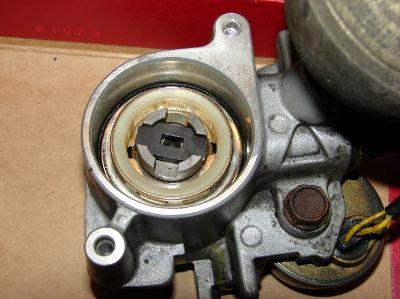
Use a small flat bladed screwdriver to pry the tan filter ring out of the pump assembly. Be careful it is relatively fragile.
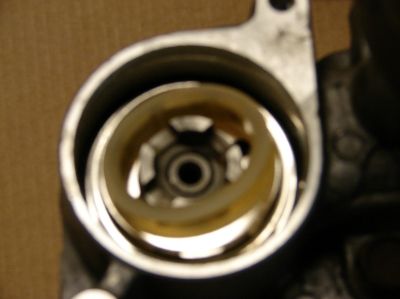
Then use two offset screwdrives (or some other arrangement) to pull the pump retaining plate up (it is retained by a spring ring around the outside of the pump).
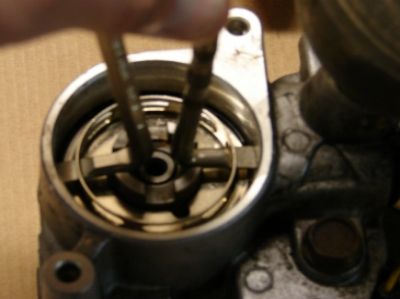
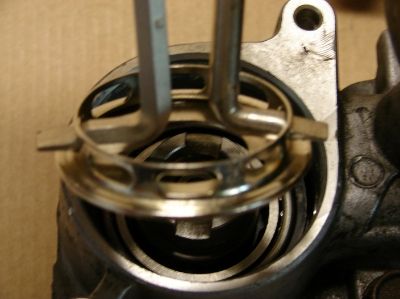
Lift the rotor up off the center post.
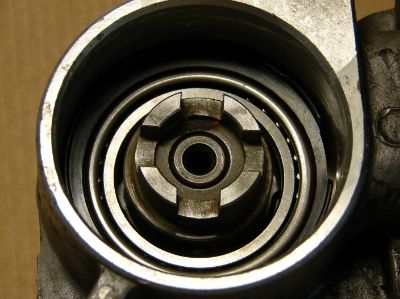
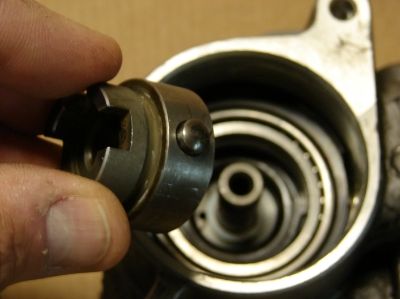
Lift the cam ring out of the bearing.
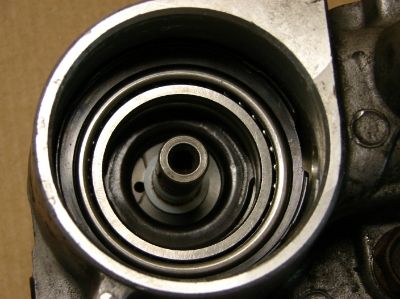
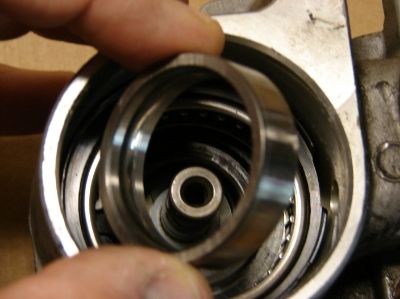
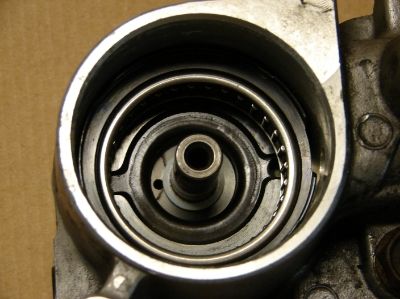
I had to push the pistons out of the rotor with a punch. The year of sitting with the pump ports open resulted in some rust sticking the pistons in their bores. I then used some rolled up 1500 grit wet/dry paper with some spray lubricant (Motor Kote spray) to "hone" the piston bores in the rotor. I also used the paper to clean the outside diameter of the pistons. I used a Q-tip in my drill and a second Q-tip stuffed inside the roll to spin it in the piston bores.
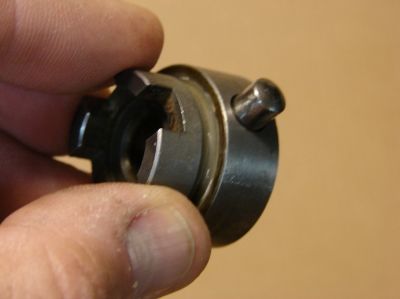
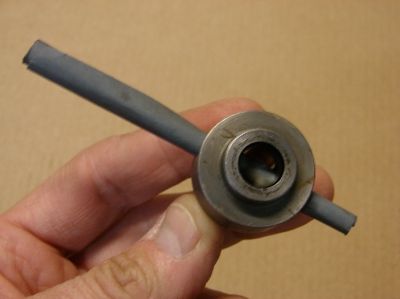
The inside groove of the cam ring where the ends of the pistons run seemed a little rough; with a piece of thick double sided tape around the cam ring to protect the outside diameter that runs in the bearing, it fit tight inside a 1.75 inch hole saw (with center drill bit removed). I used the 1500 grit with some Motor Kote spray oil to clean up the inside diameter. A Q-tip inside a piece of the sand paper was used to push the paper into the center groove.
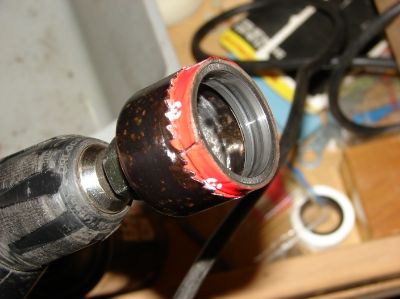
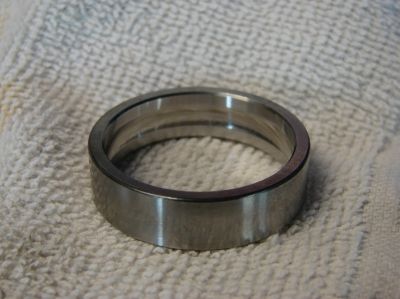
Assembly is the reverse of disassembly. Install the cam ring in the bearing. Install the pistons in the rotor. Install the rotor on the post. Install the retaining plate over the rotor and cam ring. A 32 mm socket fit inside the filter ring; a quick rap with a hammer snapped the plate into the retaining ring in the pump housing.
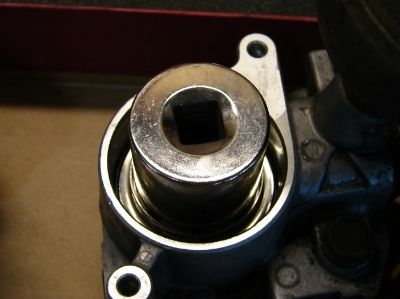
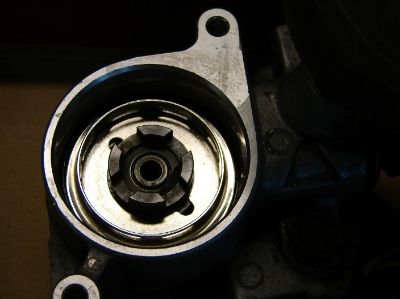
Snap the filter ring into the raised ring on the retaining plate.
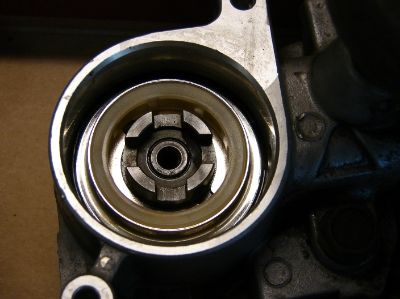
Install the motor coupling onto the top of the rotor.

I used a rotary wire brush and Scotchbrite discs to remove the paint from the motor housing. Primed and painted with Rustoleum satin black.
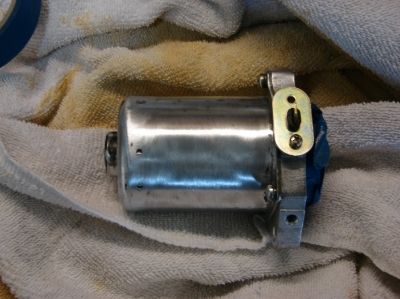
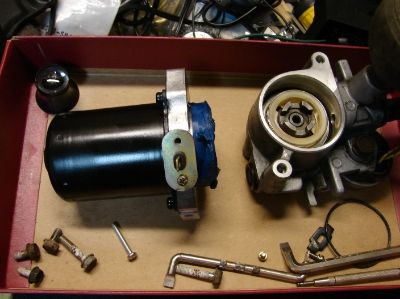
I still have to find a proper replacement for the o-ring. It appears to be 0.070 inches in cross section, the inside diameter of the motor pilot diameter is 2.200 inches, and the groove is 0.057 inches deep. Then I can reassemble and test it.
January 31, 2015:
I finally found a place that sells o-rings. We determined the size and material needed. Picked them up yesterday:
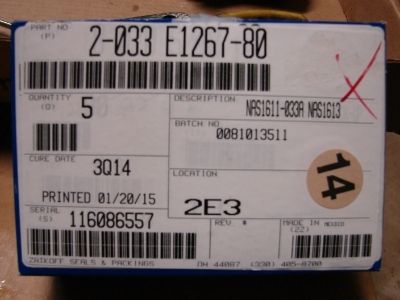
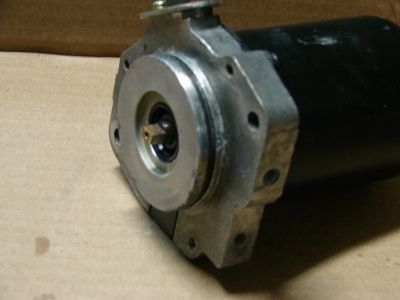
Unfortunately, I appear to have lost the motor coupling. I'll have to do some digging in the garage or find another in a junkyard.
I was embarrassed to sell a working (when removed) ABS pump to a member, then when he got it, it didn't work. It had admittedly been sitting on a shelf for over a year since the car from which it was removed had been wrecked. I refunded his purchase price and had it shipped back. The service manual say that unit should be replace if there is a problem, but >$600 for a new one is not an option. I like to try to fix things, so I figured what could it hurt to take it apart and see what I could do.
Tools:
10 mm socket and ratchet.
Medium Phillips screwdriver
3/8 electric drill
Rotary wire brush (fine works better) and scotchbrite discs
Dremel tool with small wire brush
Small flat bladed screwdriver
2 offset flat bladed screwdrivers
1.75 inch hole saw
1500 grit wet/dry sandpaper
Q-tip cotton swabs
32 mm socket (or similar sized item to use as a driver for the pump retainer plate)
This assumes you already have the pump assembly out of the car.
Remove the pump assembly from the bracket: (3) 10 mm screws
Separate the motor from the pump assembly: (2) 10 mm screws
Pull back the rubber boot from the motor wire connections; remove the screws to detach the wires.

When I separated the motor, there was a fair amount of corrosion around the pilot diameter. I removed the o-ring, then used a large wire brush on a drill to clean up the pilot diameter and a small wire brush on the dremel tool to clean the o-ring groove. The motor ran very well when separated from the pump assembly. Set the motor aside.

Remove the coupling from on top of the pump rotor.

Use a small flat bladed screwdriver to pry the tan filter ring out of the pump assembly. Be careful it is relatively fragile.

Then use two offset screwdrives (or some other arrangement) to pull the pump retaining plate up (it is retained by a spring ring around the outside of the pump).


Lift the rotor up off the center post.


Lift the cam ring out of the bearing.


I had to push the pistons out of the rotor with a punch. The year of sitting with the pump ports open resulted in some rust sticking the pistons in their bores. I then used some rolled up 1500 grit wet/dry paper with some spray lubricant (Motor Kote spray) to "hone" the piston bores in the rotor. I also used the paper to clean the outside diameter of the pistons. I used a Q-tip in my drill and a second Q-tip stuffed inside the roll to spin it in the piston bores.


The inside groove of the cam ring where the ends of the pistons run seemed a little rough; with a piece of thick double sided tape around the cam ring to protect the outside diameter that runs in the bearing, it fit tight inside a 1.75 inch hole saw (with center drill bit removed). I used the 1500 grit with some Motor Kote spray oil to clean up the inside diameter. A Q-tip inside a piece of the sand paper was used to push the paper into the center groove.


Assembly is the reverse of disassembly. Install the cam ring in the bearing. Install the pistons in the rotor. Install the rotor on the post. Install the retaining plate over the rotor and cam ring. A 32 mm socket fit inside the filter ring; a quick rap with a hammer snapped the plate into the retaining ring in the pump housing.


Snap the filter ring into the raised ring on the retaining plate.

Install the motor coupling onto the top of the rotor.

I used a rotary wire brush and Scotchbrite discs to remove the paint from the motor housing. Primed and painted with Rustoleum satin black.


I still have to find a proper replacement for the o-ring. It appears to be 0.070 inches in cross section, the inside diameter of the motor pilot diameter is 2.200 inches, and the groove is 0.057 inches deep. Then I can reassemble and test it.
January 31, 2015:
I finally found a place that sells o-rings. We determined the size and material needed. Picked them up yesterday:


Unfortunately, I appear to have lost the motor coupling. I'll have to do some digging in the garage or find another in a junkyard.


Comment