LX, DX, and 10th Anniversary Edition Map light install.
Parts list:
cb or cd map light
Paper
Cardboard
Marker
Pen
Flathead Screwdriver
Philips Head Screwdriver
Box Cutter
Wires
Wirecutter
Wire Hanger
Electrical Tape
Desktop Tape
Vacuum
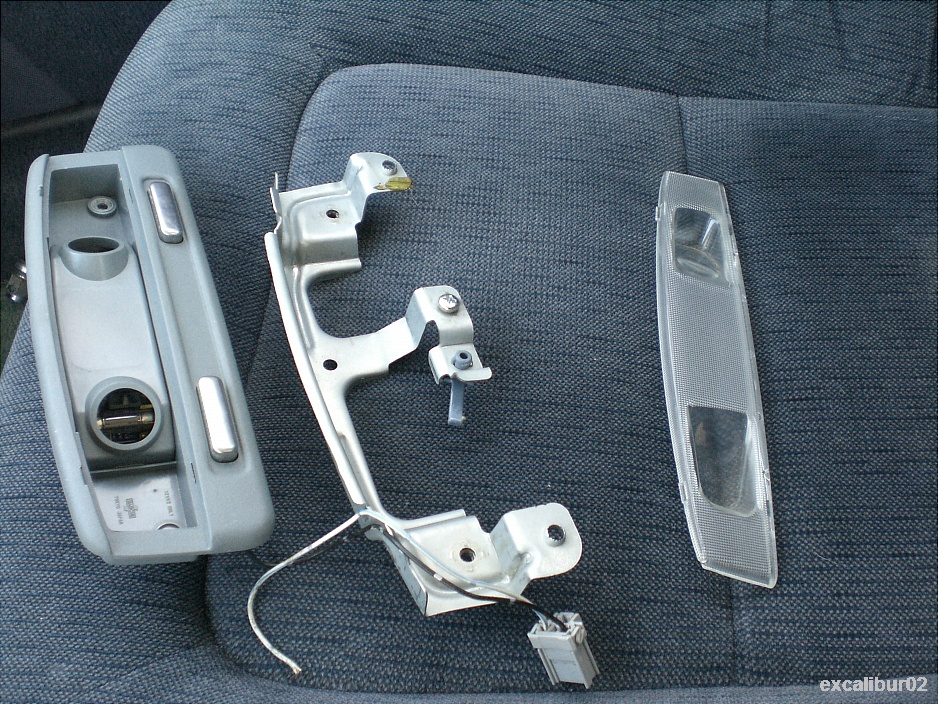

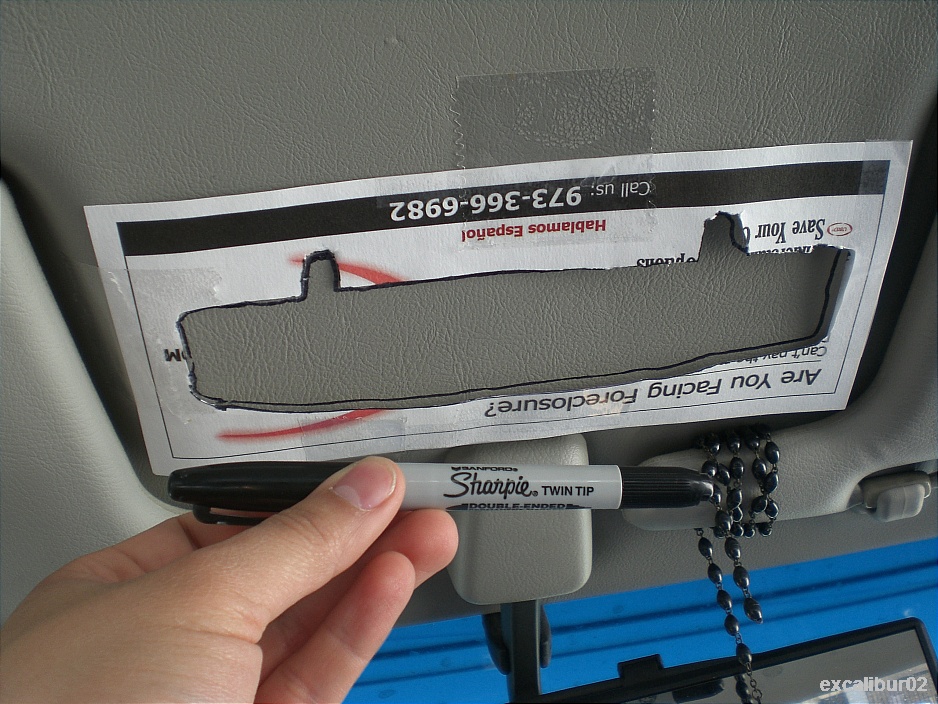
I took a paper that comes in the mail. Its thicker paper so its good for a template. I made the template and made sure it works perfect with the map light.
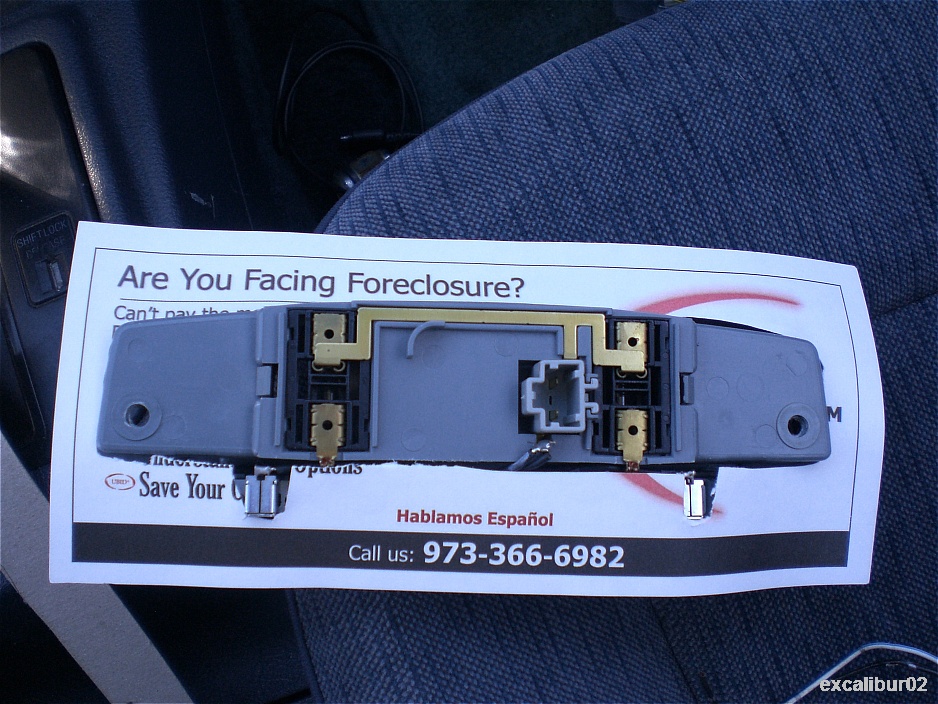
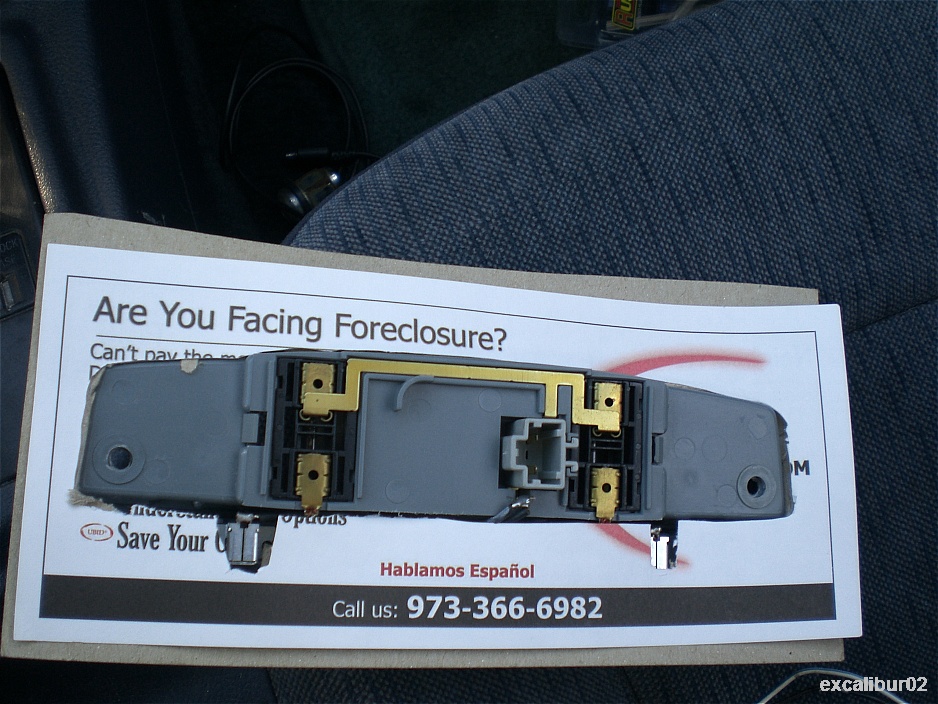
Then make certain marks on the headliner to line up the template. I taped the template to the headliner and made sure it looked straight as possible.

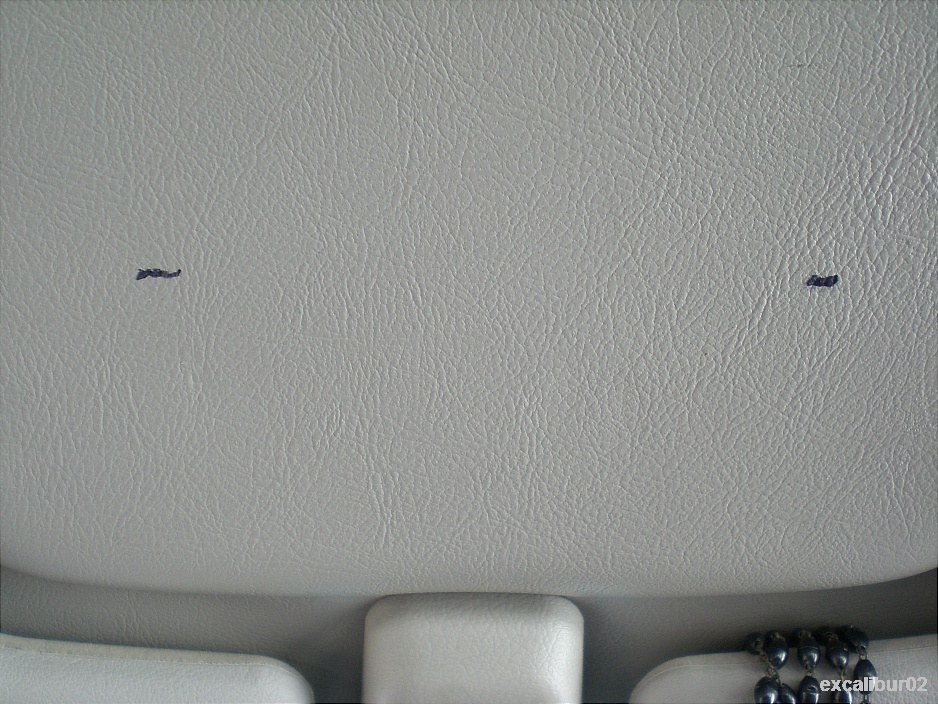
Then with the template on I took the pen and marked around so i know where to start cutting.

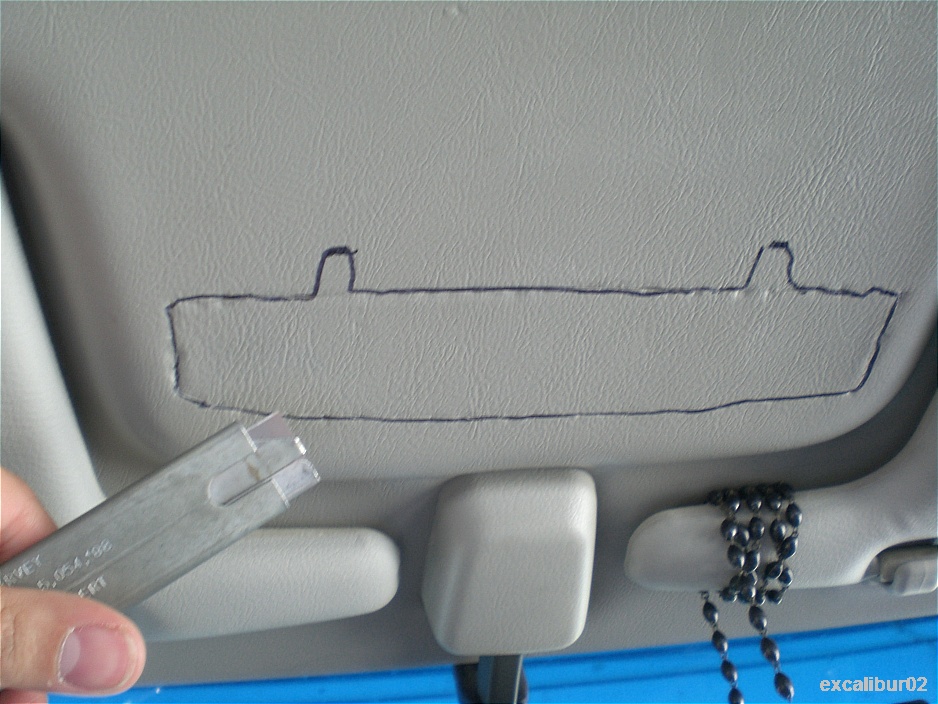
I took the template off and then started using the box cutter. Cut it once around then jam the razor in more since the headliner is pretty thick. Once I felt the cardboard cutting through I used the screw driver to push up the cut more.
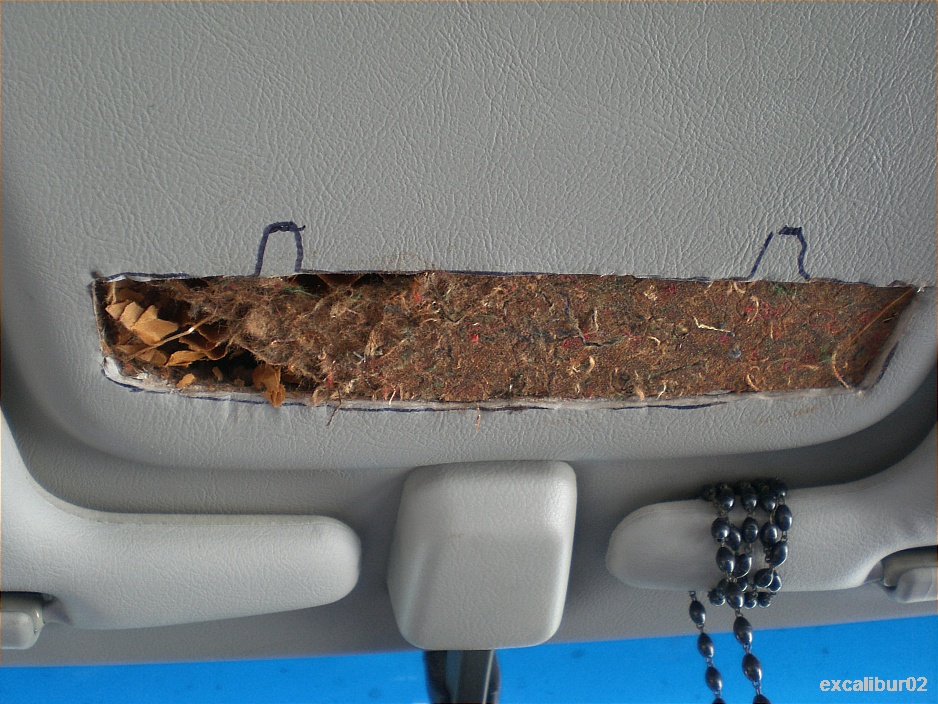
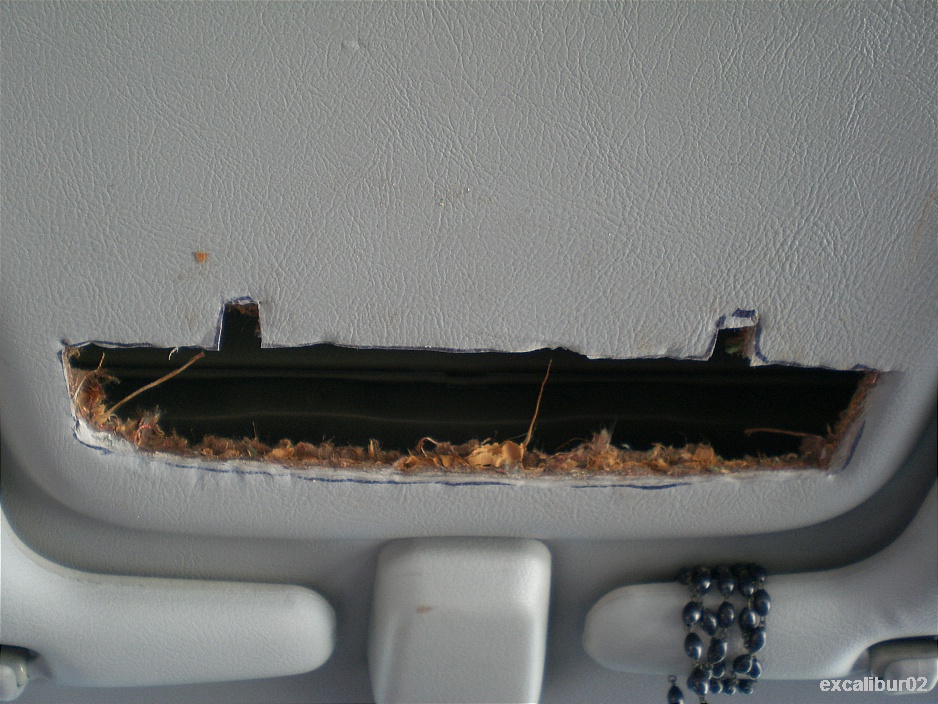
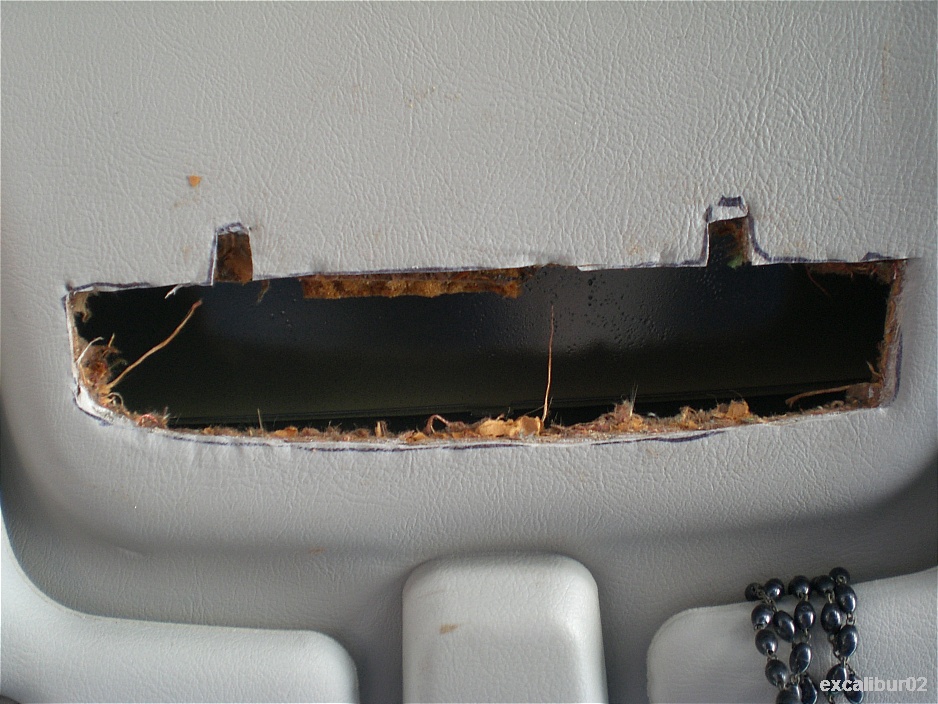
Once you have a hole the maplight still will not fit. I made the hole smaller then the maplight since its better to cut around to make it look oem as possible.
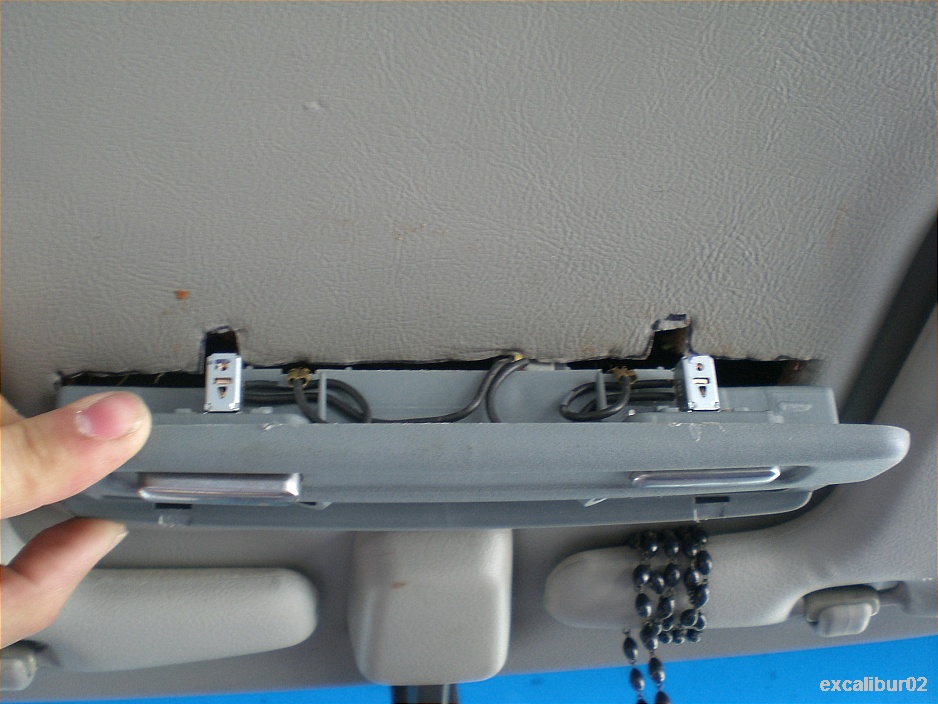
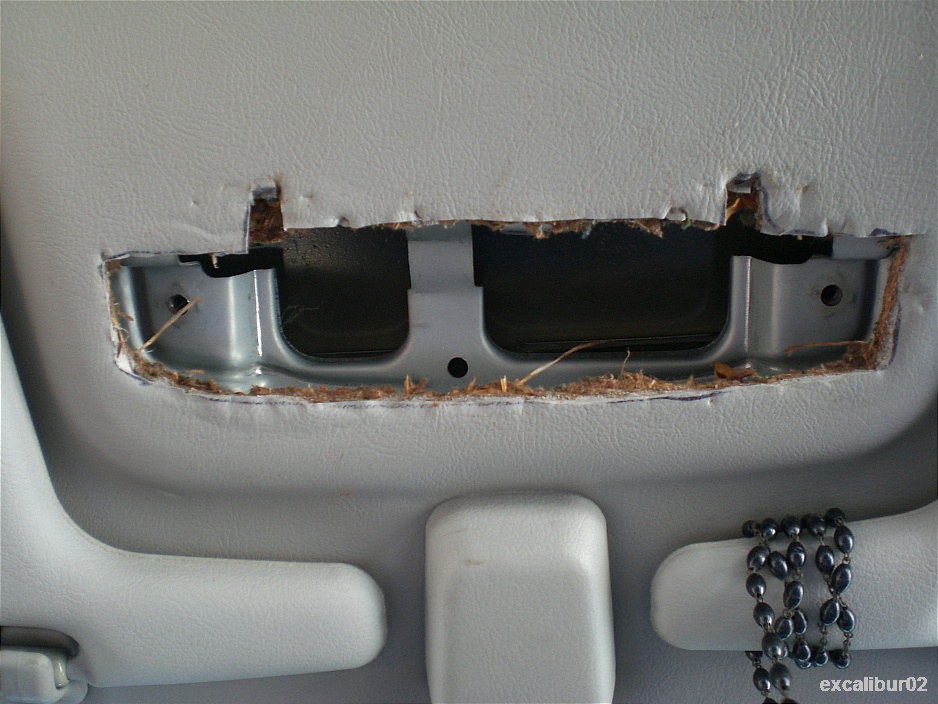
Then once the map light is on I kept trimming for about 15 minutes.
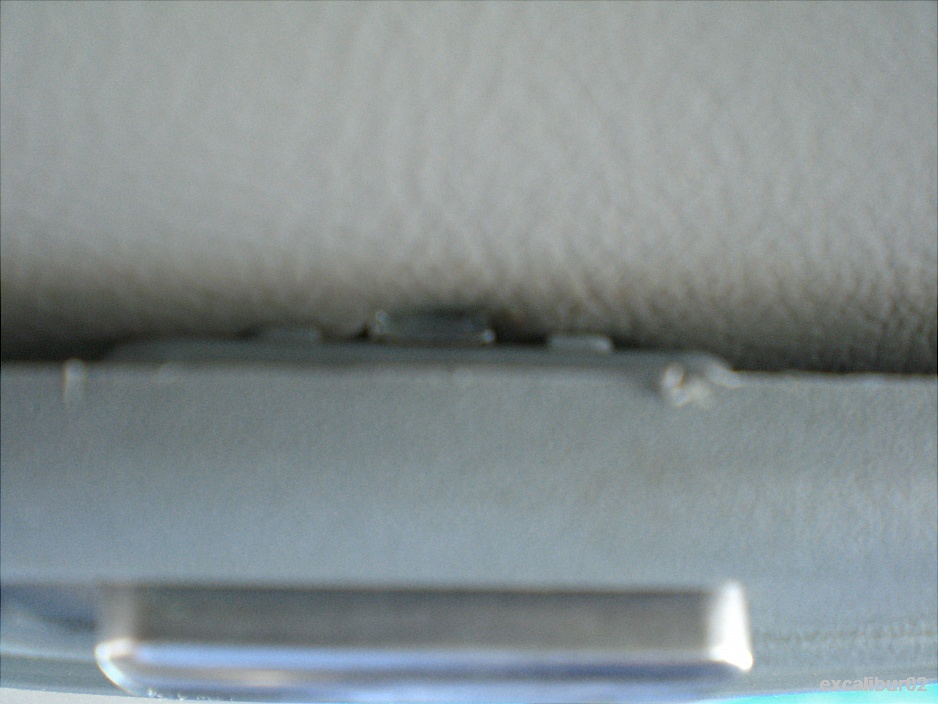
I then got it in to fit perfectly. I dont remember the wiring but its not hard to figure out.
I made a custom harness with 3 wires: 1 for ground, 2nd one is the positive, and the 3rd one is the ground for when the door opens.
Yes this map light is set up to turn on when the doors open just like the dome light.
With the harness I taped it up and pushed it back to the dome light with a wire hanger.
Connect the 3 wires.
Once the wiring is done, then put the bracket for the map light and screw it securely.
Its easier to mount the map light if you remove the rear view mirror and 2 sun visors so that you can hold the bracket still while screwing the map light to it
Then vacuum the cardboard stuffing from what was cut.
Good luck
*Disclaimer* Do this mod on your own risk. I do not take responsibilty for your actions.
Parts list:
cb or cd map light
Paper
Cardboard
Marker
Pen
Flathead Screwdriver
Philips Head Screwdriver
Box Cutter
Wires
Wirecutter
Wire Hanger
Electrical Tape
Desktop Tape
Vacuum
I took a paper that comes in the mail. Its thicker paper so its good for a template. I made the template and made sure it works perfect with the map light.
Then make certain marks on the headliner to line up the template. I taped the template to the headliner and made sure it looked straight as possible.
Then with the template on I took the pen and marked around so i know where to start cutting.
I took the template off and then started using the box cutter. Cut it once around then jam the razor in more since the headliner is pretty thick. Once I felt the cardboard cutting through I used the screw driver to push up the cut more.
Once you have a hole the maplight still will not fit. I made the hole smaller then the maplight since its better to cut around to make it look oem as possible.
Then once the map light is on I kept trimming for about 15 minutes.
I then got it in to fit perfectly. I dont remember the wiring but its not hard to figure out.
I made a custom harness with 3 wires: 1 for ground, 2nd one is the positive, and the 3rd one is the ground for when the door opens.
Yes this map light is set up to turn on when the doors open just like the dome light.
With the harness I taped it up and pushed it back to the dome light with a wire hanger.
Connect the 3 wires.
Once the wiring is done, then put the bracket for the map light and screw it securely.
Its easier to mount the map light if you remove the rear view mirror and 2 sun visors so that you can hold the bracket still while screwing the map light to it
Then vacuum the cardboard stuffing from what was cut.
Good luck
*Disclaimer* Do this mod on your own risk. I do not take responsibilty for your actions.





Comment