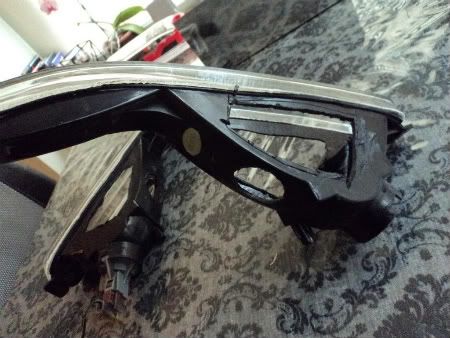
This is for those of us who have ourr bumper lights wired up so they are constantly on. After two sets of after market black housed/clear lens lights that melted in minutes,I came up with this idea.Ive been running these for about two weeks with no problems now.Hope it helps. The supplies are inexpensive and were found at Home Depot. For this you will need : dremel tool, drill,aluminum shingle flashing (.50 cents a piece) tin snips,small self tapping screws and silicone. and a permanent marker. First get the light and use your dremel to cut out holes on both top and bottom of the lights.Be sure to leave about a centimeter along the edges so you have space to drill the coverings onto the housing later.
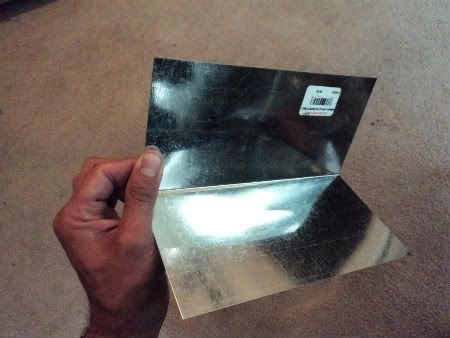
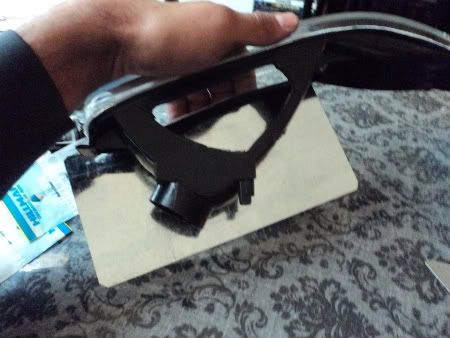
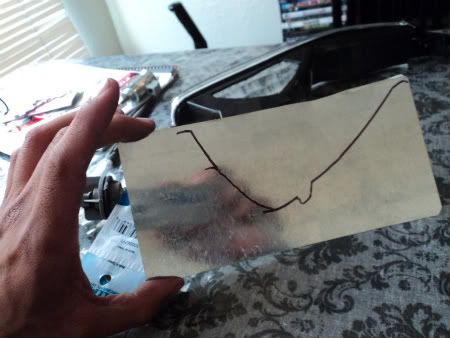
Then get the flashing and lay it flat along the lights surface.Trace the lights shape with the marker onto the flashing and cut it out with the snips.Be careful because the flashing is sharp!
Next, align the coverings you cut and use your drill and screws to fasten them down
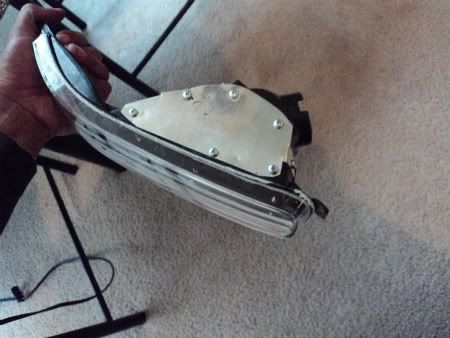
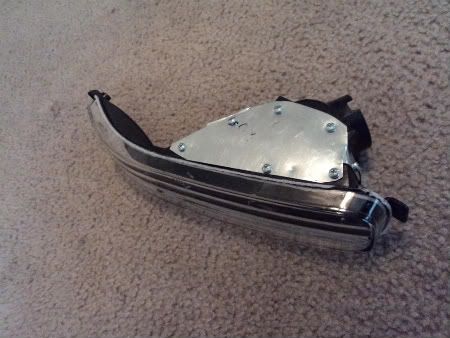
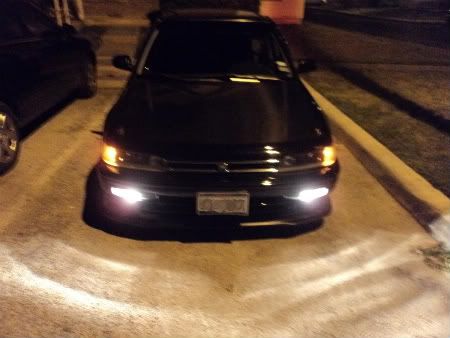
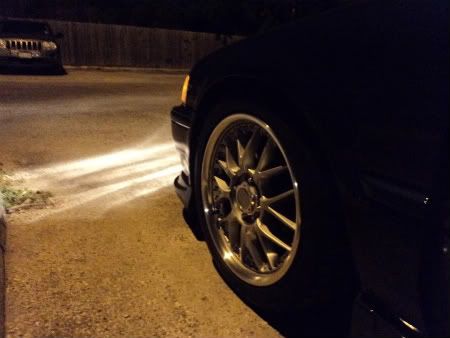
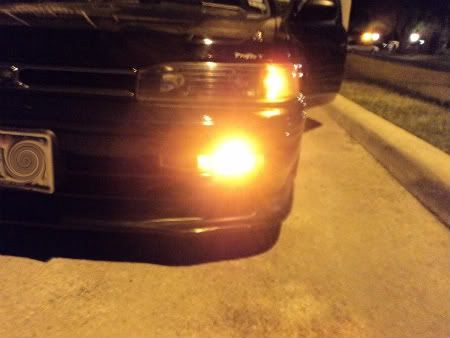
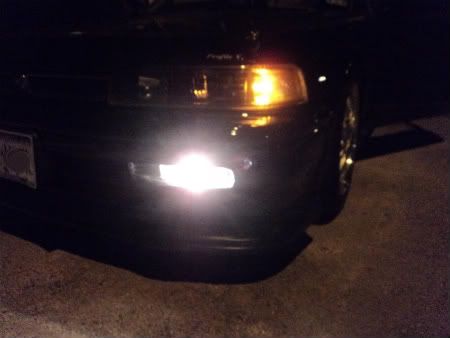
Once both lights are done, use silicone and bead along the edges where the aluminum meets the plastic to keep out moisture.Once dry they are good to wire up! Heres a few pics of mine so you can see light output.I used regular white bulbs for the constantly running bulb and amber for the flaser.

Then get the flashing and lay it flat along the lights surface.Trace the lights shape with the marker onto the flashing and cut it out with the snips.Be careful because the flashing is sharp!


Next, align the coverings you cut and use your drill and screws to fasten them down


Once both lights are done, use silicone and bead along the edges where the aluminum meets the plastic to keep out moisture.Once dry they are good to wire up! Heres a few pics of mine so you can see light output.I used regular white bulbs for the constantly running bulb and amber for the flaser.









Comment