For those of us/you with the lx or dx models or those who have lost their lip due to whatever circumstance and that are having a hard time locating a new one or an aftermarket one, heres a quick, cheap fix that most people wont be able to tell isnt stock.
Materials needed
Garage Door Bottom Seal(Available at Home Depot, Lowes, etc) $7.97 Get the kind that is kind of bent alread, as there is a completely flat and thinner version available, but it doesnt have the bend to it that you need.
Screws, i used sheet metal screws
Drill
Blood, sweat, tears
Box cutter
Here is a picture of the garage door bottom
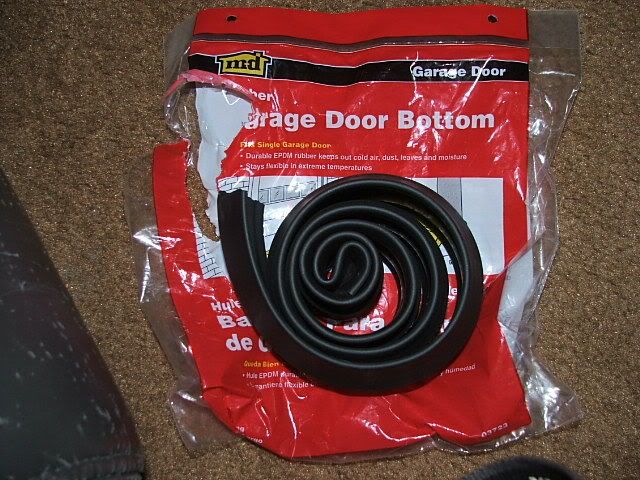
its rubber, its incredibly flexible, and its not going to break if you hit a speed bump with it.
here is me flexing it
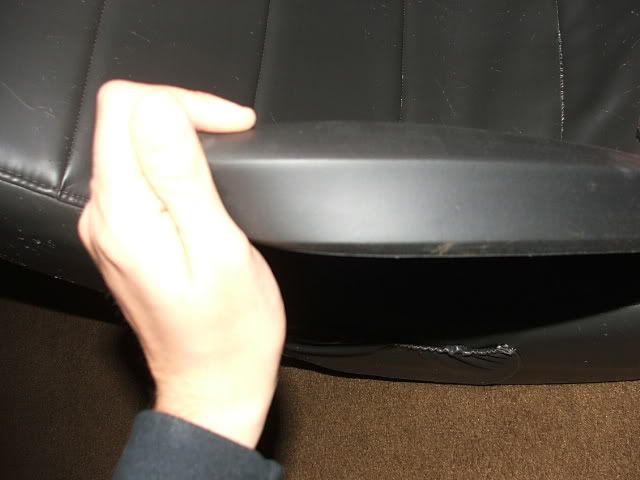
alright, that being shown/said, lets start this diy
1)Acquire all the materials needed
2)Starting on the passenger side of the bumper near the wheel well, place the new lip material(read garage door bottom seal) up under the bumper where the lip is supposed to be.
3) Using sheet metal screws start to secure the new lip into place.
******Do not screw the screws in too far, as it will go through the new lip, and wont hold it in place, but do screw them in far enough to make it hold and be snug, youre going to put a lot of screws in it, so dont worry about it coming off********
4)As you move around the bumper youll come into curves and such, just use as many screws as necessary to position the new lip into place, and dont worry, the stuff is incredibly flexible.
5)Once you have secured it and gone all the way around the bumper, youll eventually make it to the other side and be at the end of your bumper, this is where your box cutter comes in handy. Cut off the excess lip material and voila, you have a new custom lip, and youre only out less than 10 bucks, and 10 minutes of your time.
Please Note:A couple of members have contacted me about how it helps to use washers when securing the lip onto the car. While i have had no problems personally(i used 9000 screws) if you feel as if you might be want extra security with yours, i reccommend using the washers to secure it in place even better.
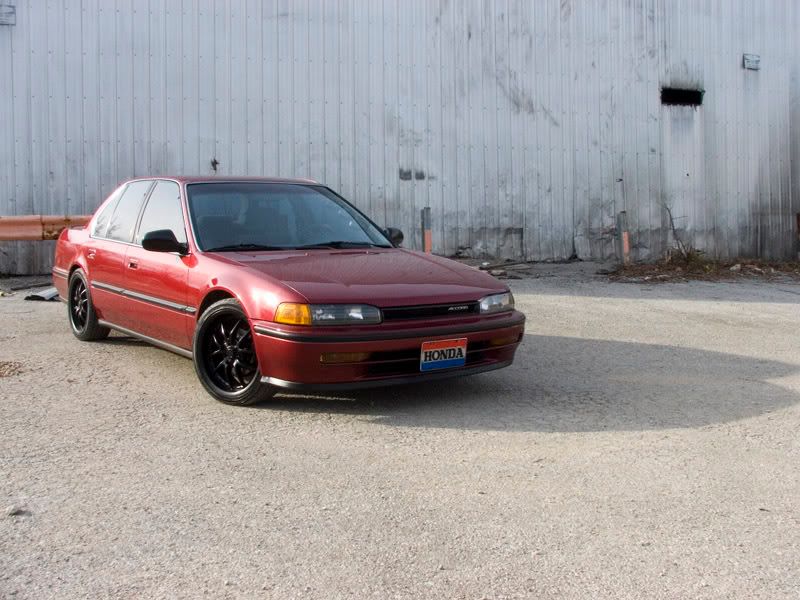
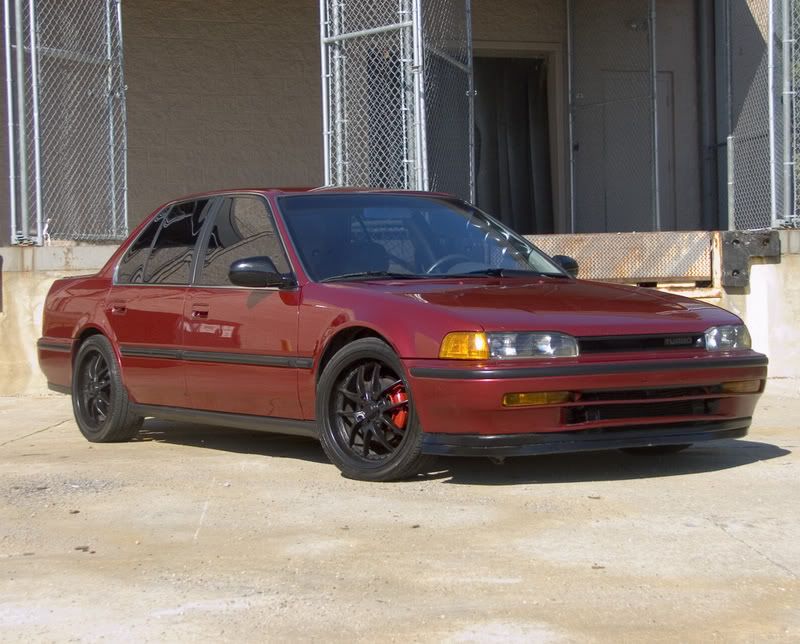
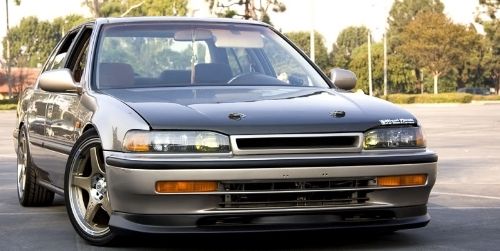
You should end up with a finished product that resembles a 90-91 front lip or an se lip. Before anyone calls this ghetto, keep in mind that before i told people what it was, most people thought it was just a stock lip.
Word.
Finished Product
variation
ex lip upside down with diy lip attached
Materials needed
Garage Door Bottom Seal(Available at Home Depot, Lowes, etc) $7.97 Get the kind that is kind of bent alread, as there is a completely flat and thinner version available, but it doesnt have the bend to it that you need.
Screws, i used sheet metal screws
Drill
Blood, sweat, tears
Box cutter
Here is a picture of the garage door bottom
its rubber, its incredibly flexible, and its not going to break if you hit a speed bump with it.
here is me flexing it
alright, that being shown/said, lets start this diy
1)Acquire all the materials needed
2)Starting on the passenger side of the bumper near the wheel well, place the new lip material(read garage door bottom seal) up under the bumper where the lip is supposed to be.
3) Using sheet metal screws start to secure the new lip into place.
******Do not screw the screws in too far, as it will go through the new lip, and wont hold it in place, but do screw them in far enough to make it hold and be snug, youre going to put a lot of screws in it, so dont worry about it coming off********
4)As you move around the bumper youll come into curves and such, just use as many screws as necessary to position the new lip into place, and dont worry, the stuff is incredibly flexible.
5)Once you have secured it and gone all the way around the bumper, youll eventually make it to the other side and be at the end of your bumper, this is where your box cutter comes in handy. Cut off the excess lip material and voila, you have a new custom lip, and youre only out less than 10 bucks, and 10 minutes of your time.
Please Note:A couple of members have contacted me about how it helps to use washers when securing the lip onto the car. While i have had no problems personally(i used 9000 screws) if you feel as if you might be want extra security with yours, i reccommend using the washers to secure it in place even better.
You should end up with a finished product that resembles a 90-91 front lip or an se lip. Before anyone calls this ghetto, keep in mind that before i told people what it was, most people thought it was just a stock lip.
Word.
Finished Product

variation
ex lip upside down with diy lip attached


 "Cocaine's a hellava drug"




Comment