90-93 Accord USDM Black Housing Headlight DIY
- Follow the link below to do a projector retrofit after black housing your headlights.-
*Link to Morimoto Retrofit
Materials Needed:
Flat Black spray paint (High-temp, BBQ paint or automotive engine enamel works best)
Stained Glass Yellow spray paint (Krylon)
Name Brand Masking Tape (Preferably Blue)
Silicone Sealant (Clear works fine)
Towel
Oven Mitts (Optional)
WD-40
Tools Needed:
Metric socket set
Phillips Screwdriver
Flat Head Screwdriver
Assorted Open-end Wrenches (Metric)
Clamps
Pliers
Razor Blade, or Utility Knife, like an Exacto
Oven
***If you find this thread helpful, please rate it.***
1. Remove the side marker retaining screw. Pull out the marker and unplug the bulb connector.

2. Remove the grill. It is held in place by five screws along the top.

3. One is hidden in front of the latch
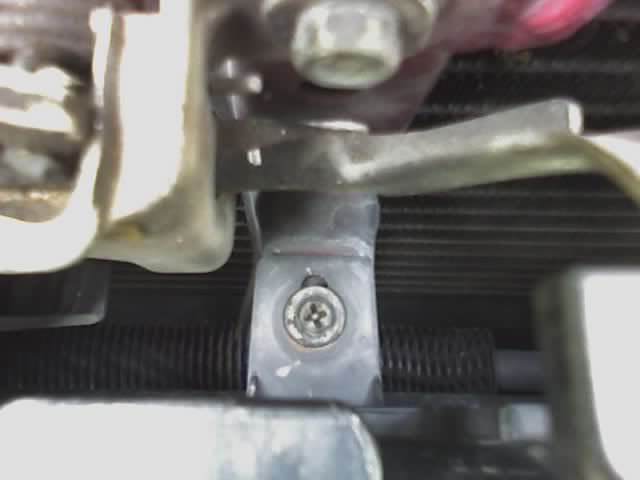
4. Use a flat-head screwdriver to push down on the retaining clips that attach the grill to the bumper (one on each end, looking from the front), and remove the grill.

5. Remove the two bumper retaining nuts (one on the left, one on the right) located behind the headlights, on top of the frame.

6. Remove the two plastic retaining clips from the underside of the bumper.

7. Remove the left and right bumper turn signals.
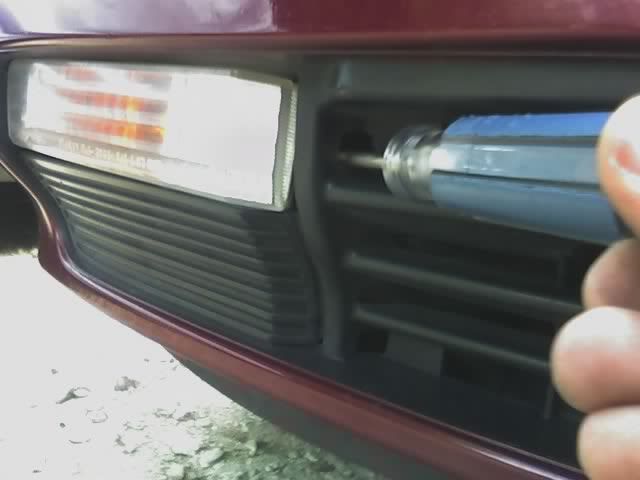
8. Remove the four bumper retaining bolts (two on each side) located just behind the turn signal recesses. Lift the bumper, then slide it forward, and remove it. Set it down some place soft, as not to scratch it up.
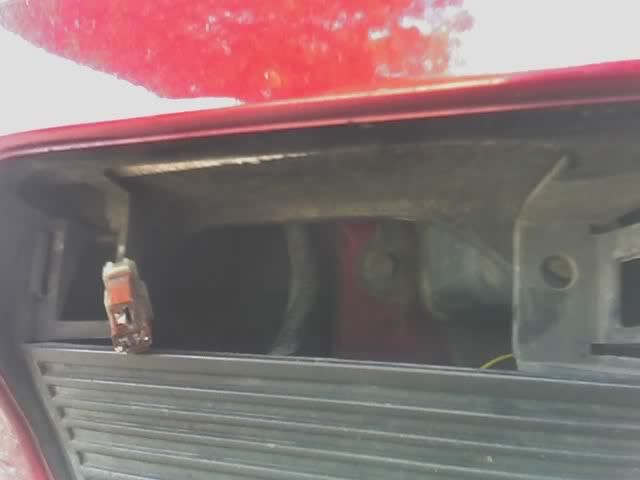
9. Remove the five headlight mounting bolts. Two are on the radiator support;

10. One on the side;

11. And two below the headlight.

- Follow the link below to do a projector retrofit after black housing your headlights.-
*Link to Morimoto Retrofit
Materials Needed:
Flat Black spray paint (High-temp, BBQ paint or automotive engine enamel works best)
Stained Glass Yellow spray paint (Krylon)
Name Brand Masking Tape (Preferably Blue)
Silicone Sealant (Clear works fine)
Towel
Oven Mitts (Optional)
WD-40
Tools Needed:
Metric socket set
Phillips Screwdriver
Flat Head Screwdriver
Assorted Open-end Wrenches (Metric)
Clamps
Pliers
Razor Blade, or Utility Knife, like an Exacto
Oven
***If you find this thread helpful, please rate it.***
1. Remove the side marker retaining screw. Pull out the marker and unplug the bulb connector.

2. Remove the grill. It is held in place by five screws along the top.

3. One is hidden in front of the latch

4. Use a flat-head screwdriver to push down on the retaining clips that attach the grill to the bumper (one on each end, looking from the front), and remove the grill.

5. Remove the two bumper retaining nuts (one on the left, one on the right) located behind the headlights, on top of the frame.

6. Remove the two plastic retaining clips from the underside of the bumper.

7. Remove the left and right bumper turn signals.

8. Remove the four bumper retaining bolts (two on each side) located just behind the turn signal recesses. Lift the bumper, then slide it forward, and remove it. Set it down some place soft, as not to scratch it up.

9. Remove the five headlight mounting bolts. Two are on the radiator support;

10. One on the side;

11. And two below the headlight.




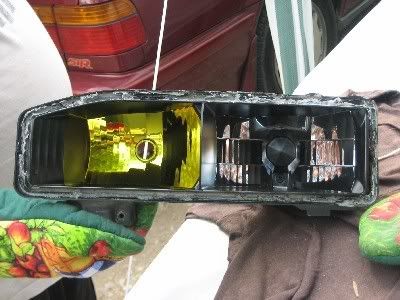
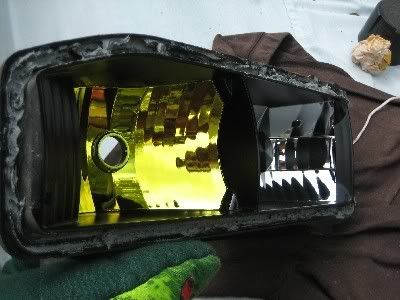


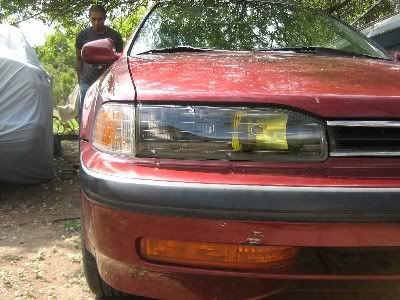



 i dont think my dad would be to happy to wake up or come home with head lights in his oven.

Comment