If this is your first visit, be sure to
check out the FAQ by clicking the
link above. You may have to register
before you can post: click the register link above to proceed. To start viewing messages,
select the forum that you want to visit from the selection below.
So after passing the hardest test(So people claim, which I hope they are right because it sucked) in this phase of flight school, I decided to give the cb some love.(hopefully I don't regret it)
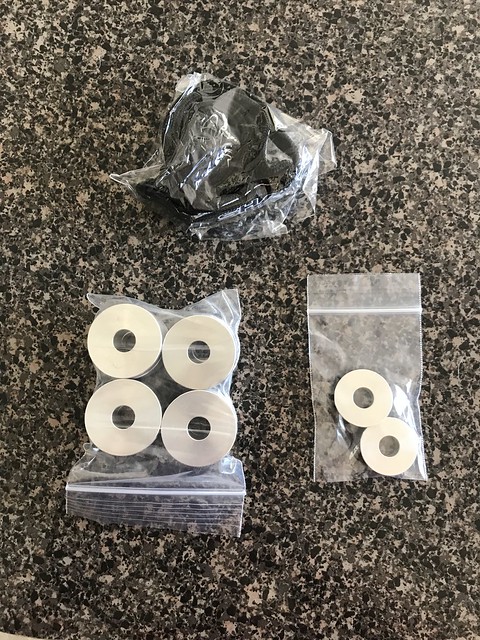
So first thing I did was replace all the tired bushings in the shifter assembly with SpaySpec billet bushings for the assembly base and the shifter cable linkage. It is going to take me a bit to get use to not having all the movement. But I do like his product, wish he offered more.
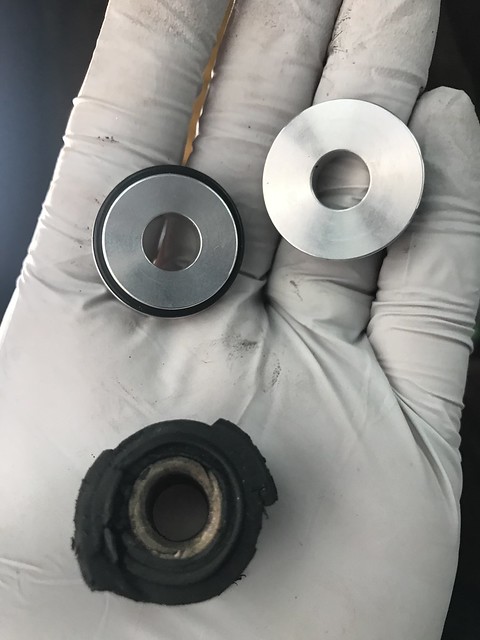
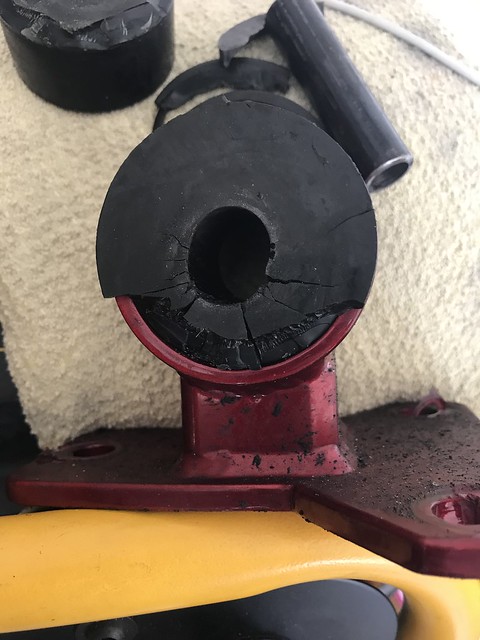
Old Bushing vs new:
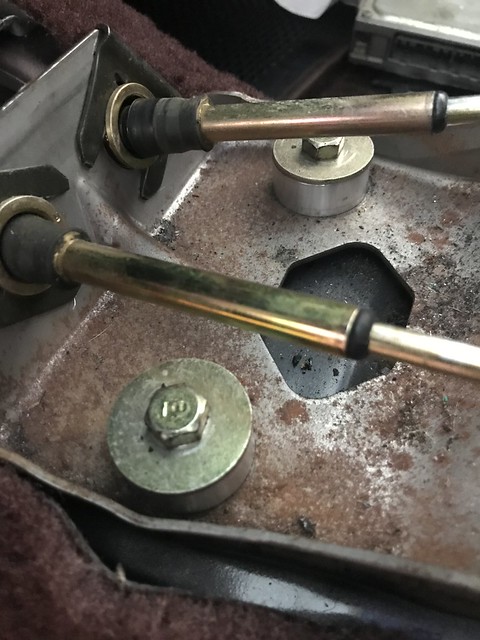
DIY Short shifter and solid Bushing:
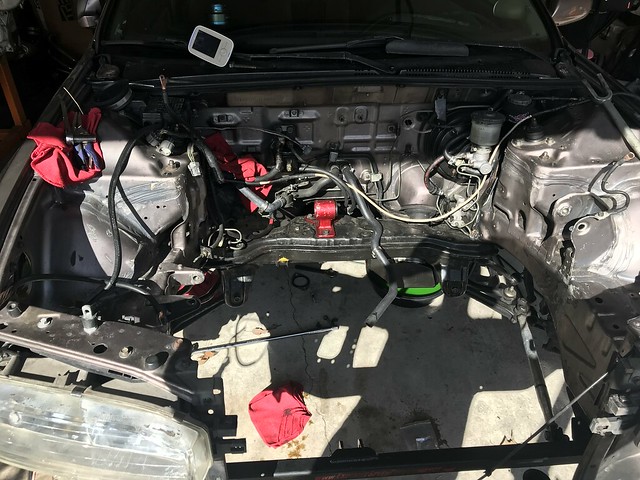
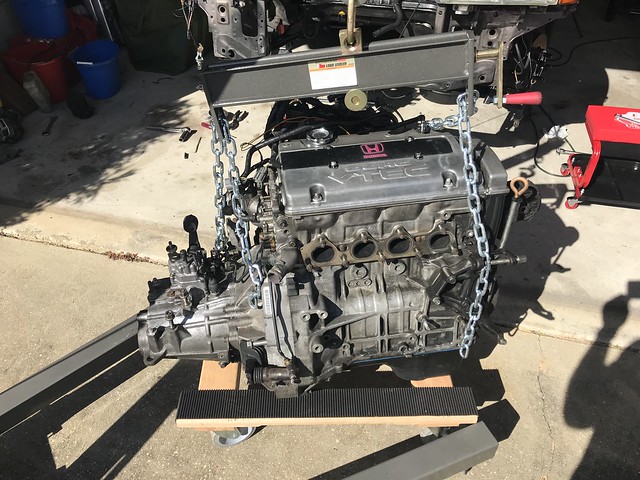
Now for the fun updates: Finally pulled the H22a out of the bay, I took video of the process, hence why there aren't really any pictures:
With the engine out I found my ESP rear mount Poly destroyed. Jon's welding skills are awesome, but the poly he chose to incorporate did not hold up. There was maybe 1000 miles put on that mount. I will try way way down the road to fill these mount with the DIY poly I used, but for now they will be paper weights.
Once my daughter went to bed for the night, I went back out in the garage to start swapping parts over to the f22a1/6 block:
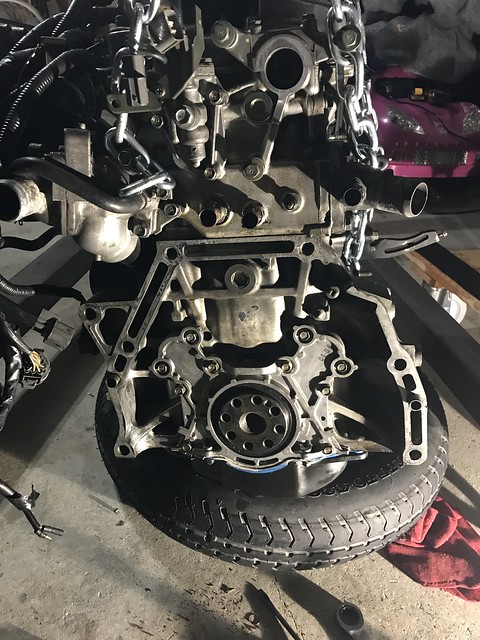
Removed the transmission, flywheel, clutch from h22(If you look in the back corner you can see my other car
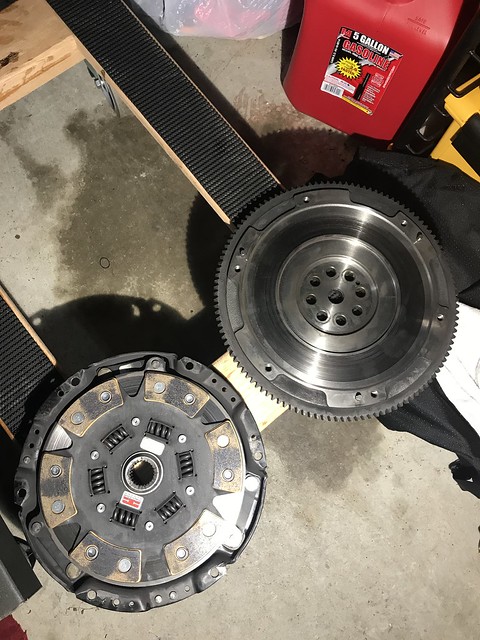
Clutch, flywheel, and pressure plate all look good:
Then it was time to mate it all back up to the f22a. I went ahead and replaced the throw out bearing, even though the last one was perfectly fine. I had a spare brand new one laying around:
Where I stopped for the night, H22 is on the engine stand and F22 is on a dolly waiting to be finished getting fitted with all the goodies:
So Sunday I decided I wanted to get the engine into the car before I don't touch it again for another 2 weeks: (I videoed this as well hence why there aren't any pictures of the install process)
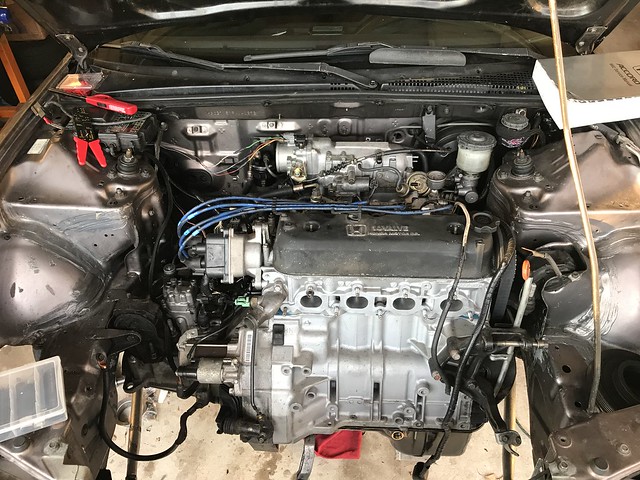
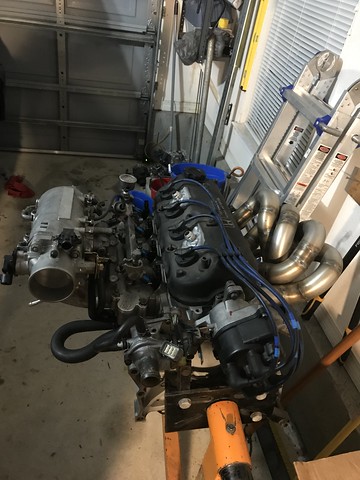
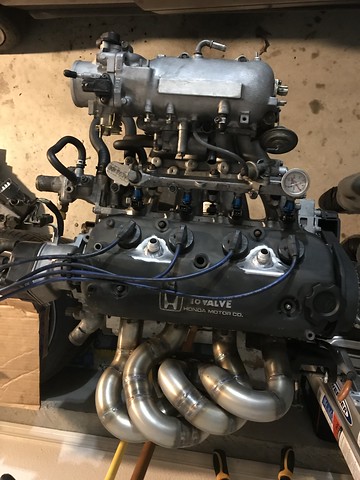
So I still have a laundry list of things I need to do, but the f22 is mounted inside the engine bay, wire harness all hooked up(minus IAT sensor, need to buy a new one), map sensor wired up (still have to do a continuity check to ensure I wired it properly). Fuel lines hooked up, 70mm TB installed. Right now I left the IAB valves installed because I haven't decided if I want to run them or not.
I know the engine looks clean and everything else looks dirty as hell, I will address this once the motor is running and tuned, as that is my number 1 priority right now. Just like after I get it running the valve cover will be sent off to get Powder coated.
Anyways getting excited to hear this thing start up in the near future, my goal is mid March as I will be have completed this phase of flight training.
That�s going to be one healthy single cam. Did you get the h22 pulled?
I hope so. Fingers crossed. I haven�t pulled it yet. I will once I have the f22 ready to be dropped in. I still have to do something on the f series before I drop it in.
Got all the work back that Blake did for me yesterday and I immediately got to work on prepping the h22 to be pulled. After about an hour or so it is ready to be yanked, however I would have no where to put it. So until I am done swapping parts to the f22, the H will sit in the bay.
So I got the plug for an injector resister and cut it to covert from low impudence to high impudence. No need for a picture as all you do is combine all the wires together then plug into harness. I also convert my external Map Sensor connector, to throttle body Map Sensor.
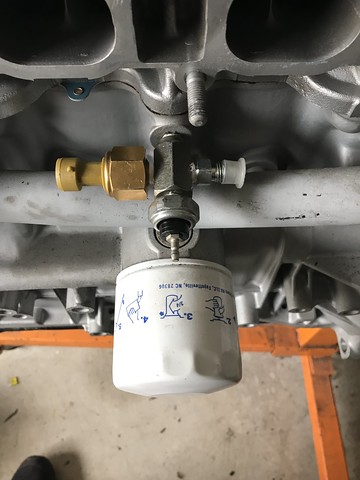
I then installed the oil feed, oil pressure light, and AEM Oil pressure gauge tee.
I then mounted the intake manifold, installed the ID1050s, fuel rail and the OmniPower 70mm Throttle body, and the omnipower 4 bar Map Sensor. I have a Bisimoto Intake gasket that I keep going back and forth on whether to use it or not. Right now I don't have it installed but I may change my mind later on.
[
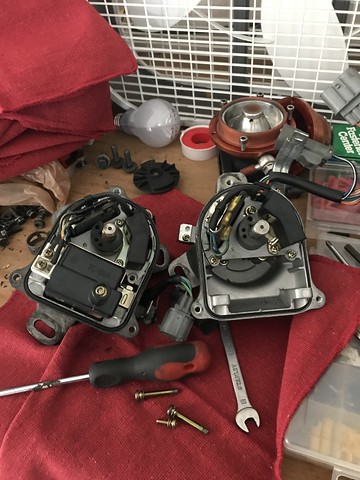
I then proceeded to convert my f22 dizzy to internal coil using my h22a internals. Whiled in the process I discovered that though the electronic guts fit perfectly, the actual dizzy shaft does not. I am sure this is documented somewhere on this forum but I didn't look it up.
Anyways here you can see h22 on the left f22 on right, it looks good:
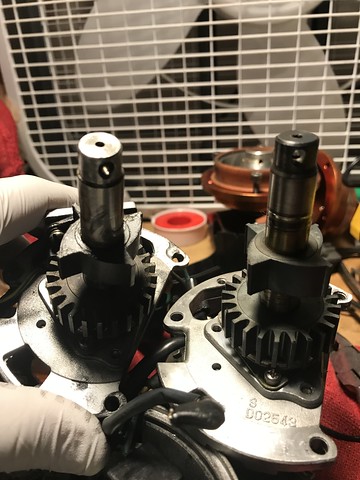
Then look at where the rotor hole is, its 30* off from one another f22 on the left h22 on the right. Now I don't know if this makes a difference but I did not want to chance it.
F22 dizzy converted to internal coil:
Here is where I stopped for the night:
Sadly updates will slow down since I start the next portion of my flight training tomorrow for the next 6 weeks and then I get another break for 1-2 weeks before it starts up again.
Looks amazing! Your going to need to clean your motor / engine bay now :P
& not hard to tell this site is dead, back in the day these posts would blow up the forum with activity!! So I appreciate ya taking the time to post! This thing will be ready for the summer?
I was thinking that the other day, how busy the site use to be. I think a lot of people lurk now adays instead of posting. But I enjoy documenting my build so I can go back and see what I�ve done and what I missed.
I�m still appreciative of Deev for keeping this site up even though I�m sure it�s not bringing in any revenue.
My goal is by spring, but it will be based on how task saturated I am with flight school. Once I pick everything up, I�m immediately sending the turbine housing to get ceramic coated.
I plan to get the valve cover powdercoated it hydrodipped. I just don�t know what I want. Got any ideas?
Looks amazing! Your going to need to clean your motor / engine bay now :P
& not hard to tell this site is dead, back in the day these posts would blow up the forum with activity!! So I appreciate ya taking the time to post! This thing will be ready for the summer?


Leave a comment: