I want to say I had sold that ECU to the right to Anthony years ago because that rust spot looks awfully familiar haha. Nice progress Will
Announcement
Collapse
No announcement yet.
Rilas : 1993 Accord SE
Collapse
X
-
Henry R
Koni/Neuspeed
1992 Accord LX R.I.P
1993 Accord EX OG since 'o3
Legend FSM

'You see we human beings are not born with prejudices, always they are made for us,
made by someone who wants something' -1943 US War Department video
-
Well if it was yours we are keeping it in the family,Originally posted by HenRoc View PostI want to say I had sold that ECU to the right to Anthony years ago because that rust spot looks awfully familiar haha. Nice progress Will . Thanks Henroc!
Comment
-
So I didn't manage to take any pictures over the weekend of what was accomplished. Besides it really wasn't much to see visually.
I finished up a few plugs I needed to add to the DCC wiring, and a few other misc wiring projects that needed to be wrapped up. Then I started on rewiring the DCC in the dashboard, as when I did it the first time everything was in the car and a nightmare to actually work on. Also I ran out of the good self soldering heat shrink butt connectors, so I used standard ones. Needless to say it was all awful. I removed all the old butt connectors and put in the good ones. I had bought an entire 100 pack of them, and used them all. So far I've gone through 150 butt connectors. I've ordered another 50 pack, of which I need about 15 to finish all the wiring. I spent almost the entire weekend working on wiring stuff.
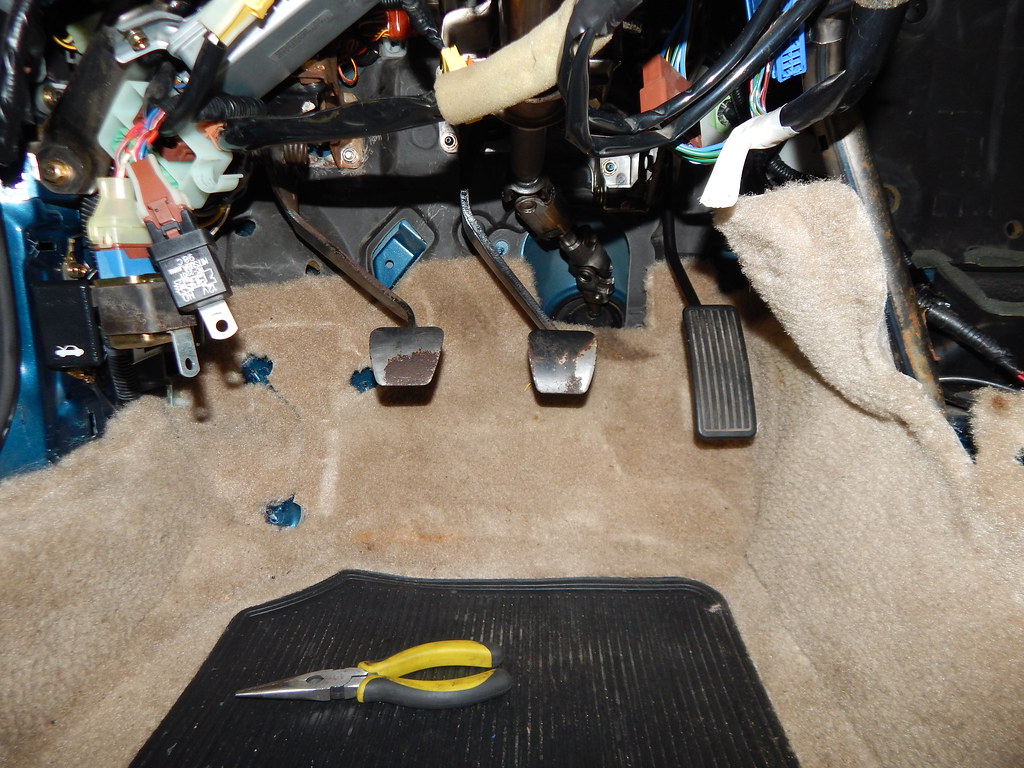
Last night though I started to actually put the pedal housing and pedals in the car. Throttle is fully in, the brake pedal only needs the spring hooked up. I gave up on that last night, it was getting late and I was getting frustrated. The brake booster, brake master cylinder and clutch master cylinder are installed. I'm going to get the clutch assembly in the car tonight as soon as I get the spring hooked up.
Also I need to buy some epoxy tonight to wrap up one thing on the blendor box. Tomorrow once the epoxy is set, I can install the blendor and the a/c evaporator. The blower housing is on hold until I make the VTEC subharness, but to do that I need the engine in the car. Also as soon as the evaporator is installed, I can install the A/C lines and condenser. I'll get some pictures of actual progress tomorrow.
Comment
-
While it doesn't seem like I've accomplished much, I really have. Almost all the prep work to start installing everything is done or almost done. I've actually managed to install a few bits and figure a few more things out.
So I'm whittling away at my punch list of things left to figure out or buy. One of them is the header. While I don't want another PLM header of the same style as the one I put on the F22Ax, I'm going to order the same for the H just for simplicity sake at this point. If I buy any other type of header at this point I need to make a custom piece to get it connected to the cat back. This is more time and yet more money. While money is already tight because of the deadline I have set for having Lola run. I plan on replacing the 4-2-1 header eventually with another of a different make. I'm getting this ordered today along with a few other items on the list. Mainly the Rywire clutch line, as it's probably going to take a bit to get here. Anyway onto some pictures.
3 Pedals
Foglight A Harness (I'm still trying to figure out how I want to route this. I really need the blendor box in the car to help with the routing.)

S2000 Clutch Master Cylinder, RSX Brake Booster and Master Cylinder 1
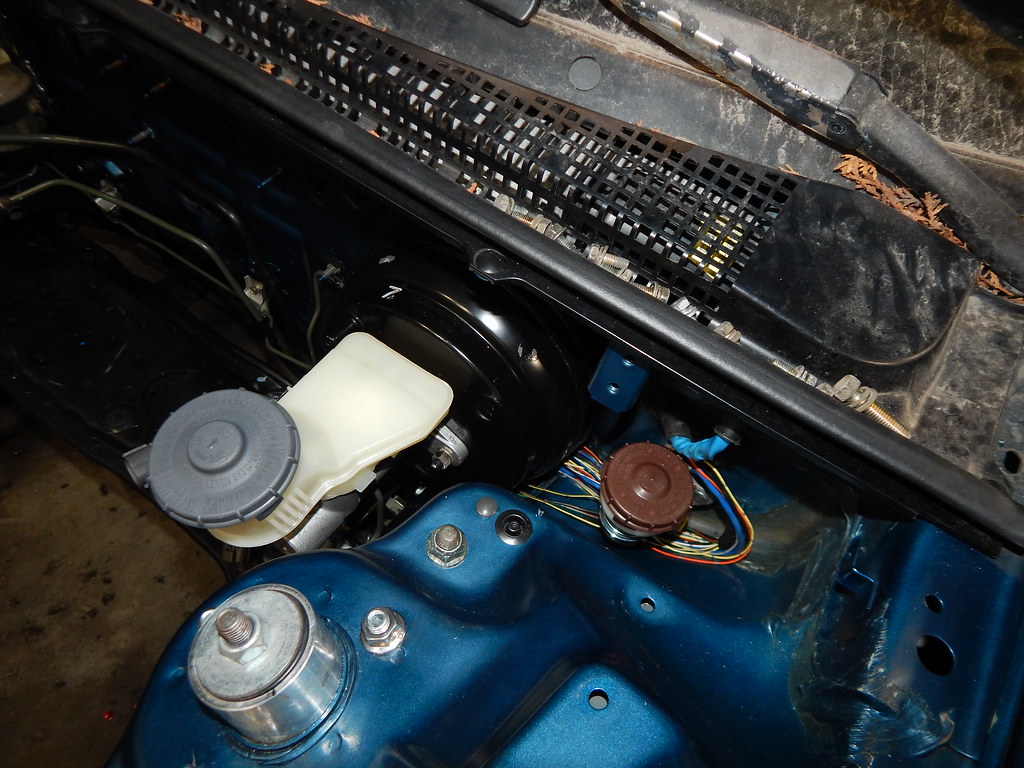
S2000 Clutch Master Cylinder, RSX Brake Booster and Master Cylinder 2
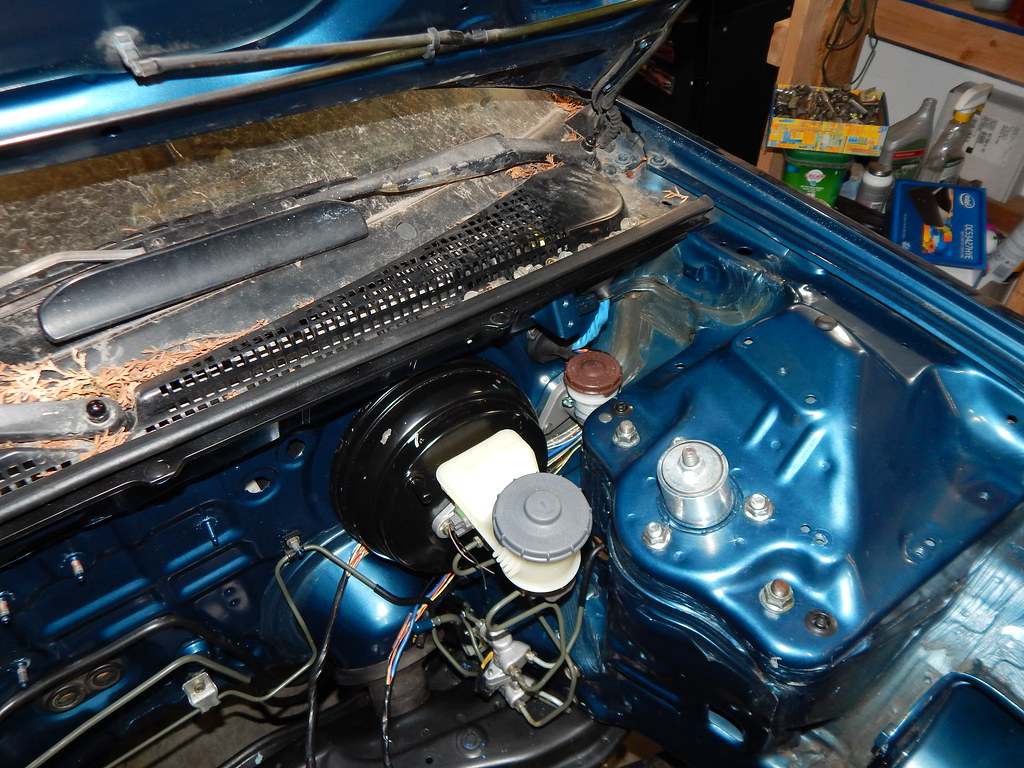
S2000 Clutch Master Cylinder with FFC Spacer

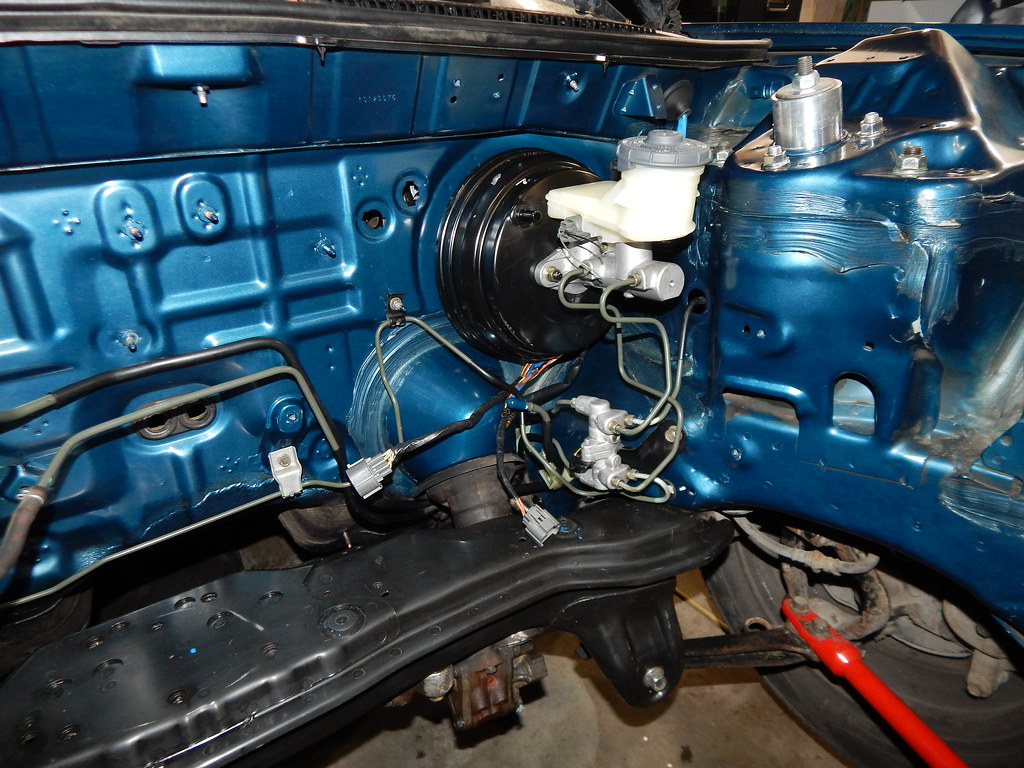
RSX Brake Booster and Master Cylinder with Integra 40/40 Proportioning Valve (All the hardlines from a non ABS Accord bolted right up. Also the brake pedal bolts up as well.)
Fuse Box (As you can see I'm slowly making some progress.)
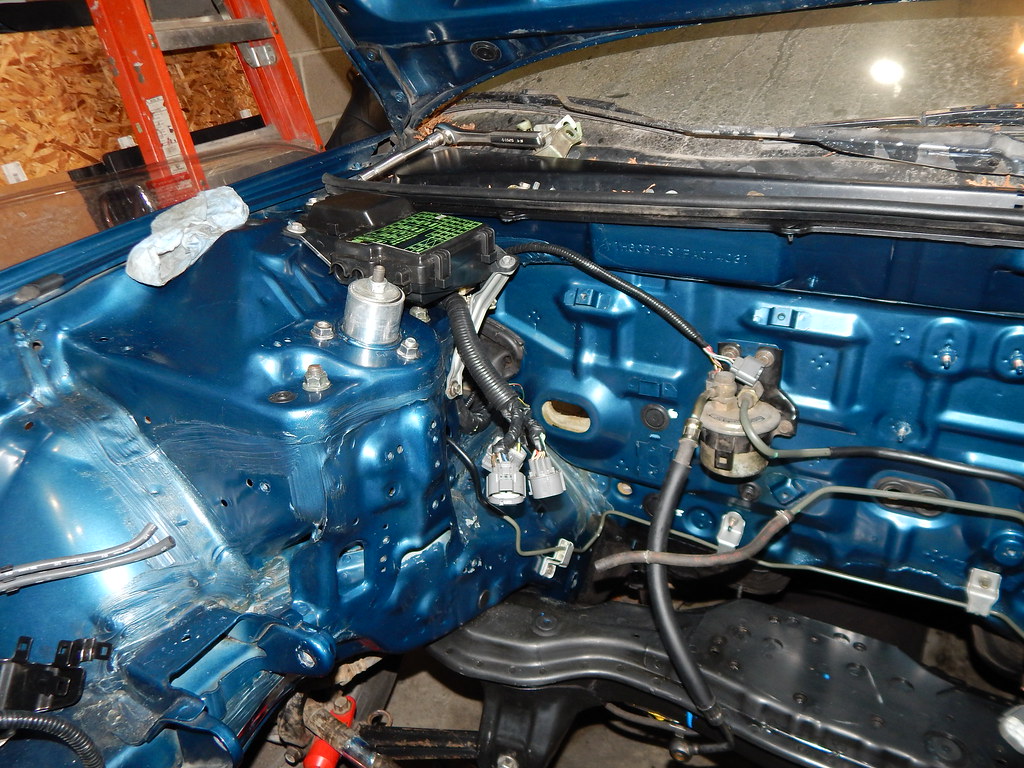
Hopefully this week the pictures will start to get more interesting as I find the final placement for a few things. As well as hopefully get the engine in the bay and start working on test fitting a few things.
Comment
-
S2000 CMCOriginally posted by marcusv8thunder View PostWhats the pros (and cons if any) for the s2000 cmc and the rsx bmc?
Pros:
- Reservoir resides on the cmc itself making for a cleaner look installed in our cars.
Cons:
- None
RSX Brake Booster and BMC
Pros:
- Smaller foot print, resides lower and closer to the shock tower, again for a cleaner look installed in our cars.
Cons:
- BMC bore is 7/8" this is larger than the standard non ABS Accord BMC which is 13/16". It is smaller though than the 92-93 EX/SE - Prelude 1" BMC.
I'm alright with the middle ground, for how it cleans up the engine bay a bit.
Comment
-
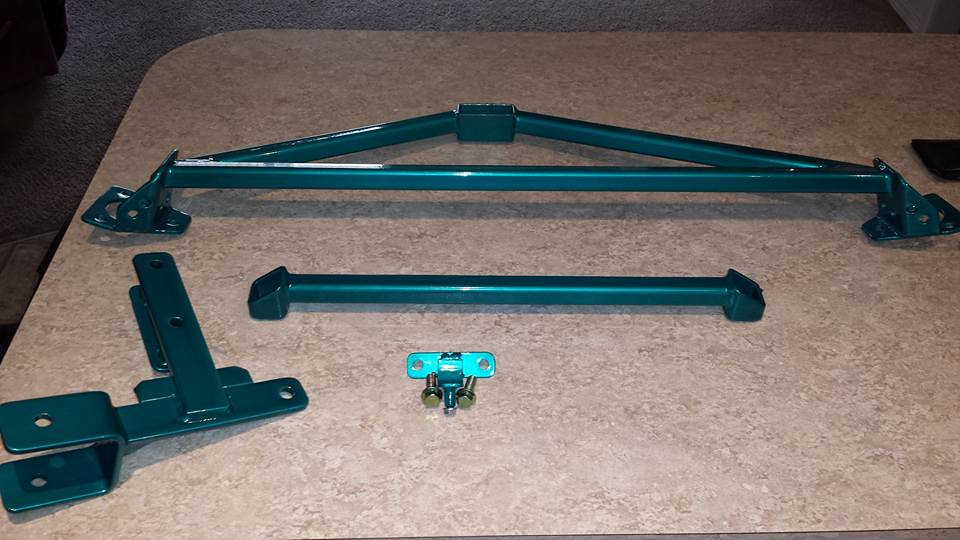
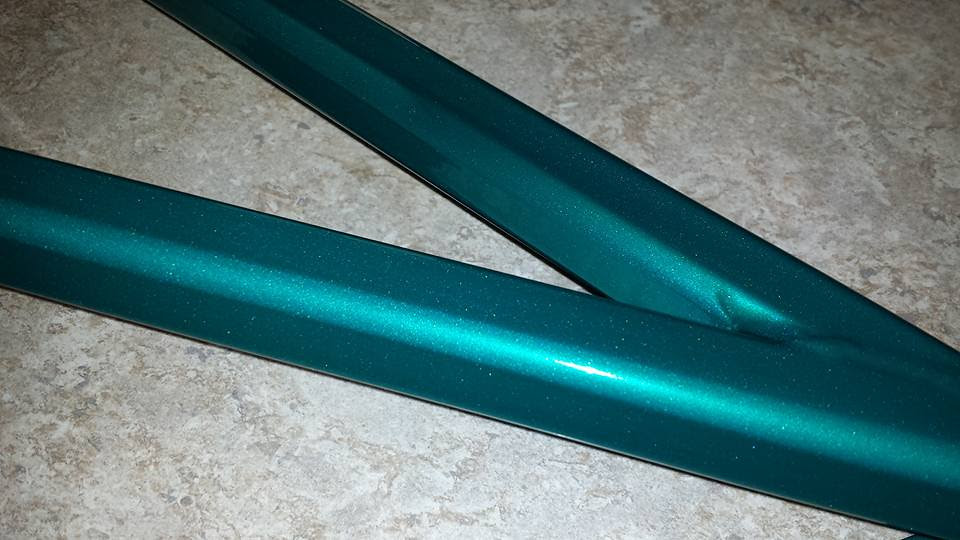
Finally my ESP.net bars have been repowder coated. They look absolutely amazing. A much closer match to Lola this time around. John at ESP just got them sent out today. I'll have them by next Wednesday. I'll let you guys know what the color is once I go through the emails again. I can't remember off the top of my head. I looked through every single option that was offered by 2 companies that ESP uses. All in all I probably went through 400-600 colors to decide on the one that I was ecstatic about.
ESP 1
ESP 2
I have been working on the car the last few nights. Just nothing really worth showing right now. All I've been doing is scrubbing the 23+ years of junk off the bottom of the car. I wouldn't do nearly as much of this as I am. Except for a week and a half ago Lola decided to dump about a gallon and a half of gasoline out of the return fuel line onto the floor overnight. While doing this it also soaked the bottom of the car. Well needless to say, the garage has still been smelling like gasoline fumes because of the gasoline that soaked into the oil/dirt on the bottom of the car. So the drivers side has been cleaned from the firewall to the gas tank. The passenger side won't go quite as far back, but I do want to remove most of the junk that has built up onto the car. Last night after finally getting all the junk off to the gas tank, it seems to have actually gotten rid of 95% of the smell from the garage. Hopefully tonight when I get home it will all be gone. I'll get some pictures of what the bottom of the car looks like when I'm finished, but for the time being there really just isn't a lot to show.
Comment
-
Alright so a bit of an update. I still haven't had time to get the camera out to the garage with me, so I don't have any pictures yet.
I've been spending my time prepping the engine bay for the engine. Trying to get everything bolted back into place before the engine is in the way. I think everything is finally wrapped up. Also I finished up my last bits of wiring that I'm going to do. I was going to make the vtec subharness myself, but I am so done with wiring at this point that I'm just going to order one from Rywire. Also I'm going to pickup some OBD2 to OBD1 injector wires. I don't want to convert my harness from OBD2 back to OBD1. Besides this will allow the option in the future to run either style. Once those are in the wiring is complete.
Last night I worked on getting in the wiring for the car to be able to start as a manual being an auto car originally. Also I built the extension harness for the resistor box, and mounted it up under the dashboard. I finalized the locations of the fog light harness. I still need to mount the relays under the dash. I have a plan for them already I just haven't gotten to it quite yet. Also the dashboard is on hold because I'm still waiting to wire in vtec. Because of this I haven't gotten the blower motor in, I just don't want to fight around it when trying to run wires. I did actually put the dashboard into place though. As I was really tired of moving around it all the time. It actually ended up on the living room floor for about a week. GF didn't really enjoy that so I just threw it back into the car so it wouldn't be taking up space elsewhere.
On Monday night I finally managed to get my old oil pump off the engine and to the machine shop. Yesterday I dropped off the front main seal so they can press it in as well, while they are pressing in the KS balance shaft delete stuff. Also the $30 eBay F20B oil pump is almost brand new according to specs. It is on the tight side of new specs from Honda. That is probably one of the best $30 investments I've made in a long time. Tonight after work I'm going to pickup the oil pump and hopefully get the engine into Lola tonight. We shall see on that goal though. As I need to get the oil pump installed, the pan installed, the timing belt and all that reinstalled, and adjust the valves, before it's ready to actually go in. That and I have to run out of town to go see my Grandma tonight and a few other things. So needless to say time is already lacking tonight. Either tonight or tomorrow night I'll get some pictures taken and post them up.
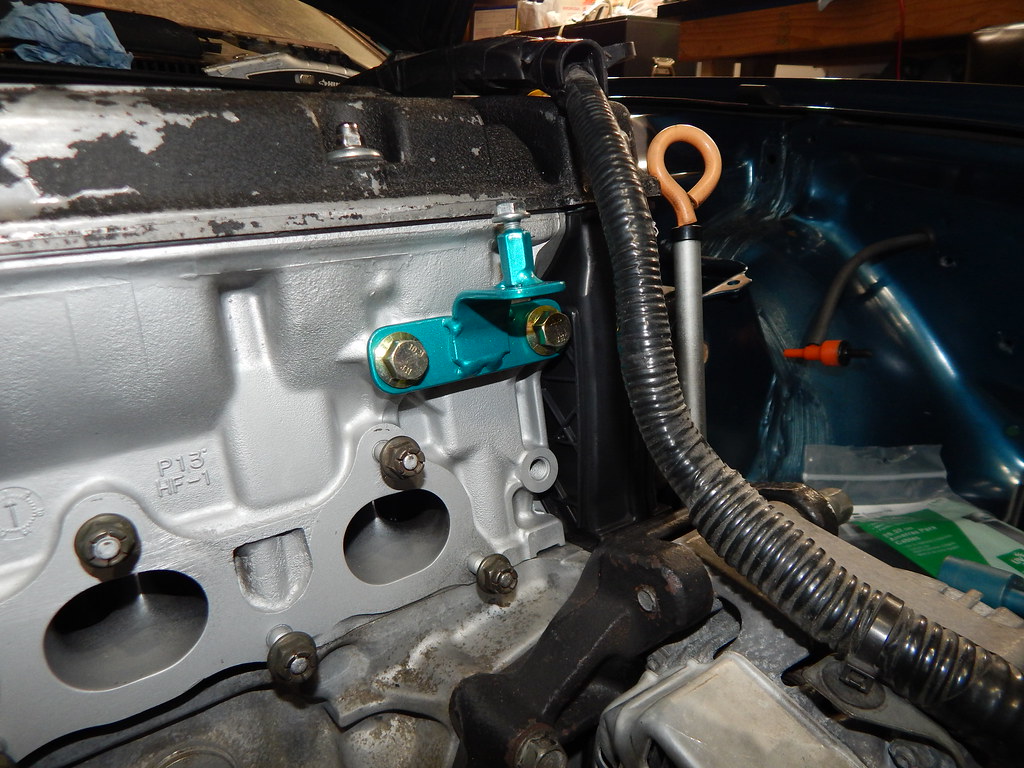
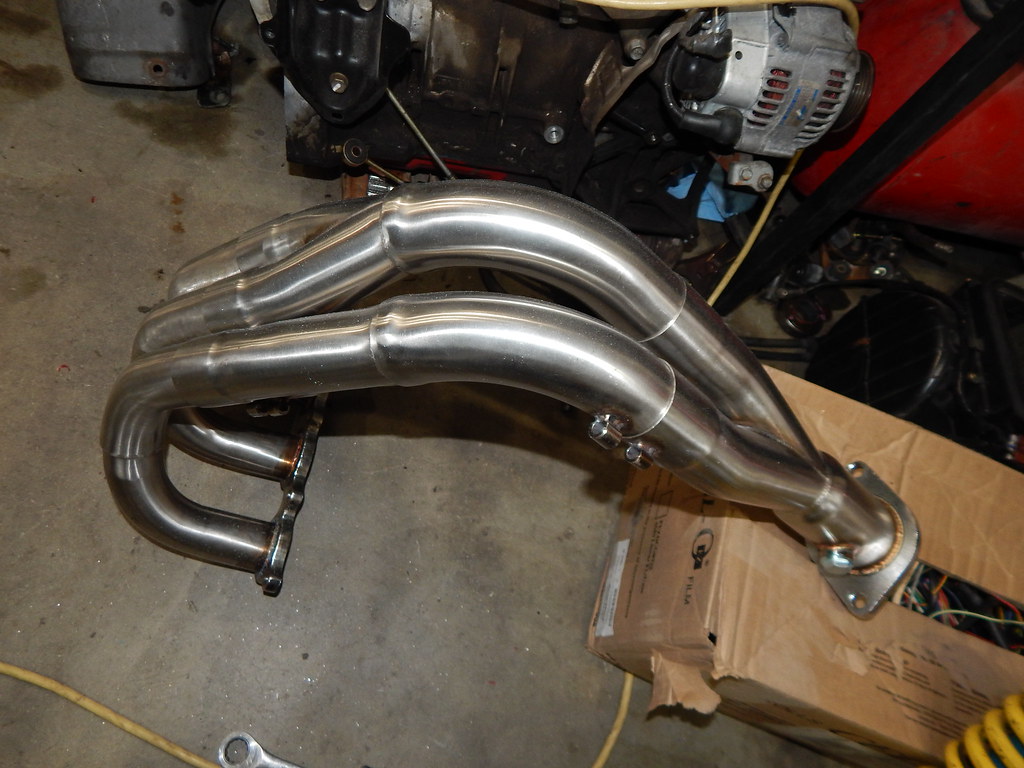
The PLM Tri-Y header showed up at Grandma's last night. Not really sure how I screwed up the shipping on that. Oh well. Also I'm hoping my SCE header gasket showed up there as well. They didn't give me any tracking info on it, so I don't know where they decided to ship it to. Last night I got my ESP.net bars back. They look great but still aren't a match to Lola's paint. They have more green in them than blue. They are still a nice teal for sure, just not what I was hoping for. Always hard to judge color's from pictures and the internet. Next time I'll pick the other color, we had settled on. The color on the bars is currently Alpine Teal, next time I think I'm going to go with Pole Star Green. I only opened one of them last night. I asked John if he could make an alternator wire tie down bracket, which he did for me. Tonight I'll get the rest of the stuff out and take some pictures of it.
There is other stuff that has been done, but I just can't really remember all of it right now. Oh one other thing of note, I ordered a clutch line from Rywire. I got the B/D series clutch line for a S2K master cylinder. I've gotten it installed and it looks amazing in the bay. So much better than the OEM lines and damper. It goes straight from the master to the slave, so hopefully this should improve the pedal feel a bit as well.
Comment
-
Will,
What's the reasoning on going with the B/D series clutch line and not the H/F series? Simply because it's shorter? Or the 45 degree angle?~Nick~
FSAE (F Series Accord Enthusiasts) ..."A dying breed thats taking it to the next level" Lucky #13
MR Thread:http://www.cb7tuner.com/vbb/showthre...ight=Grumpys93

Comment
-
The reasoning for the B/D series cable is that is has an M10 fitting on the CMC side and also the 45* bend. Whereas the H/F series cable has a M12 fitting on it. The S2000 CMC has an M10 fitting on it so, the stuff for our car's won't bolt onto it. Rywire recommended buying the B/D series cable although it is 10" shorter they said other people have bought and used it for our cars. Though the routing might get a bit interesting since it is 10" shorter.Originally posted by Grumpys93 View PostWill,
What's the reasoning on going with the B/D series clutch line and not the H/F series? Simply because it's shorter? Or the 45 degree angle?
I think I've found a good way to route it in the bay currently. I won't know for sure though until the engine is in the bay. That will be answered tonight after I get the timing belt put on it, then it's going into Lola. I'll get some pictures tonight, the last few nights I've just been so busy, by the time I come out of the garage it's already midnight. I get up at 5:40 for work, so there really just hasn't been time to take pictures.
Comment
-
Alright I finally got my timing all wrapped up and there were some hiccups along the way. All of them got straightened out, only at the expense of time.
Engine Bay
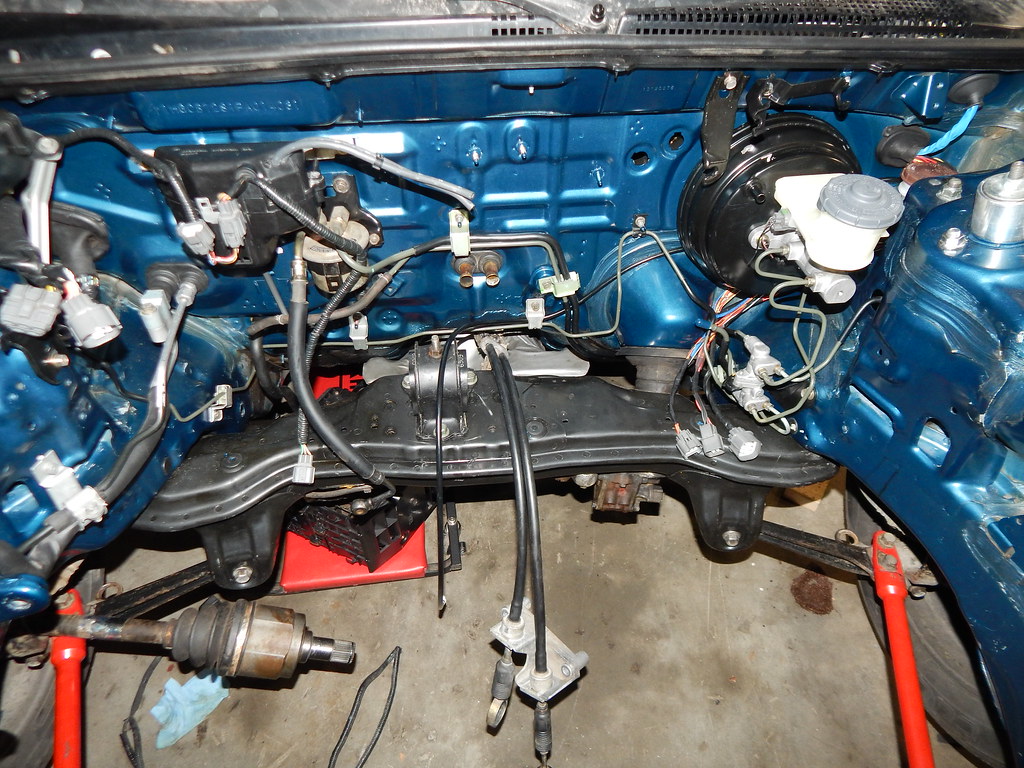
Rywire B/D Series Clutch Line Routing 1 (If you look at where I routed this, after installing the engine it's too short as currently routed. I'm going to move it from the lower stud, to the stud up and to the left, with another bracket that is the same as the one it's currently in. Hopefully this will make up the difference that I need.)
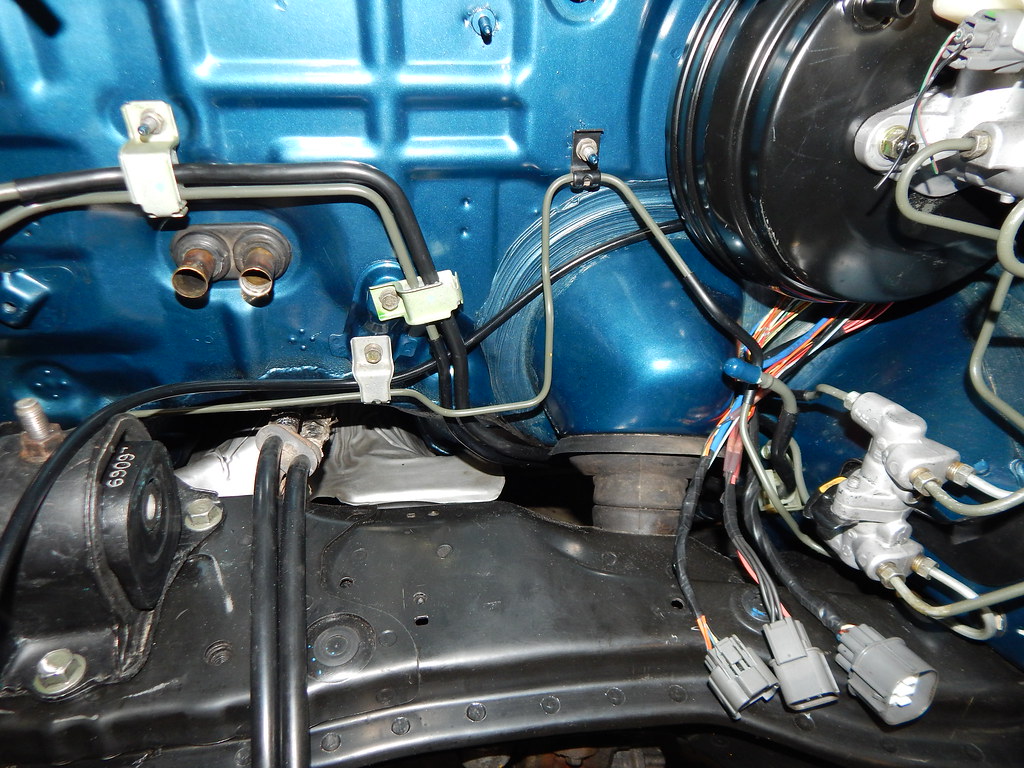
Rywire B/D Series Clutch Line Routing 2
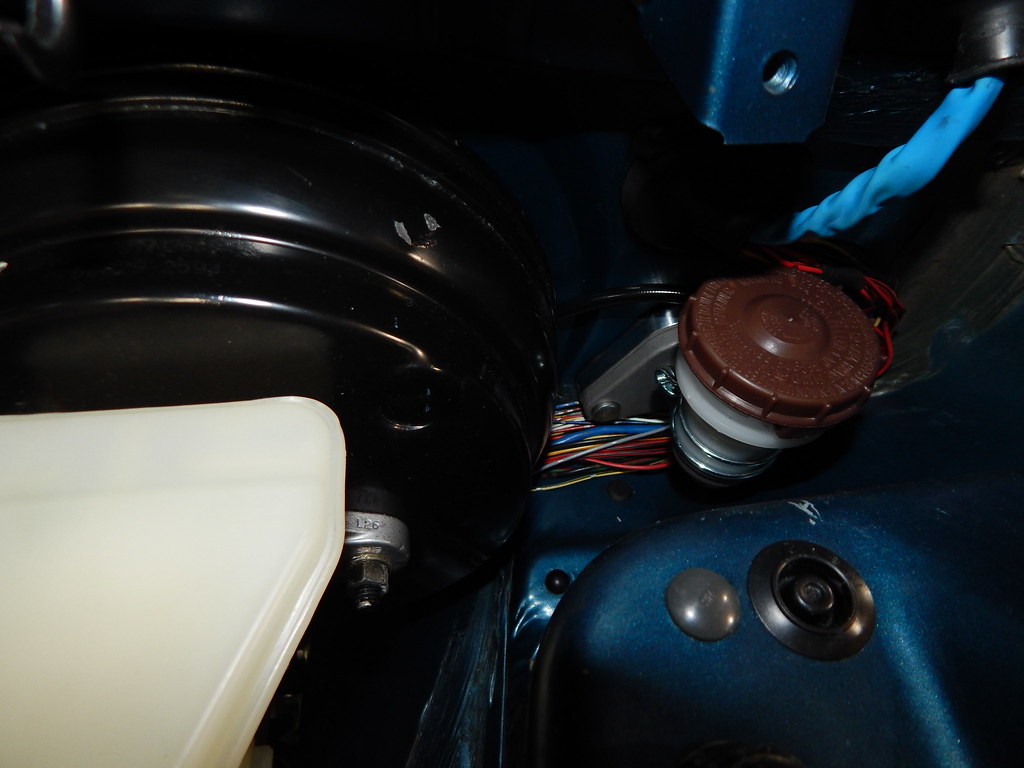
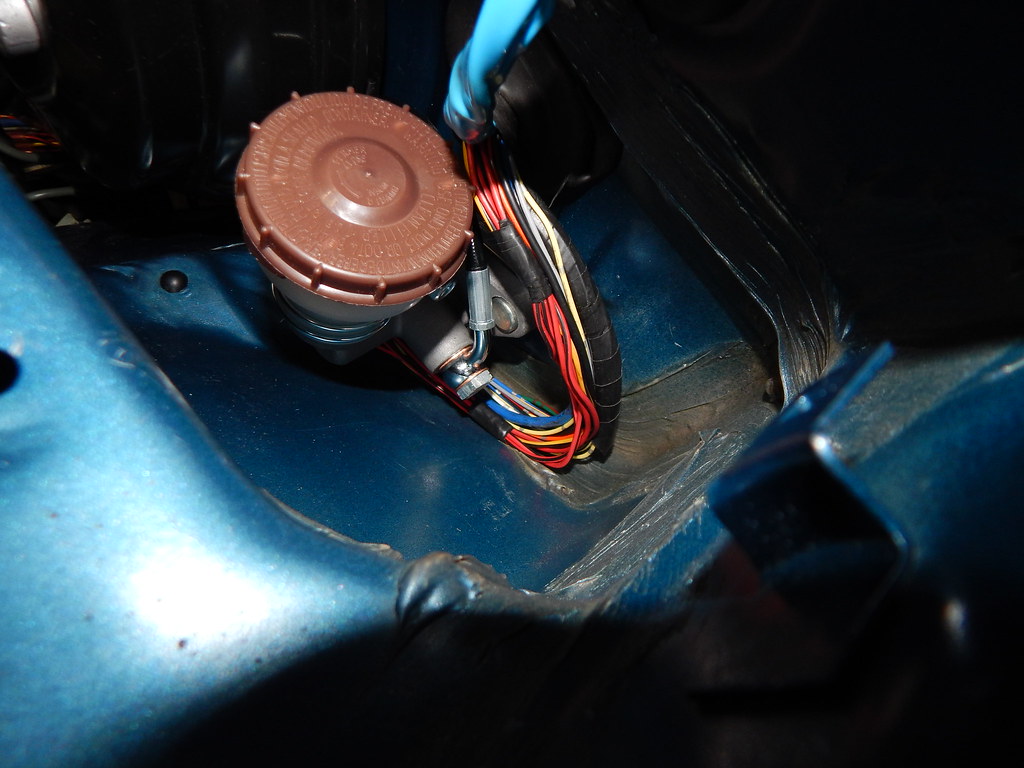
Rywire B/D Series Clutch Line Routing 3
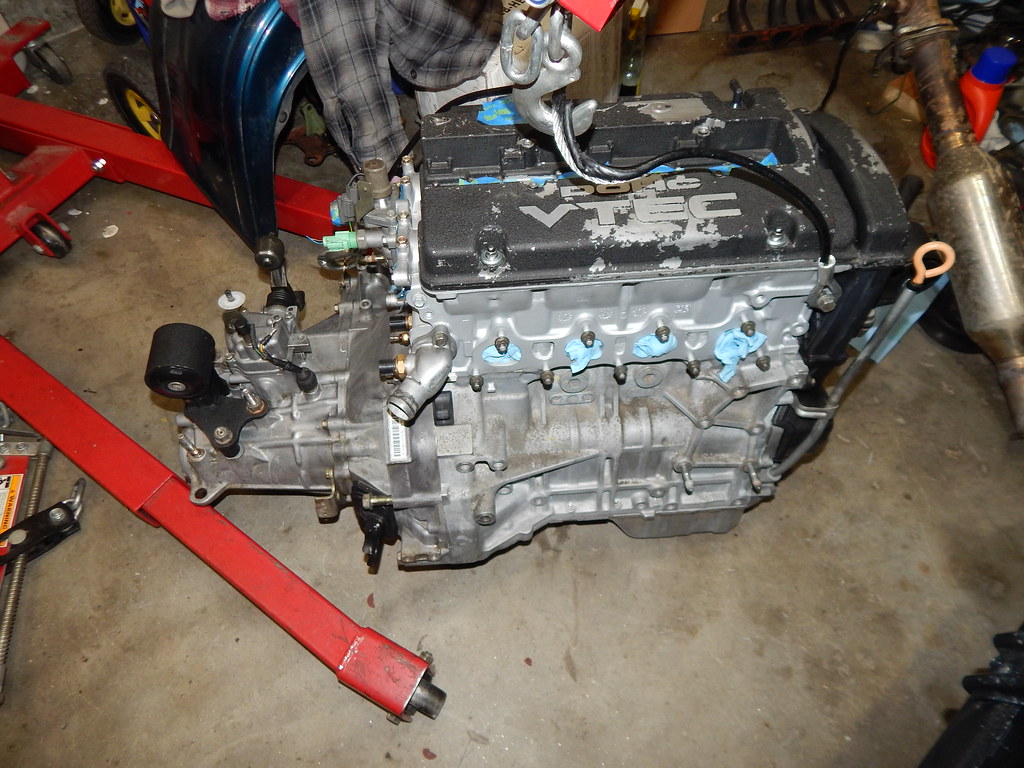
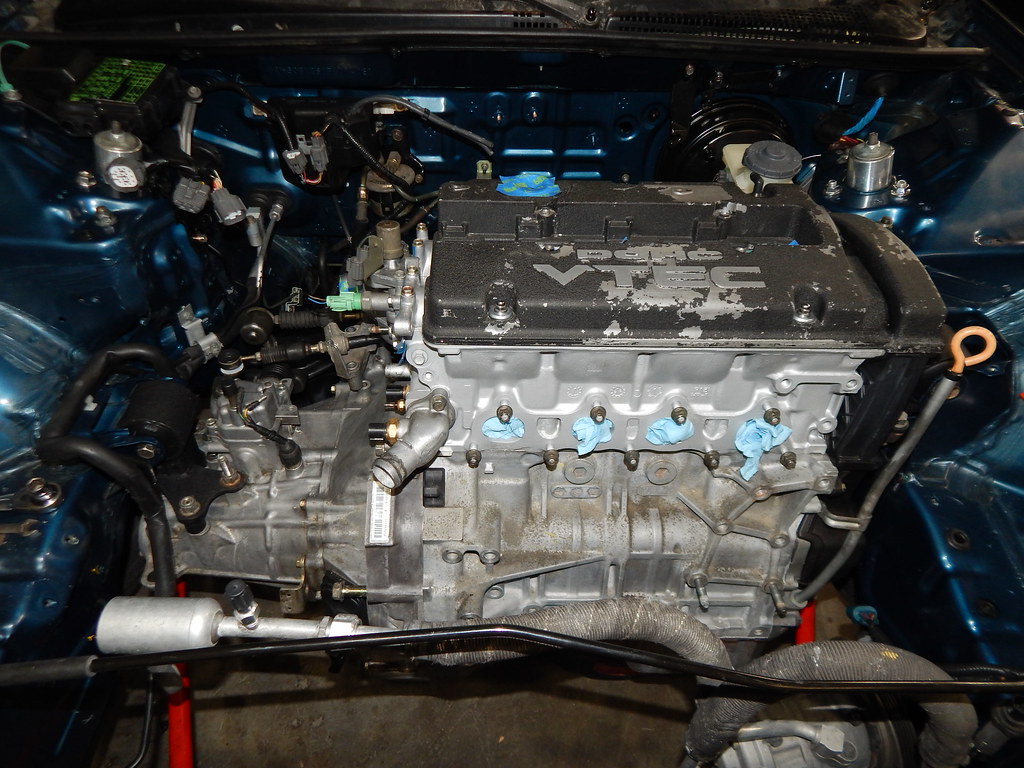
H22A1 Ready to Install
H22A1 Installed!!!
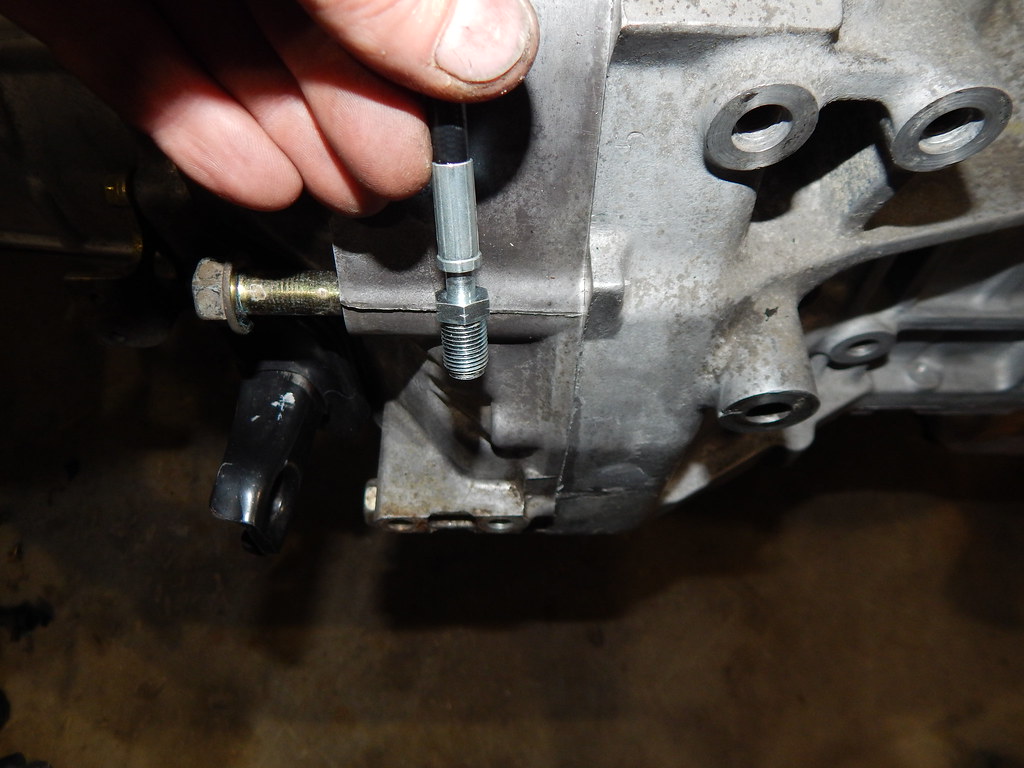
Rywire B/D Series Clutch Line on H22A1 (It's about 3 inches too short! )
)
I feel like I'm actually on the home stretch of the project now. We are not going to Spokane for the weekend like originally planned. Tonight I'm going to mock up the header and mark it, so that the exhaust shop can weld it up solid. That wraps up the entire exhaust. Next steps are to figure out the clutch line, and figure out where I can mount the driver side wiring harness with the engine harness. Then it's just start getting everything left installed. I do need to finish cleaning up 3 of the runners on the intake manifold. I'm starting to feel a lot better headed into the weekend.
Comment
-
Update time from the weekend. I didn't manage to get quite as far as my goal was set for. But I did manage to get a bunch of stuff checked off the list. The big holdup was the 3 point ESP.net bar. The first time I worked on it I messed up the threads on my FFC top hat. Needless to say there was a huge time sink to get this all straightened out. I finally managed to fix it all but by the time it was all said and done it was 10:30 pm last night, and I called it quits once done. Today I'll finish up the ESP.net bar and get the intake manifold onto the engine. Once the manifold is on the engine I can finalize the routing of the wiring harness. Yesterday I took the time to finish removing the casting from the intake manifold runners, so it's ready to go on the engine.
Lola 1

Lola 2
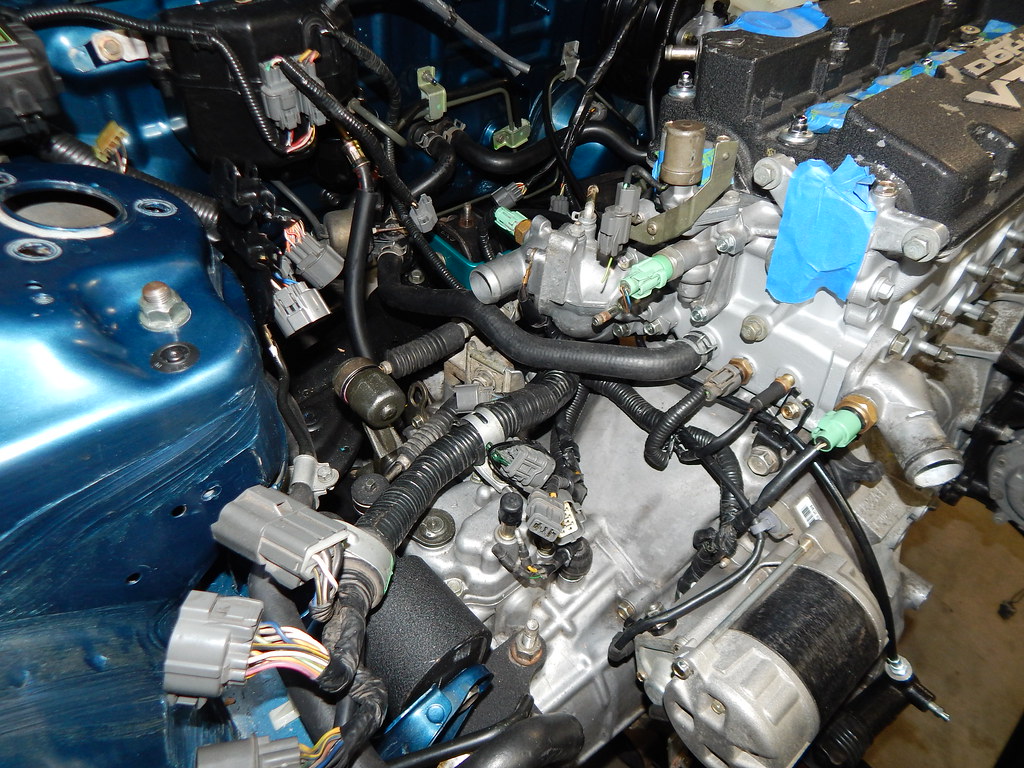
Lola 3
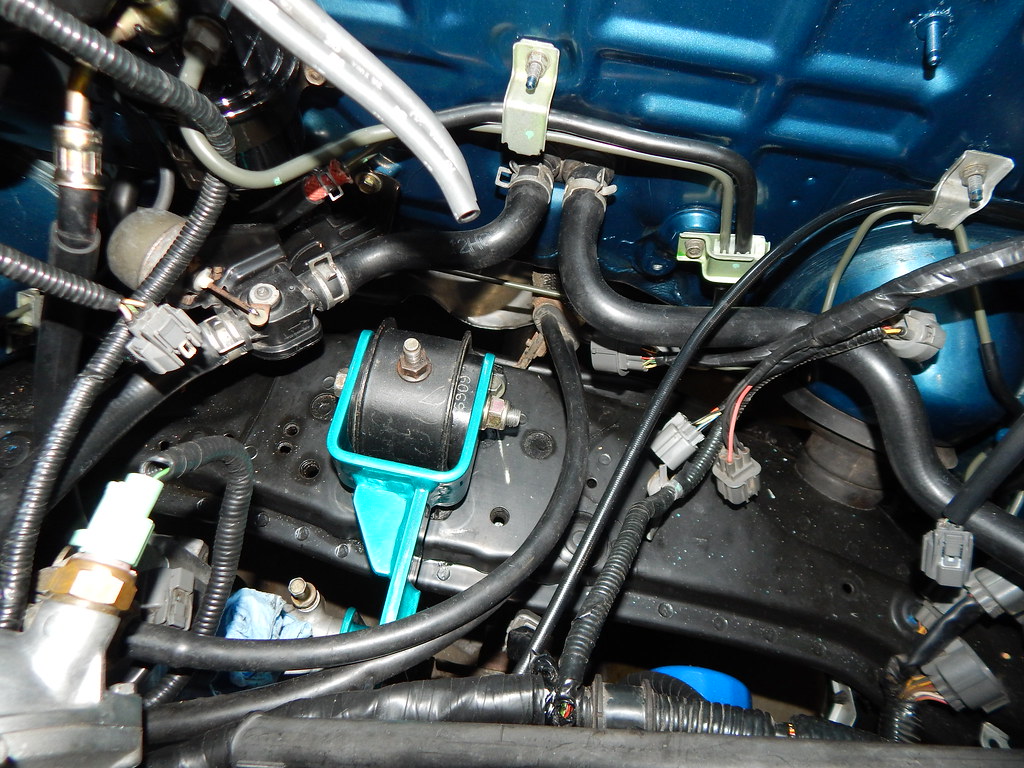
ESP.net Alternator Wire Tie Down Bracket
PLM Tri-Y Header (Exhaust shop didn't open on Saturday. Probably not enough appointments were made. I still need to make one modification to my pipe from the header to the catback. This works out in my favor, as I'll cut the pipe tonight, and they can just weld them both up at the same time, should save me a few dollars as well. Tomorrow this should be one piece.)
Tonight I'm hoping to finish up the ESP.net 3 point bar, and then get the intake manifold on and finish the placement of the wiring. Once I have that figured out I can get my brackets that I need into place and mount all the wiring. Then I think it's time to move onto the interior, and start putting it all back together. Tonight I'm supposed to receive the Rywire VTEC sub harness as well as the OBD2 to OBD1 injector harnesses. Once I get the VTEC into place I can get the blower motor in the car and the dashboard all bolted down.
I was hoping to be a bit further along by the end of the weekend but it is what it is at this point. Tomorrow I'm going to go buy the plates for the car, hopefully by like Wednesday night I can start it up.
Comment
-
Wow. Awesome progress!
- HenryHenry R
Koni/Neuspeed
1992 Accord LX R.I.P
1993 Accord EX OG since 'o3
Legend FSM

'You see we human beings are not born with prejudices, always they are made for us,
made by someone who wants something' -1943 US War Department video
Comment
-
I don't know where you find the time, but you're making great progress! I haven't been on in a while so I had to back track a few pages just to get up to speed with your build.
I, too have gone with wagon rear control arms and Prothane bushings (I'm going to update my thread after this). I also had to deal with having only three, then having to return for the fourth. I found a wagon with the whole rear suspension in tact, but one of the eccentric bolts for toe adjustment was seized up in the bushing and I didn't have the means to cut it out. I ended up finding another wagon on another visit and completed my set!
Keep it up! Yours is definitely one of the build I keep an eye on when I'm on the site.
Comment


 [/url]
Comment