Announcement
Collapse
No announcement yet.
Raf99 : 1993 Accord EX
Collapse
X
-
Well I've been plugging away at this thing still. A lot of work. I did get the tranny to bolt up. It went in to 1/8" and then I used bolts. It properly moves and shifts etc. But I'm stuck on one item....
The manual states the release bearing to clutch fingers clearance is .250" - .170". But...... you can't get that. Anyone knows that the spring tension of the slave cylinder will always make the bearing touch the fingers. The manufacture Tilton showed me instructions for shaving down the B and K series release bearing but there are no such instructions for the H. I emailed them to explain things and we'll see what they say.
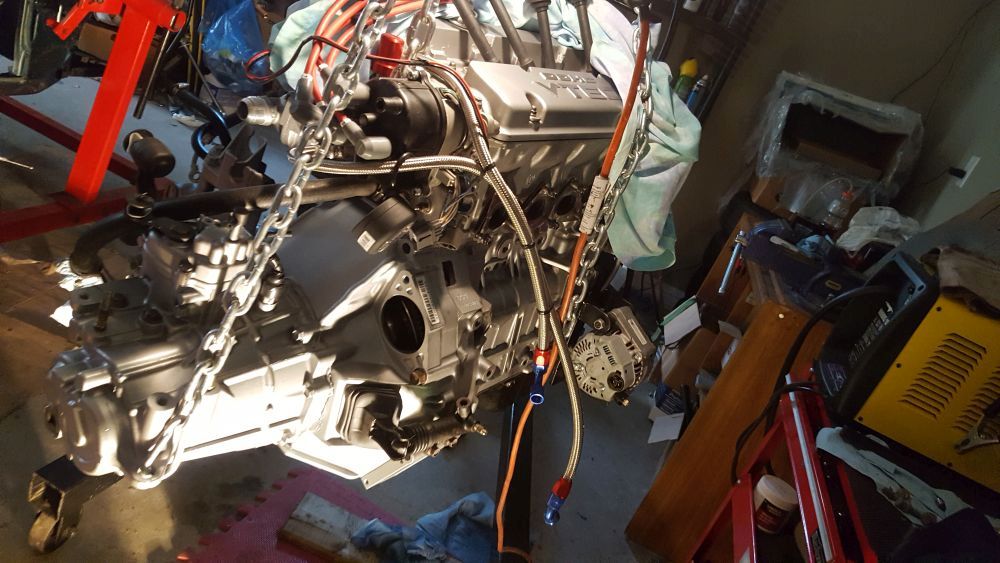
Oh....... someone lost the rear engine / trans bracket bolts .... can't put engine in until that happens.
Comment
-
Thanks DarkCloud! appreciate ya stopping by as always! Hope things are well with you.
Got some updates.....Oh. that pic of the tails I liked..
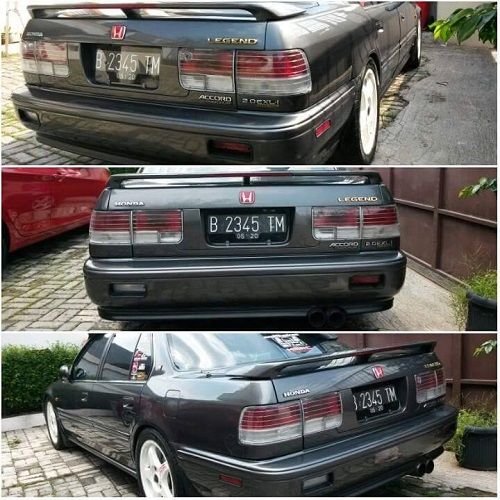
Now for updates.....
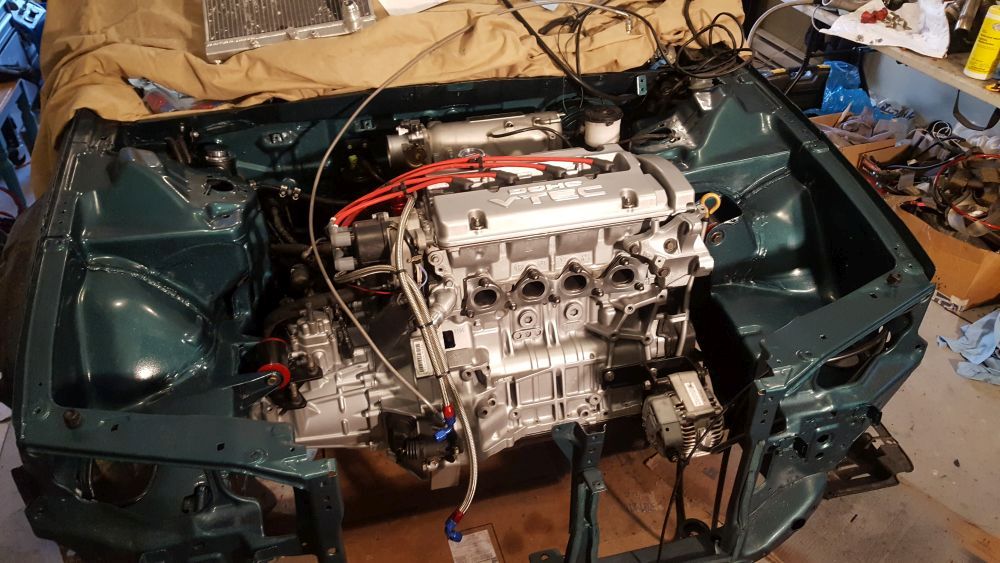
Things were put on hold as I was missing two bolts. So I went into Honda and they were kind enough to get me what I needed out of some guys junk bin. So my goal today was to get the engine in & oh boy did I do good!
And... some more good news. Today was my birthday. So I booked a test drive in this Guy came to my house and off we went!
The Genesis G70
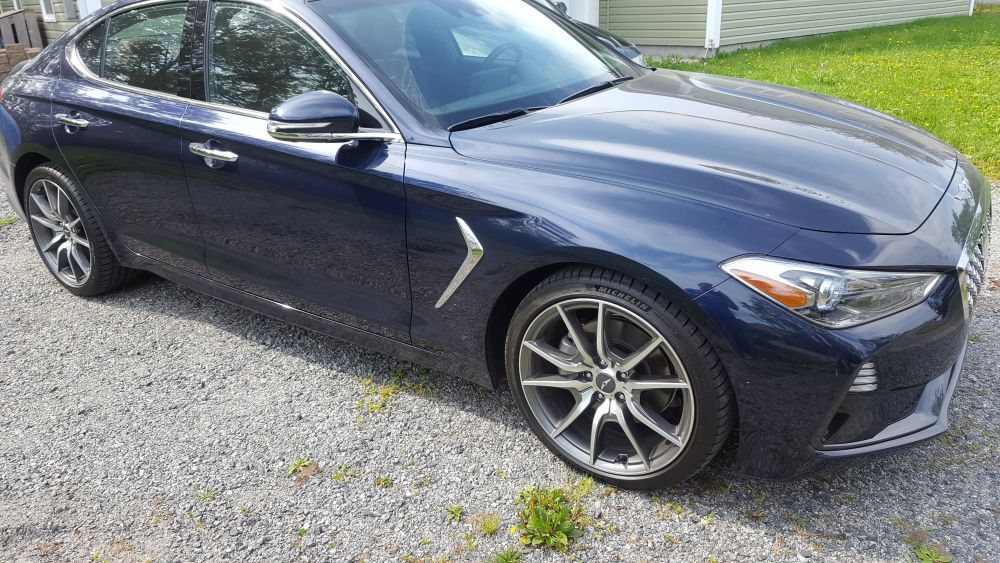
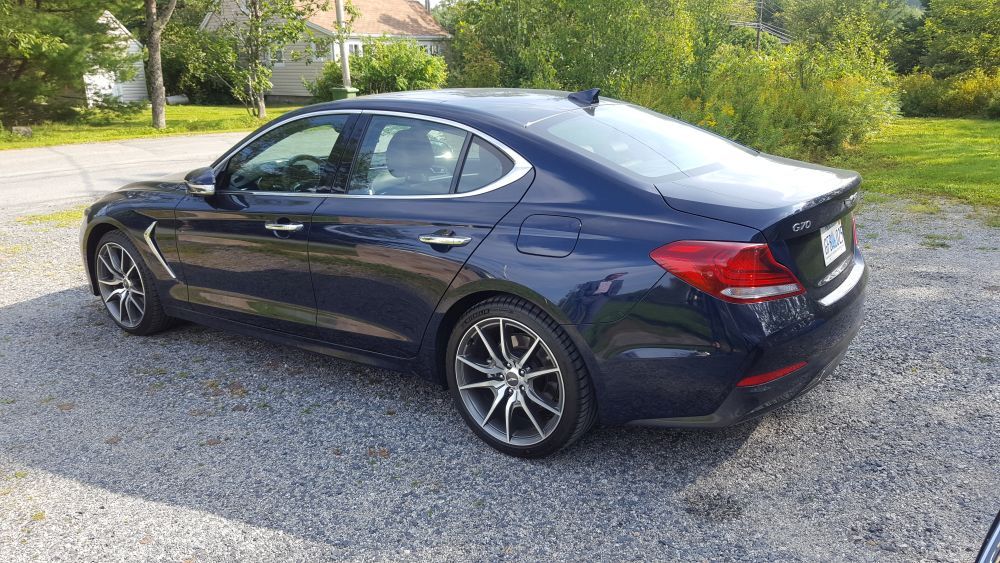
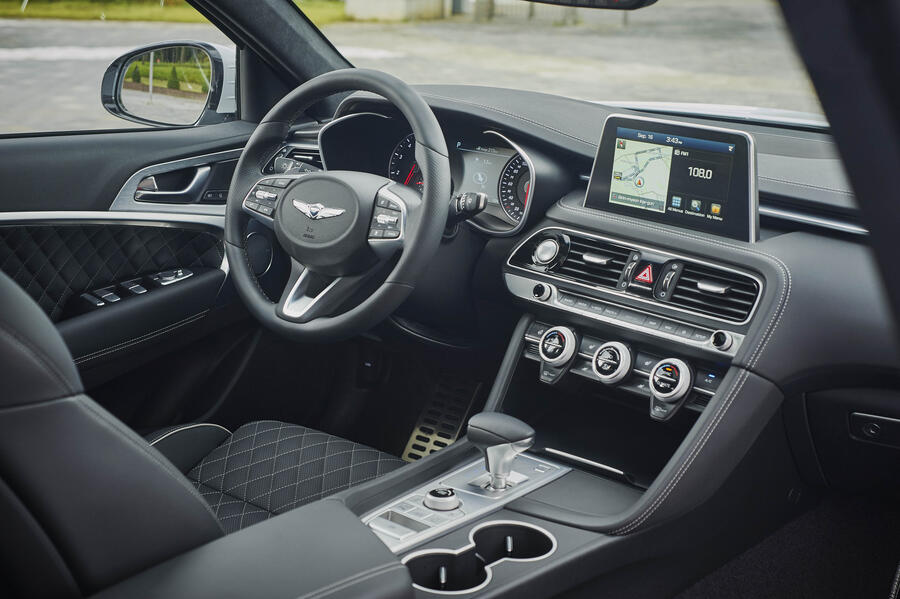
Hmmm LOVE the outside look! LOVE IT!!! But........ for those who read up on the different models there is one turn off for me. They only offer a manual with the 4 clyinder "turbo" engine. ..... I drove the 4clyinder turbo auto today. The performance reminded me of a Kia optimia. The engine felt cheap and light. It felt like a 4 cyl eco boost motor in a car that was too heavy for it. You'd want the twin turbo V6 producing 400WHP-ish. But then you're stuck with AWD Auto. They also stripped the manual of the fun stuff.
It's like they made a premium 400+WHP AWD amazing car with cooled/heated seats, amazing suspension, 17 way speaker system, front facing cameras, etc.! And all was good! But then to make less expensive models they started stripping it down. And 3 models later we get a standard transmission model with one power seat and a ton of engine bay room. (lol.. seriously, I opened the hood and could easily stand between the engine block and radiator support). No 17 speakers system, no electric power passenger anything, no cooled seats, no advanced safety tech, single exhaust, etc. with a tiny turbo.)
Summary: I was wow'd by the look of it and disappointed by the power management / ride drive ability.
Comment
-
So in other words the bottom-tier model is a Hyundai with a fancy interior. So you end up paying $20K for the other stuff. Pass. It's still a Hyundai.
More importantly, I'm loving that green in the engine bay.My '91 LX build. Bought September 2017. Sold June 2020.
http://www.cb7tuner.com/vbb/showthre...r /> t=209871
Current mileage: 399450 5/18/2020
My '92 LX build. Bought Novemeber 2019. http://www.cb7tuner.com/vbb/showthre...91#post3293791
Current mileage: 422679 11/21/19
Comment
-
Ya, i had a bolts in the side mounts and thought i could just slide that rear bolt in no problem. NOT Even close. The amount of maneuvering I had to do to get the rear lined up was crazy. Take bolts out of side mounts, use engine lift, plus two other jacks, etc. Was a good workout!Originally posted by sonikaccord View PostRear mount install...ugh. So many scratches.
Comment
-
If there's one thing I remember about my H22 swap, it's lining up all the mounts. Supposedly the ESP rear bracket simplifies things; we'll see...
Are those water necks custom, by the way? I checked KS, QSD, Rosko, skimming through your thread again, nothing. I'm really wanting to go all out with a nice cooling system when I get around to addressing that stuff, and some AN lines would look great. If you made those yourself, any chance you'd be willing to make more?
Comment
-
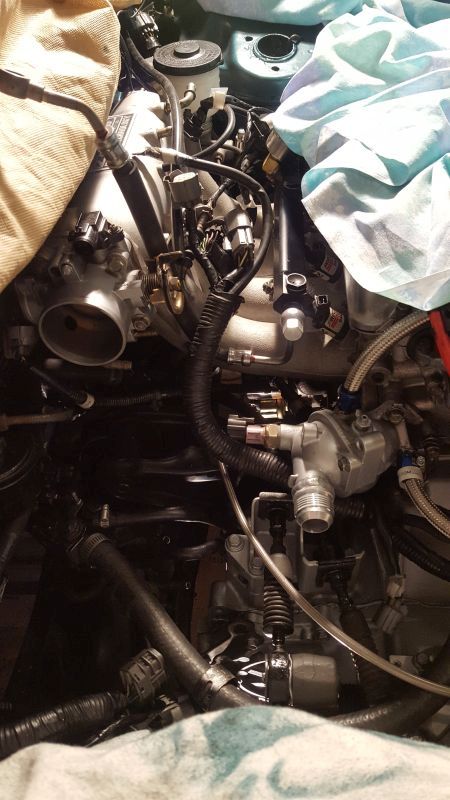
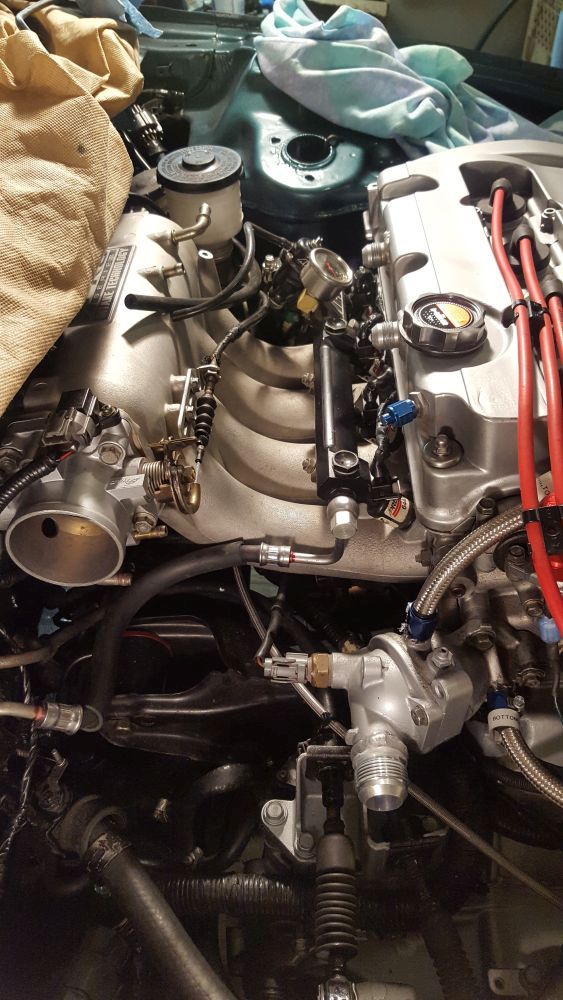
Ahh the 10AN coolant fittings. Those are custom made but a shop did the welding. Just order the ends offline, have them welded to the 4 spots required. Order some hose and ends and you're done
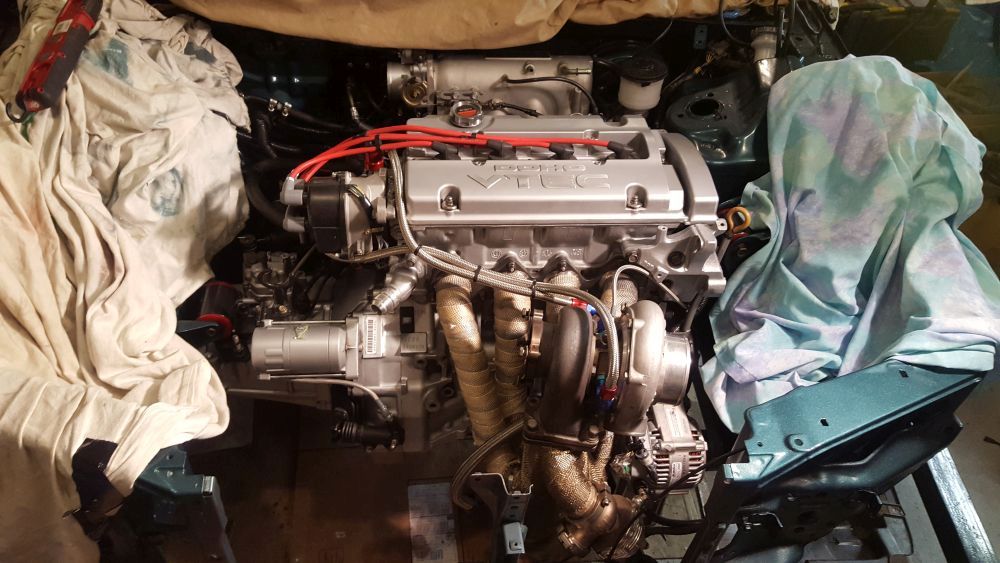
Spent another 3-4 hours on the Sally tonight....
- Ran the slave cylinder braided line
- Connected all the electrical connections in the back + injector clips
- Connected the alternator and wires
- Re-installed crank pulley
- Connected boost controller air lines
- Started re-install of turbo
Hoping to finish more tomorrow...
Comment
-
Thanks man!Originally posted by NH-503P-3 View PostGreat progress so far John. Those tail lights! I love em. It almost looks like there is no diffuser and just the back of the housing is painted red. Those will look awesome on your CB.
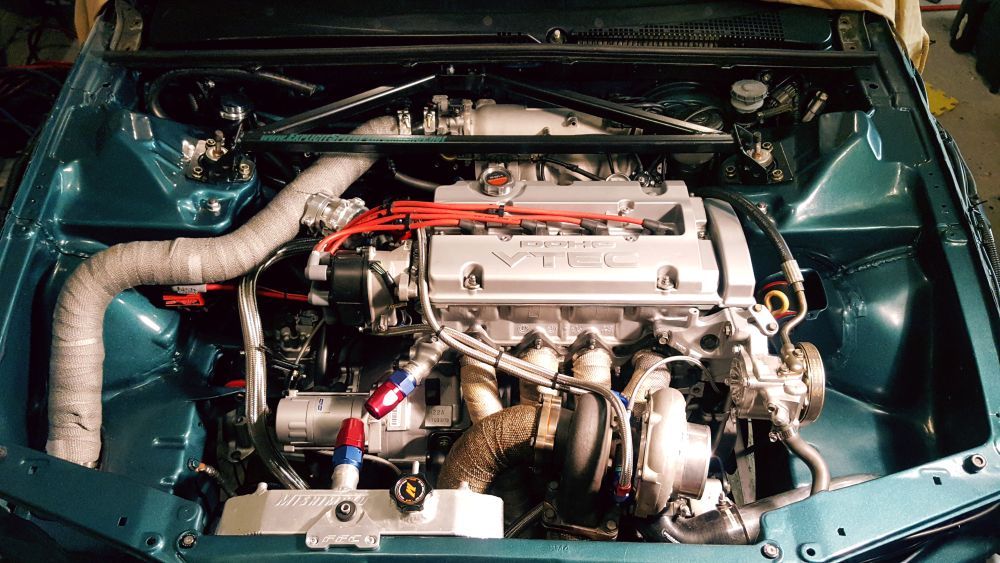
Well we are soooo near to start time! I spent about 4-5 hours on the car yesterday and around 10 hours on it today. Put in some serious effort in today and got everything done except for a few items. It's now 2am and I'm exhausted. There's way too much to list here on what was done but the remaining items are things like PS return hose, electrical to alternator, put fluids in......, connect fuse box power wire. ... And then it's start time! Aiming for tomorrow or Sunday.
This is the final product. Pictures don't do this justice. Again the goal here was to clean up the engine bay more and make it look better. But also keeping the turbo components. We are doing things like PS reservoir relocation, turbo electronic boost controller relocation, and tucking lines. One thing I did not account for was how close the AN fittings would be for the upper rad hose as seen in this pic. They are also on un-even levels and angles. This makes it impossible to use a braided hose. I'll use the rubber hose for now until I figure something out. I may have to buy the Earl's 16AN 4 deg swivel part but it's like $100. The suspension and sway bar is still a PITA to install. I still find mistakes that prior mechanics have made and cover up their tracks.
Comment
-
Up again till 2am last night working on the car. And another 3 hours today. It's the little things that take the most time. Had help last night.
- BOV tubing
- Started on headlight wiring on each side
- Fan install & wiring
- Filled the transmission with fluid
- Filled the clutch slave and bled the system. OMG.... if this is how heavy the clutch is lol. It's like I'm lifting a bolder with the pedal haha. It will take the whole leg to use the pedal. Should be interesting.
I have no clue where the wires are for the brake reservoir.......... I tried looking for a while already
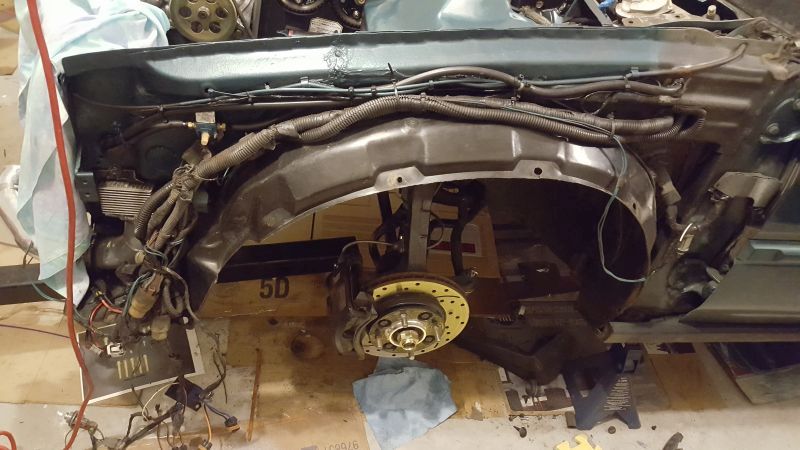
Items left on the list...
- Finish PS reserve line install
- Fill PS system
- Fuse box install
- ALT wire install
- Fill engine with oil
- Torque axles, lower ball joints
- Fill brake system, bleed all brakes
- Torque crank bolt
- Put lower traction bar system on
- Install front bumper and intercooler
- Put wheels on , get Sally off those dam jack stands!
Cross my fingers, and turn the dam key!! Not sure if it's vid worthy or not.
Comment




Comment