
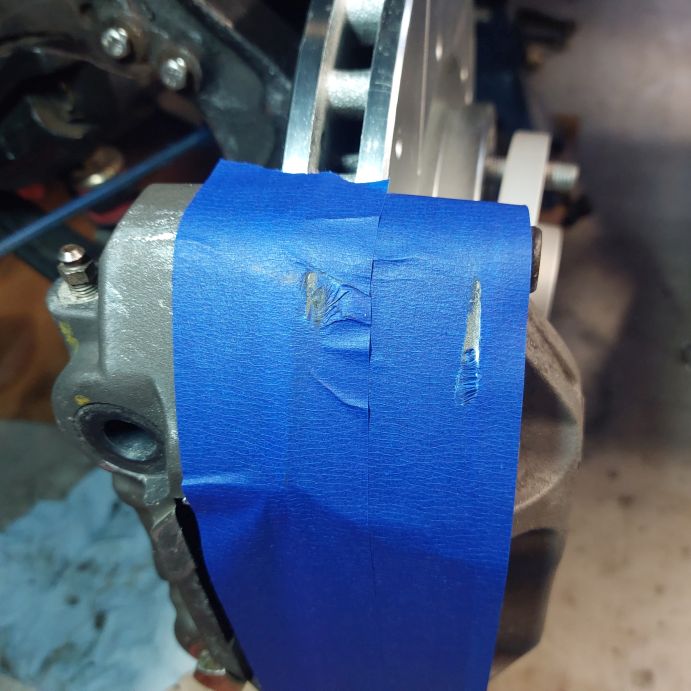
You're using one of those caliper adapter blocks to run those calipers, right? Can that be safely milled a hair to bring the caliper in toward the hub, or is there not enough clearance between the caliper and rotor to allow for that? Also taking into consideration where the pads contact the rotor, etc.
As for the receipts, I'm going to guess along the same lines as these guys. Mine, not including the $1500 the car itself cost, is just over $28k so far. And I know my running list is missing a couple things, such as the customized JDM headlights. You have that complex turbo setup which costs a fortune, but I've spent money on different details and I've documented everything I've spent... so probably roughly the same.
-
Hmmmm…this is dangerous. I’m putting my guess in at $27k. $27k USD *raised finger emoji*Leave a comment:
-
It gets scary fast. When old Lola was stolen and I added up the receipts for things not including consumables (oil, antifreeze, and other such things), as well as a few other things such as cleaners that got used on the interior, and other cleaners for the exterior and such, it came out to almost $13,000. I've spent as much if not more money on Lola since it was stolen and I swapped over to the new chassis.
I'm going to guess upwards of $35,000 USD.Leave a comment:
-
Yaaa.. i did not know this :\
For those left on this site, here's one for ya. I've been collecting every receipt for things I buy the car since I had it. Just threw them in a box. I finally took an afternoon and added up all the receipts. Anyone want to guess the total?
(not including the purchase price of the car)
Leave a comment:
-
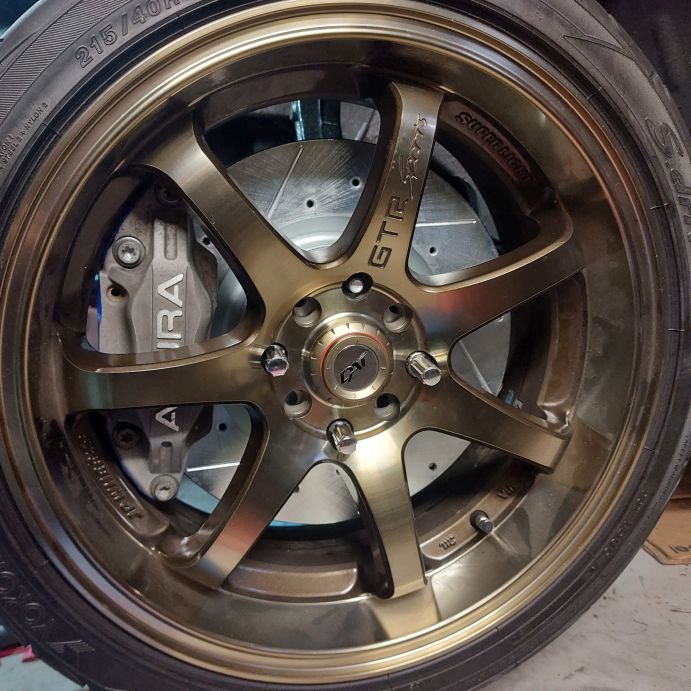
Yep the biggest heart ache with RL calipers is finding wheels to make them fit.Leave a comment:
-
Ya........ this is not working with my wheels I've grinded off material just to make it not touch, and now just realizing I'd have to shave off more, the width of the wheel weight. That's... alot of material.
Leave a comment:
-
I had a similar issue with my wheel weights. I simply ground a tiny bit off the weight and it clears fine without throwing off the balance. it’s not even noticeable!Leave a comment:
-
Ug... having the hardest time with this. Kind of bummed out.... My 17" wheels have a ...... "lip" as you get closer to the outside edge of the wheel. So where you would put the wheel sticky weights. It's thicker there than the rest of the wheel and and it hits against the caliper. WITH... a 15mm spacer and with washers on top of that. But it hits..... on only two spots. Soooo i think we may grind these spots down. You won't notice it when it's on the car anyways as it's the wheel face side...
 Last edited by Raf99; 04-07-2024, 07:27 PM.
Leave a comment:
-
lol. I think I had to put GM spec ARP extended studs in my rear hubs a couple of years ago due to that same mix/match parts issue.Leave a comment:
-
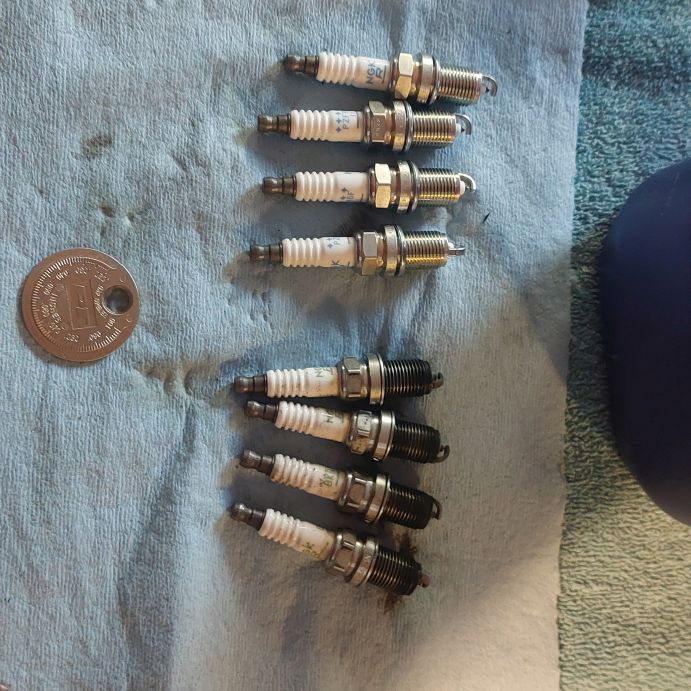
I did stop by the tuners today and showed him the pistons. He was amazed of course and was immediately said long term detonation. He asked the setup again as it's been 10 years since the initial tune and I mentioned no meth. He started LOL. He said he'd never do an H22 / pump gas / 15psi / with the ignition timing (can't remember what it is) for 420HP & no meth........ now. Just too dangerous. He noted how the burn was on one side of the piston and said it was definitely a fuel burn issue (too long / too hot / bad fuel / etc.). He is available to support me with future tuning. & I'm still aiming for 500HP on a graph, but he's got a dyno which makes tuning easy and safe.
For the engine rebuild he said the only thing he would of done is had the crank polished. I agree. But I also think the crank will just wear the bearings the same way it wore the old bearings. I'm going to build a lot of oil pressure before I try to start it (disconnect fuel and spark). If the engine breaks I'm ok with that as this is my first time. I'm going to buy some random synthetic 5w30 oil and put 400km on the car. If it doesn't drip/puke and keeps good A/F I'll call it a success! Wish me luck.
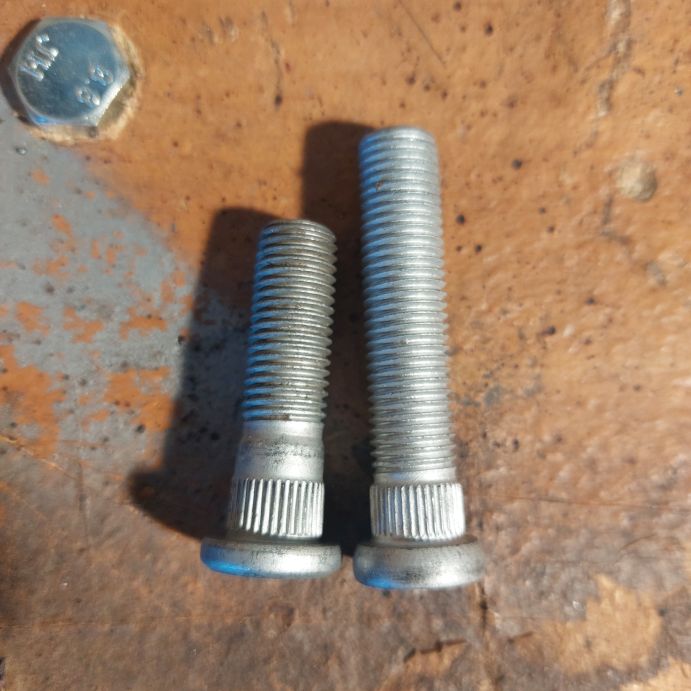
Going with 15mm spacers. Have yet to test these ...
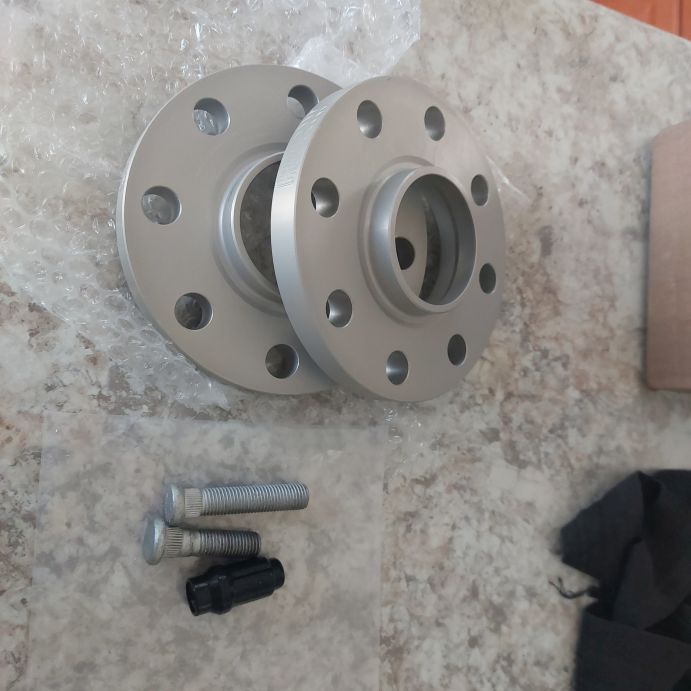
Love the length as any longer and I would need open ended lug nuts. But the knurl (ya... learned a new word...) was too small and the lug would spin in the hole. So need to order a new set. It's complicated when the brake setup is from 3? different cars. The spacer kit was for an accord but i have a 98-99 Acura 2.3L CL hub. What's funny is the company helping me with this already found replacements but they are for a Chevy. But the specs are all there, 63mm (2.5") / 12.8mm knurl / M12 x 1.50 ........... but they are ARP and I think they are expensive..
Leave a comment:
-
Always appreciate ya stopping byOriginally posted by SSMAccord View Post
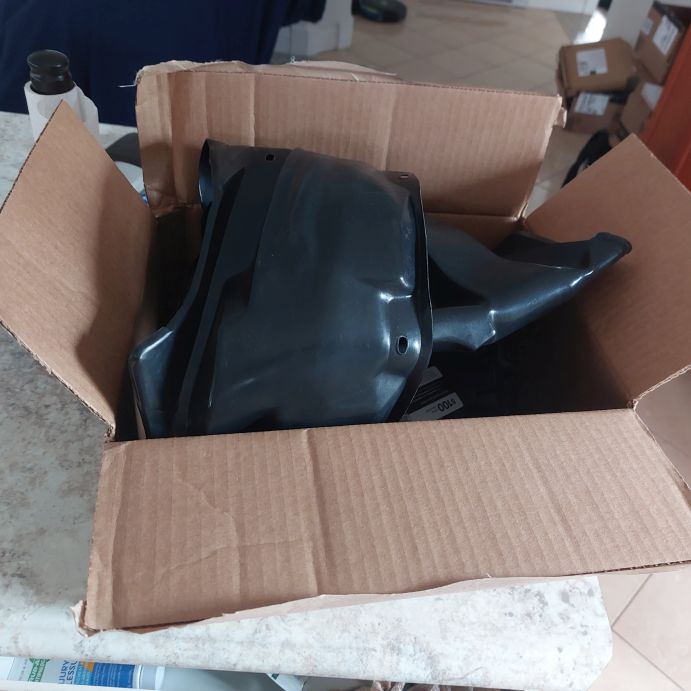
New inner drivers fender lining. This time I need to find a way to secure it better. Clean engine bay = less fasteners for this thing. At high speeds two of them got sucked out now....
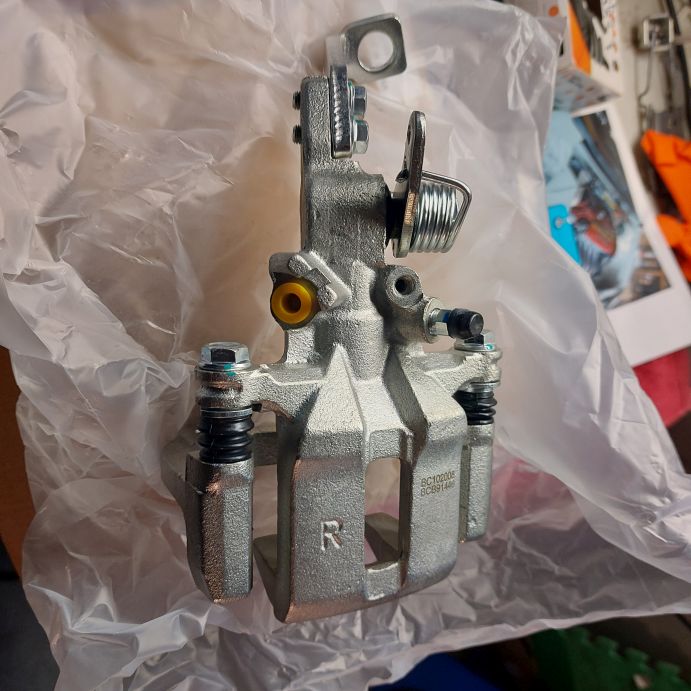
New rear calipers and brackets for the painter guy....
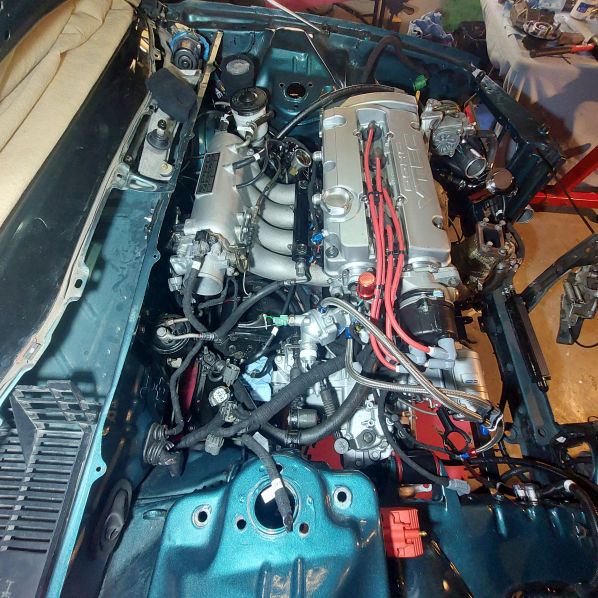
More assemble... there's always so much. It's just finding better ways to do it. To hide something or make it look cleaner.
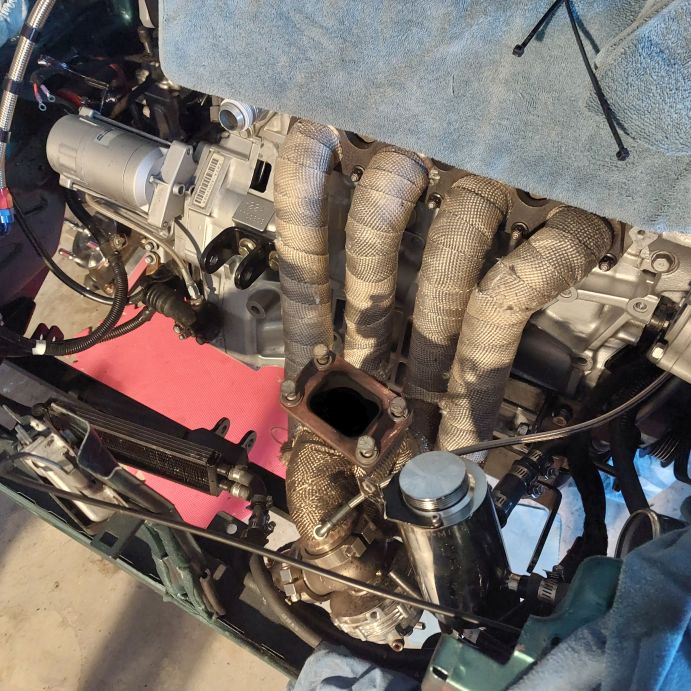
More.... sometimes spend hours one one thing. This is the pulley side. I'm routing the alternator power wire / PS fluid line / and turbo oil feed line under the engine mount but they also can't rub the power steering belt.
I really wish I could do that MR2 electric pump idea! Dam pumps are expensive, i should add it to the watch list....!

Centric hub wheel spacers are on the way + extended lugs....
Leave a comment:
-
This does look like impressive work. I’m impressed you got this done within a few months.Leave a comment:
-
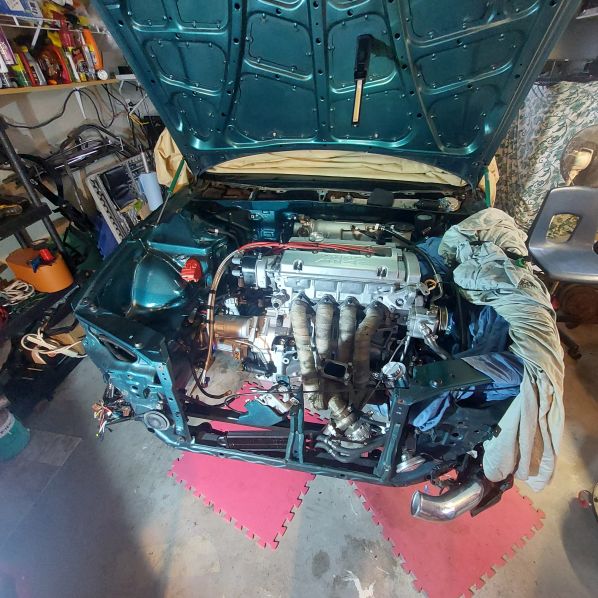
Big thanks to Jacob for helping put the engine in! I have a great method now where I don't need to tilt the engine. The trans side (no mount on) goes in the corner of the passenger side & the drivers side goes in the opposing corner. I lower it down past the passenger side mount, turn it and bring it back up. Rear mount and passenger mount first, then drivers side.
Think she needs them. Gapped new plugs to .28. Old were .25
Oh the fun begins.... just takes time.
Leave a comment:
Leave a comment: