First and foremost, this is incredibly similar to cokinut's diy http://www.cb7tuner.com/vbb/showthread.php?t=698 , with the only real difference being the aluminum pole i used was smaller, and i dont use the actual camera mount from a store like he did. That being said, this is the 10 dollar version, which has its advantages and disadvantages, which i will list upon the completion of this diy. Also, this diy has pics, so hooray for that, and props to cokinut for doing the original, and he deserves credit for most of this.
In car camera mount:
Supplies needed:
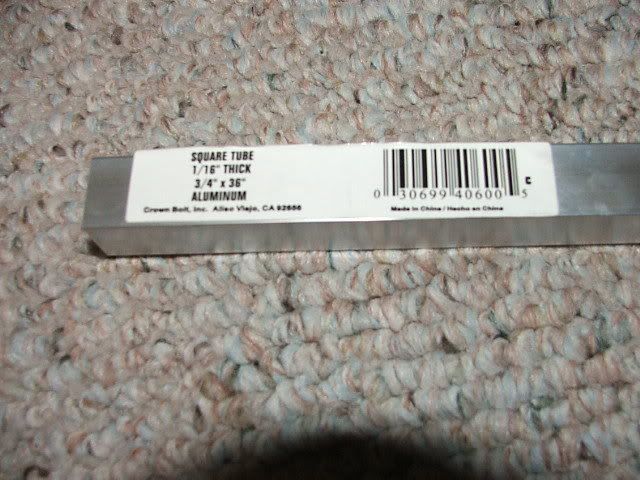
3/4"x 36" aluminum square tube
2: 2 1/2"x 1/4" hex bolts
2:1/4" wingnuts
1: 1 1/2" 1/'4" cap screw hex bolt
6: washers
1: 1/4" nut
1: 3/16 allen key
1: drill
1: 1/4" drill bit
Here's a pic of the square tube, with upc even
Directions
Step 1: purchase supplies
Step 2: cut a 10" and a 19" piece of aluminum square tube
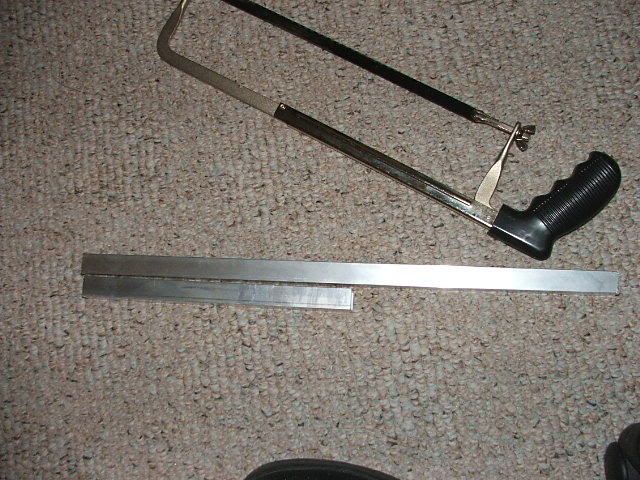
Step 3: drill a hole all the way through each piece of tube, one on each side of the headrest poles(should be near the end of each end of the 10" piece) This will secure the mount to the headrest.
step 4: on the 19" piece, drill a hole from the top to the bottom(opposite sides of the tubing from the last drilled holes) on the opposite end of where the last holes were drilled. This will be for the screw that goes to your camera and holds the camera in place.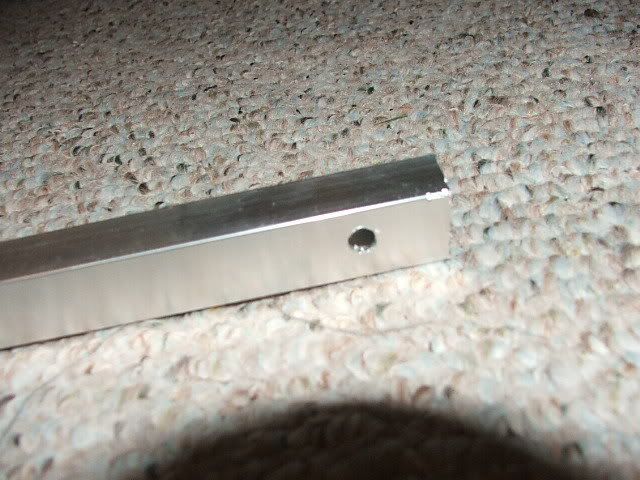
step 5: Place the 10" piece on the front side of the headrest poles and push your bolts through the drilled holes
Step 6: Place the 19" piece to the back of the headrest poles and push the bolts through the drilled holes( it is important that you lined up the holes properly) and secure everything in place via the wingnuts on the end of the hex bolts.
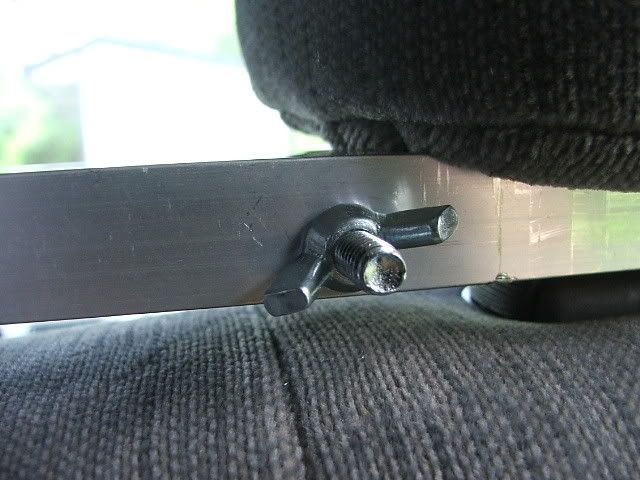
Step 7: Place 6 washers on the last remaining bolt, push it through the hole so that the top is on the underside of the tube and then place a nut on the bolt as well. Screw the nut down to where it almost touches the pole, but doesnt quite, or at least to where you can still twist the bolt around. It will look like this
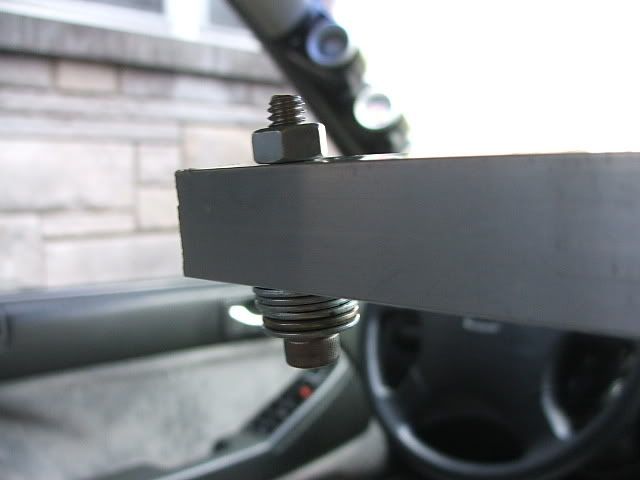
Step 8: Assuming you have a camera that has a 1/4" thread, proceed to screw the bolt into the bottom of you camera, and using the allen key, tighten it down so that it doesn't move from side to side while driving.
Step 9: Adjust your passenger seat to get the best view possible with the camera.
Step 10: Record videos and post them!
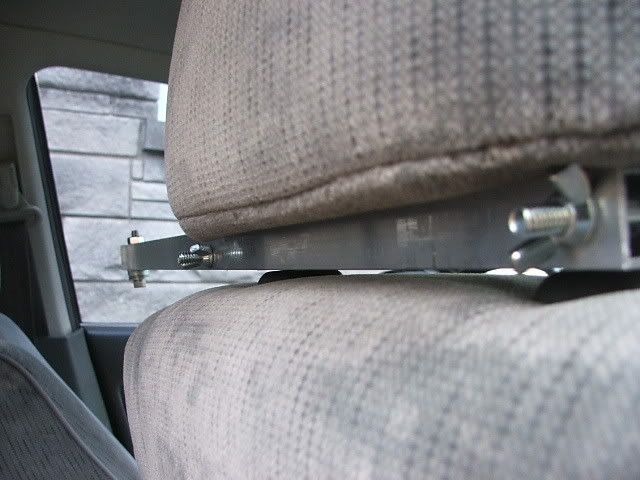
Without the camera on, it looks like this
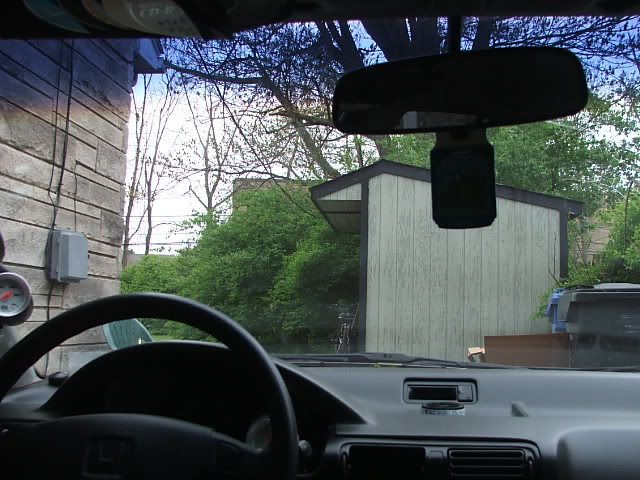
Here's a pic from the camera in bad lighting.
Pros:
Cheap!
It holds your camera so you can record your driving without you killing people due to trying to go fast and record at the same time
Easy and quick to make(10-20) minutes tops
Cons:
If your car vibrates a lot like mine does(thanks exhaust that ends under the seat!) the camera itself will vibrate a lot as well.
It isn't as adjustable as a mount with an adjustable actual camera mount on it.
There you have it ladies and germs. I'll post some videos of it in action when i get my tune and such. If you have any questions let me know, as the most expensive part of the whole project is the 9 dollar aluminum square tube.
Questions, comments, smart remarks?
In car camera mount:
Supplies needed:
3/4"x 36" aluminum square tube
2: 2 1/2"x 1/4" hex bolts
2:1/4" wingnuts
1: 1 1/2" 1/'4" cap screw hex bolt
6: washers
1: 1/4" nut
1: 3/16 allen key
1: drill
1: 1/4" drill bit
Here's a pic of the square tube, with upc even

Directions
Step 1: purchase supplies
Step 2: cut a 10" and a 19" piece of aluminum square tube

Step 3: drill a hole all the way through each piece of tube, one on each side of the headrest poles(should be near the end of each end of the 10" piece) This will secure the mount to the headrest.
step 4: on the 19" piece, drill a hole from the top to the bottom(opposite sides of the tubing from the last drilled holes) on the opposite end of where the last holes were drilled. This will be for the screw that goes to your camera and holds the camera in place.

step 5: Place the 10" piece on the front side of the headrest poles and push your bolts through the drilled holes
Step 6: Place the 19" piece to the back of the headrest poles and push the bolts through the drilled holes( it is important that you lined up the holes properly) and secure everything in place via the wingnuts on the end of the hex bolts.

Step 7: Place 6 washers on the last remaining bolt, push it through the hole so that the top is on the underside of the tube and then place a nut on the bolt as well. Screw the nut down to where it almost touches the pole, but doesnt quite, or at least to where you can still twist the bolt around. It will look like this

Step 8: Assuming you have a camera that has a 1/4" thread, proceed to screw the bolt into the bottom of you camera, and using the allen key, tighten it down so that it doesn't move from side to side while driving.
Step 9: Adjust your passenger seat to get the best view possible with the camera.
Step 10: Record videos and post them!
Without the camera on, it looks like this

Here's a pic from the camera in bad lighting.

Pros:
Cheap!
It holds your camera so you can record your driving without you killing people due to trying to go fast and record at the same time
Easy and quick to make(10-20) minutes tops
Cons:
If your car vibrates a lot like mine does(thanks exhaust that ends under the seat!) the camera itself will vibrate a lot as well.
It isn't as adjustable as a mount with an adjustable actual camera mount on it.
There you have it ladies and germs. I'll post some videos of it in action when i get my tune and such. If you have any questions let me know, as the most expensive part of the whole project is the 9 dollar aluminum square tube.
Questions, comments, smart remarks?







Comment