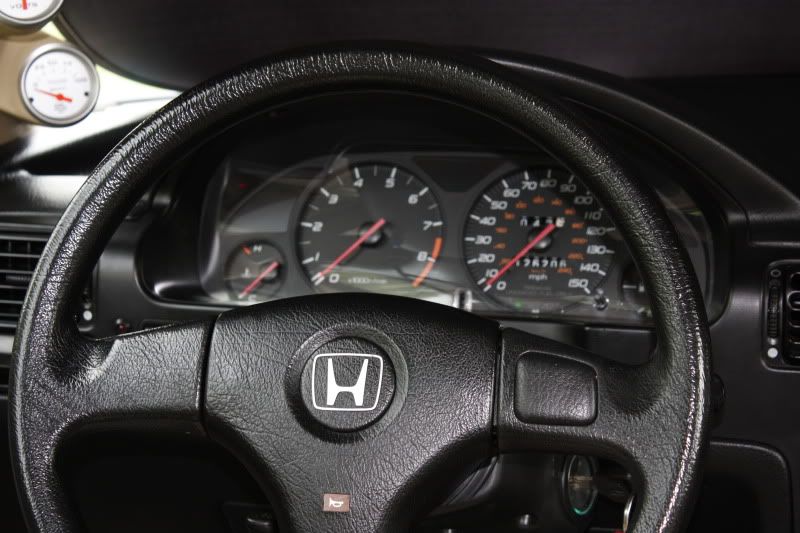
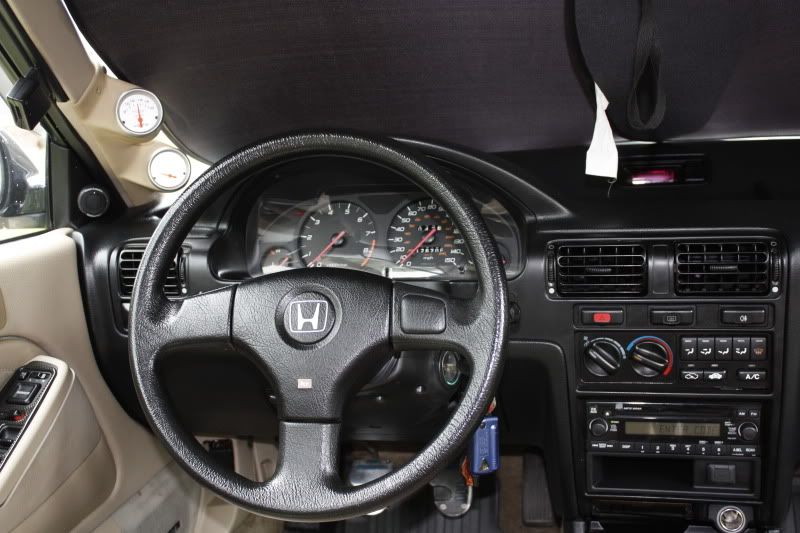
This diy is to show you a "new" way to install the bb6 cluster into your cb.
Refer to this DIY thread if you want to do the wiring.http://www.cb7tuner.com/vbb/showthread.php?t=107844
Tools needed...
1. A dremel kit with
sanding drum, cutoff wheel, 60grit sanding band, drill bit
2.Silicone (rtv) or electrical tape
4.Goggles
3.Patience
DISCLAIMER: The fact that it worked for me does not guarantee that it will work for you, be very careful when handling the cluster or the bezel as they are very fragile. Take your time when doing this as it could backfire on you in the end.
Start by placing the cluster behind the bezel, try to locate the points that hit the backing of the bezel, you will notice that the top, bottom left and bottom right hit the front face of the cluster.
Step 1:
You can start by sanding the top part of the bezel using the dremel with the sanding band, sand from left to right and vise versa, do not apply too much pressure, stop until you are close to the holes in the bezel. test the cluster until the top portion is almost flush with the bezel

Step 2:
Once you have test fitted the cluster, look closely to the left side of the bezel, you will sand only a little bit off, just enough so that the curvature of the cluster sits flush with the bezel

Step 3:
Follow the same steps as STEP2 for the right side of the bezel

Now that we got the bezel out of the way, we will move on to the car. Test the cluster inside your dash, you will notice that a lot of the top portion of the cluster is in the way.

Step 4:
Sand the top portion of the cluster, note that you will loose the tabs that are on top do not worry as we will cover this in the end. Also note that part of the plastic has been sanded off, do not do this yet.

Step 5:
Cut out the plastic plate that covers and protects the cluster using the cutoff wheel, be very careful not to cut the air vent that is right behind the cover.

Test fit the cluster inside the dash along with bezel, you will notice that the cluster sinks in and does not allow the bezel to properly secure the top of the face of the cluster.
Step 6:
using the leftover plate that was removed from step 5, create these "spacers"(make holes using the drill bit) make 2 for each side, this prevents the cluster from sinking in. It is by no means secured to the cluster only to the dash.


There are 3 bottom tabs that hold the cluster clear cover, when you try it inside the dash, the tabs "lift up" the cluster just enough to prevent the bezel to be screwed from the top.

Step 7:
inside the dash you will need to fit the cluster and mark where you will make 3 holes for the tabs, this will be just enough for cluster to sit flush in the bottom.

step 8:
Test the cluster and mark 2 squares or circles on the top face of the cluster, this needs to be done so that the bezel can be secured from top and hold the cluster secured as well.
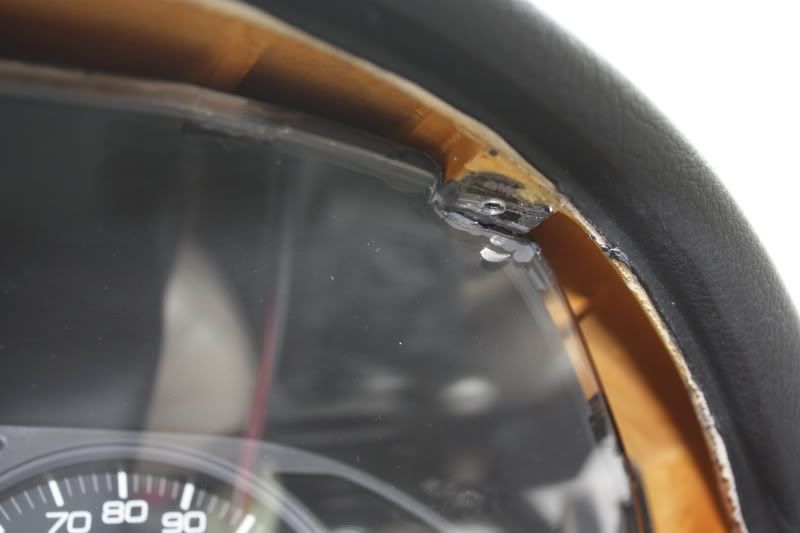
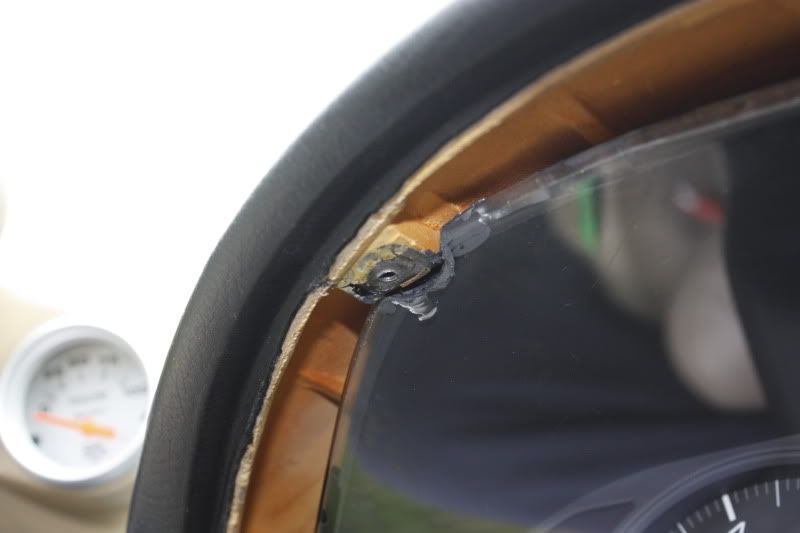

Test fit the cluster and make minor adjustments if desired until you are satisfied with the fitments.
Step 9:
properly seal the top of the cluster with either silicone or tape(discourage) just so that no dust gets inside.
Step 10:
Plug and install the cluster along with the bezel. Enjoy your new bb6 cluster.
Refer to this DIY thread if you want to do the wiring.http://www.cb7tuner.com/vbb/showthread.php?t=107844
Tools needed...
1. A dremel kit with
sanding drum, cutoff wheel, 60grit sanding band, drill bit
2.Silicone (rtv) or electrical tape
4.Goggles
3.Patience
DISCLAIMER: The fact that it worked for me does not guarantee that it will work for you, be very careful when handling the cluster or the bezel as they are very fragile. Take your time when doing this as it could backfire on you in the end.
Start by placing the cluster behind the bezel, try to locate the points that hit the backing of the bezel, you will notice that the top, bottom left and bottom right hit the front face of the cluster.
Step 1:
You can start by sanding the top part of the bezel using the dremel with the sanding band, sand from left to right and vise versa, do not apply too much pressure, stop until you are close to the holes in the bezel. test the cluster until the top portion is almost flush with the bezel

Step 2:
Once you have test fitted the cluster, look closely to the left side of the bezel, you will sand only a little bit off, just enough so that the curvature of the cluster sits flush with the bezel

Step 3:
Follow the same steps as STEP2 for the right side of the bezel

Now that we got the bezel out of the way, we will move on to the car. Test the cluster inside your dash, you will notice that a lot of the top portion of the cluster is in the way.

Step 4:
Sand the top portion of the cluster, note that you will loose the tabs that are on top do not worry as we will cover this in the end. Also note that part of the plastic has been sanded off, do not do this yet.

Step 5:
Cut out the plastic plate that covers and protects the cluster using the cutoff wheel, be very careful not to cut the air vent that is right behind the cover.

Test fit the cluster inside the dash along with bezel, you will notice that the cluster sinks in and does not allow the bezel to properly secure the top of the face of the cluster.
Step 6:
using the leftover plate that was removed from step 5, create these "spacers"(make holes using the drill bit) make 2 for each side, this prevents the cluster from sinking in. It is by no means secured to the cluster only to the dash.


There are 3 bottom tabs that hold the cluster clear cover, when you try it inside the dash, the tabs "lift up" the cluster just enough to prevent the bezel to be screwed from the top.

Step 7:
inside the dash you will need to fit the cluster and mark where you will make 3 holes for the tabs, this will be just enough for cluster to sit flush in the bottom.

step 8:
Test the cluster and mark 2 squares or circles on the top face of the cluster, this needs to be done so that the bezel can be secured from top and hold the cluster secured as well.


Test fit the cluster and make minor adjustments if desired until you are satisfied with the fitments.
Step 9:
properly seal the top of the cluster with either silicone or tape(discourage) just so that no dust gets inside.
Step 10:
Plug and install the cluster along with the bezel. Enjoy your new bb6 cluster.


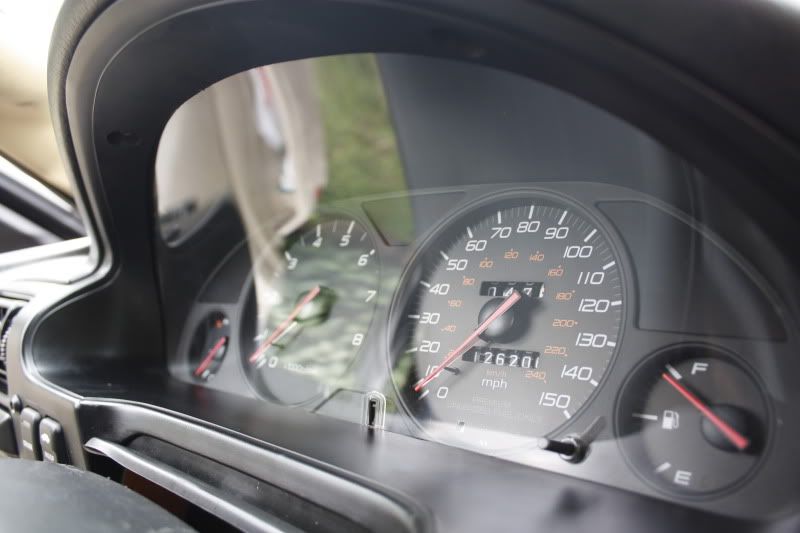






 WOW!!! now I have to try and make mine fit better, cause that looks so effin good.

Comment