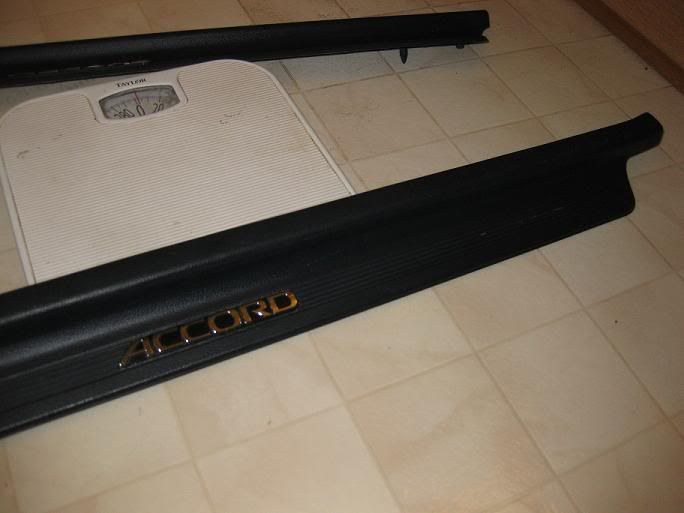
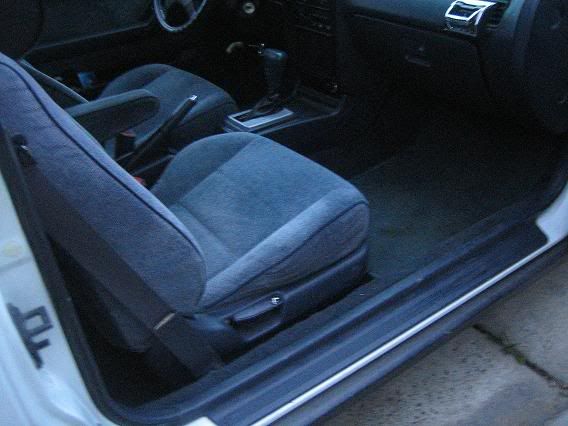
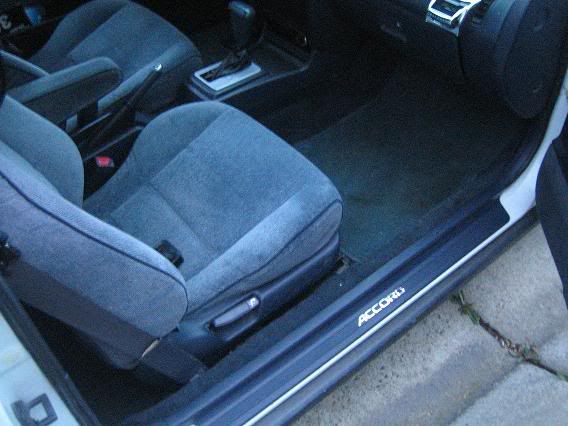
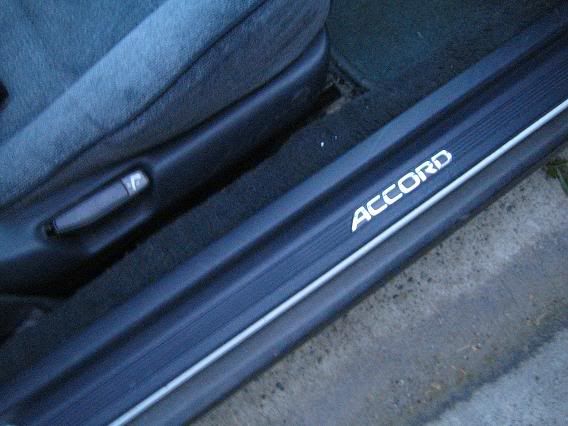
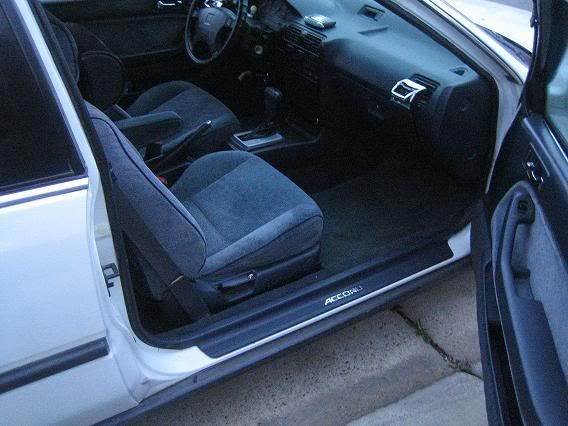
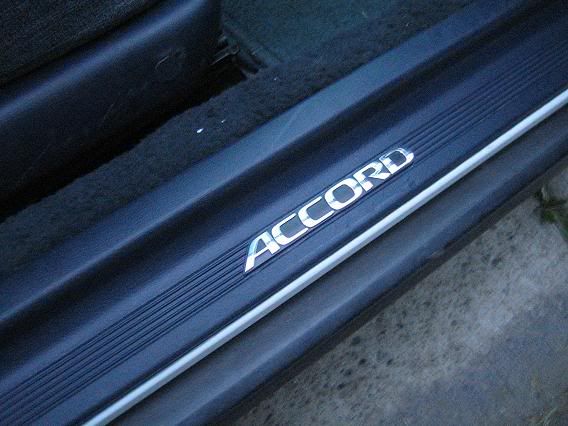
Ever seen those door sill garnishes with the car's name printed into it? usually metallic? These are more commonly seen on higher-end model cars, but here's a project that you can do that's relatively easy and really sets off the interior of your accord, giving it that extra touch of class and luxurious feel. (during the time your door is open, at least)
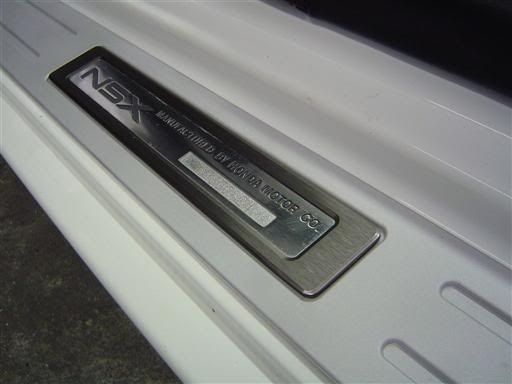
I was inspired by the NSX door sill garnishes, and decided to do something similar.
I am not responsible for any unintentional damages your car or car parts may experience when you perform this DIY. If your car DOES experience any damage... :[ I feel for ya. But please don't blame me this DIY is fairly simple, and all cutting is (should be) done safely away from your car.
*NOTE*
I performed this DIY on my COUPE door sill garnishes. All pictures depicted will be for the coupe's door sills.
If you would like to do this DIY to your SEDAN, the following directions will still apply with minor adjustments. You will still find the halfway point on your door sills, but the actual length measurement will be shorter. You will also need to measure/cut/apply four times, as opposed to two times... And four badges instead of two.
*END NOTE*
Tools Needed *Separated by which step each tool is needed for*
Measuring Step
-Writing Stuff (Pencil, Pen, Sharpie/fine-tip marker)
-Blue Painter's Tape/Masking Tape
-Measuring Tape (at least 35in. long)
Cutting Step
-Dremel, with an attachment that will grind away at the hard plastic, a fine-tip attachment (for corners) and a bigger one.
*If you don't have a dremel, you can always use a razor! don't know how well it would cut, but it's worth a shot
-some fine sandpaper, I used 800grit.
Applying the Badge Step
-Scissors
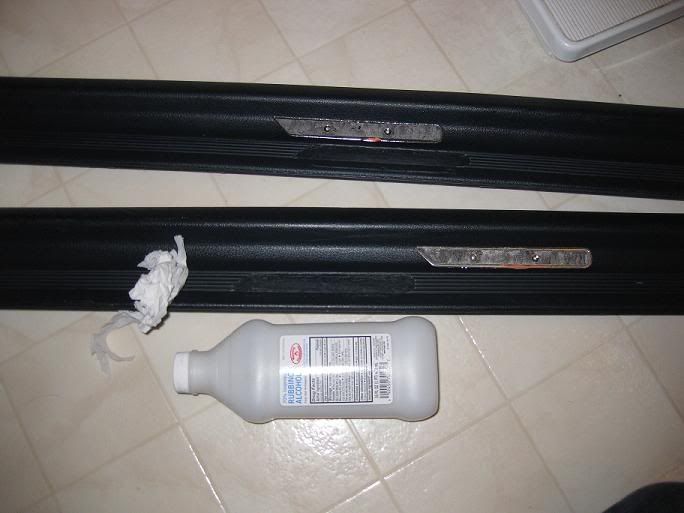
-rubbing alcohol (to clean the surface) and some tissue paper/cotton balls
-lotion, or body oil. something oily. *helps to break down the stickiness of the sticky stuff on the backside of the badge*
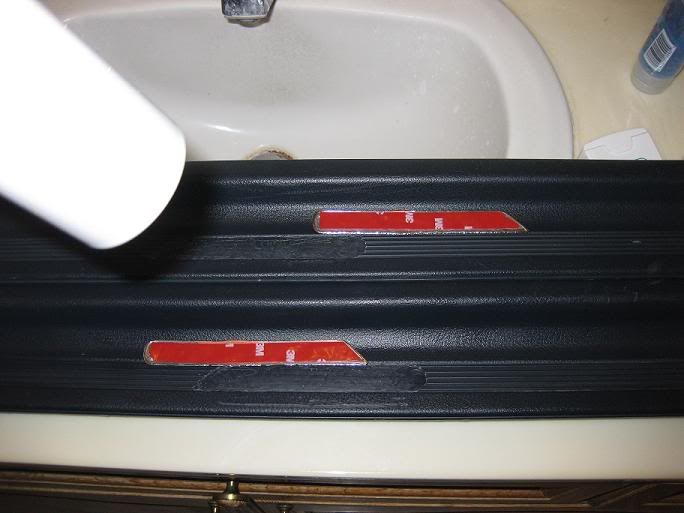
-Double-Sided Tape, slim size
-blow-dryer (to heat the tape to stick better)
Get it on the Car Step
-Something to pry off your old door sill garnish (if you were hacking up a spare...)
Parts Needed
-At least 2 accord badges, preferably 4th gen badges (perfect width, and would match the car) *SEDAN: you will need 4 badges*
-A set of coupe door sill garnishes (2 in the set). You could use the ones you already have or find a spare pair. I found a spare pair just in case, because I don't like hacking something up if I don't have a back-up. *SEDAN: You will need a full set of door sill garnishes (4 in the set)*
HERE WE GO!
Measuring:
Step 1) Apply masking tape across the ridged section of the door sill.
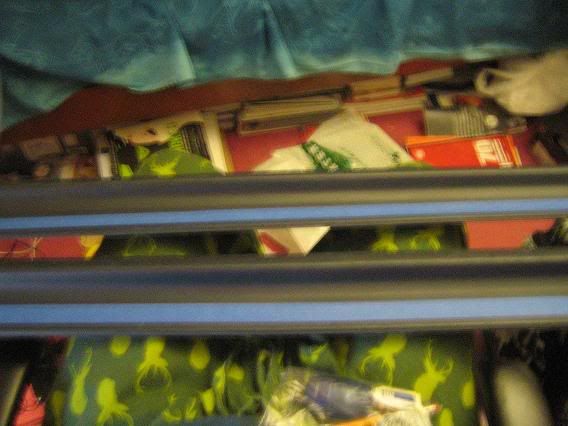
Step 2) Line up the end of the measuring tape with the topmost ridge of the garnish
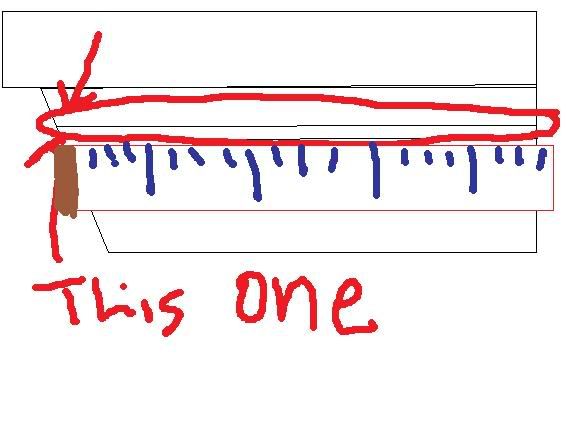
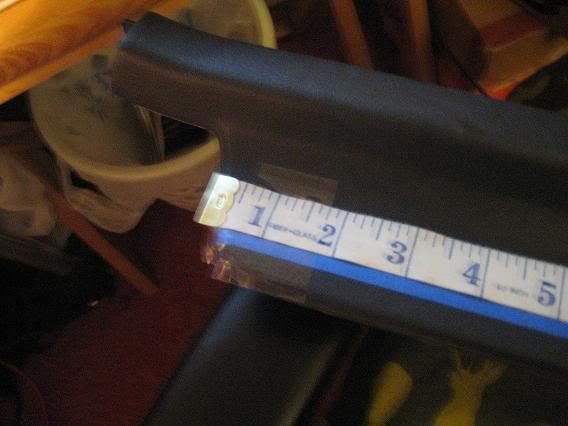
Step 3) Making sure the measuring tape is straight and flat, tape down the measuring tape on the other side of the garnish. Your measuring tape should read "35 inches" from one side to the other.
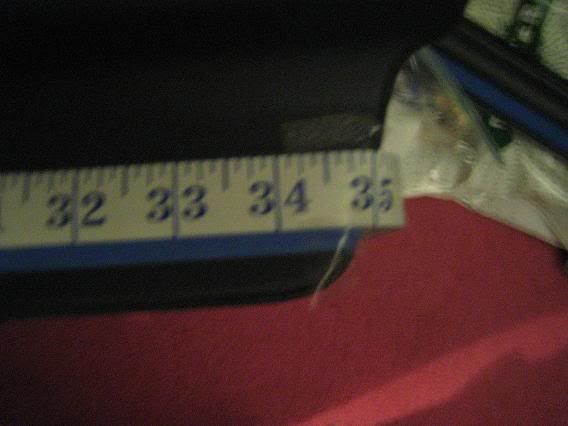
Step 4) Mark the half-way point (17.5"), or wherever you feel like putting the badge.
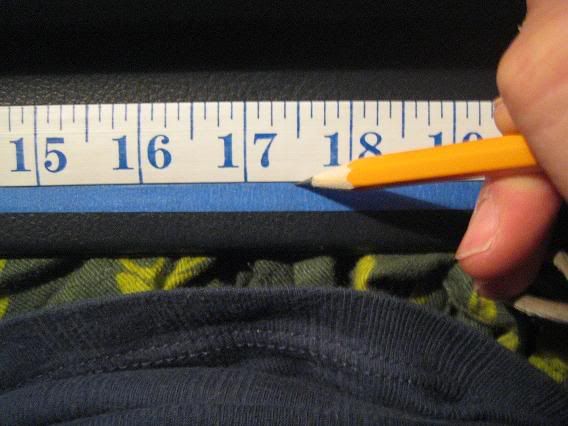
Step 5) Line up your Accord badge, making sure it's really centered. Do whatever it takes. I made marks on either side of the center mark to precisely center my badge. *See pictures for clarification*
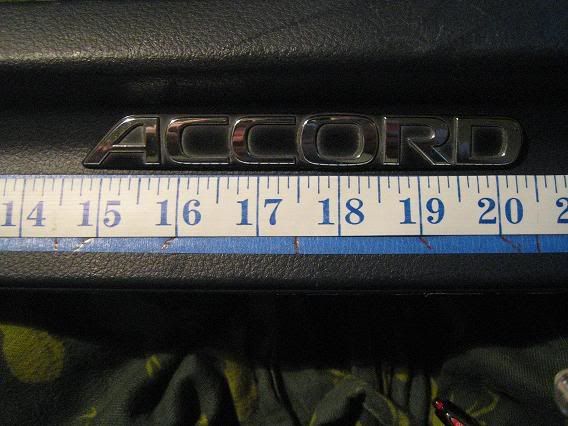
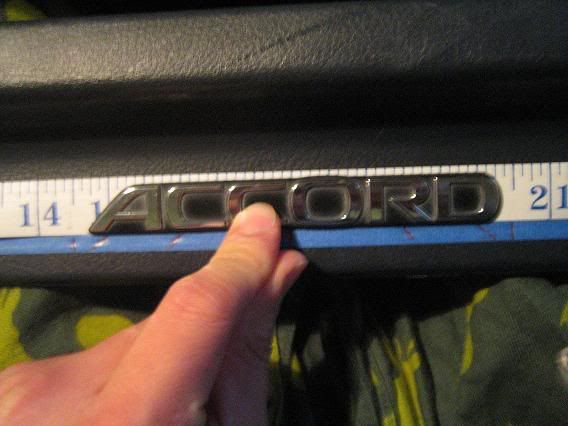
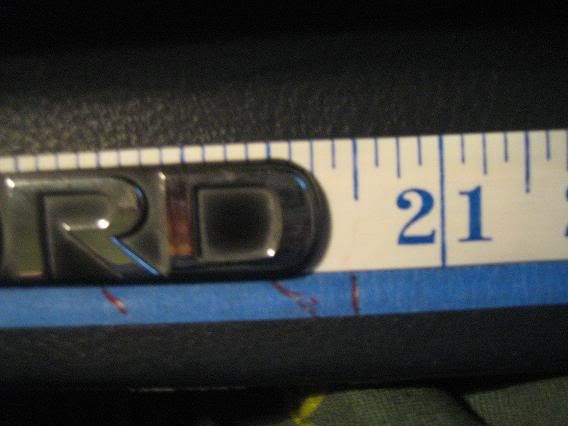
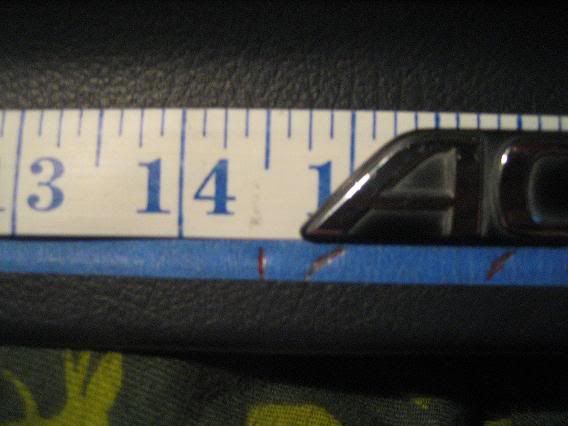
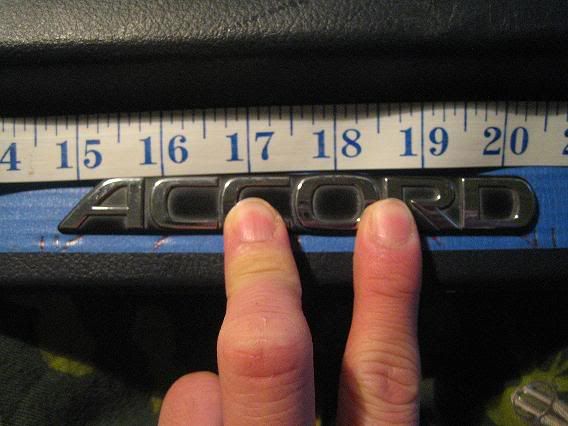
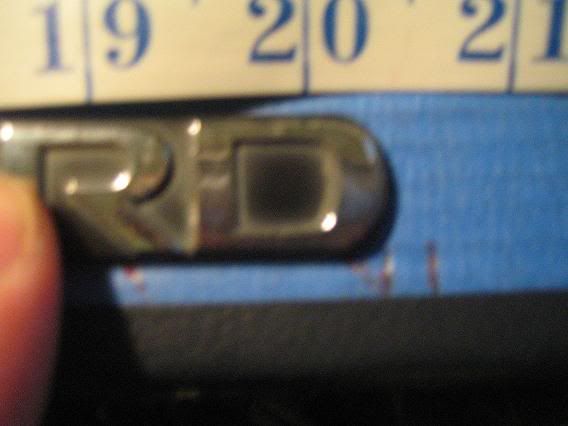
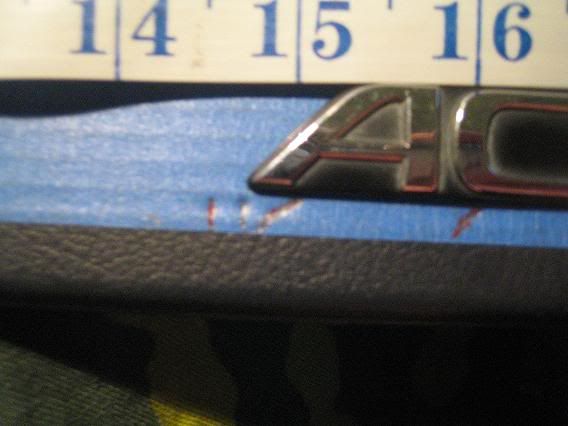
Step 6) Outline the box area
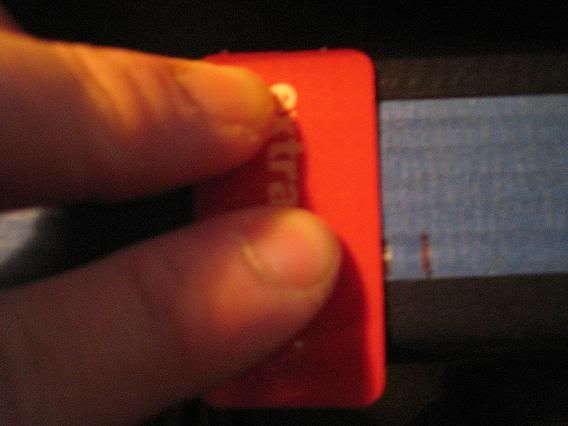
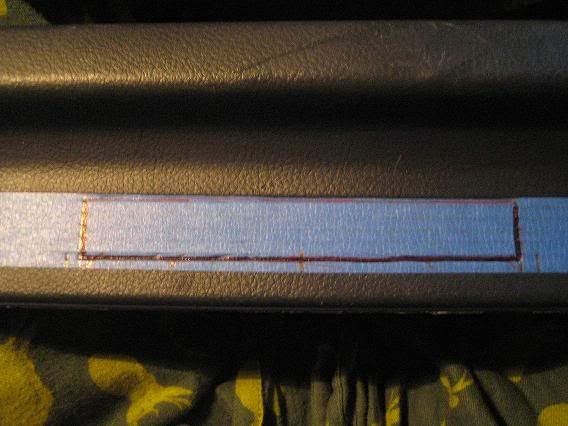
Step 7) Put your badge in the box, and then outline the badge. Fill in the outline with pencil or whatever to make it easier to see.
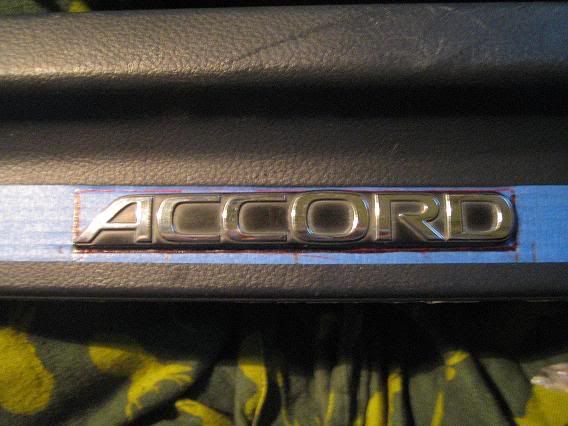
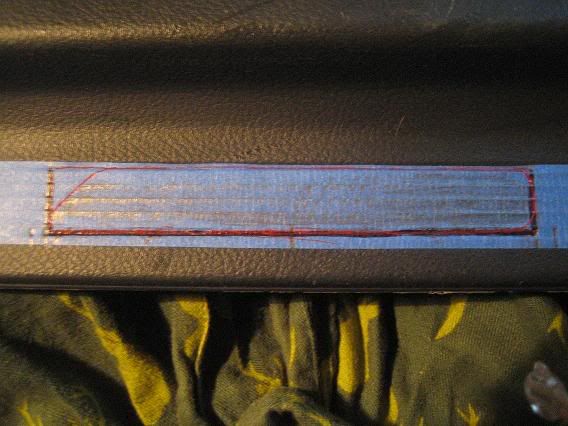
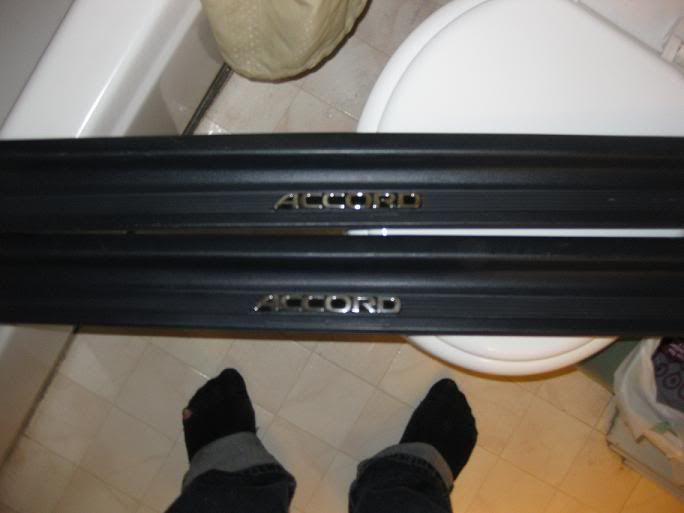
1 door sill garnish done! repeat the process for the other door sill, making sure that "accord" is facing the correct direction
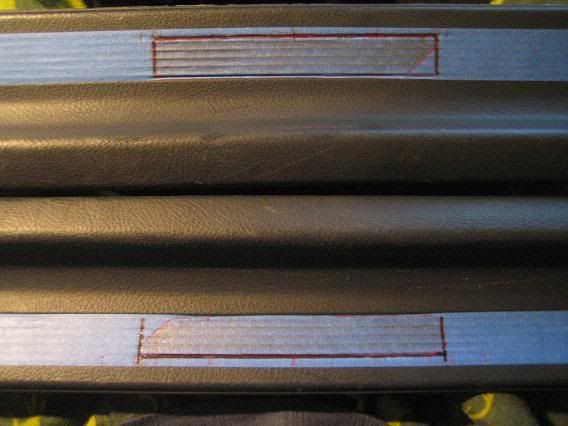
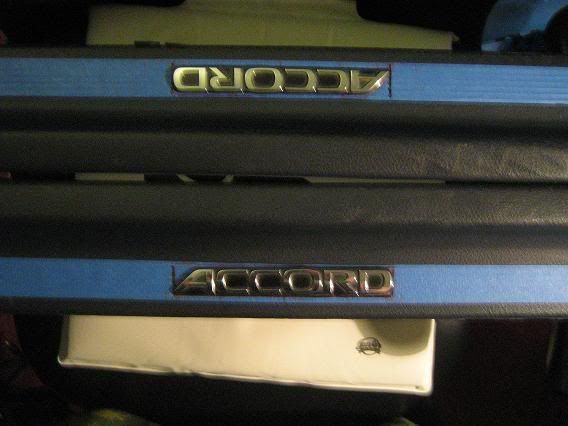
Cutting/Dremeling:
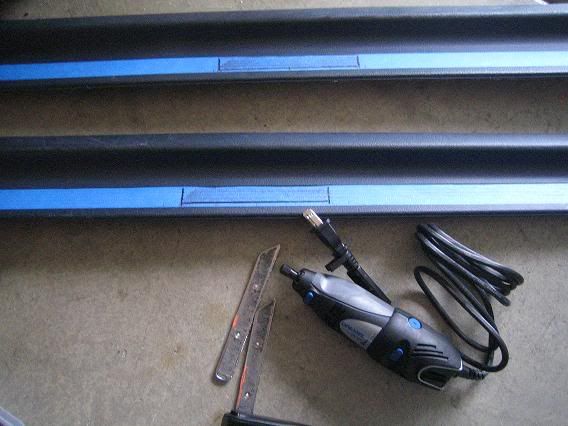
Step 8) Get a knife, and cut out the area that you shaded in with a pencil earlier *the accord badge's shadow*
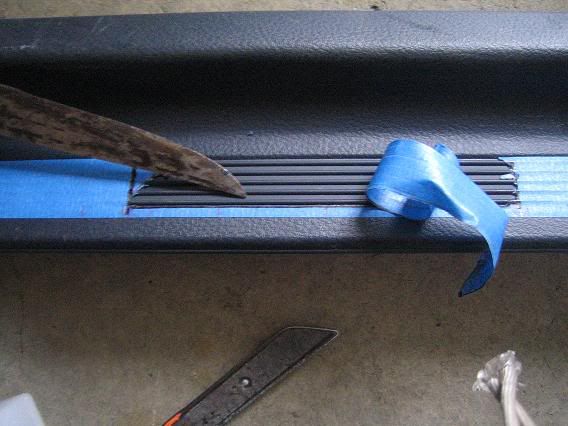
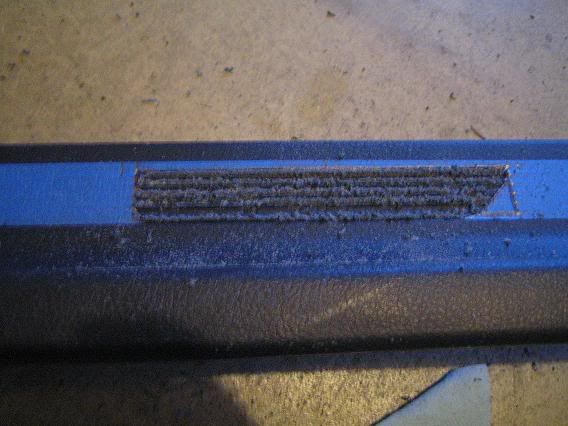
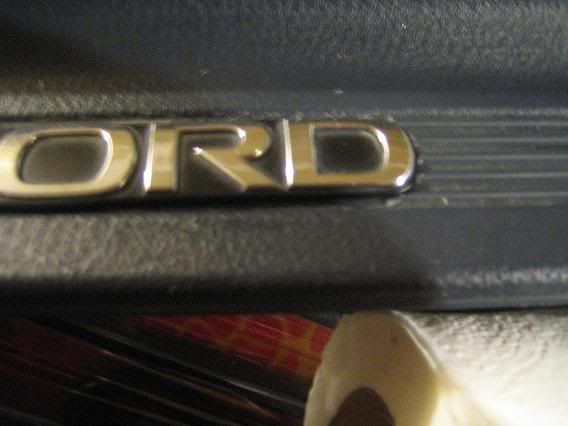
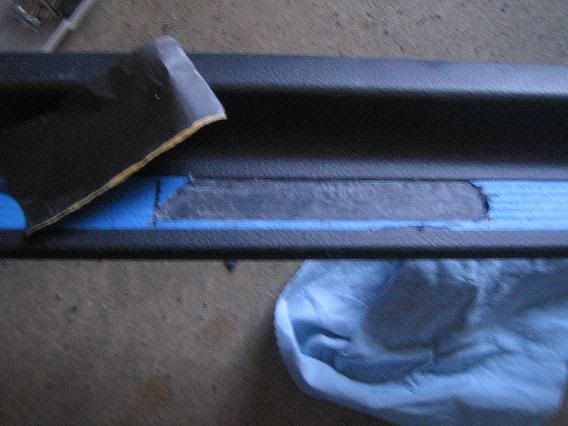
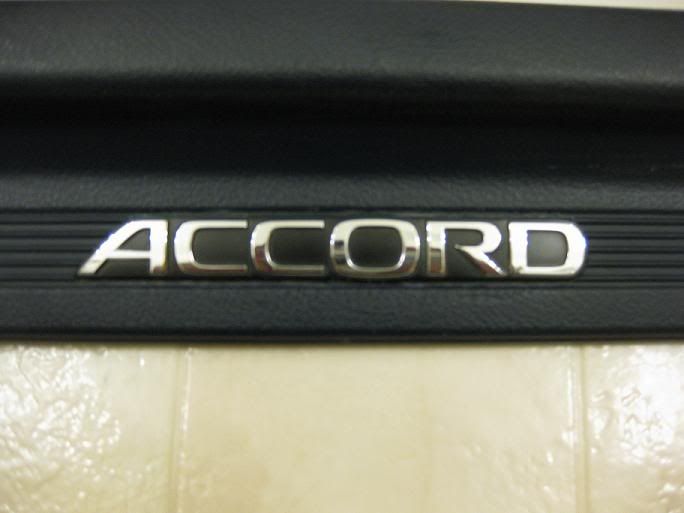
Step 9) Dremel the revealed area, taking care not to let the dremel jump around and start eating up parts of your door sill you DON'T want dremeled >_<. The masking tape will help guide you and make sure you don't cut up anything that shouldn't be cut up. use a fine-tip attachment to get into that corner where the "A" will be. After the ridges are all cut out, test-fit the accord badge and see if it can fit in the area you cut. If it does not fit, dremel the ridges back a hair more each time until the badge fits. Finally, use the sandpaper to smooth down the area.
*NOTE: ONLY CUT THE RIDGED PARTS. The ridged area is already the perfect width, and gives plenty of space above and below the badge. take care NOT to cut the solid material area.*

I was inspired by the NSX door sill garnishes, and decided to do something similar.
I am not responsible for any unintentional damages your car or car parts may experience when you perform this DIY. If your car DOES experience any damage... :[ I feel for ya. But please don't blame me
 this DIY is fairly simple, and all cutting is (should be) done safely away from your car.
*NOTE*
I performed this DIY on my COUPE door sill garnishes. All pictures depicted will be for the coupe's door sills.
If you would like to do this DIY to your SEDAN, the following directions will still apply with minor adjustments. You will still find the halfway point on your door sills, but the actual length measurement will be shorter. You will also need to measure/cut/apply four times, as opposed to two times... And four badges instead of two.
*END NOTE*
Tools Needed *Separated by which step each tool is needed for*
Measuring Step
-Writing Stuff (Pencil, Pen, Sharpie/fine-tip marker)
-Blue Painter's Tape/Masking Tape
-Measuring Tape (at least 35in. long)
Cutting Step
-Dremel, with an attachment that will grind away at the hard plastic, a fine-tip attachment (for corners) and a bigger one.
*If you don't have a dremel, you can always use a razor! don't know how well it would cut, but it's worth a shot
-some fine sandpaper, I used 800grit.
Applying the Badge Step
-Scissors
-rubbing alcohol (to clean the surface) and some tissue paper/cotton balls
-lotion, or body oil. something oily. *helps to break down the stickiness of the sticky stuff on the backside of the badge*
-Double-Sided Tape, slim size
-blow-dryer (to heat the tape to stick better)
Get it on the Car Step
-Something to pry off your old door sill garnish (if you were hacking up a spare...)
Parts Needed
-At least 2 accord badges, preferably 4th gen badges (perfect width, and would match the car) *SEDAN: you will need 4 badges*
-A set of coupe door sill garnishes (2 in the set). You could use the ones you already have or find a spare pair. I found a spare pair just in case, because I don't like hacking something up if I don't have a back-up. *SEDAN: You will need a full set of door sill garnishes (4 in the set)*
HERE WE GO!
Measuring:
Step 1) Apply masking tape across the ridged section of the door sill.

Step 2) Line up the end of the measuring tape with the topmost ridge of the garnish


Step 3) Making sure the measuring tape is straight and flat, tape down the measuring tape on the other side of the garnish. Your measuring tape should read "35 inches" from one side to the other.

Step 4) Mark the half-way point (17.5"), or wherever you feel like putting the badge.

Step 5) Line up your Accord badge, making sure it's really centered. Do whatever it takes. I made marks on either side of the center mark to precisely center my badge. *See pictures for clarification*


Step 6) Outline the box area


Step 7) Put your badge in the box, and then outline the badge. Fill in the outline with pencil or whatever to make it easier to see.


1 door sill garnish done! repeat the process for the other door sill, making sure that "accord" is facing the correct direction


Cutting/Dremeling:

Step 8) Get a knife, and cut out the area that you shaded in with a pencil earlier *the accord badge's shadow*

Step 9) Dremel the revealed area, taking care not to let the dremel jump around and start eating up parts of your door sill you DON'T want dremeled >_<. The masking tape will help guide you and make sure you don't cut up anything that shouldn't be cut up. use a fine-tip attachment to get into that corner where the "A" will be. After the ridges are all cut out, test-fit the accord badge and see if it can fit in the area you cut. If it does not fit, dremel the ridges back a hair more each time until the badge fits. Finally, use the sandpaper to smooth down the area.
*NOTE: ONLY CUT THE RIDGED PARTS. The ridged area is already the perfect width, and gives plenty of space above and below the badge. take care NOT to cut the solid material area.*




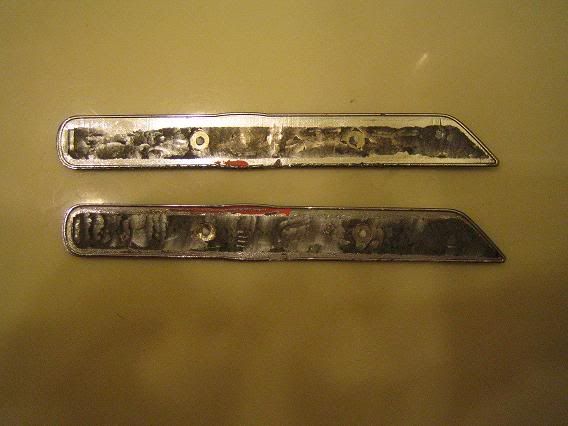
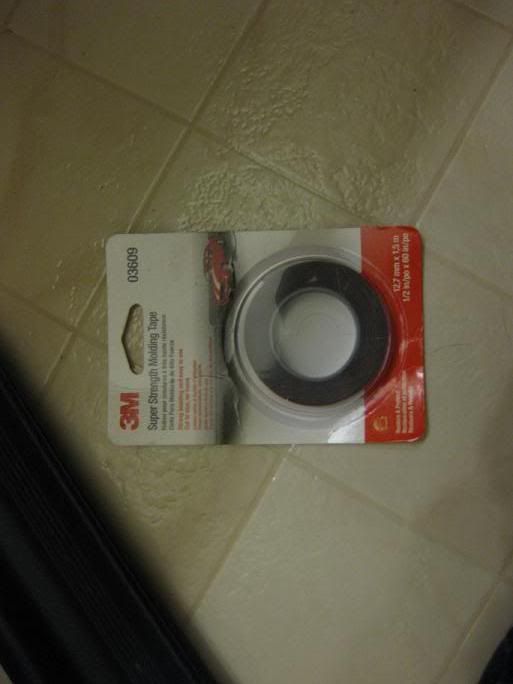
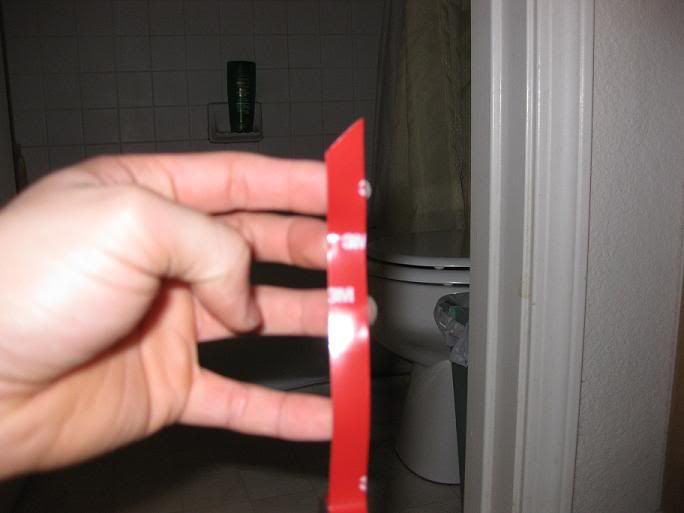
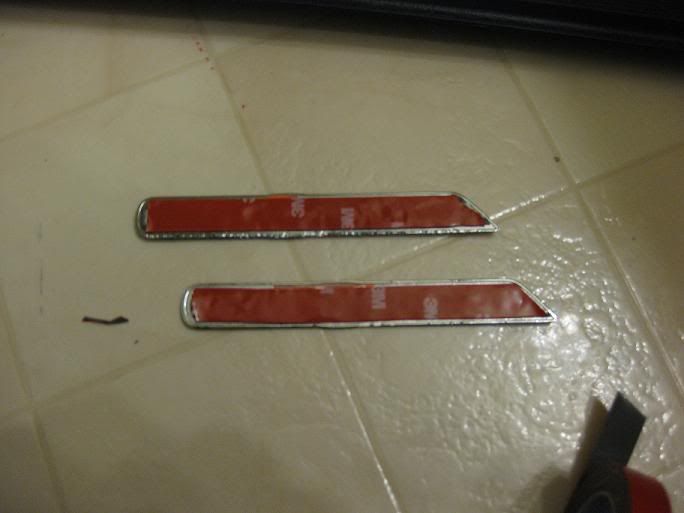
 ). you are able to use your hands for this part.







Comment