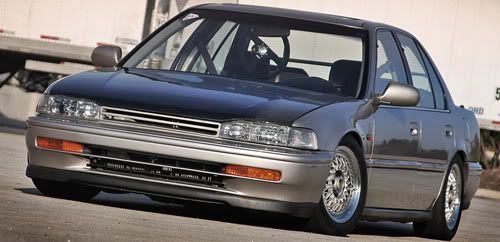
DIY: 5th gen. Mugen style lip Install
written by: me.
Tools: hacksaw, power drill, wrenches/ratchet, measuring tape, the bag of bolts and washers that came with the lip (if bought off of ebay), sandpaper, dremel tool (optional)
This job requires 2 people for install (or, at least, it's MUCH easier that way).
*you DO NOT need to remove the front bumper in order to install this lip. just jack the car up on each side, and place jackstands underneath.
*sorry, i don't have any pics of the actual installation.
The How-To:
1. remove the stock lip (if you have one). remove all of the bolts by using a wrench.
2. measure the length of the lip and find it's center. mark the center point with a pencil or marker. measure the length of the bottom of the front bumper, and find it's center.
3. temporarily place the mugen style lip up against the bottom of the front bumper. match the 2 center points up (the lip center with the bumper center). on the inside tab of the lip, mark where the holes on the bumper meet up with the inner tab (you're gonna want to mount the lip using the existing bumper holes).
4. lay the lip on the ground, and use a dremel tool or hacksaw to cut the protruding tabs (the ones that came on the lip, with holes drilled in them) off. you will not be able to use these tabs.
5. with the lip still laying on the ground, drill the new holes (at where you made the marks).
6. place the lip back up against the bottom of the bumper (with the new holes drilled in it). insert each bolt (that came in the packaging that came with the lip... or ones that you bought).
*NOTE*: you WILL have to do some bending near the edges of the lip to get it to countour better to the bumper.
7. using a hacksaw, cut about an inch or so off of the protruding edges of the lip (you know, where the lip exceeds the length of your bumper on each side). sand down the edges after you have made the cuts.
8. make sure that all of your bolts are tight.
9. step back and gawk at your enhanced front end


Comment