Sup guys,
I decided to install some HoA C-Pillar badges that I got from Trevor. I'm really OCD about where it goes so I started researching OEM placement. I looked around and found some other sources but I wanted to consolidate the information into one thread. I also wanted to include how I removed the old adhesive since it seemed like a common question. Here goes.
Stuff needed:
-3M tape
-Razor Blade
-Isopropyl Alcohol
-Napkins
-Expo Marker
-Straight Edge
-Leveling Tool
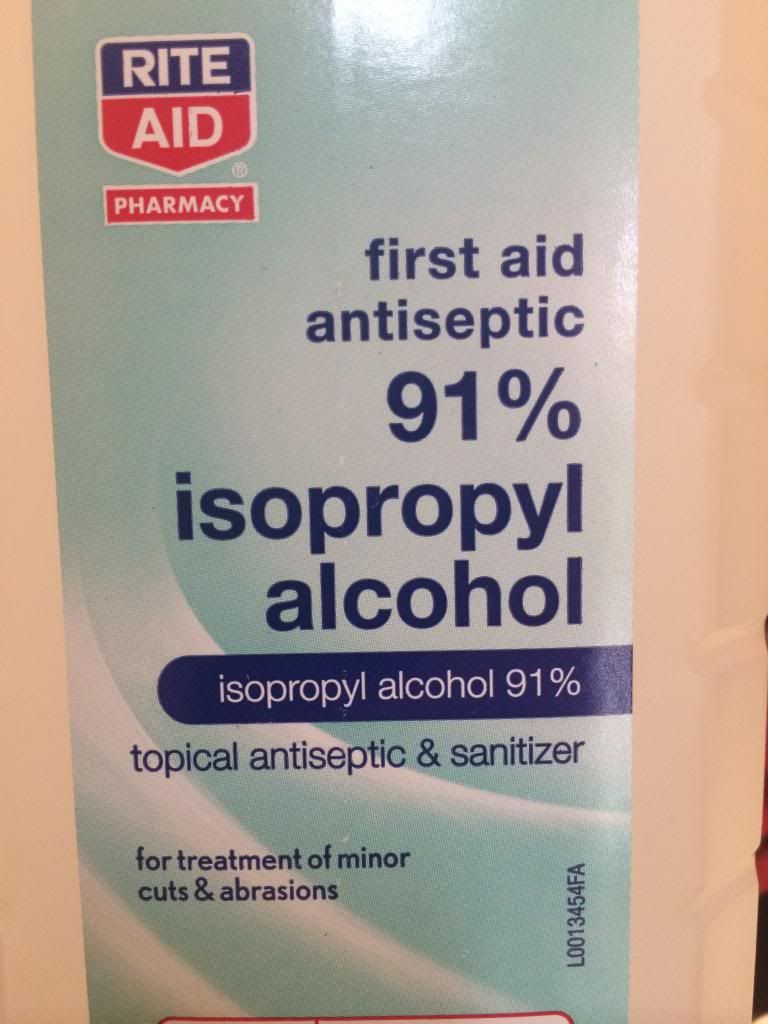
Alrighty, so I started off by buying the most potent rubbing alcohol I could pick up.
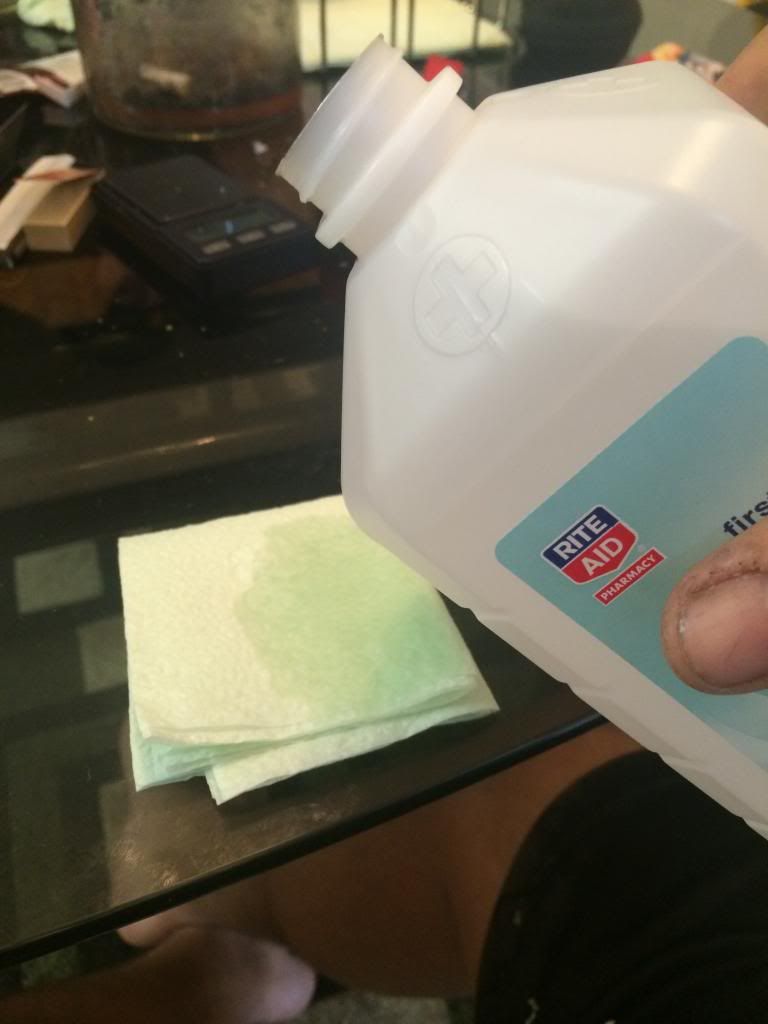
Took the napkin, folded it over twice, and lightly soaked it with rubbing alcohol.
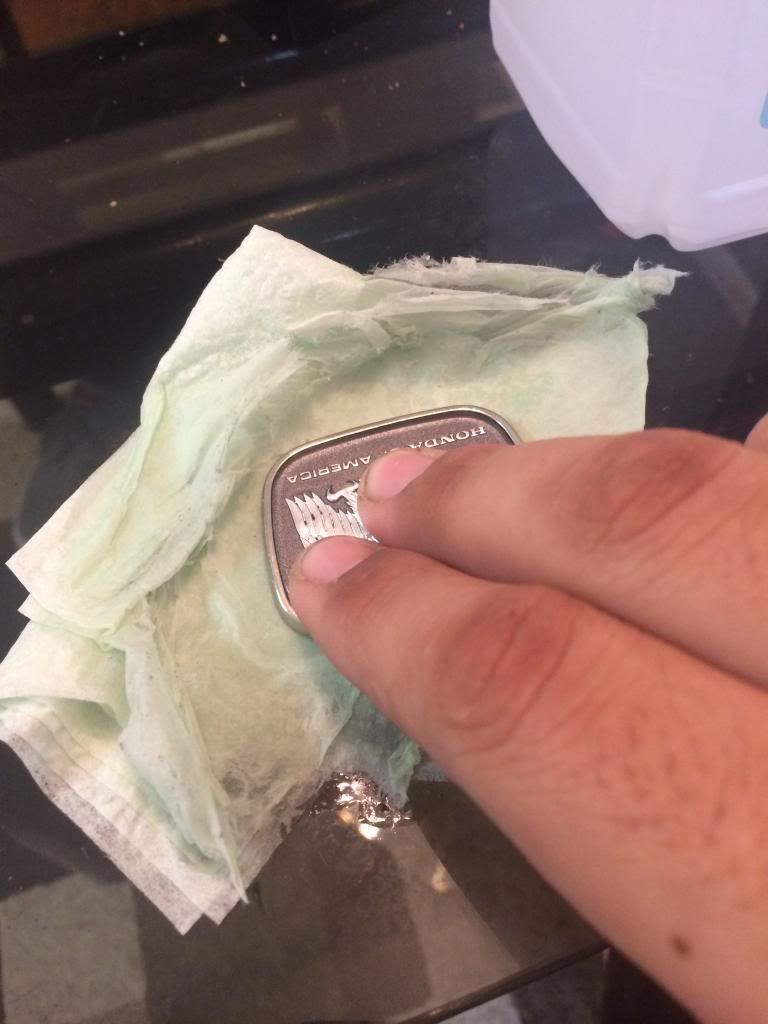
I then took the badge and began to rub the backside into the napkin. I did it
until the adhesive looked comletely saturated.
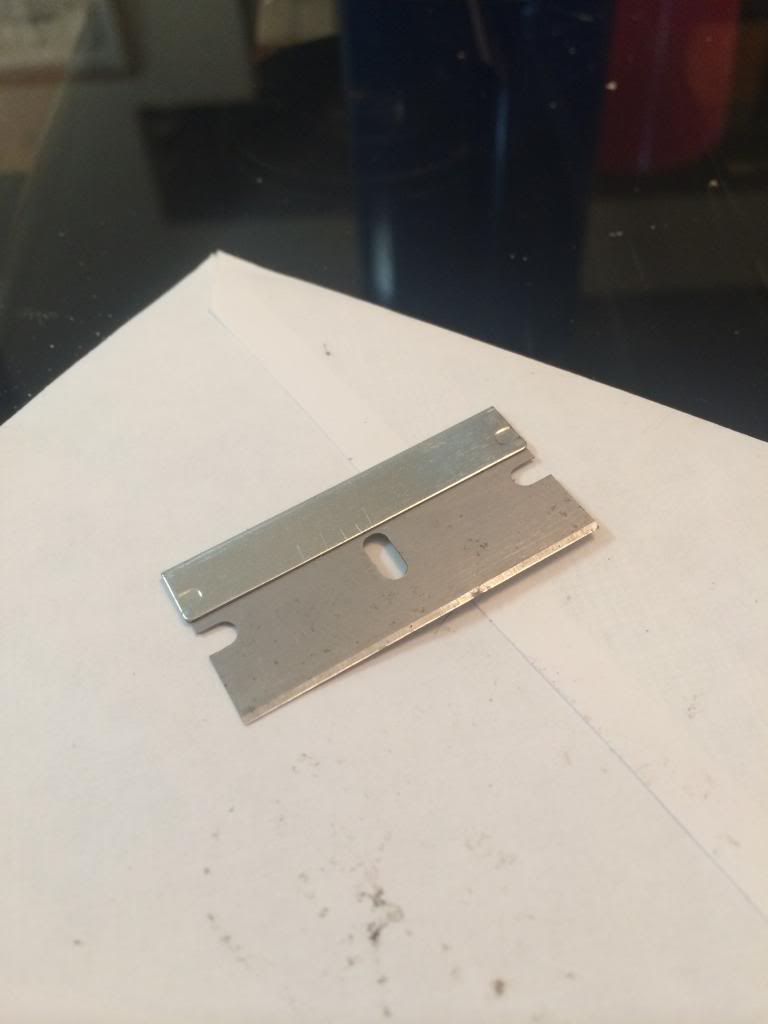
Once the glue was nice and moist, I took a small razor and proceded scrape it off. (comes off really easily when wet)
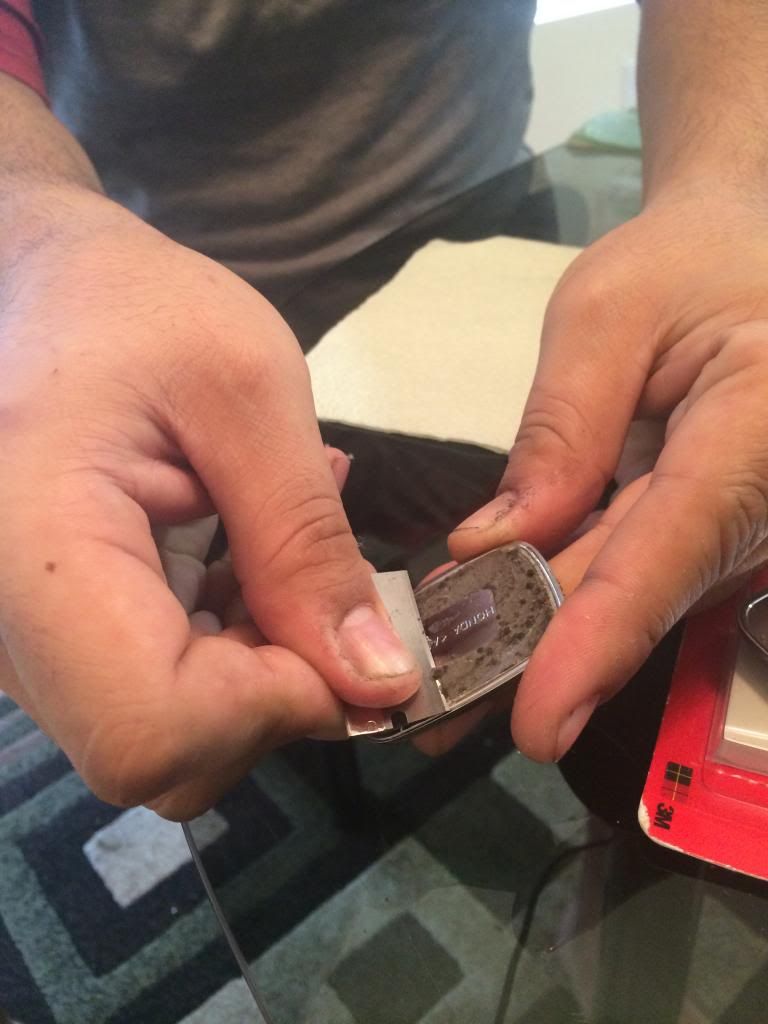
You should be able to get almost all of the glue off in one pass. If it doesn't come off completely, rub the glue into the napkin again and keep on scraping.
*BE CAREFUL DON'T SCRATCH THE BADGE WITH THE RAZOR*
I was able to get all of it off with 2 passes. Super easy. If you're OCD like me and you need every last spec of old glue cleaned off, you can take the soaked napkin and spot clean the remaining sticky parts(rubs off easy).
BEFORE/AFTER
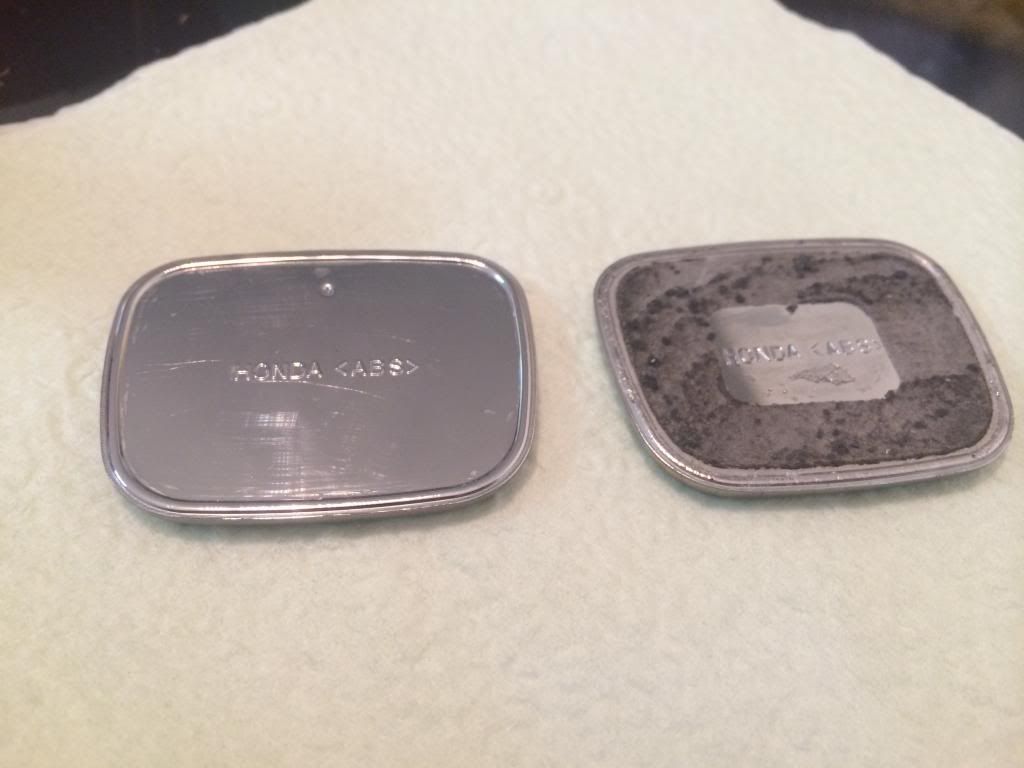
Got every last spec off
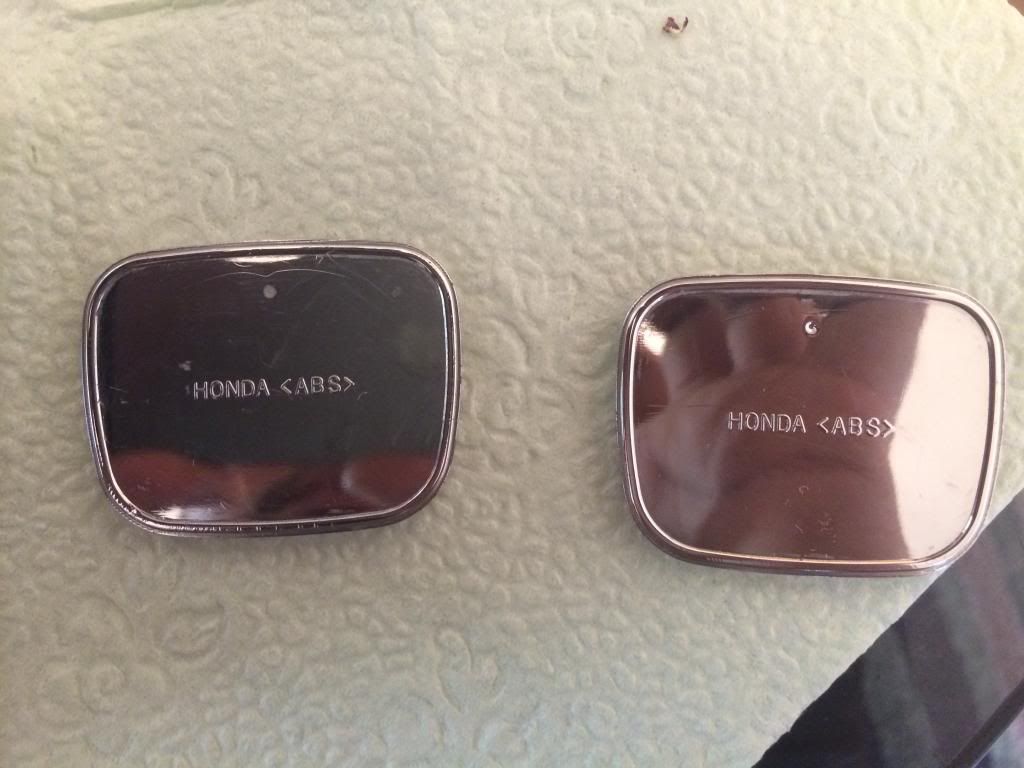
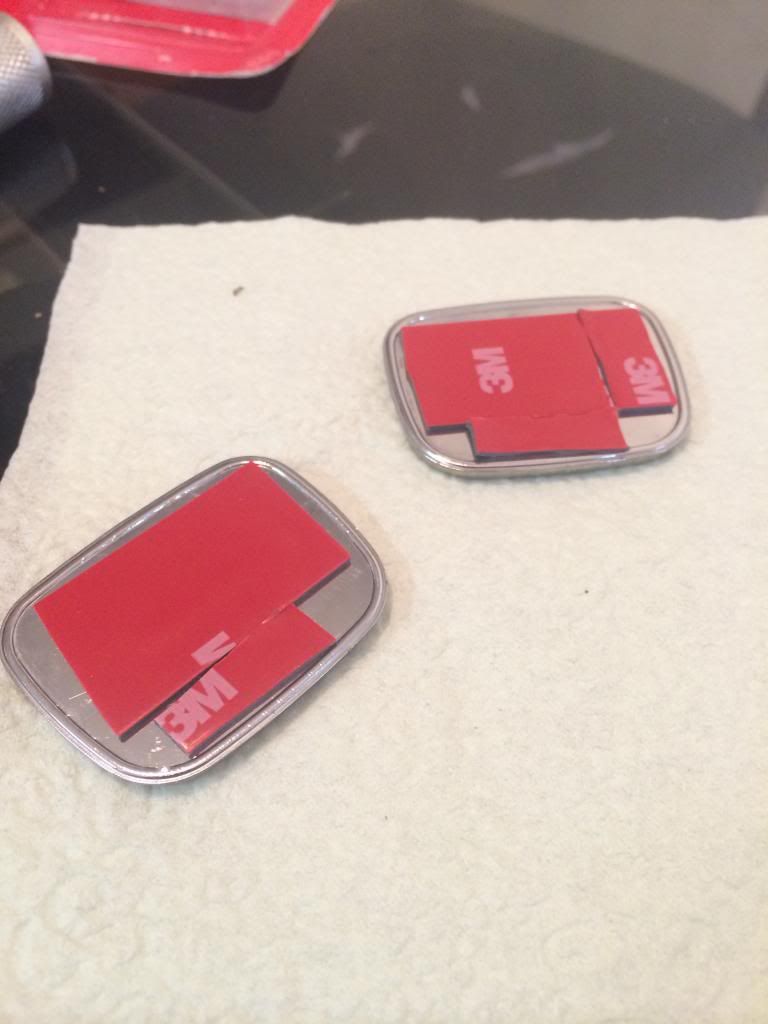
Now that I had a clean badge to work with, I was able to start to put the 3M on. The stuff I used comes in a roll and is 10 bucks at autozone.
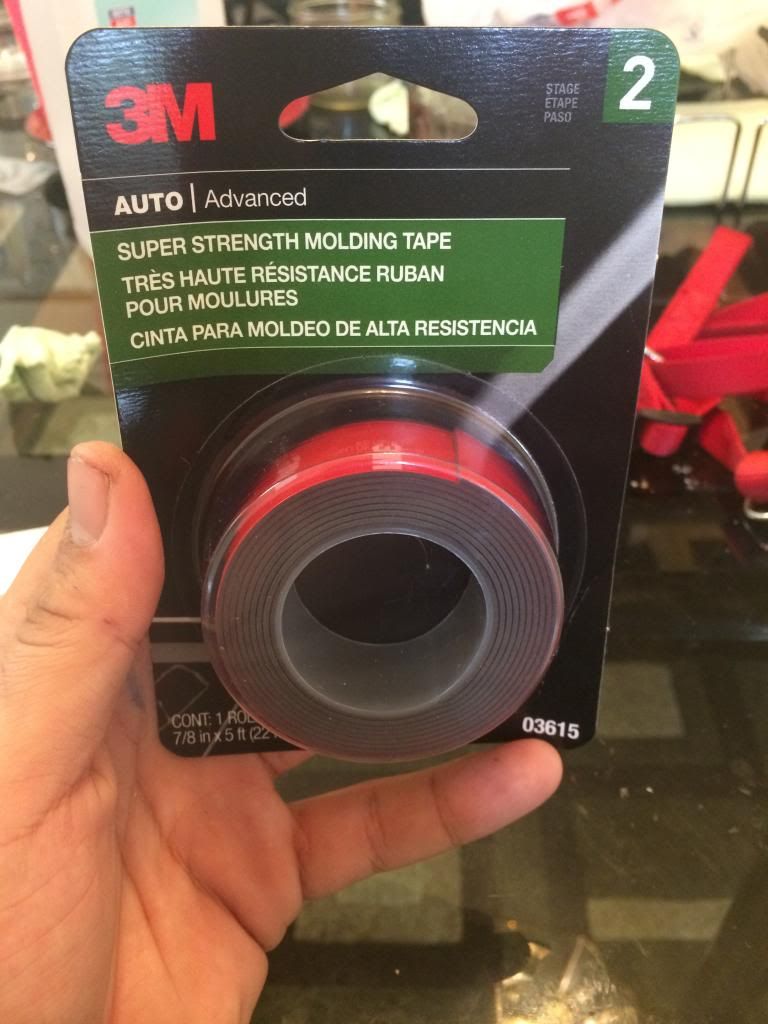
Used the same razor, cut some pieces, and stuck them on. I tried to cover as much area as possible.
Alrighty, badge clean, new tape on, now we're ready to install the badge. This is where I did the most homework. I found another thread that had this picture. It was perfect.
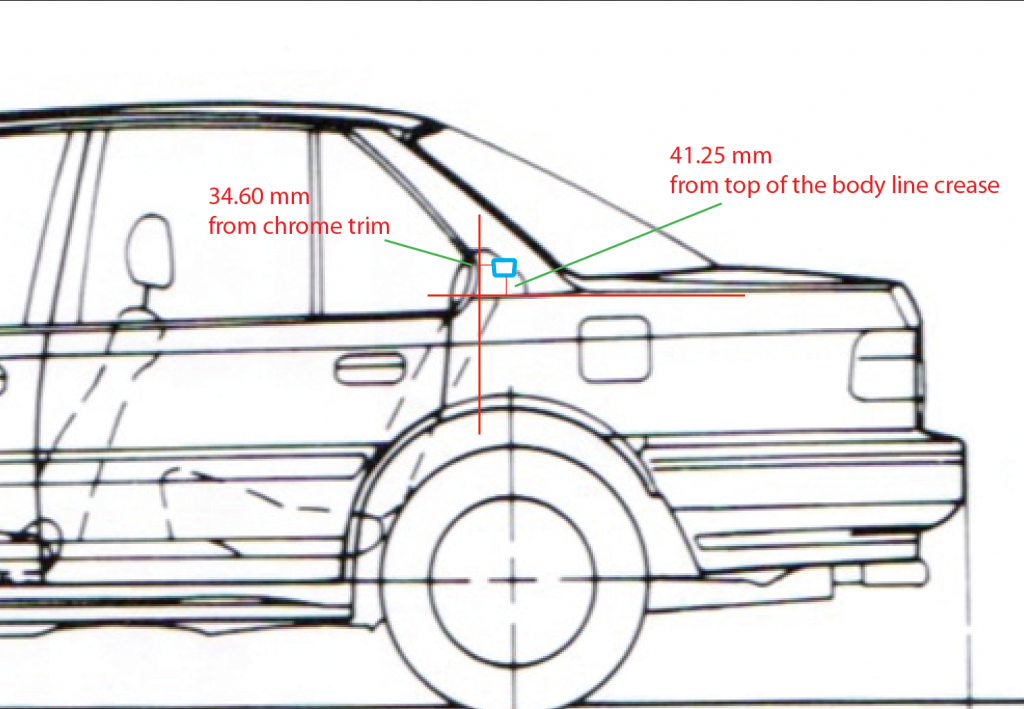
The only speedbump I ran into, was that the measurements were in millimeters. Most of us are Americans and the closest thing we have to the Metric System is my tape measure in centimeters(maybe im just speaking for myself, lol).
For you math n00bs, take the measurement in millimeters, divide by 10, and you've got centimeters. (Psssst! Move the decimal over once to the left.) Magic.
I also found it kinda difficult to start taking measurements for best placement. What I did, was start with the vertical measurement. I made a small mark and then I measured and marked the horizontal length. I used a dry-erase marker because it wipes right off obviously.
It looked kinda off at first. It wasn't. I just took my straight edge and extended my markings. At this time, make sure your lines are level using a tool(I used my iPhone). You're going to want to have these perfect as you are going to use them as reference points for mounting.
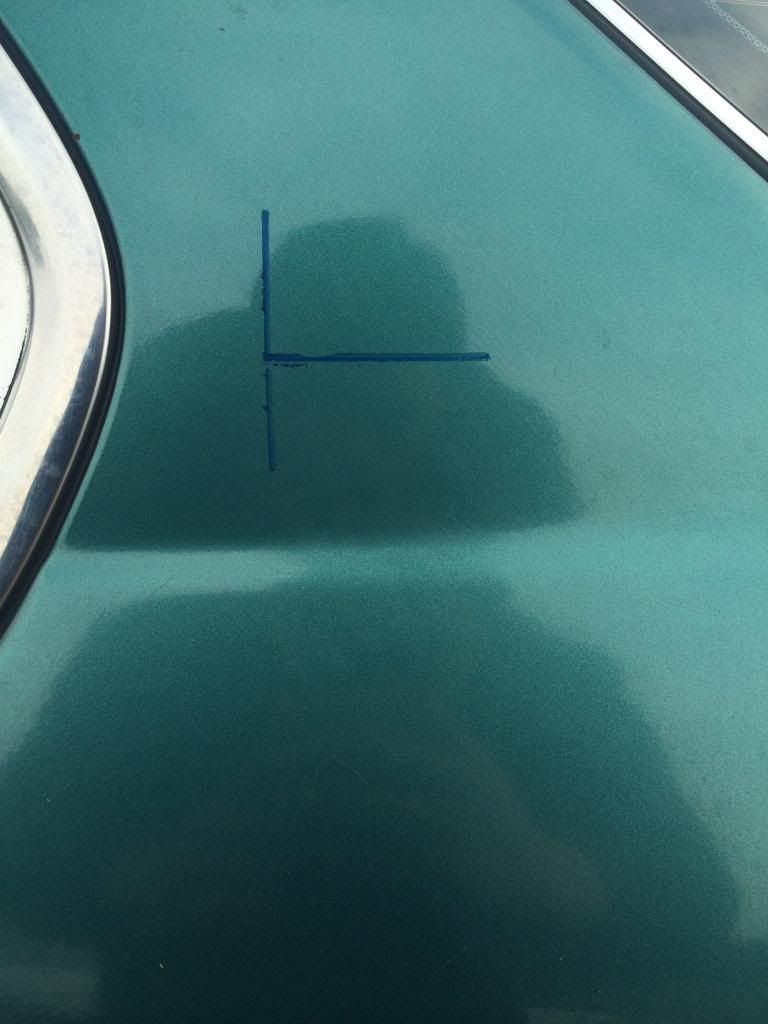
*Quick tip: Make sure you line up the marking with the VERY EDGE of the badge*
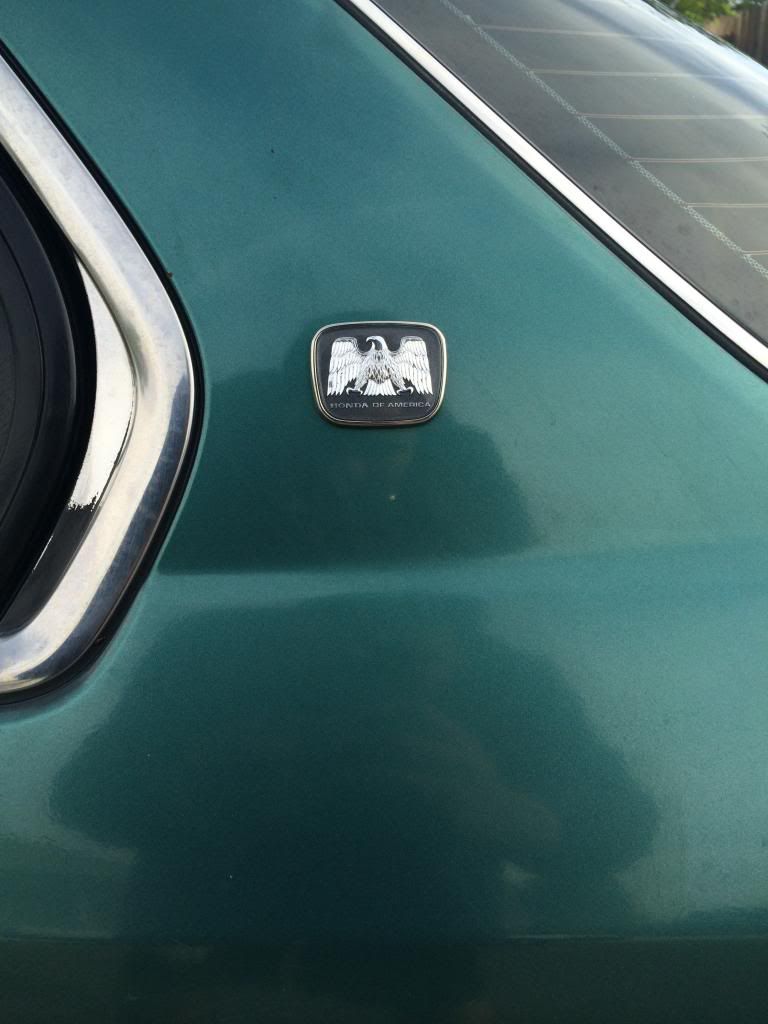
After that, slap your badge on, stand back, and enjoy your work! Not for too long though, you still have to do the other side
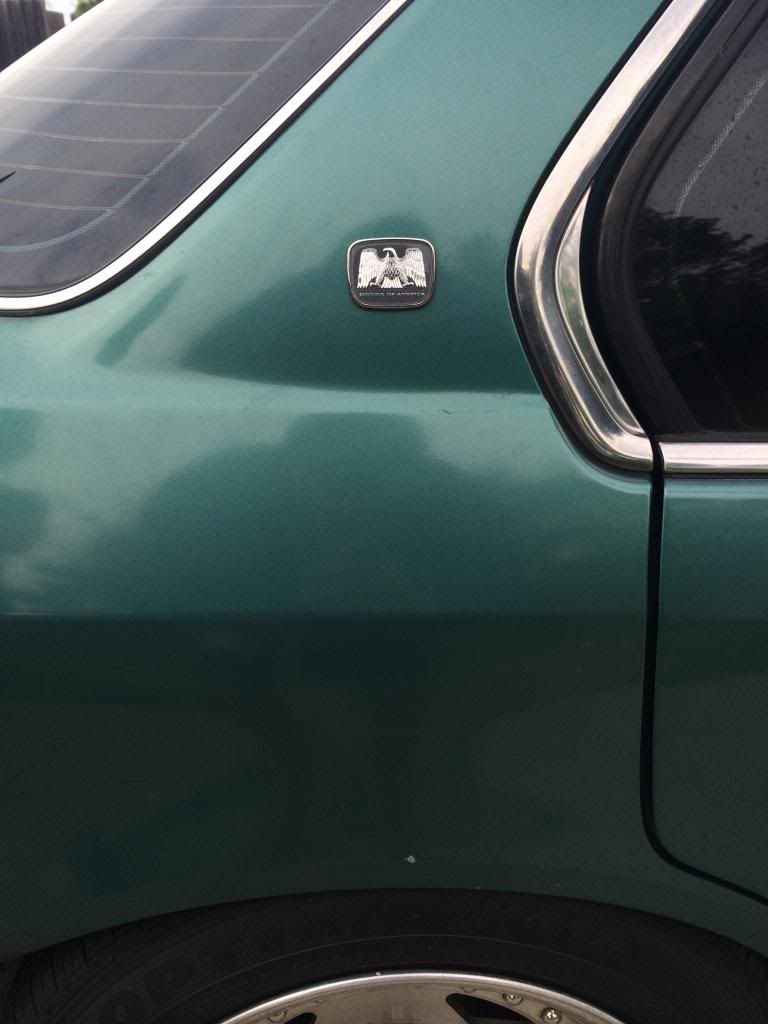
Thanks for reading! Please let me know if I missed something! I hope this helps.
Gabe
I decided to install some HoA C-Pillar badges that I got from Trevor. I'm really OCD about where it goes so I started researching OEM placement. I looked around and found some other sources but I wanted to consolidate the information into one thread. I also wanted to include how I removed the old adhesive since it seemed like a common question. Here goes.
Stuff needed:
-3M tape
-Razor Blade
-Isopropyl Alcohol
-Napkins
-Expo Marker
-Straight Edge
-Leveling Tool
Alrighty, so I started off by buying the most potent rubbing alcohol I could pick up.

Took the napkin, folded it over twice, and lightly soaked it with rubbing alcohol.

I then took the badge and began to rub the backside into the napkin. I did it
until the adhesive looked comletely saturated.

Once the glue was nice and moist, I took a small razor and proceded scrape it off. (comes off really easily when wet)


You should be able to get almost all of the glue off in one pass. If it doesn't come off completely, rub the glue into the napkin again and keep on scraping.
*BE CAREFUL DON'T SCRATCH THE BADGE WITH THE RAZOR*
I was able to get all of it off with 2 passes. Super easy. If you're OCD like me and you need every last spec of old glue cleaned off, you can take the soaked napkin and spot clean the remaining sticky parts(rubs off easy).
BEFORE/AFTER


Got every last spec off

Now that I had a clean badge to work with, I was able to start to put the 3M on. The stuff I used comes in a roll and is 10 bucks at autozone.

Used the same razor, cut some pieces, and stuck them on. I tried to cover as much area as possible.

Alrighty, badge clean, new tape on, now we're ready to install the badge. This is where I did the most homework. I found another thread that had this picture. It was perfect.

The only speedbump I ran into, was that the measurements were in millimeters. Most of us are Americans and the closest thing we have to the Metric System is my tape measure in centimeters(maybe im just speaking for myself, lol).
For you math n00bs, take the measurement in millimeters, divide by 10, and you've got centimeters. (Psssst! Move the decimal over once to the left.) Magic.
I also found it kinda difficult to start taking measurements for best placement. What I did, was start with the vertical measurement. I made a small mark and then I measured and marked the horizontal length. I used a dry-erase marker because it wipes right off obviously.
It looked kinda off at first. It wasn't. I just took my straight edge and extended my markings. At this time, make sure your lines are level using a tool(I used my iPhone). You're going to want to have these perfect as you are going to use them as reference points for mounting.

*Quick tip: Make sure you line up the marking with the VERY EDGE of the badge*
After that, slap your badge on, stand back, and enjoy your work! Not for too long though, you still have to do the other side


Thanks for reading! Please let me know if I missed something! I hope this helps.
Gabe





Comment