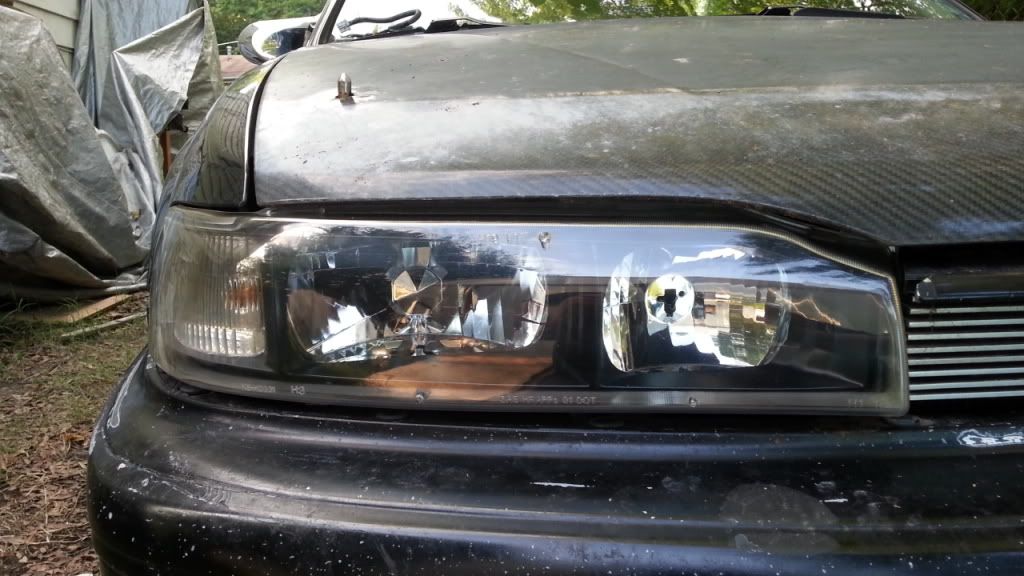
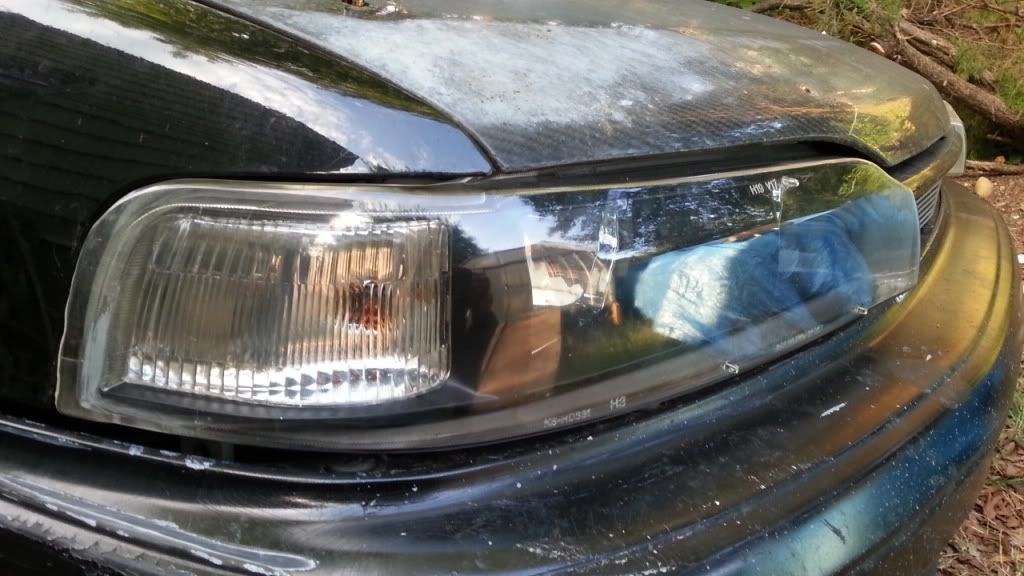
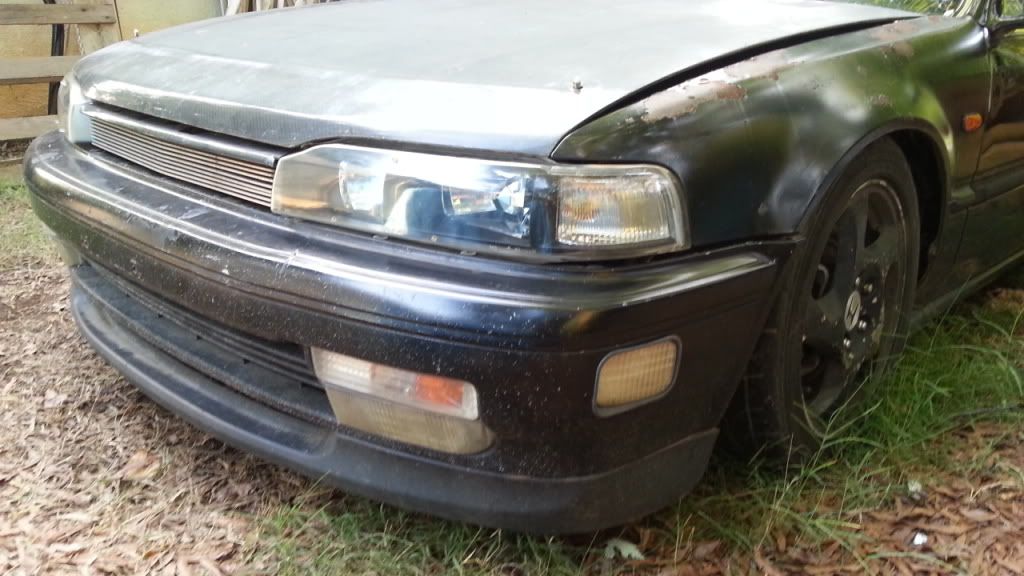
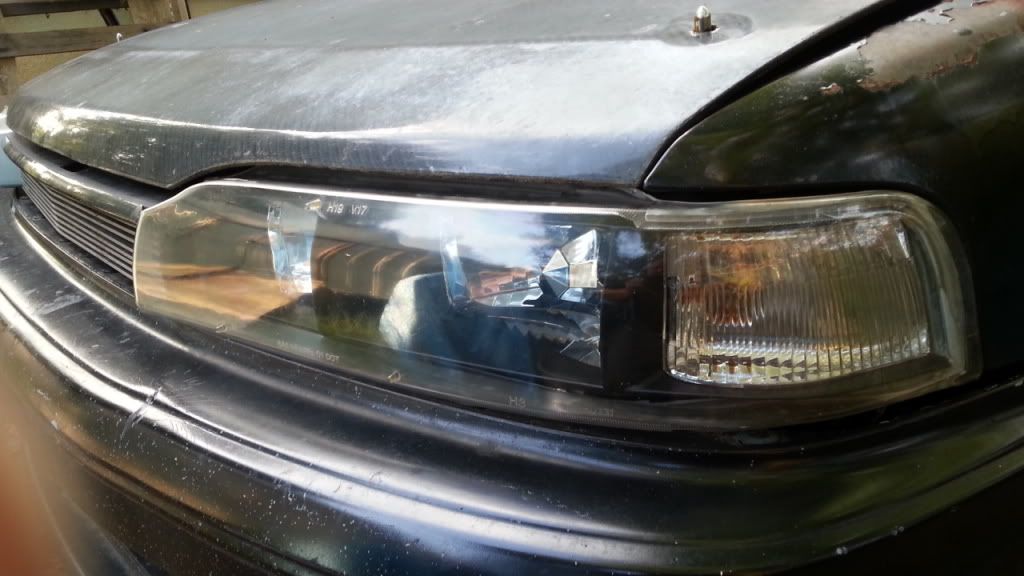
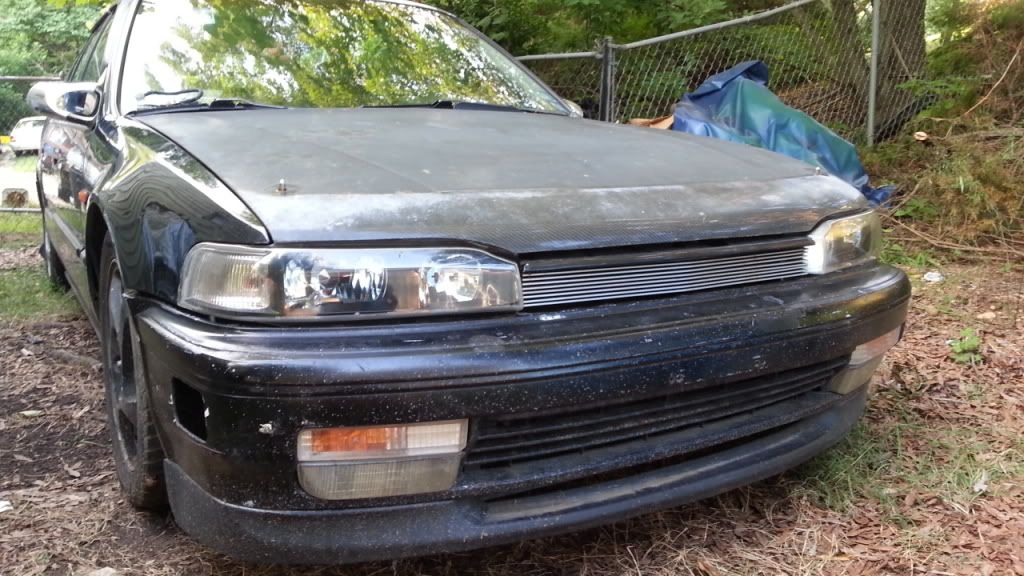
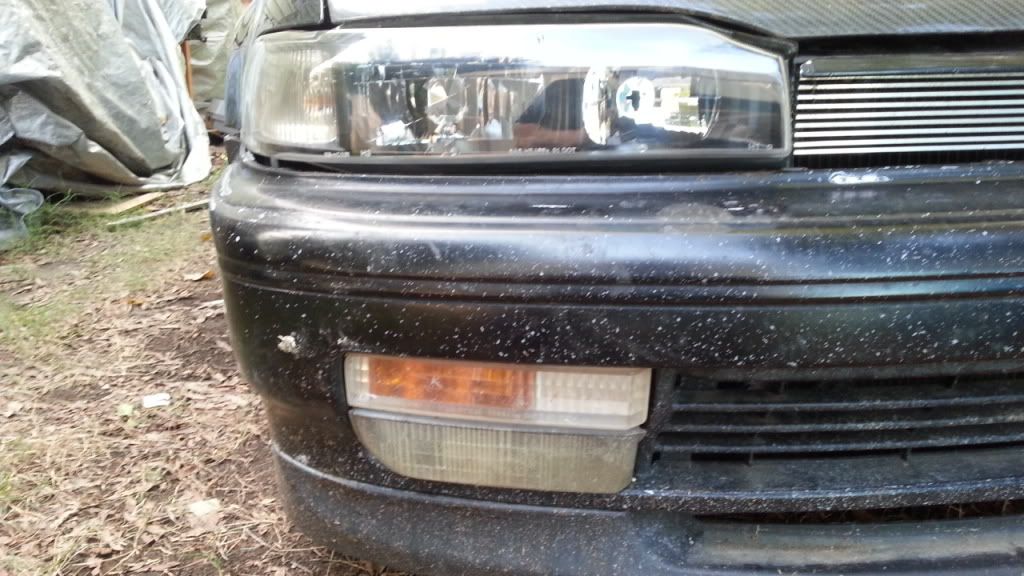
So, I have had a spare set of One-Piecers for quite some time, due to the driver's side lens being broken. I decided to try and fix them with a side marker lens. (See THREAD) Well, I didn't like the look and happened to stumble upon some of those EBAY crap headlights at the junkyard and the wheels started turning in my head.
Items needed:
- Jdm One-Piece headlights (I did the pair, so they match)
- EBAY One-Piece projector headlight lenses
- Clear silicon or grey tail light sealant from Nissan Dealer
- Headlight Polish
- Microfiber Towel
- Painters Tape (If black housing)
- Black paint (Optional)
- Silver Paint (Optional)
Tools Needed:
- Flat tip Screwdrivers
- Dremel
- Tie strap
- Heat Gun
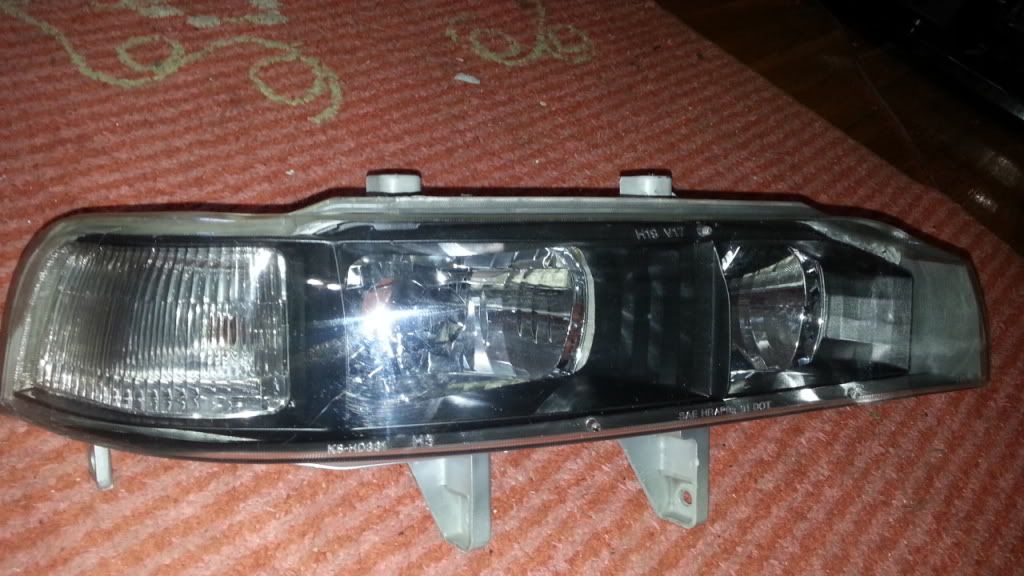
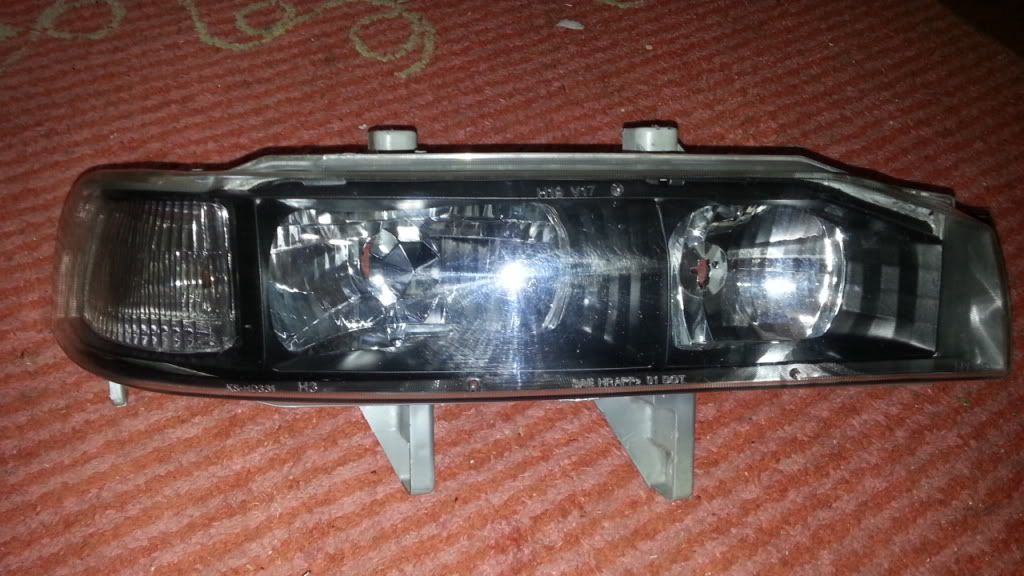
1. Remove both sets of lenses and set aside. Here is a side by side comparison of the two:
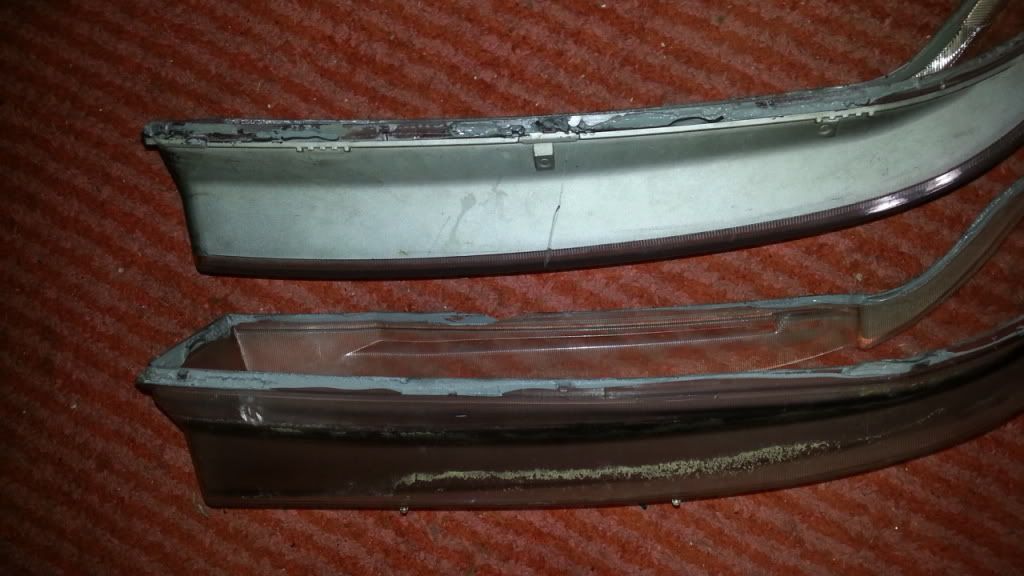
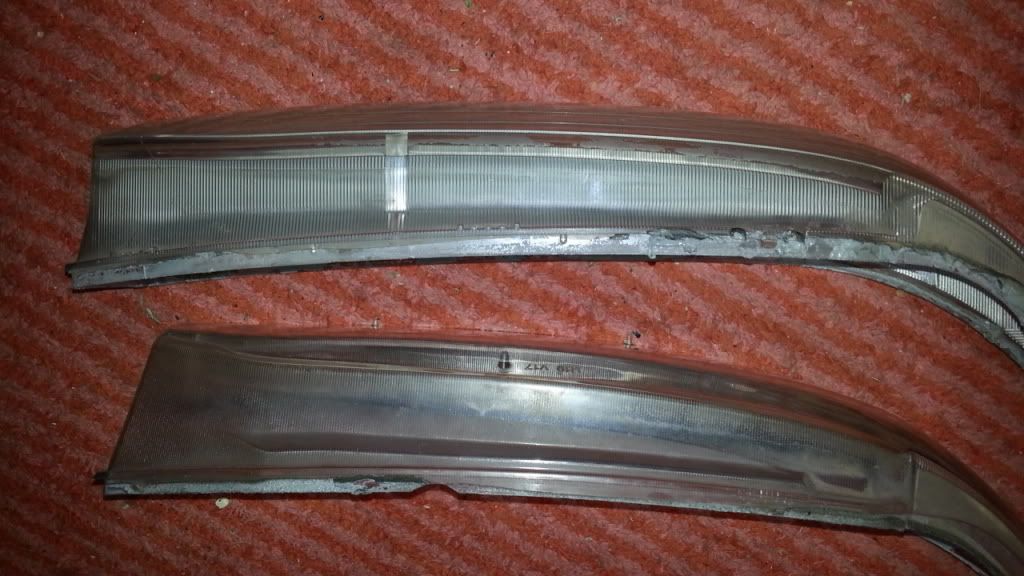
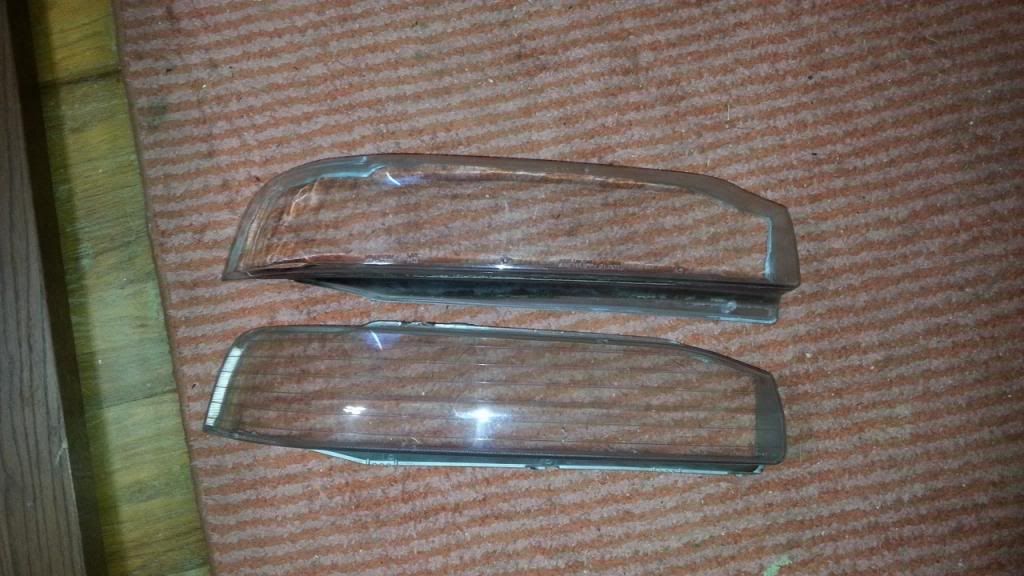
Pretty close. Here are some close-ups, so you can see the differences:
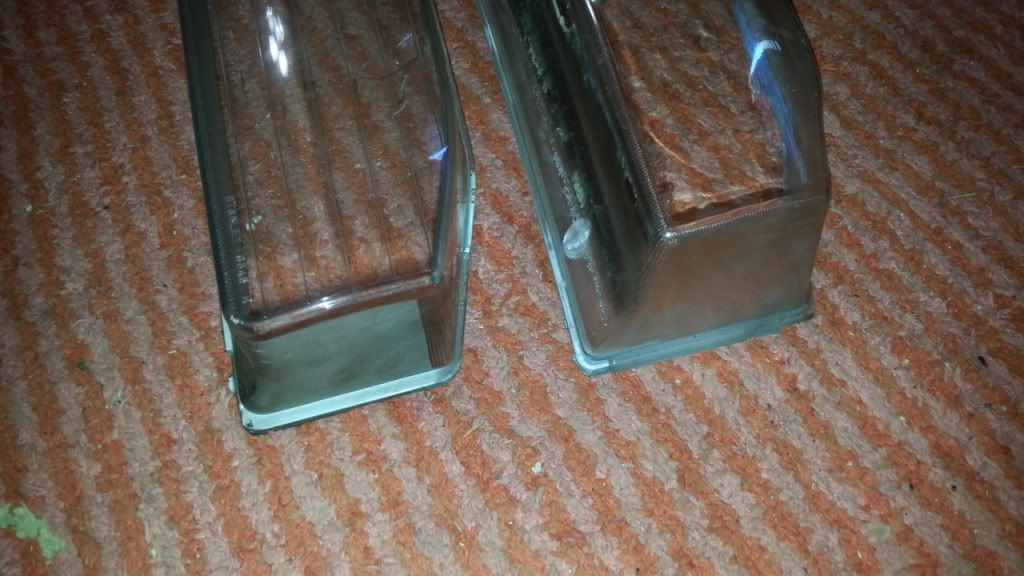
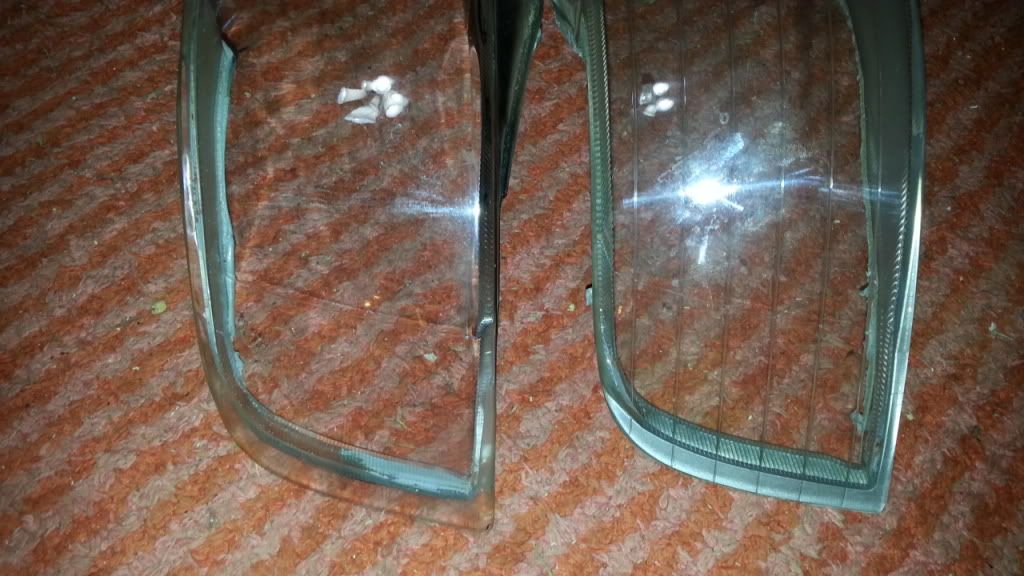
2. Now you have to trim the nipples from the new lenses.
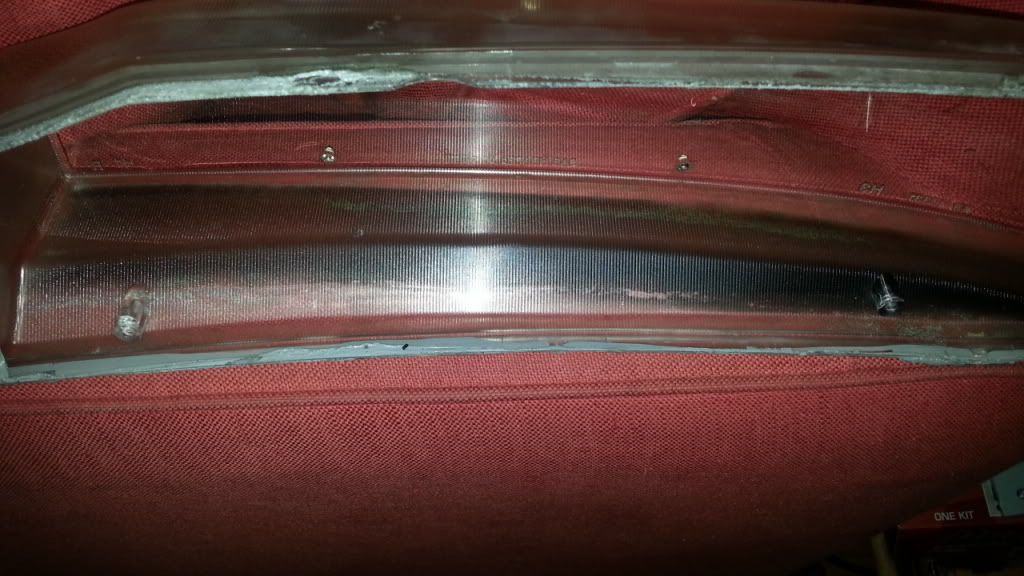
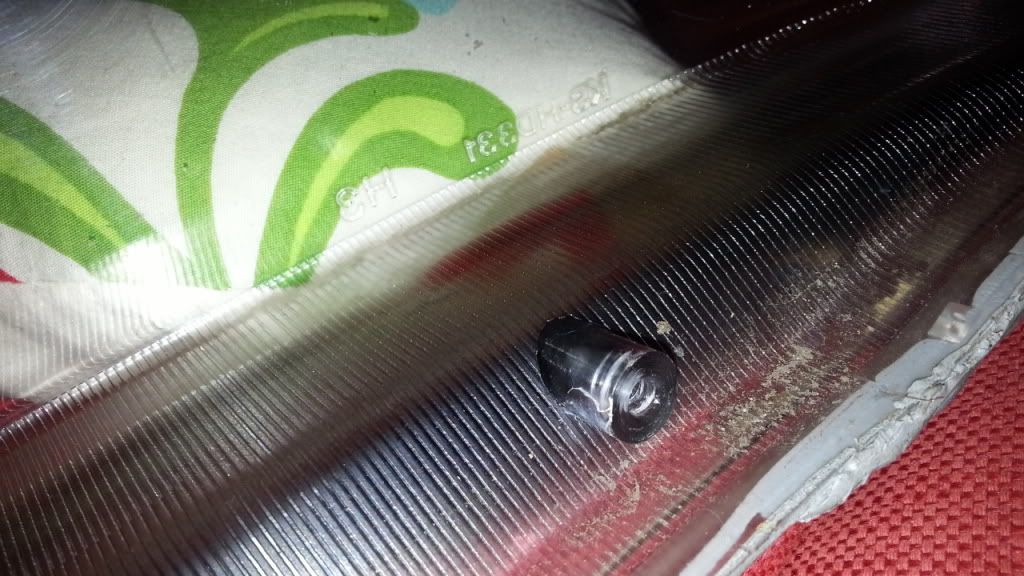
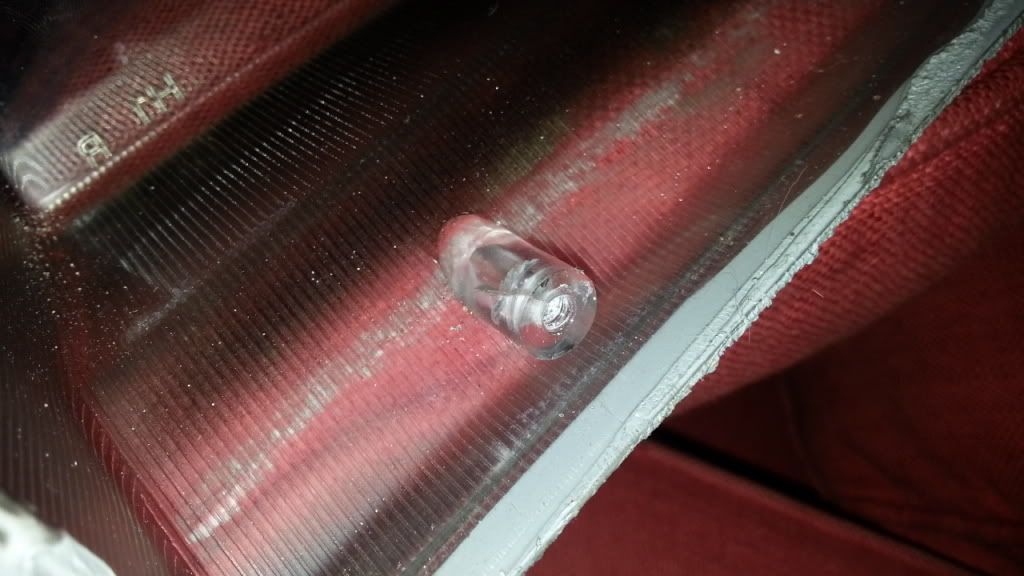
Here they are trimmed:
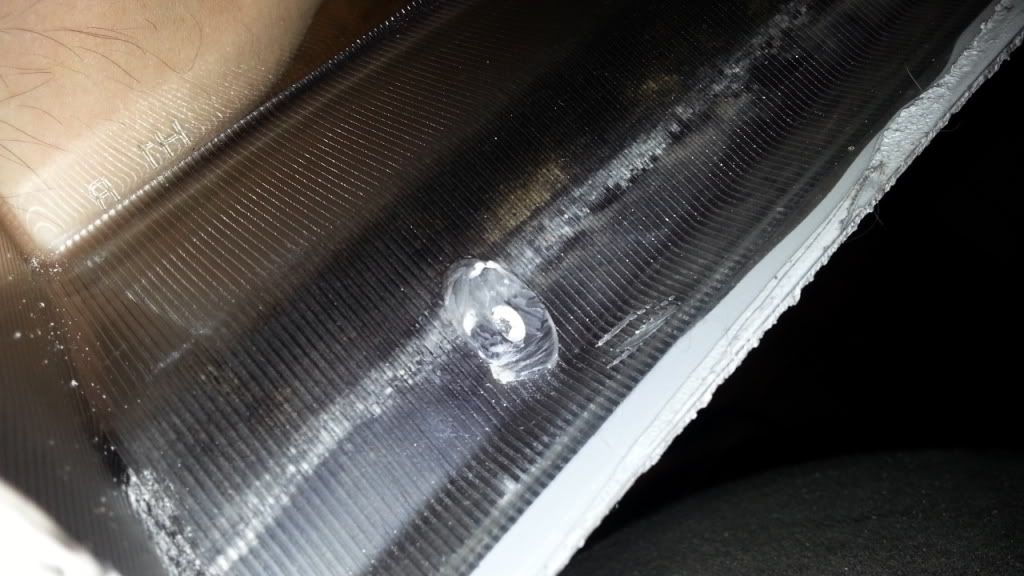
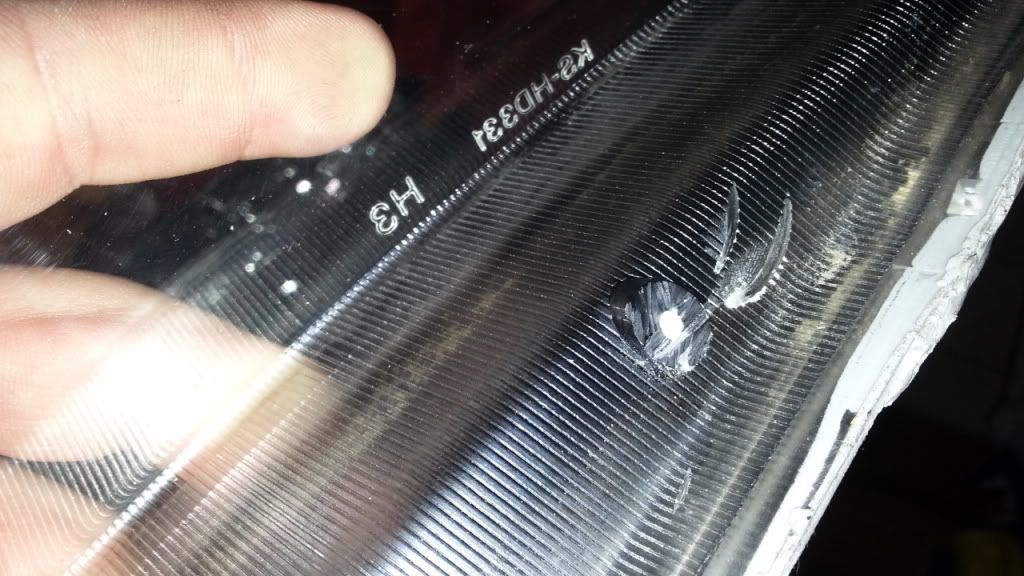
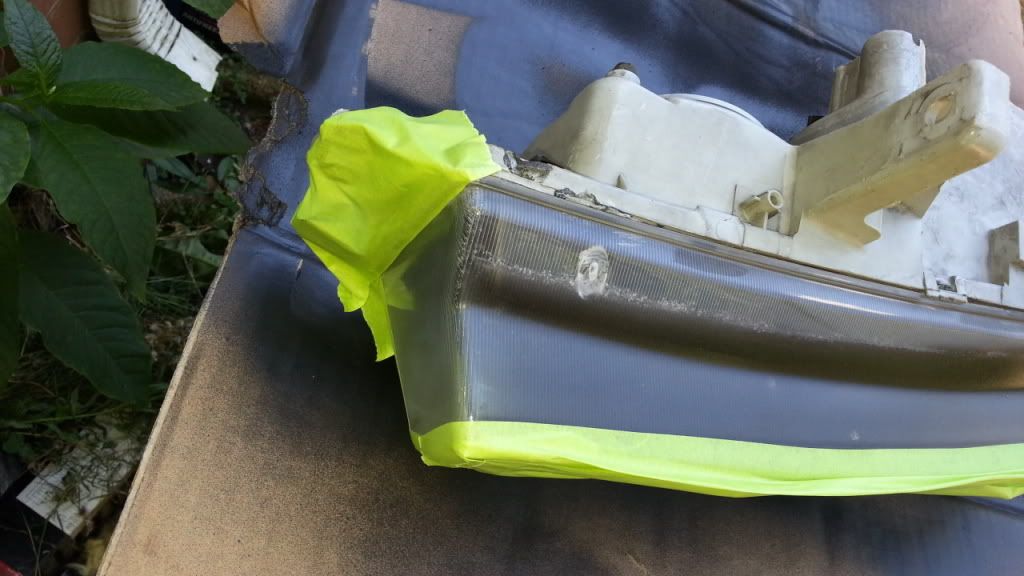
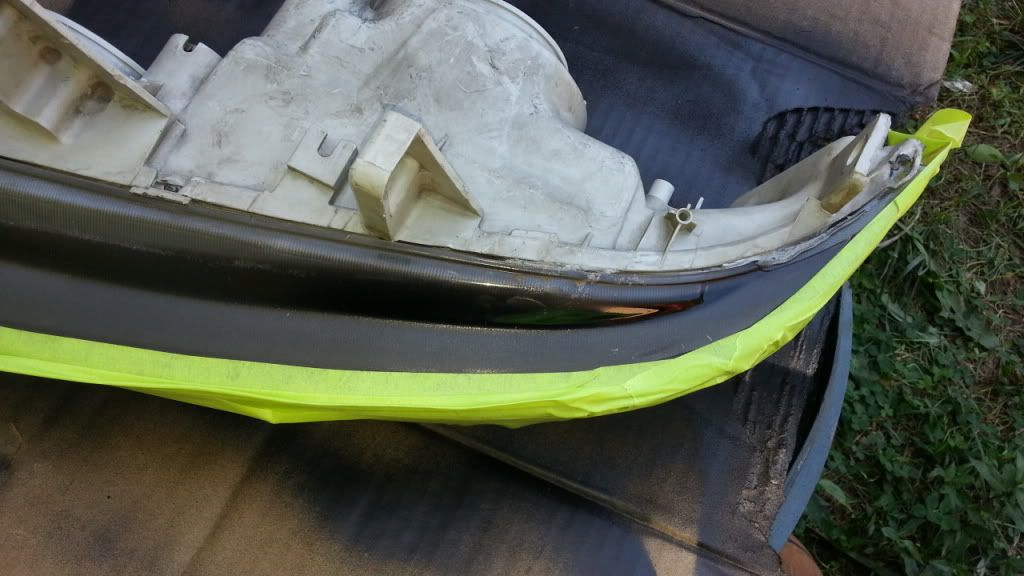
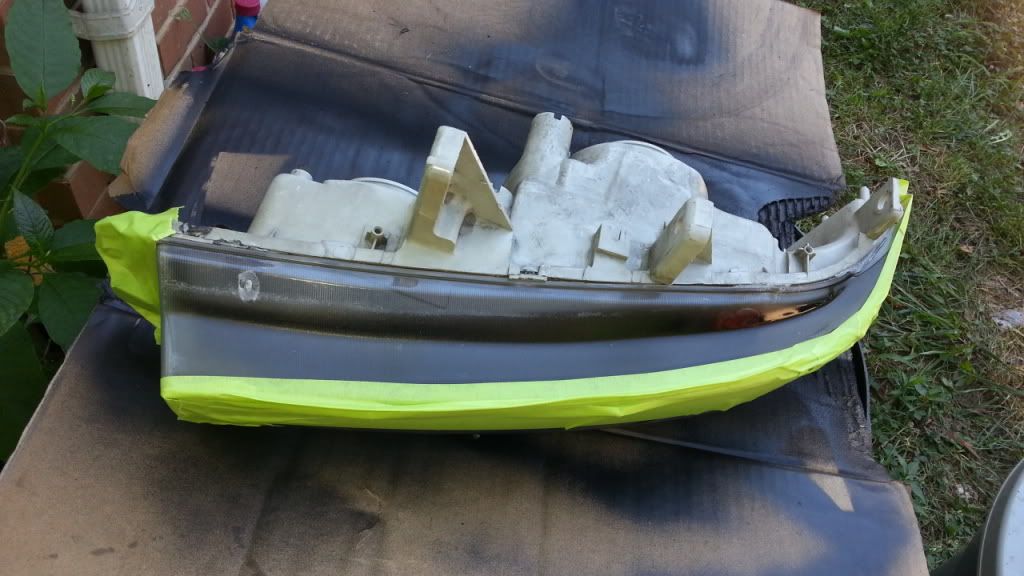
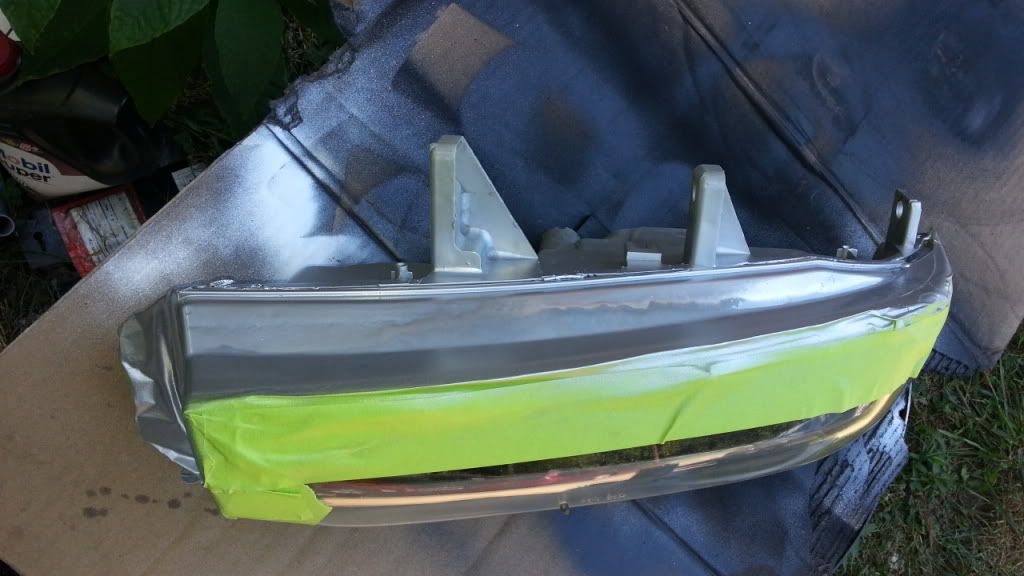
3. Optional step. Mask and paint the inside trim piece black. Let dry.
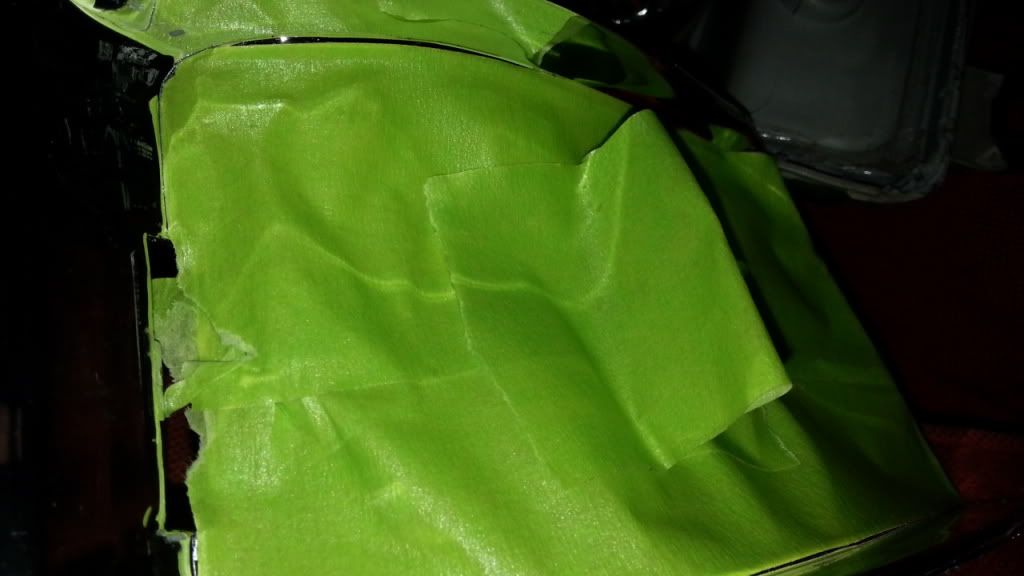
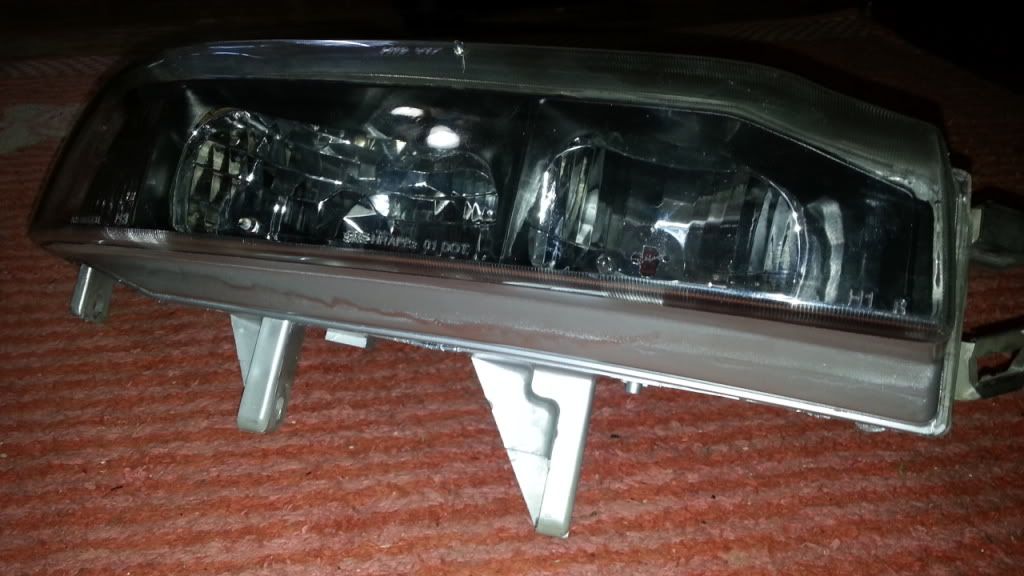
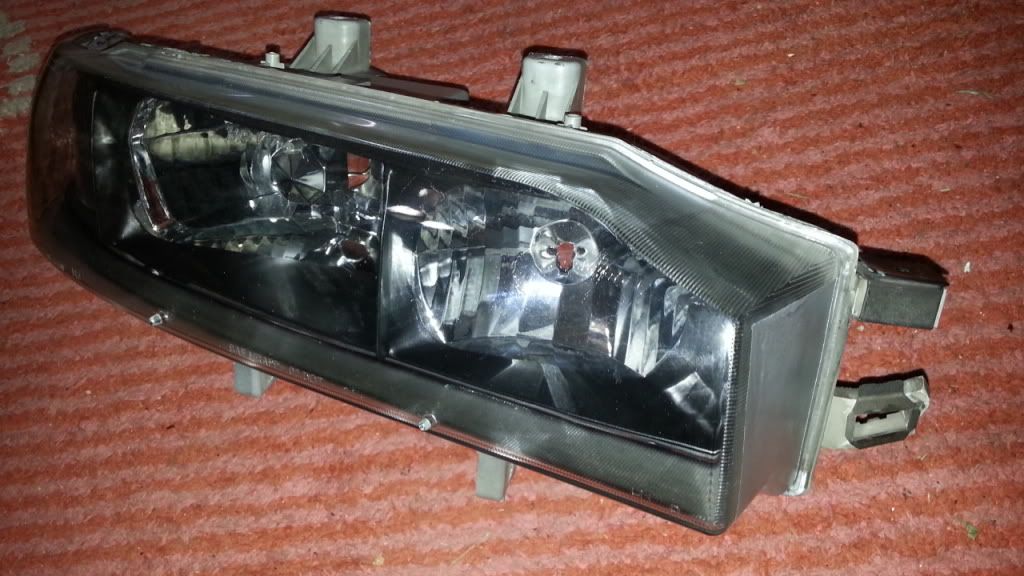
Test fit. Nice.
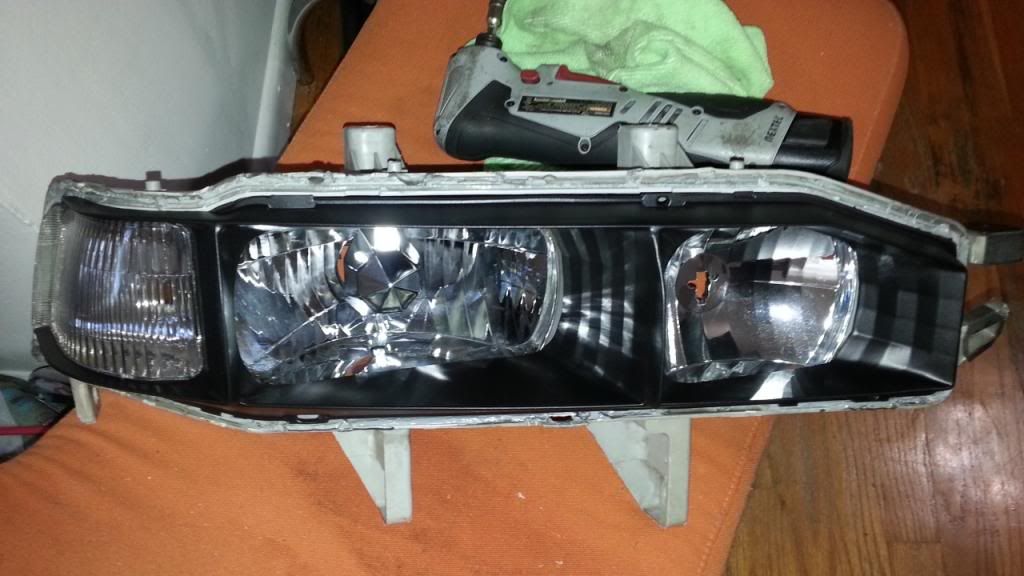
4. This is by far the hardest part of this DIY. Fitting the new lens to the JDM backs. You want to start at the corner light side and bottom. Finish off at the inside, upper corner, where you will have to notch the corner.
This is the corner that will be notched:
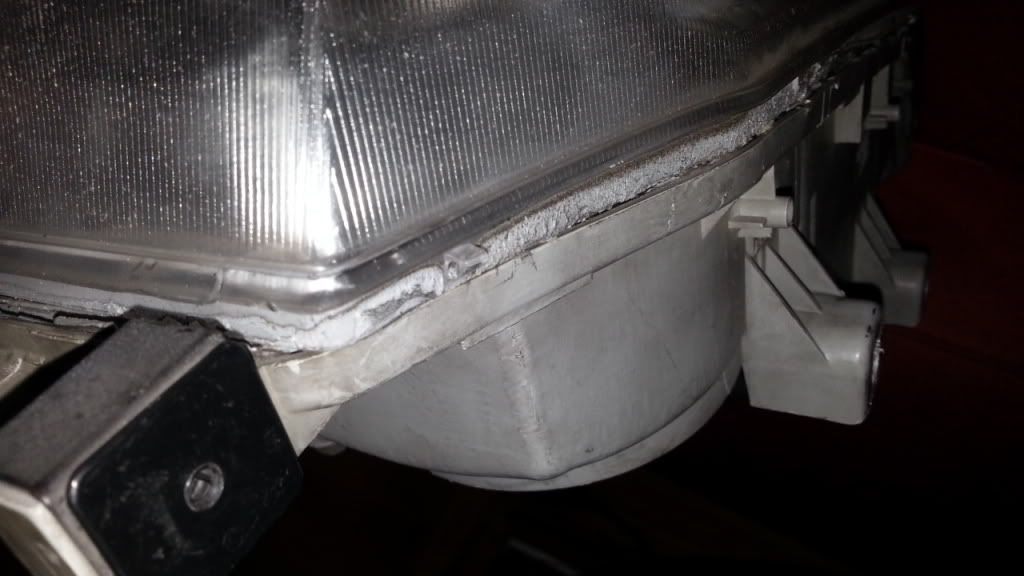
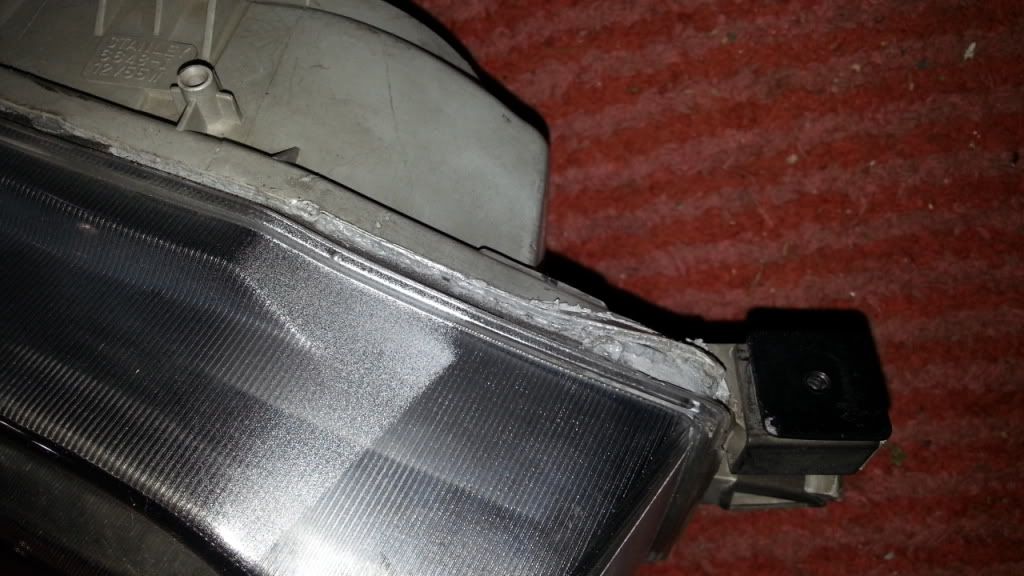
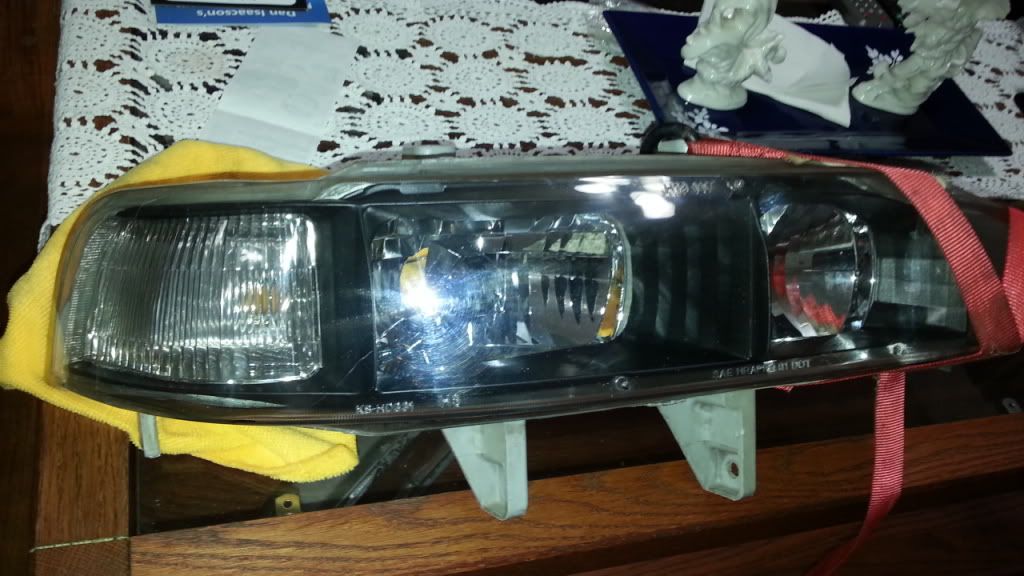
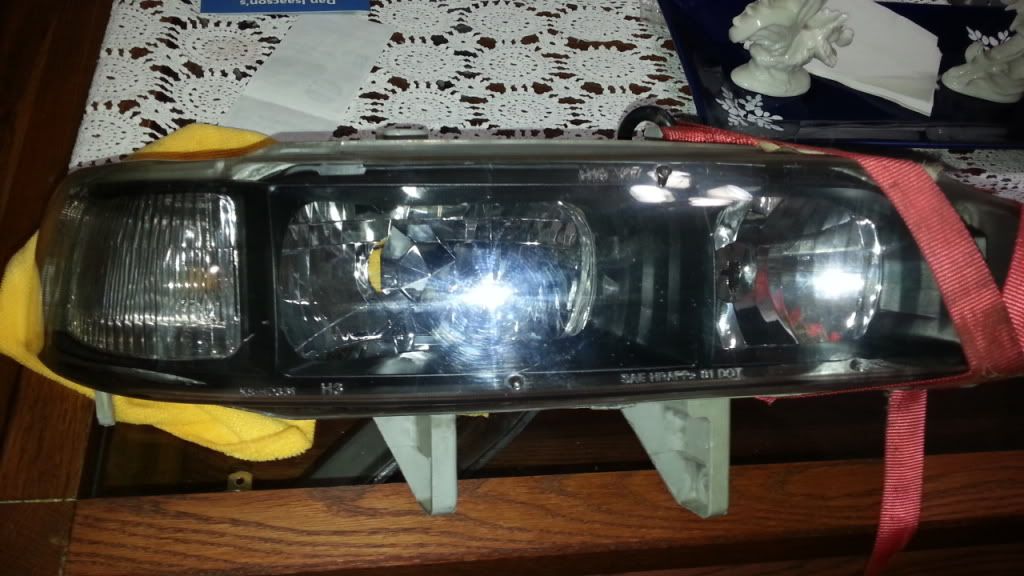
Clean the inside of the lens and all the chrome withe the microfiber towel. Be careful to not scratch the finish on the chrome.Use plenty of silicon or grey sealant for tail lights around the entire edge. Use the heat gun to heat it up and then push it together.
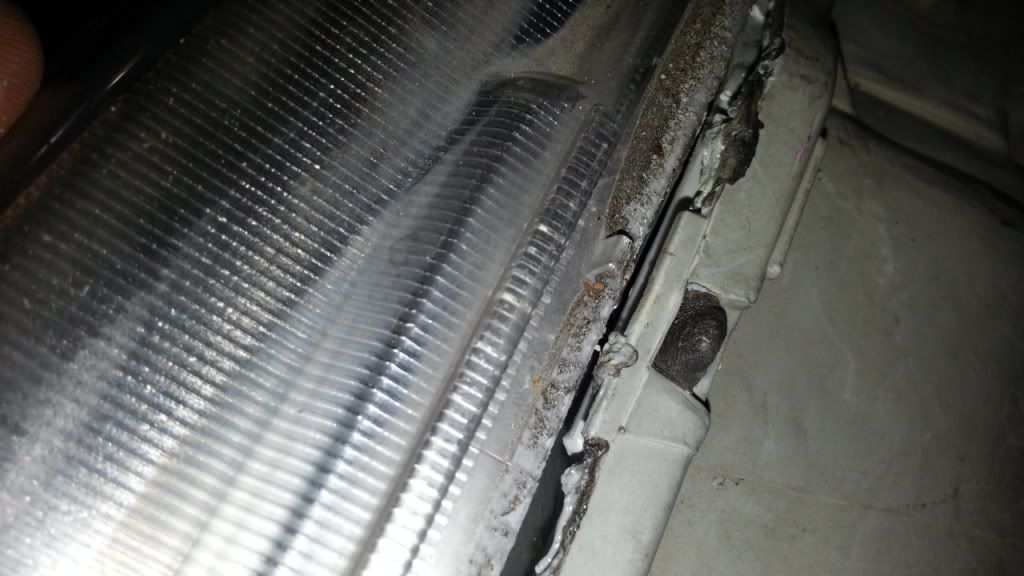
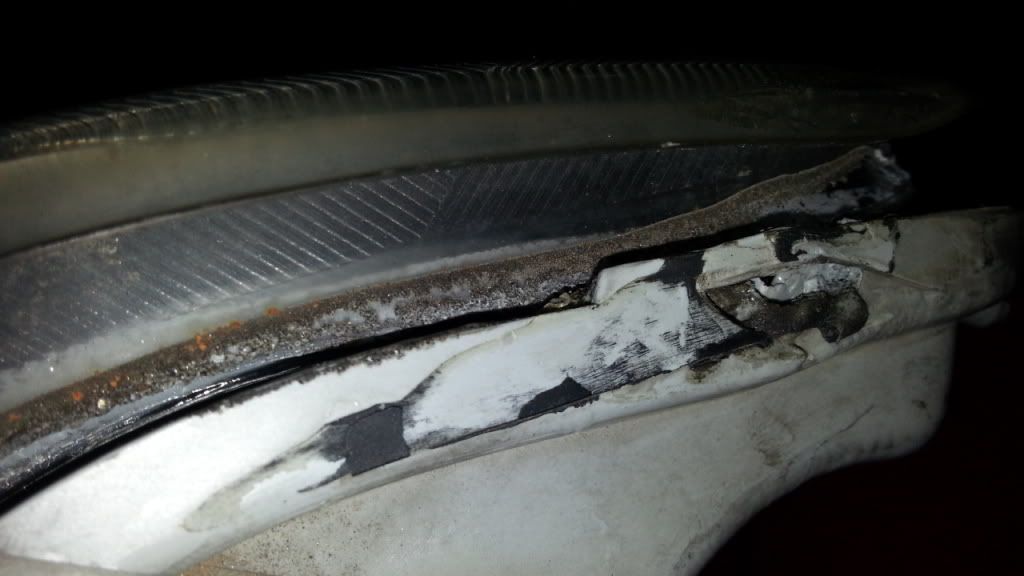
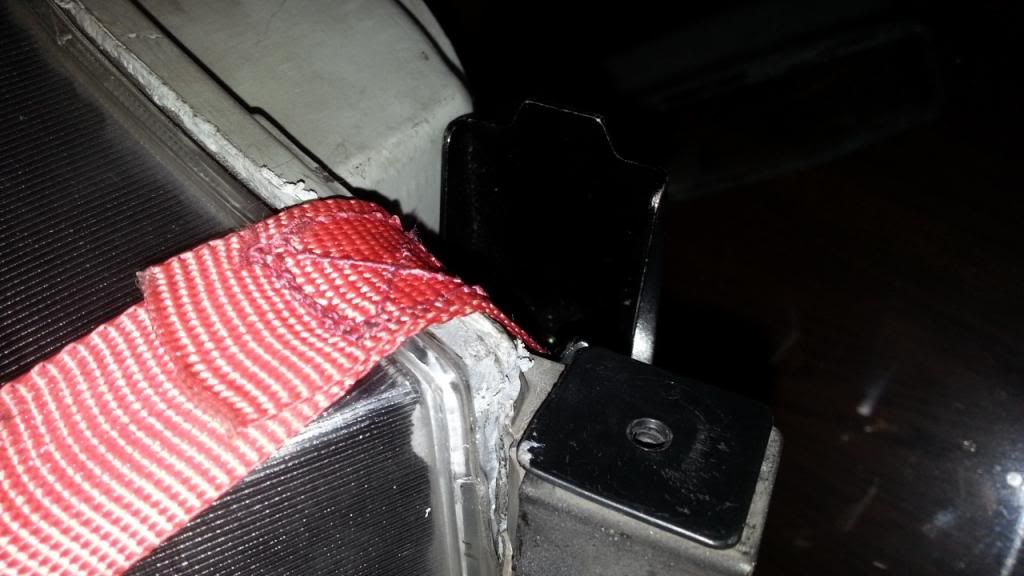
When you get to the last corner, notch it like this, then heat it up good and use the strap to secure it in.
Items needed:
- Jdm One-Piece headlights (I did the pair, so they match)
- EBAY One-Piece projector headlight lenses
- Clear silicon or grey tail light sealant from Nissan Dealer
- Headlight Polish
- Microfiber Towel
- Painters Tape (If black housing)
- Black paint (Optional)
- Silver Paint (Optional)
Tools Needed:
- Flat tip Screwdrivers
- Dremel
- Tie strap
- Heat Gun
1. Remove both sets of lenses and set aside. Here is a side by side comparison of the two:


Pretty close. Here are some close-ups, so you can see the differences:


2. Now you have to trim the nipples from the new lenses.


Here they are trimmed:


3. Optional step. Mask and paint the inside trim piece black. Let dry.

Test fit. Nice.

4. This is by far the hardest part of this DIY. Fitting the new lens to the JDM backs. You want to start at the corner light side and bottom. Finish off at the inside, upper corner, where you will have to notch the corner.
This is the corner that will be notched:

Clean the inside of the lens and all the chrome withe the microfiber towel. Be careful to not scratch the finish on the chrome.Use plenty of silicon or grey sealant for tail lights around the entire edge. Use the heat gun to heat it up and then push it together.


When you get to the last corner, notch it like this, then heat it up good and use the strap to secure it in.






Comment