ok thought while i was doing this project that i would take step by step pics and post em for those that want to do the same 
first off i prepped and painted the trims while on the car because i wasn't sure on how to remove them and i didn't want to risk damaging the paint or any clips that might be holding them on.
Products used:
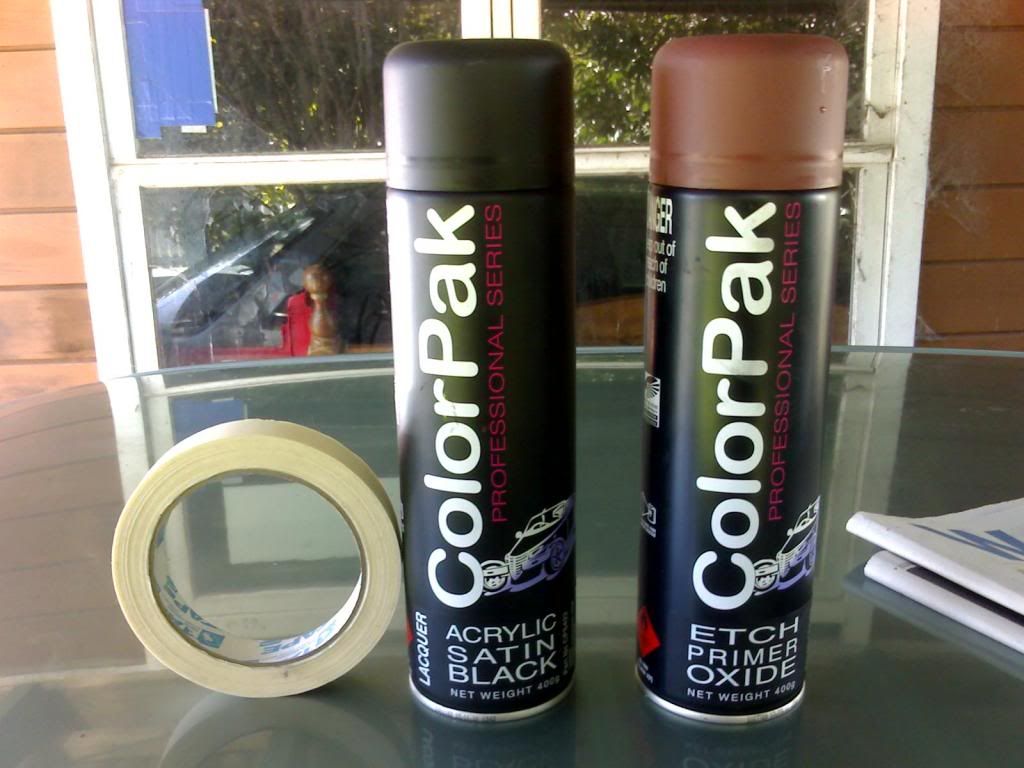
and this which is an alcohol based cleaner about %100 alcohol:
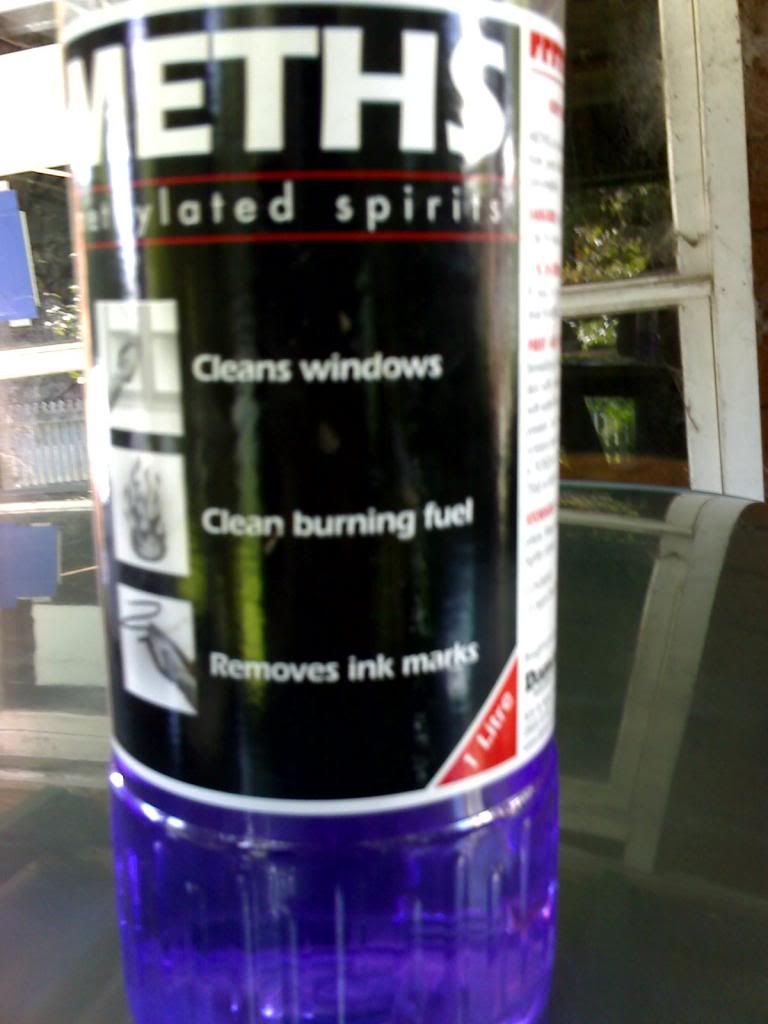
and 400 Grit sandpaper
and also a lot of news paper to cover around the areas i dont want to get over spray on.
BEFORE PICS:
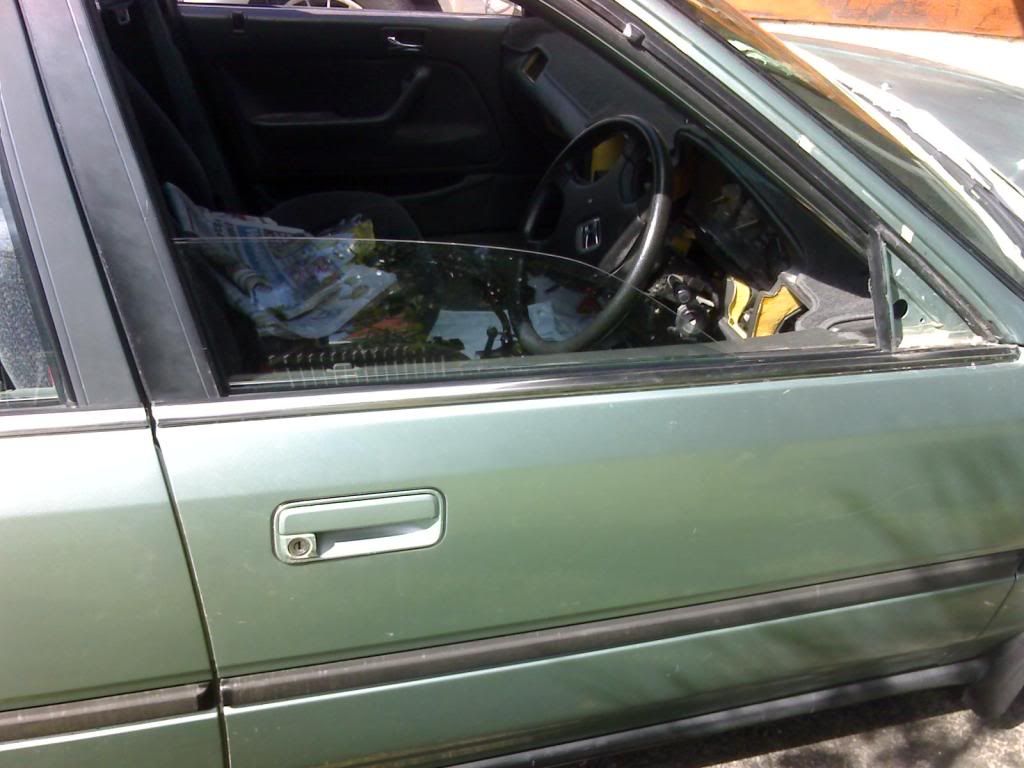
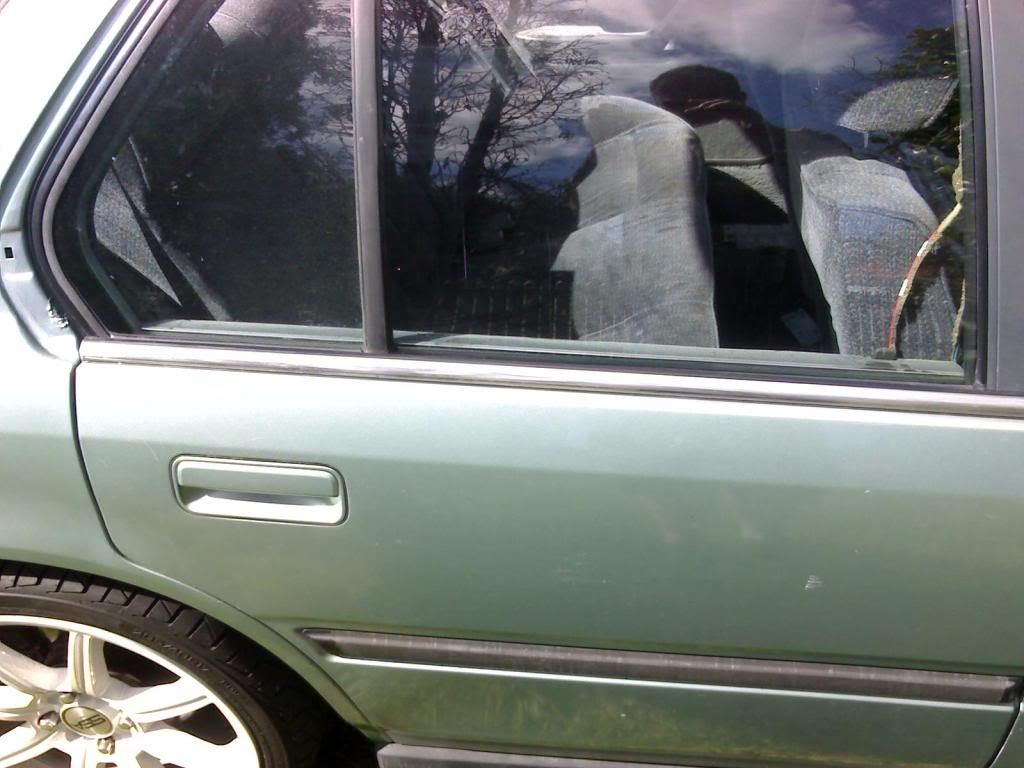
First i removed the side mirrors then masked off around the trim so when i sanded them it wouldnt touch the paint work taking care to keep the tape as close to the edge of the rubber as possible...you only want the chrome exposed. I used 400 grit and scuffed the chrome till the shine had gone: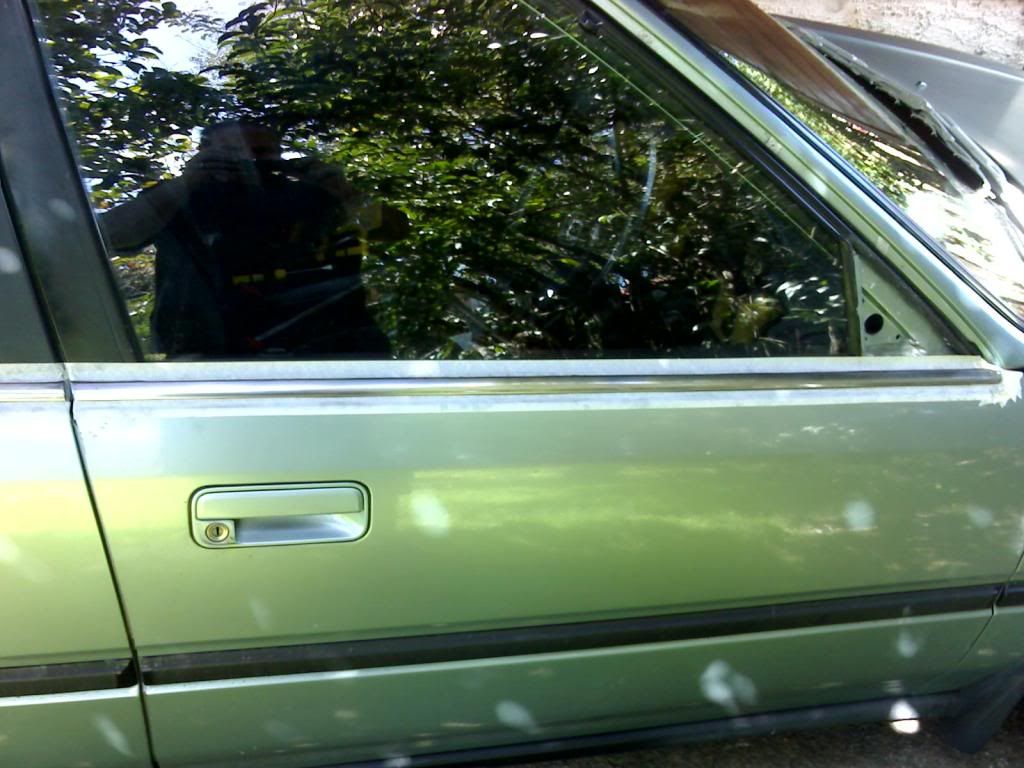
Once the trim had been scuffed back i cleaned them down using the Alcohol based cleaner to remove any dirt and grease then i continued to cover the area around the trim with news paper making sure to tape up any holes or gaps so as to avoid any over spray on the paint work: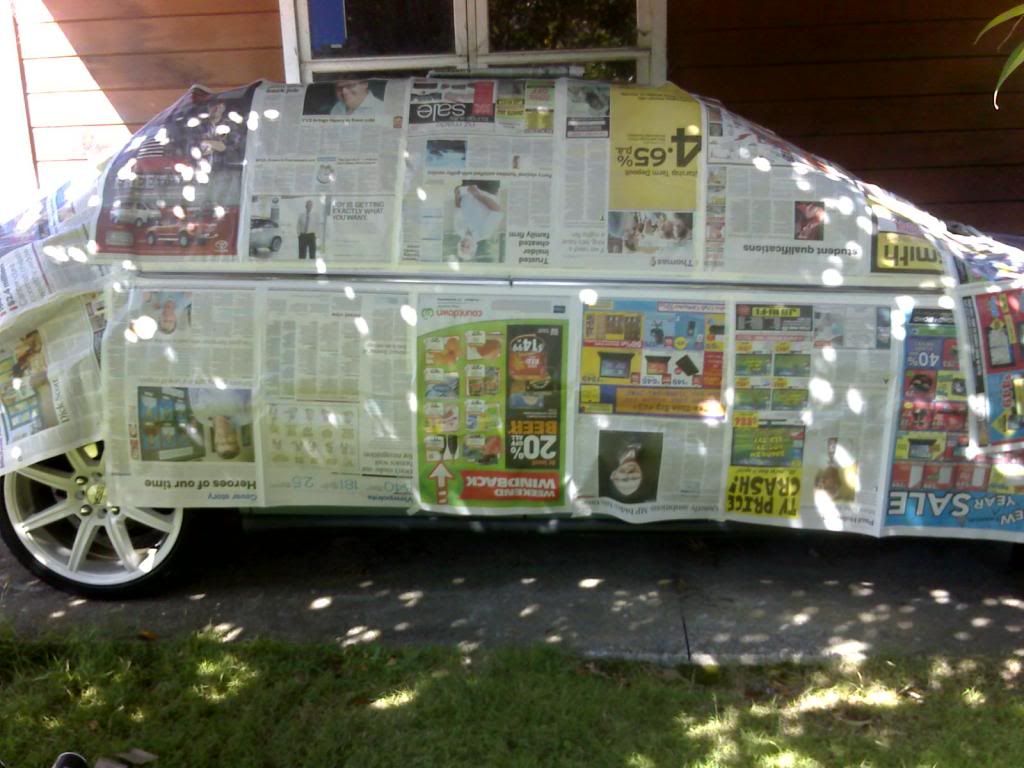
Once happy that i had covered everything i gave the trim one last wipe down with a clean cloth then started priming making sure to do even level passes and also bee fussy and look real close as it is easy to have miss spots so spray from the top and again from the bottem to make sure you get right in near the rubber. When you have primed one side then switch to the other and by the time you have done the 2nd side you can do a 2nd coat on the first if you wish and then again on the 2nd side reason for the 2nd coat is so you have less chance of sanding through to the chrome again.:
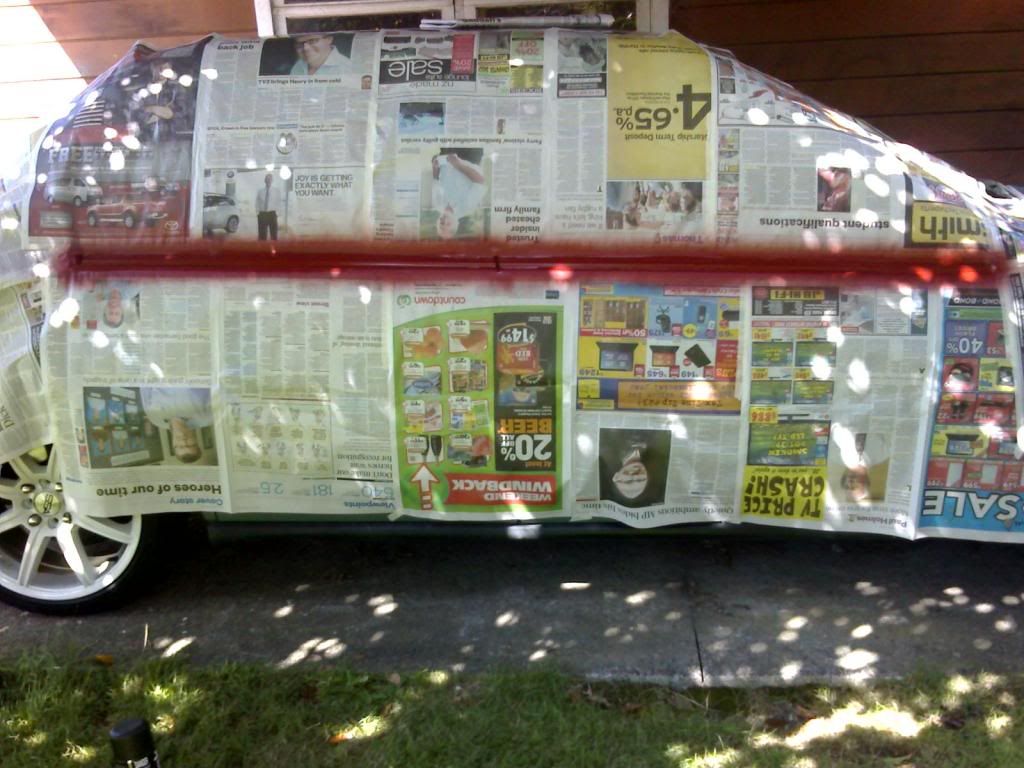
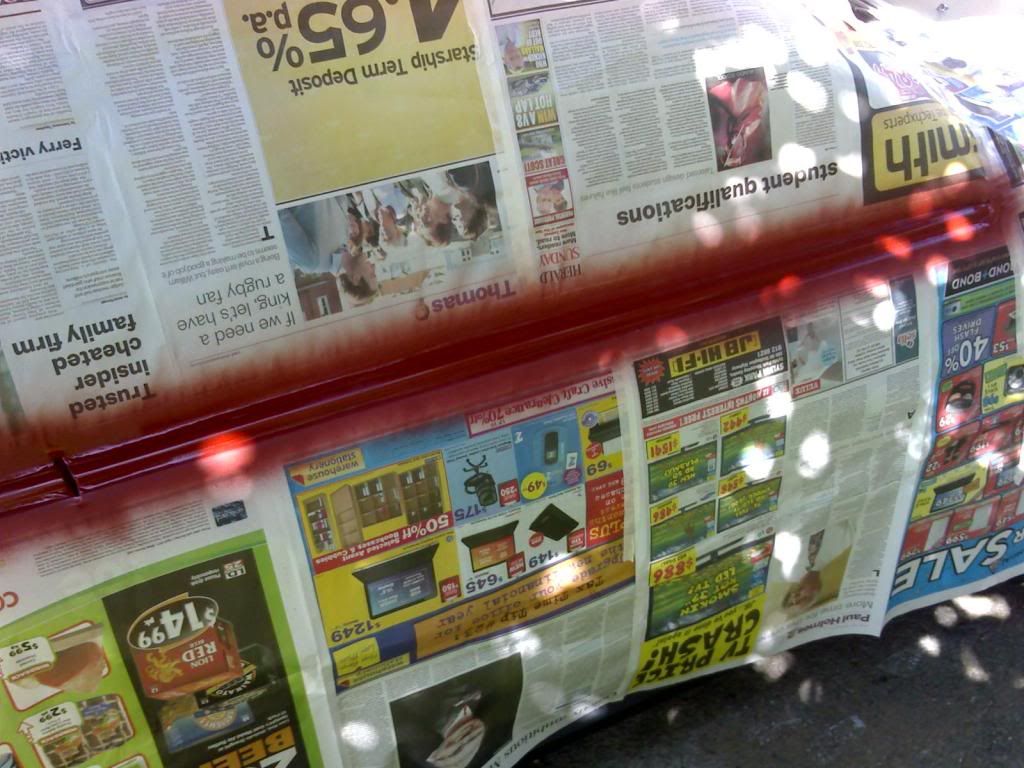
Once primed leave for maybe 30 mins giving it time to dry then lightly scuff the primed surface (i used 400 grit sandpaper) so it all looks milky being very careful you dont apply to much preasure or you will sand through the primer and then you will have to sand sand it all smooth again and reprime.
once scuffed back give the surface a wipe down again with a clean cloth to remove any dust and you are now ready for painting.
remember use the same method you used for priming when painting making sure you do even and level strokes both from the bottem and again from the top. You will definatly want to do afew coats of the colour so once you have coated one side you can move to the 2nd side then back again to the first side and you can do this as many times as you like...i did it 3 times so there is less chance of and chips going through to the chrome again:
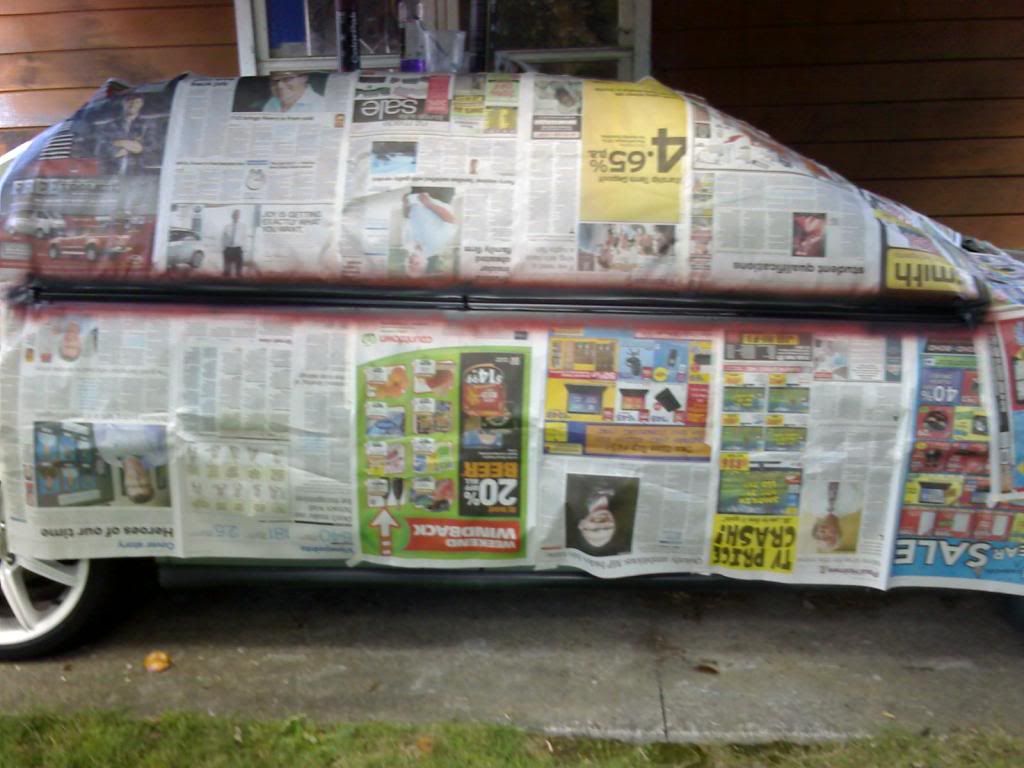
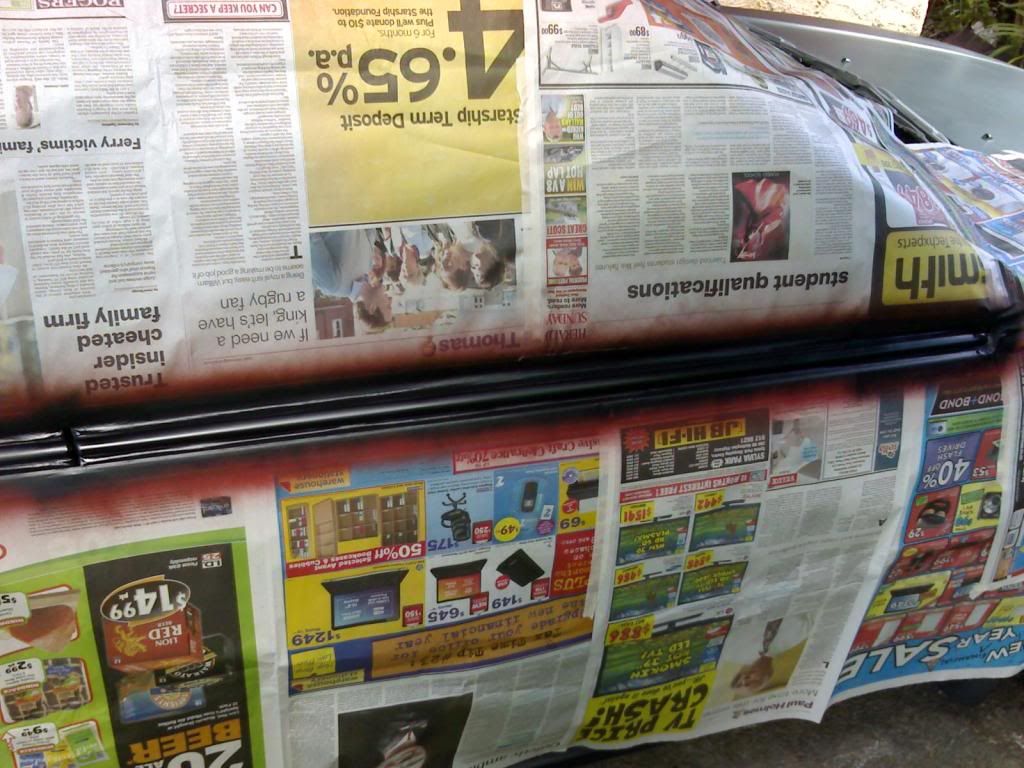
Let the paint dry for about an hour then you can very carefully remove all paper and masking tape...the reason why you dont want the paint to fully dry before you remove the masking is so that it wont crack or peal. ..remember take your time removing the tape there is no speed record to be made.
as for the top of the trim you can remove the 2 parts real easy..there is one screw on the front and many clips attaching it to the roof on the first part but being vary careful and taking your time these clips can be removed with out damaging them to much with a flat head screw driver and a soft rag to put between the screw driver and the roof for leverage so then the clips can be reused. the rear part of the top trim only has 4 screws holding it in. For the rear part of the trim it is possible to remove all the rubber from it if you are very careful and once the trim is painted the rubber can be glued back on. The reason for all the rubber removal is because rubber flexes and so any paint on it can crack. So really apply the same methods to the removed trim pieces as you have for the chrome trim on the doors.
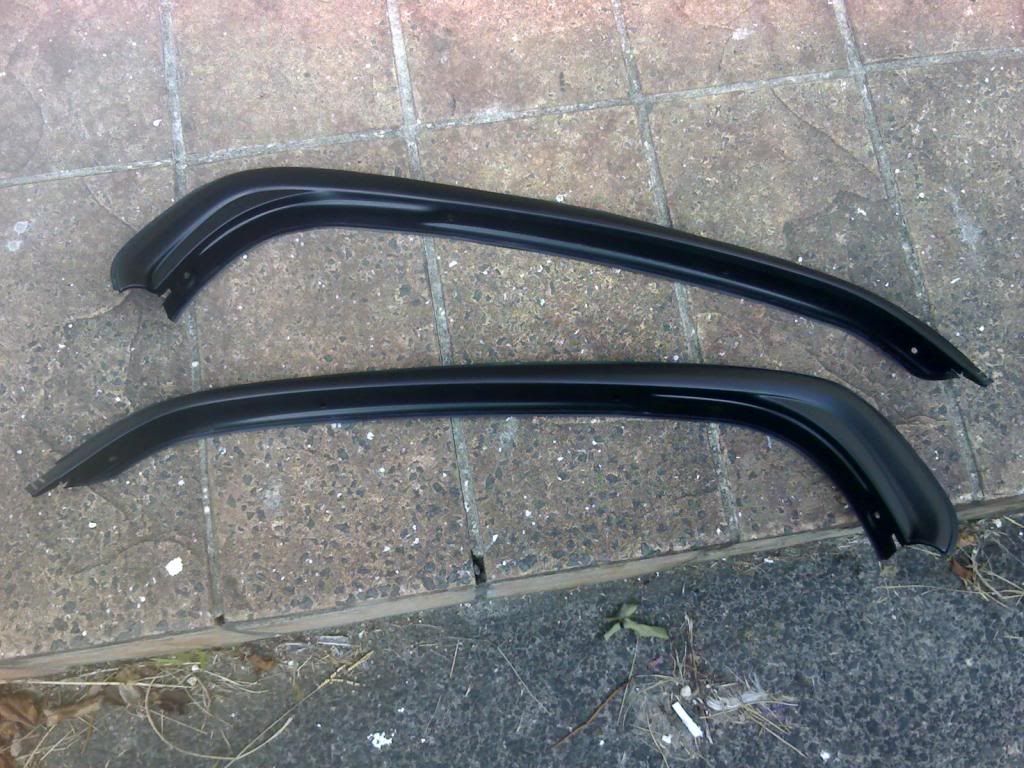
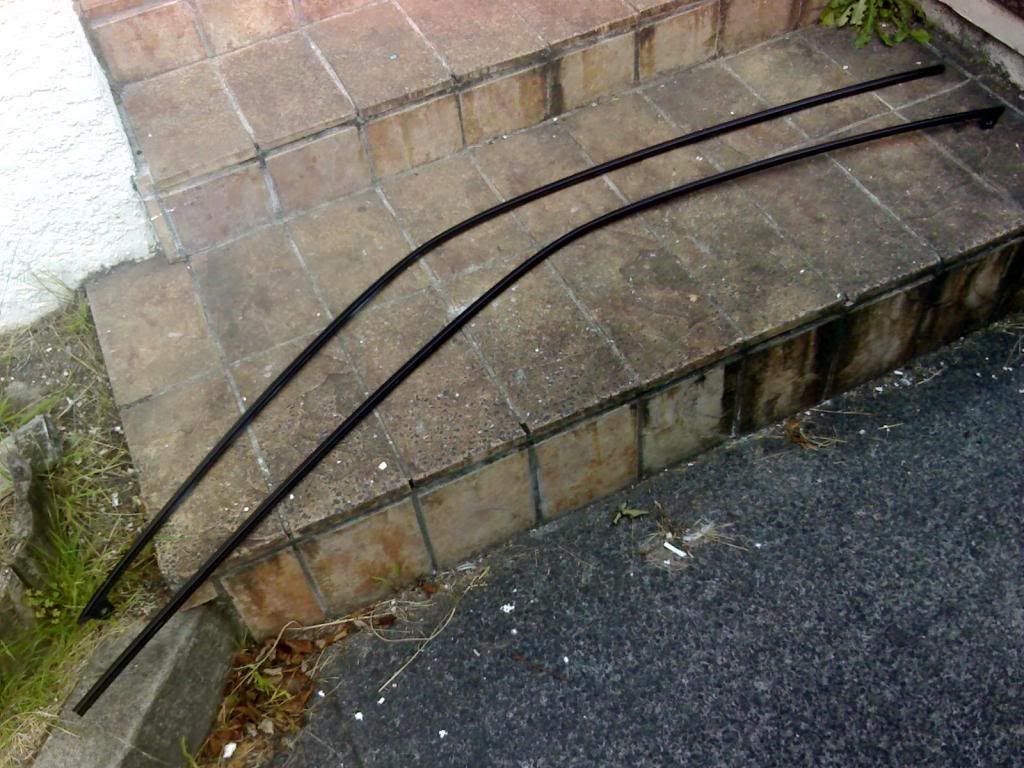
When you goto put the removed trim back on use Silicone and apply alot of it around the clip holes and it would be a good idea to get someone to help you holding the long trim while you start by screwing in the front screw loosely so you can align the clips..once aligned push them in leaving the last 2-3 clips loose so you can slide in the rear part of the molding.
Once rejoined push the rest of the clips in and start to screw in the rear trim then finish screwing in the front screw:
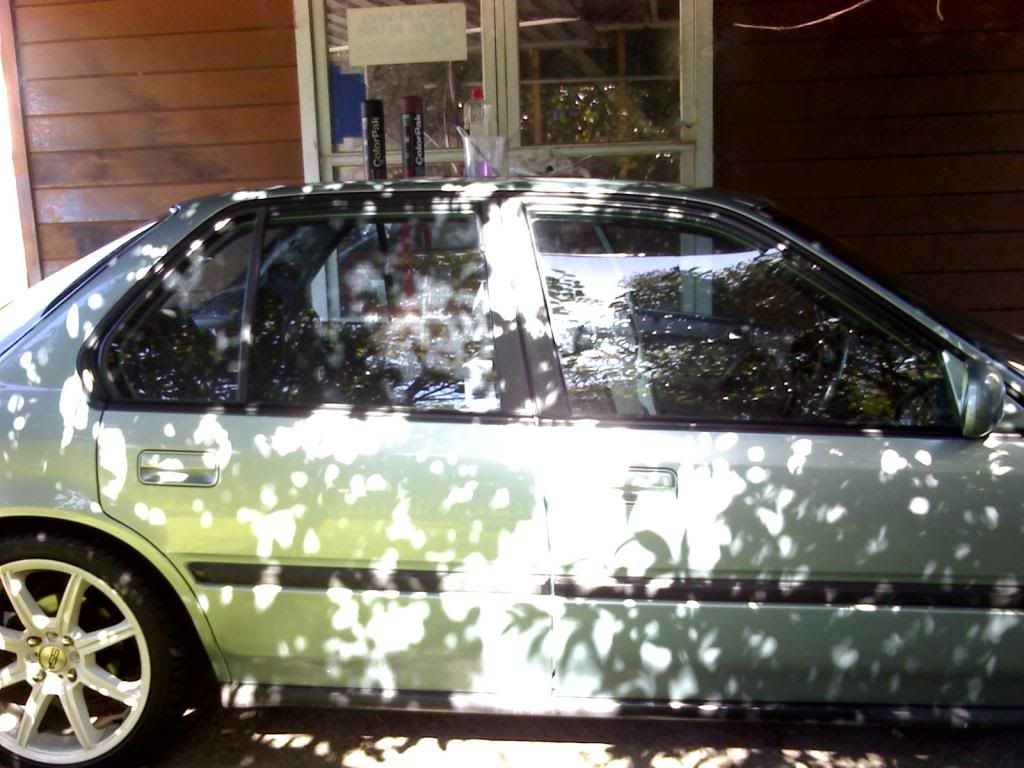
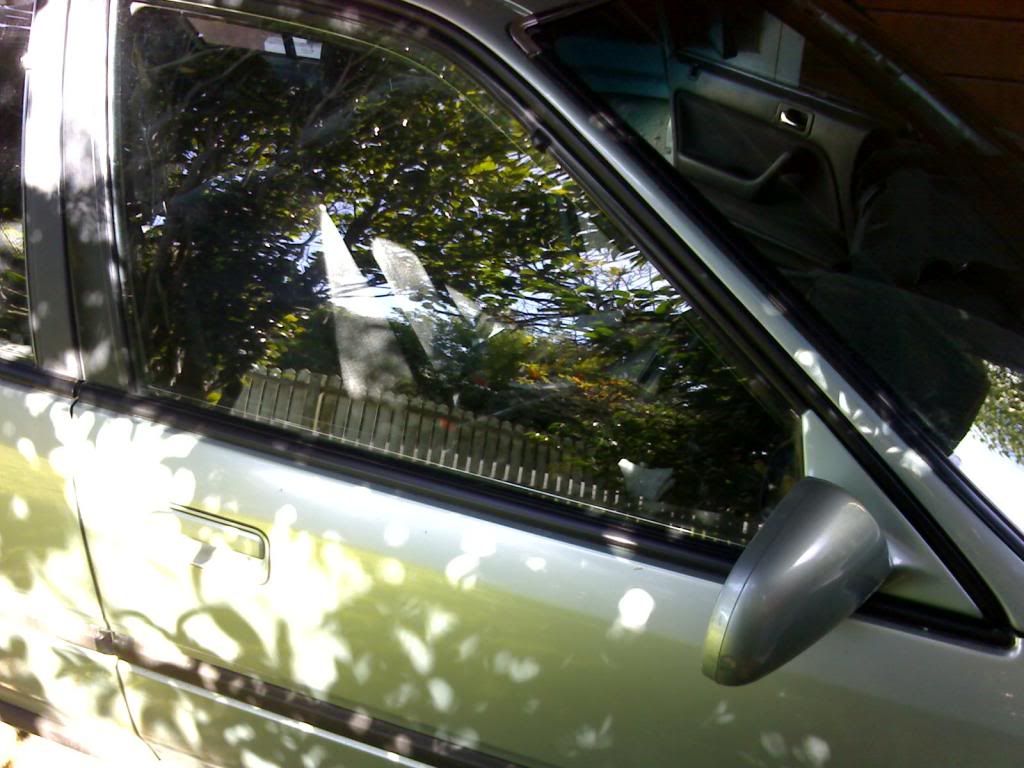
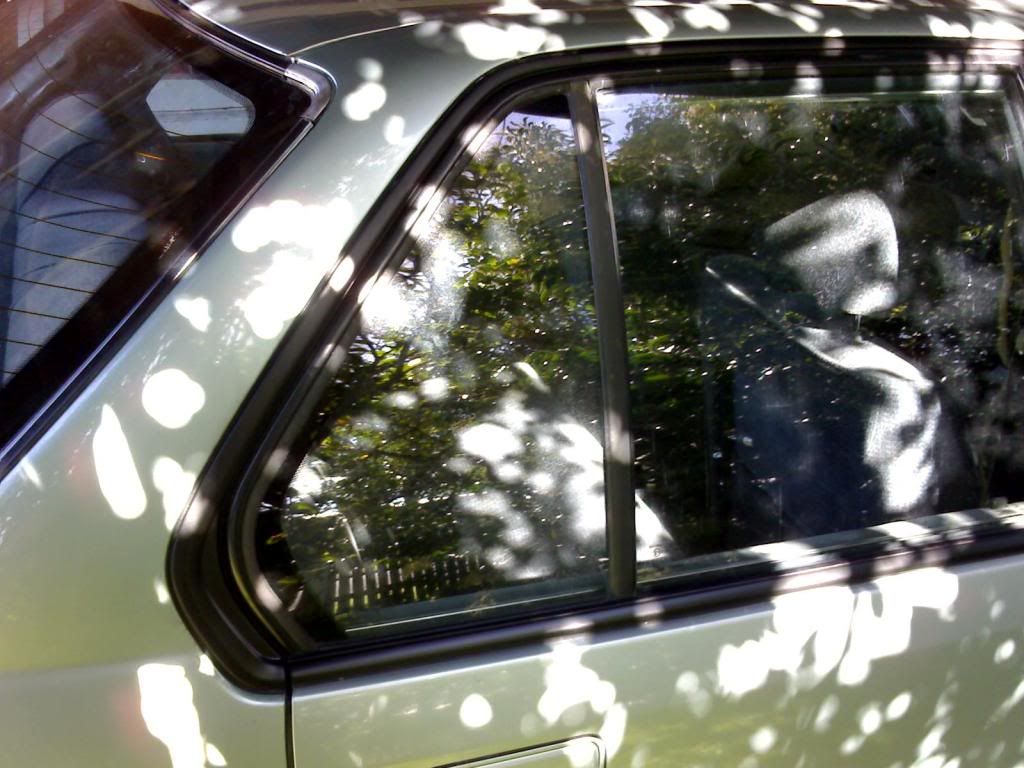
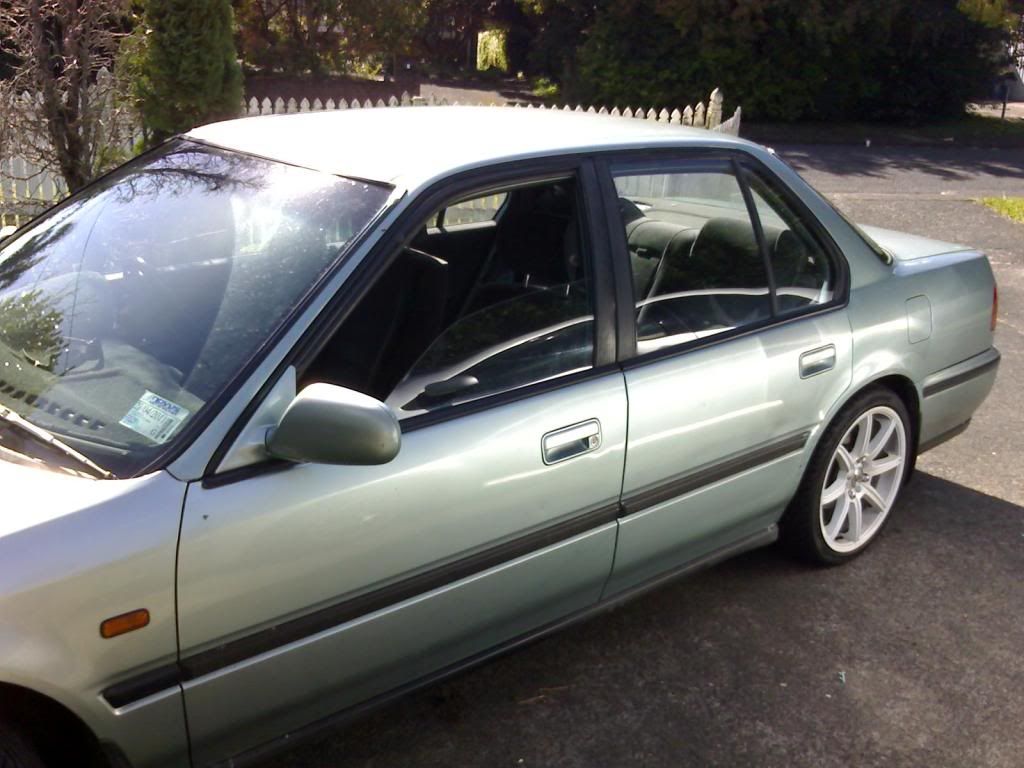
hope this was helpful

first off i prepped and painted the trims while on the car because i wasn't sure on how to remove them and i didn't want to risk damaging the paint or any clips that might be holding them on.
Products used:

and this which is an alcohol based cleaner about %100 alcohol:

and 400 Grit sandpaper
and also a lot of news paper to cover around the areas i dont want to get over spray on.
BEFORE PICS:


First i removed the side mirrors then masked off around the trim so when i sanded them it wouldnt touch the paint work taking care to keep the tape as close to the edge of the rubber as possible...you only want the chrome exposed. I used 400 grit and scuffed the chrome till the shine had gone:

Once the trim had been scuffed back i cleaned them down using the Alcohol based cleaner to remove any dirt and grease then i continued to cover the area around the trim with news paper making sure to tape up any holes or gaps so as to avoid any over spray on the paint work:

Once happy that i had covered everything i gave the trim one last wipe down with a clean cloth then started priming making sure to do even level passes and also bee fussy and look real close as it is easy to have miss spots so spray from the top and again from the bottem to make sure you get right in near the rubber. When you have primed one side then switch to the other and by the time you have done the 2nd side you can do a 2nd coat on the first if you wish and then again on the 2nd side reason for the 2nd coat is so you have less chance of sanding through to the chrome again.:


Once primed leave for maybe 30 mins giving it time to dry then lightly scuff the primed surface (i used 400 grit sandpaper) so it all looks milky being very careful you dont apply to much preasure or you will sand through the primer and then you will have to sand sand it all smooth again and reprime.
once scuffed back give the surface a wipe down again with a clean cloth to remove any dust and you are now ready for painting.
remember use the same method you used for priming when painting making sure you do even and level strokes both from the bottem and again from the top. You will definatly want to do afew coats of the colour so once you have coated one side you can move to the 2nd side then back again to the first side and you can do this as many times as you like...i did it 3 times so there is less chance of and chips going through to the chrome again:


Let the paint dry for about an hour then you can very carefully remove all paper and masking tape...the reason why you dont want the paint to fully dry before you remove the masking is so that it wont crack or peal. ..remember take your time removing the tape there is no speed record to be made.
as for the top of the trim you can remove the 2 parts real easy..there is one screw on the front and many clips attaching it to the roof on the first part but being vary careful and taking your time these clips can be removed with out damaging them to much with a flat head screw driver and a soft rag to put between the screw driver and the roof for leverage so then the clips can be reused. the rear part of the top trim only has 4 screws holding it in. For the rear part of the trim it is possible to remove all the rubber from it if you are very careful and once the trim is painted the rubber can be glued back on. The reason for all the rubber removal is because rubber flexes and so any paint on it can crack. So really apply the same methods to the removed trim pieces as you have for the chrome trim on the doors.


When you goto put the removed trim back on use Silicone and apply alot of it around the clip holes and it would be a good idea to get someone to help you holding the long trim while you start by screwing in the front screw loosely so you can align the clips..once aligned push them in leaving the last 2-3 clips loose so you can slide in the rear part of the molding.
Once rejoined push the rest of the clips in and start to screw in the rear trim then finish screwing in the front screw:


hope this was helpful


 that looks dope on your hot ride.






Comment