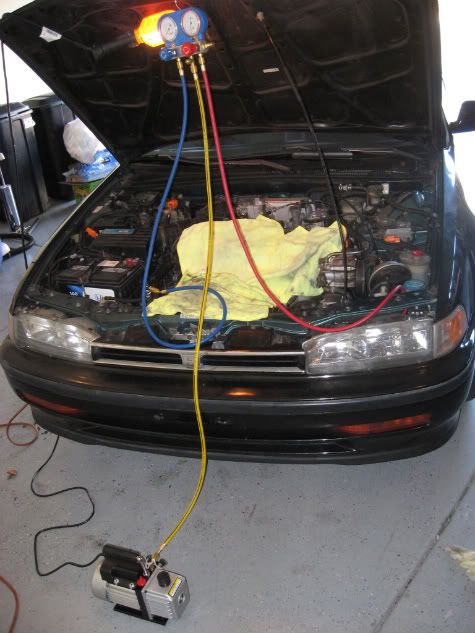
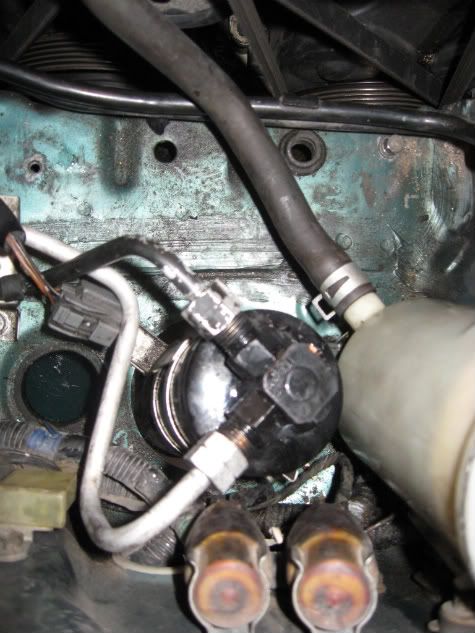
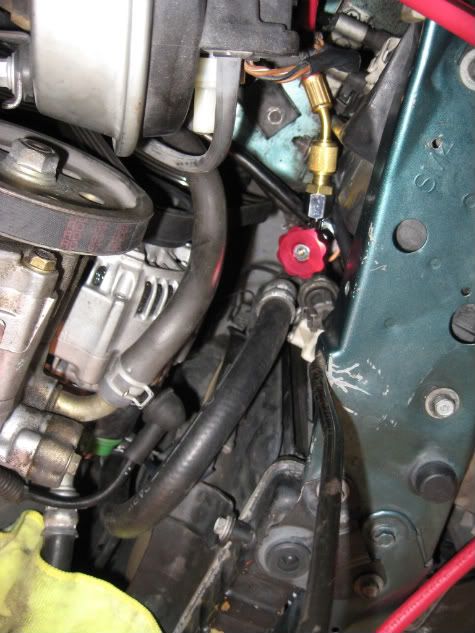
(Updated !!! ie: manifold gauge reading info  )This is my very first DIY so I hope you guys like it and any opinions and suggestions are welcome. So I recently I decided to do the retrofit for my CB7 and found a few kits at Wal-Mart and a few local parts stores like Auto Zone and Checker that claim to convert the cars A/C system from R12 to R134a. Only to find out that if the two mix it turns into a little something the pros in the A/C biz call the “Black Death” which sort of looks like engine oil crud on the inside of the compressor and all the components associated with the air conditioning and is sticky as hell and is pretty much impossible to remove. The only way to do properly is to replace all the old R12 O-rings with R134a O-rings, replace the receiver/drier, and flush the whole system and fill it. This DIY is going to made using a Denso Compressor and on the assumption that all the components in your system are still functioning . I’m including a tools list and a parts list along with the price that I ended up paying for everything so as to give everyone a good ballpark figure what this retrofit is gonna cost you.
Let me also remind everyone that I’m NOT a professional , just a weekend warrior garage mechanic. So I will not be responsible for anyone messing up your ride attempting this. Also its illegal to open your air conditioning system without having it properly evacuated first and if you get caught doing this by the EPA its like a $4K fine or something. I didn’t have to worry bout this because the valve on the low side port was missing , so there wasn’t anything to evacuate out the system anyway. Also, when was the last time you had someone from the EPA hanging out over your shoulder when you were wrenching in your own garage ? (wink, wink). So here we go !
Here’s the parts list: (all prices listed include 8.1% sales tax)
-R134a Valve kit (Auto Zone) $4.31

-R134a Quick Connect Valves (Auto Zone) $14.04
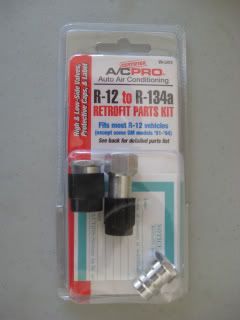
-Valve Core Removal Tool (Auto Zone) $6.47

-Permatex Thread Sealer (Auto Zone) $5.39
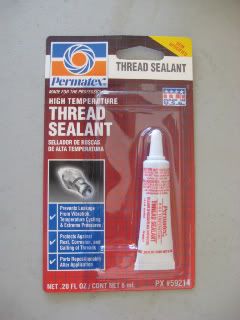
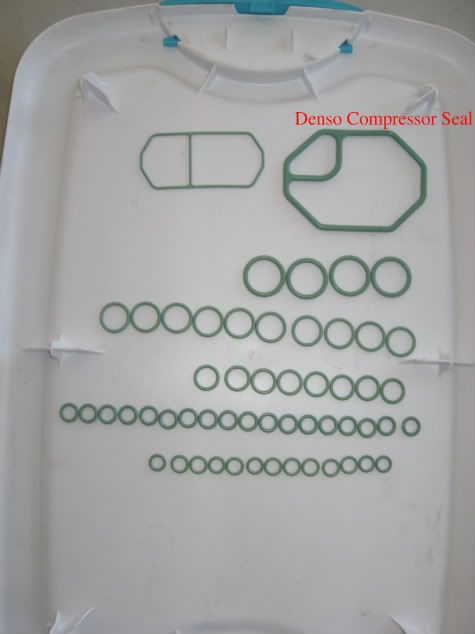
-R134a O-Ring kit (Auto Zone) $11.88

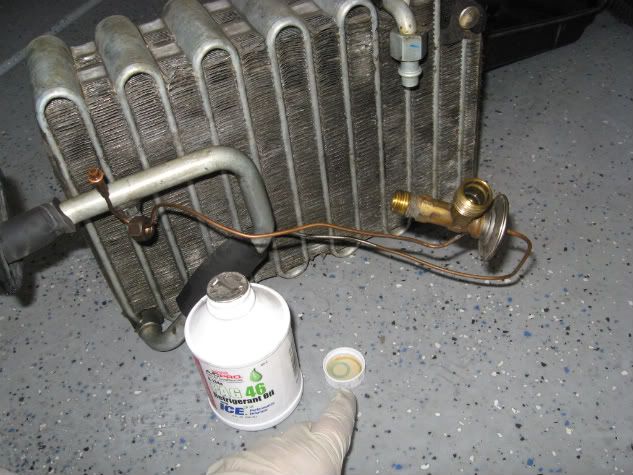
-PAG 45 Oil (Auto Zone) $9.72

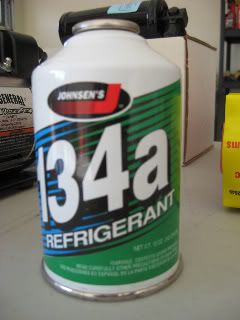
-R134a (Wal-Mart) $7.86 per can 4 cans $31.44
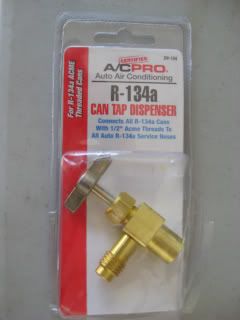
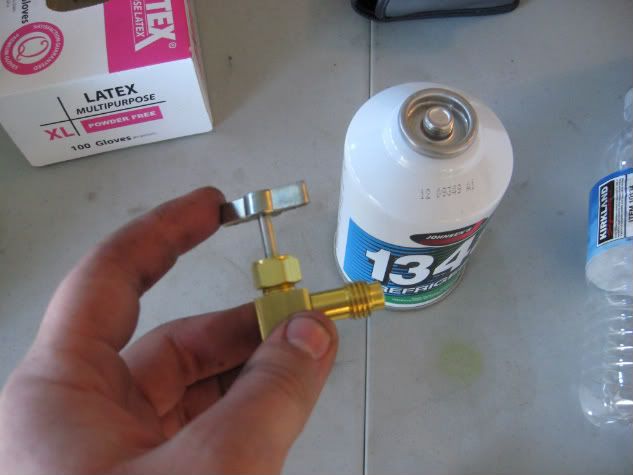
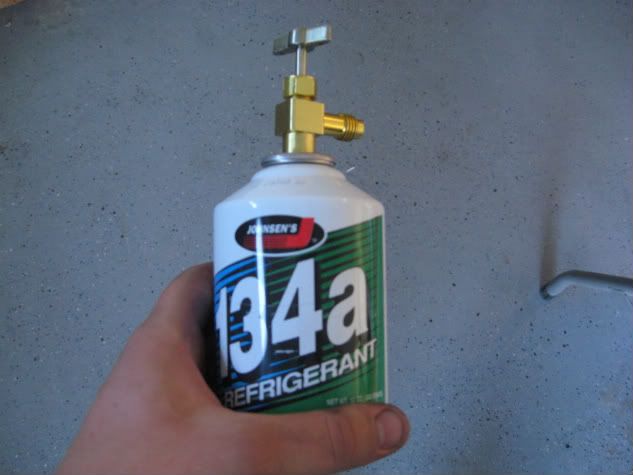
-R134a Can Top Dispenser (Auto Zone) $7.55
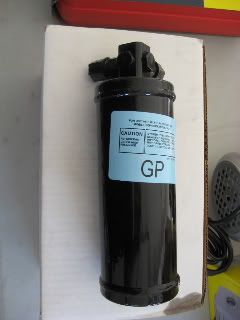
-Receiver/Drier for 1990-1993 Accord EX (Charleston Auto Parts/NAPA) $30.99
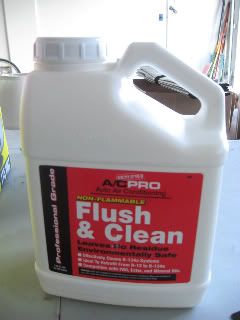
-A/C Flush , Ester Oil Remover for R134a Conversion (Auto Zone) $27.01
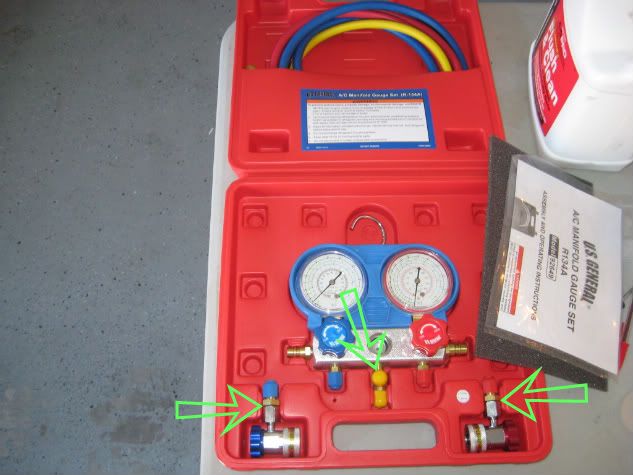
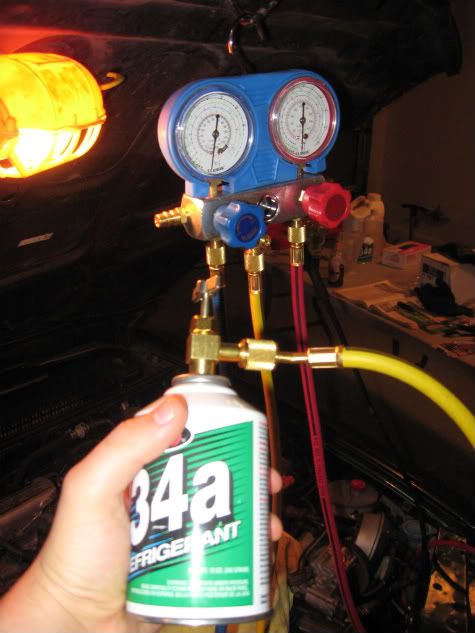
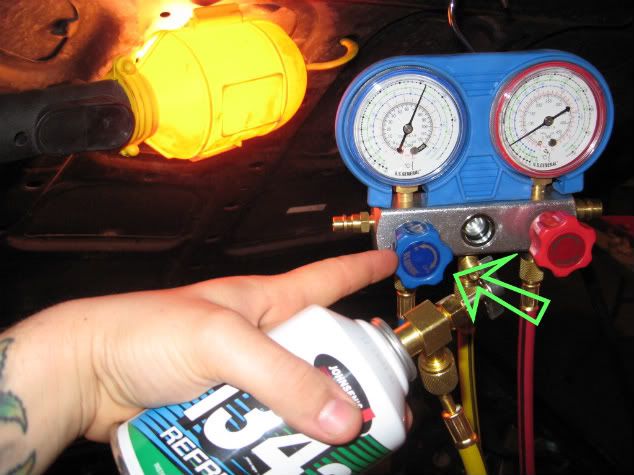
-U.S General A/C Manifold Gauge Set (Harbor Freight) $32.41

-U.S. General 2.5 CFM Vacuum Pump (Harbor Freight) $69.17 -After 20% off Coupon

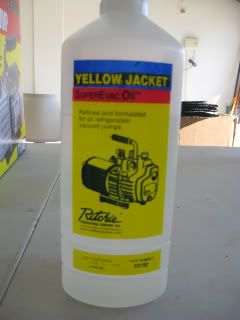
-Yellow Jacket Vacuum Oil for Vacuum Pump (because the oil that comes with HF pump sucks and to extend the life of your pump you want to put a good quality oil in it) $16.71
-Digital Kitchen Thermometer (Costco) $7.56
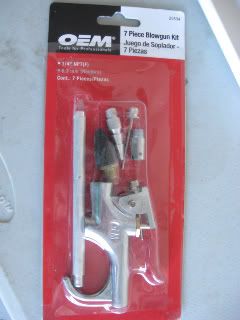
-Blowgun Kit w/Rubber Tip (Auto Zone) $5.39
Some people may already have air compressors in their garages , but I unfortunately didn’t so this part is optional , but recommended.
-Craftsman 15GAL Air Compressor Brand New (ASAP Pawn Shop) $94.47

So the total for everything without the air compressor plus tax is $280.04 and with the compressor is $374.51 Not bad considering the Honda Dealership wanted to charge me way more than that , and now I already have all the tools that I need to charge it if a leak ever opens up in the system in the future in my CB or any other car.
Tools that you will need to complete this project:
-Socket Wrench (I prefer Craftsman because they can handle some serious abuse :P)
-10mm, 12mm, 14mm and 1” sockets
-3in and 8in socket extensions
-Set of Allen Keys
-Needle Nose Pliers, Adjustable Pliers and (Optional , but will definitely make life easier ) Snap Ring Pliers
-Rubber Hammer or Mallet
-Two Jack stands
-Glass Bowl (for cleaning compressor components, I used glass because I wasn’t to sure if the A/C cleaner would eat through a plastic bowl or not.)
-Two Large Crescent Wrenches
-Drill w/4in Bit Extension
-Squeeze Bottle (like for mustard and ketchup)
-Extension Cord (Optional depending how close you are to an electrical outlet)
-Flashlight (optional depending how well you can see under your dash without one)
-Box cutter or Razor
-Shopvac (optional , but recommended)
-A long Phillips Head Screwdriver
-Two Long Flat Head Screw Drivers
-White Paint Marker
-Oil Filter Wrench
-Measuring Cup
-Wire Bristle Brush
-Medium Bowl or Pot (to put warm water in)
-Plenty of clean shop rags
-A Good day or Weekend to complete this project
-A Shit Ton of Patience !! LOL…. But seriously , a lot ……really.
Step 1 : Evacuation
- Have a shop evacuate and recover any R12 that’s in your system. (also see second paragraph of this How-To )
Step 2 : Disconnect and Remove the Battery
- I also removed the three bolts that were holding in the battery tray and removed the battery tray.
Step 3 : Removal of the Front Bumper
-Start by removing the four retaining screws from the bumper under the fender wells, two on each side. Then unscrew the Phillips head screw that’s holding on the turn signal. Remove the turn signal and set it aside. Now you should be able to see the four bolts ,two on each side, behind where the turn signals were. Also you’ll want to remove the two bumper retaining nuts , one is behind the battery and the other is next the windshield wiper reservoir, remove these and then carefully pull the bumper straight out.
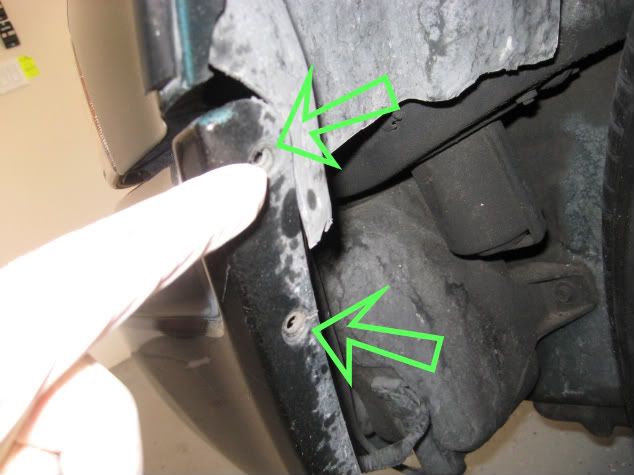


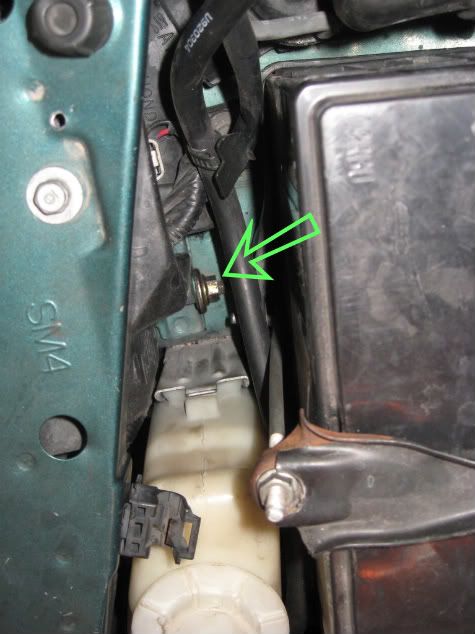
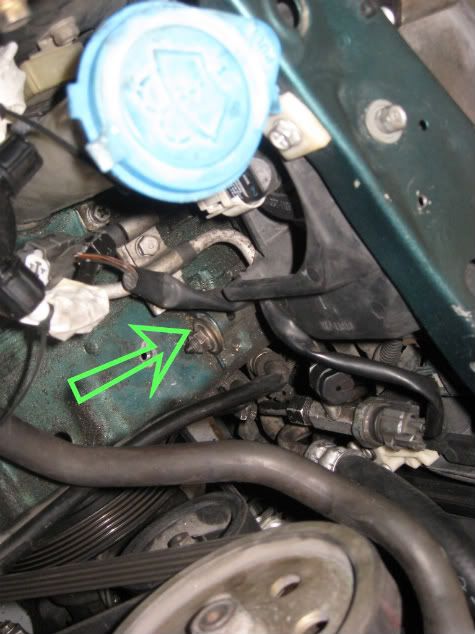
Step 4 : Marking the position of the belts and removing the alternator, power steering pump and if equipped setting aside cruise control.
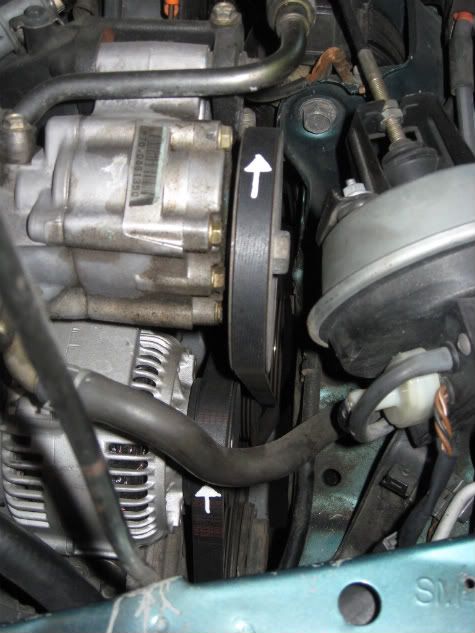
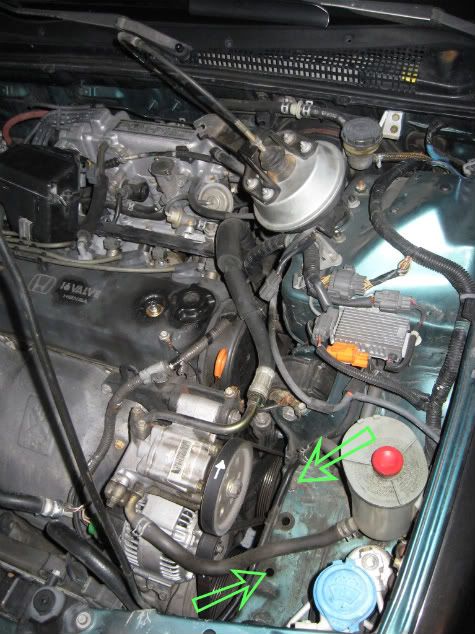
-With the paint marker mark the rotation of the belts so you can put them on the same way you removed them. In the picture I have the arrows pointing upwards to remind me that the arrows were pointed towards the windshield when I put them back on , even though the rotation of the belts is the opposite direction that the arrows are pointing. Loosen then remove the adjusting bolts for the power steering pump and remove it , but don’t remove the hoses connected to the pump just set the pump aside for now. Loosen then remove the adjusting bolts for the alternator , then remove the electrical plug and pull the alternator out. Remove the bolt closest to the headlight on the cruise control and loosen the other without removing, it should just slide to the right and lift out . Set the cruise control to the side.

Step 5 : Compressor removal
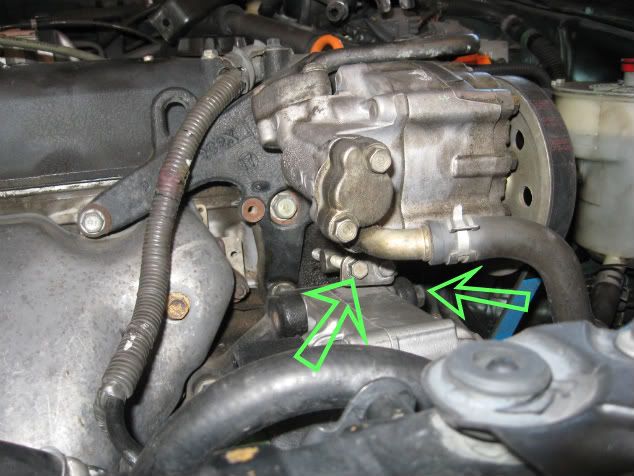
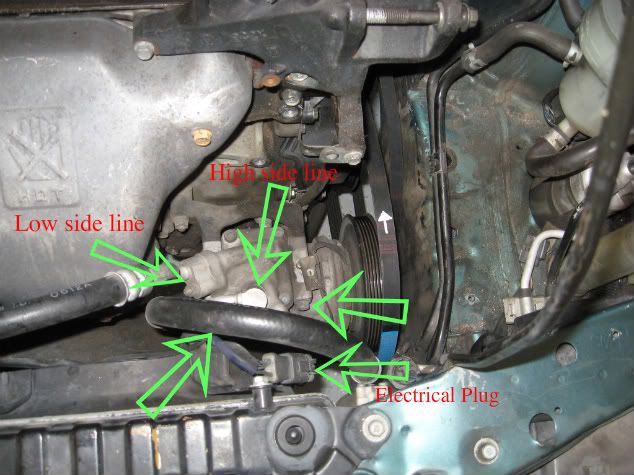
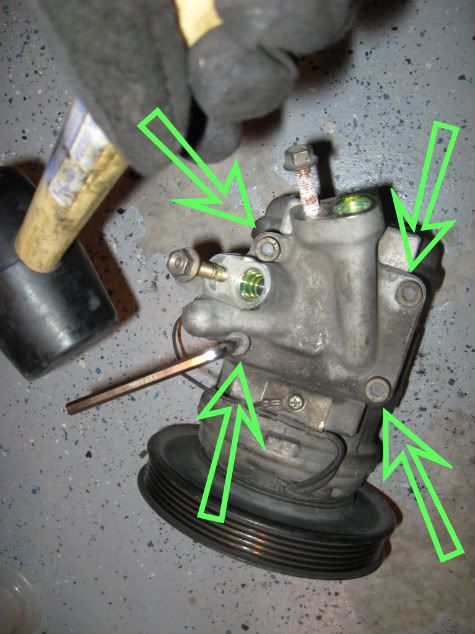
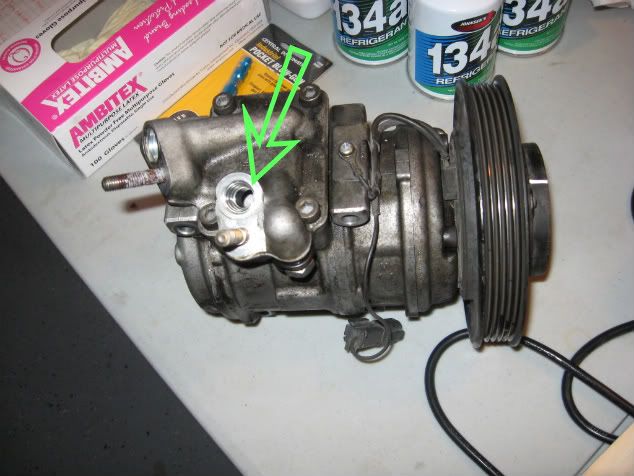
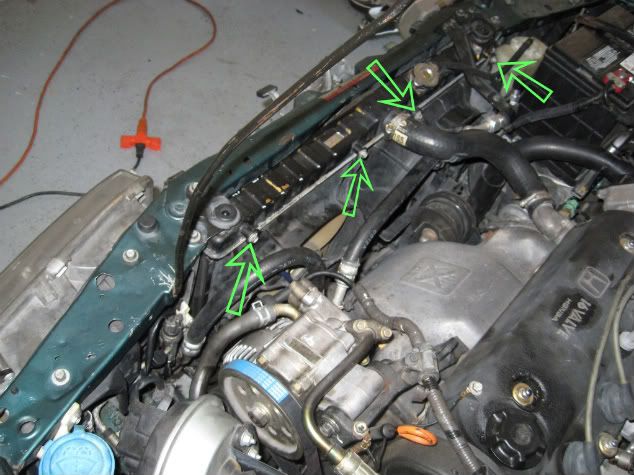
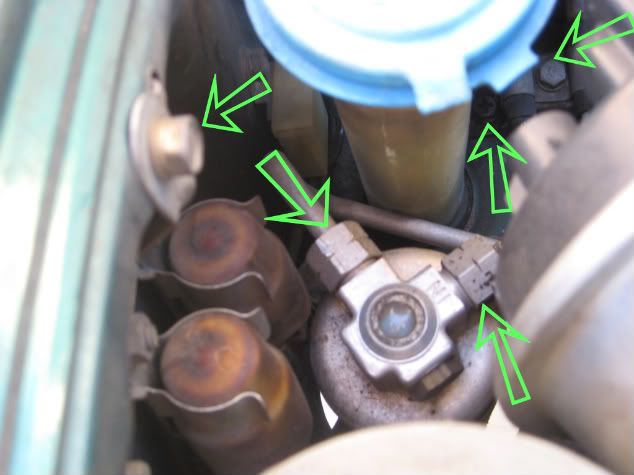
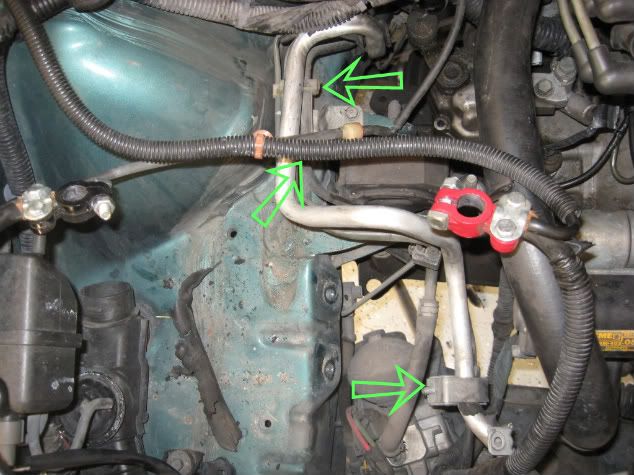
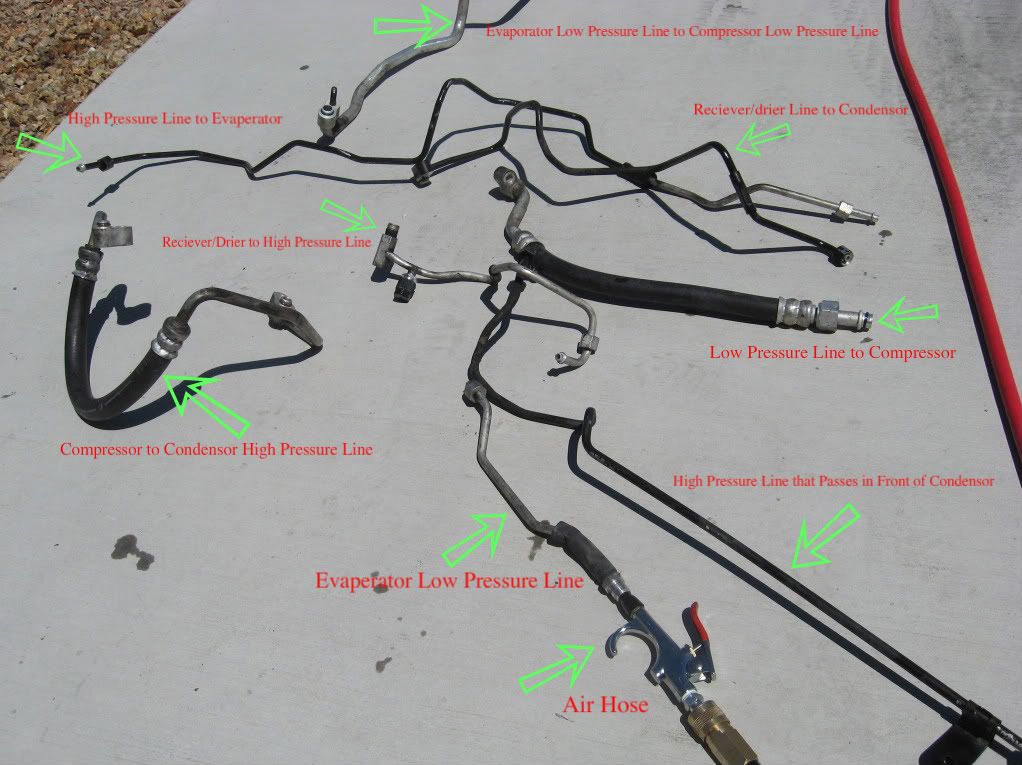
-Now you should have a clear view to the A/C Compressor. Unplug the electrical connection from the compressor. Remove the nut to the low compression side line and pull the line out. Remove the nut from the high compression side and pull that line out as well. You should see black worn O-rings on each one of those lines that you just pulled out. Now that the lines are disconnected you can remove the compressor. Start with the top two bolts (in the picture you can only see two arrows , but the other two bolts are in the same location on the bottom of the compressor) then the bottom two bolts. Now you should be able to slide the compressor straight out.
 )This is my very first DIY so I hope you guys like it and any opinions and suggestions are welcome. So I recently I decided to do the retrofit for my CB7 and found a few kits at Wal-Mart and a few local parts stores like Auto Zone and Checker that claim to convert the cars A/C system from R12 to R134a. Only to find out that if the two mix it turns into a little something the pros in the A/C biz call the “Black Death” which sort of looks like engine oil crud on the inside of the compressor and all the components associated with the air conditioning and is sticky as hell and is pretty much impossible to remove. The only way to do properly is to replace all the old R12 O-rings with R134a O-rings, replace the receiver/drier, and flush the whole system and fill it. This DIY is going to made using a Denso Compressor and on the assumption that all the components in your system are still functioning . I’m including a tools list and a parts list along with the price that I ended up paying for everything so as to give everyone a good ballpark figure what this retrofit is gonna cost you.
 Let me also remind everyone that I’m NOT a professional , just a weekend warrior garage mechanic. So I will not be responsible for anyone messing up your ride attempting this. Also its illegal to open your air conditioning system without having it properly evacuated first and if you get caught doing this by the EPA its like a $4K fine or something. I didn’t have to worry bout this because the valve on the low side port was missing , so there wasn’t anything to evacuate out the system anyway. Also, when was the last time you had someone from the EPA hanging out over your shoulder when you were wrenching in your own garage ? (wink, wink). So here we go !
Here’s the parts list: (all prices listed include 8.1% sales tax)
-R134a Valve kit (Auto Zone) $4.31

-R134a Quick Connect Valves (Auto Zone) $14.04

-Valve Core Removal Tool (Auto Zone) $6.47

-Permatex Thread Sealer (Auto Zone) $5.39

-R134a O-Ring kit (Auto Zone) $11.88

-PAG 45 Oil (Auto Zone) $9.72

-R134a (Wal-Mart) $7.86 per can 4 cans $31.44

-R134a Can Top Dispenser (Auto Zone) $7.55

-Receiver/Drier for 1990-1993 Accord EX (Charleston Auto Parts/NAPA) $30.99

-A/C Flush , Ester Oil Remover for R134a Conversion (Auto Zone) $27.01

-U.S General A/C Manifold Gauge Set (Harbor Freight) $32.41

-U.S. General 2.5 CFM Vacuum Pump (Harbor Freight) $69.17 -After 20% off Coupon

-Yellow Jacket Vacuum Oil for Vacuum Pump (because the oil that comes with HF pump sucks and to extend the life of your pump you want to put a good quality oil in it) $16.71

-Digital Kitchen Thermometer (Costco) $7.56

-Blowgun Kit w/Rubber Tip (Auto Zone) $5.39

Some people may already have air compressors in their garages , but I unfortunately didn’t so this part is optional , but recommended.
-Craftsman 15GAL Air Compressor Brand New (ASAP Pawn Shop) $94.47

So the total for everything without the air compressor plus tax is $280.04 and with the compressor is $374.51 Not bad considering the Honda Dealership wanted to charge me way more than that , and now I already have all the tools that I need to charge it if a leak ever opens up in the system in the future in my CB or any other car.
Tools that you will need to complete this project:
-Socket Wrench (I prefer Craftsman because they can handle some serious abuse :P)
-10mm, 12mm, 14mm and 1” sockets
-3in and 8in socket extensions
-Set of Allen Keys
-Needle Nose Pliers, Adjustable Pliers and (Optional , but will definitely make life easier ) Snap Ring Pliers
-Rubber Hammer or Mallet
-Two Jack stands
-Glass Bowl (for cleaning compressor components, I used glass because I wasn’t to sure if the A/C cleaner would eat through a plastic bowl or not.)
-Two Large Crescent Wrenches
-Drill w/4in Bit Extension
-Squeeze Bottle (like for mustard and ketchup)
-Extension Cord (Optional depending how close you are to an electrical outlet)
-Flashlight (optional depending how well you can see under your dash without one)
-Box cutter or Razor
-Shopvac (optional , but recommended)
-A long Phillips Head Screwdriver
-Two Long Flat Head Screw Drivers
-White Paint Marker
-Oil Filter Wrench
-Measuring Cup
-Wire Bristle Brush
-Medium Bowl or Pot (to put warm water in)
-Plenty of clean shop rags
-A Good day or Weekend to complete this project
-A Shit Ton of Patience !! LOL…. But seriously , a lot ……really.
Step 1 : Evacuation
- Have a shop evacuate and recover any R12 that’s in your system. (also see second paragraph of this How-To )
Step 2 : Disconnect and Remove the Battery
- I also removed the three bolts that were holding in the battery tray and removed the battery tray.
Step 3 : Removal of the Front Bumper
-Start by removing the four retaining screws from the bumper under the fender wells, two on each side. Then unscrew the Phillips head screw that’s holding on the turn signal. Remove the turn signal and set it aside. Now you should be able to see the four bolts ,two on each side, behind where the turn signals were. Also you’ll want to remove the two bumper retaining nuts , one is behind the battery and the other is next the windshield wiper reservoir, remove these and then carefully pull the bumper straight out.


Step 4 : Marking the position of the belts and removing the alternator, power steering pump and if equipped setting aside cruise control.
-With the paint marker mark the rotation of the belts so you can put them on the same way you removed them. In the picture I have the arrows pointing upwards to remind me that the arrows were pointed towards the windshield when I put them back on , even though the rotation of the belts is the opposite direction that the arrows are pointing. Loosen then remove the adjusting bolts for the power steering pump and remove it , but don’t remove the hoses connected to the pump just set the pump aside for now. Loosen then remove the adjusting bolts for the alternator , then remove the electrical plug and pull the alternator out. Remove the bolt closest to the headlight on the cruise control and loosen the other without removing, it should just slide to the right and lift out . Set the cruise control to the side.


Step 5 : Compressor removal
-Now you should have a clear view to the A/C Compressor. Unplug the electrical connection from the compressor. Remove the nut to the low compression side line and pull the line out. Remove the nut from the high compression side and pull that line out as well. You should see black worn O-rings on each one of those lines that you just pulled out. Now that the lines are disconnected you can remove the compressor. Start with the top two bolts (in the picture you can only see two arrows , but the other two bolts are in the same location on the bottom of the compressor) then the bottom two bolts. Now you should be able to slide the compressor straight out.

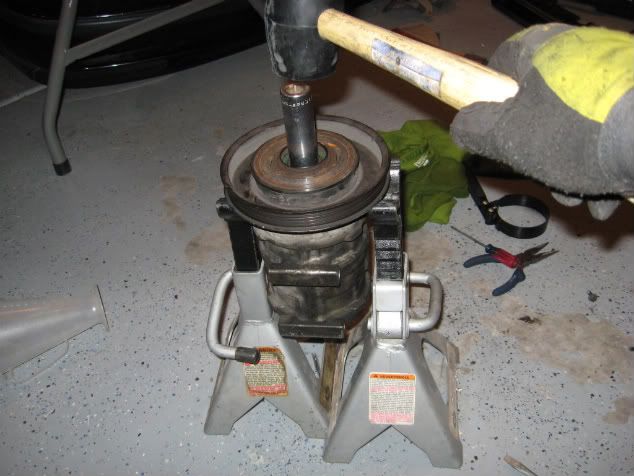
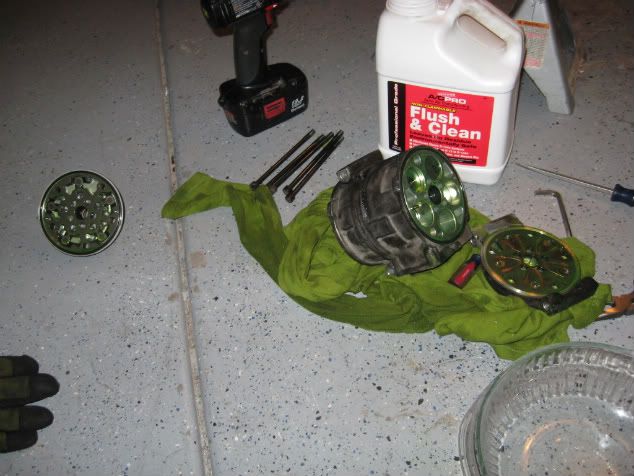
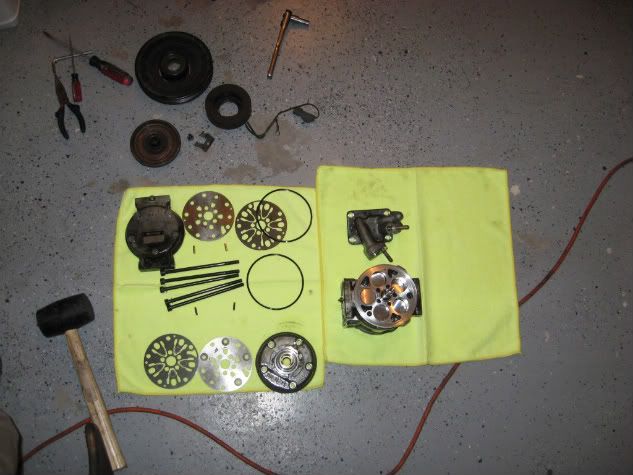
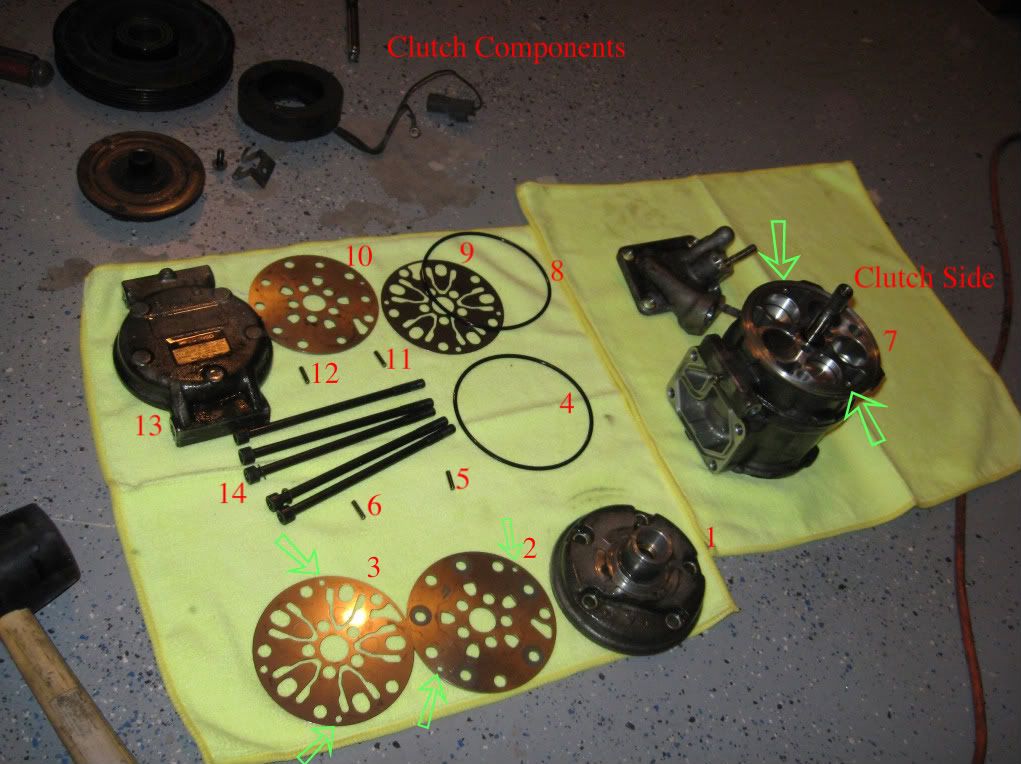

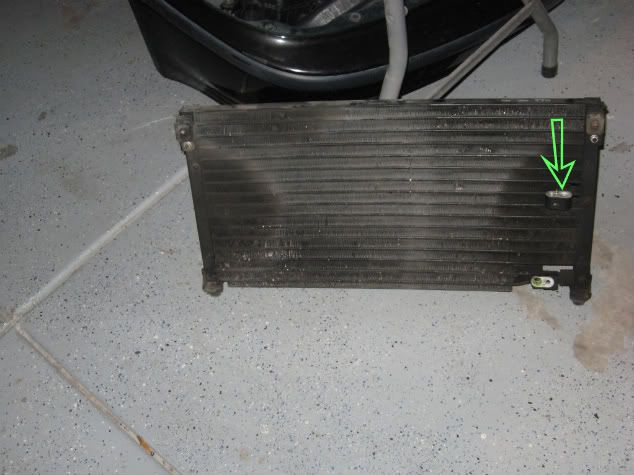

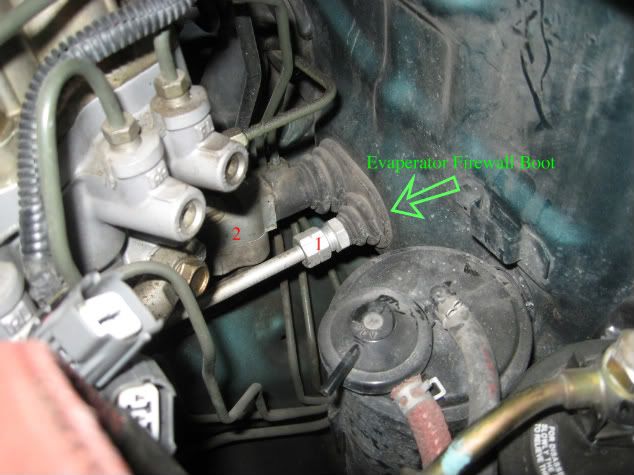
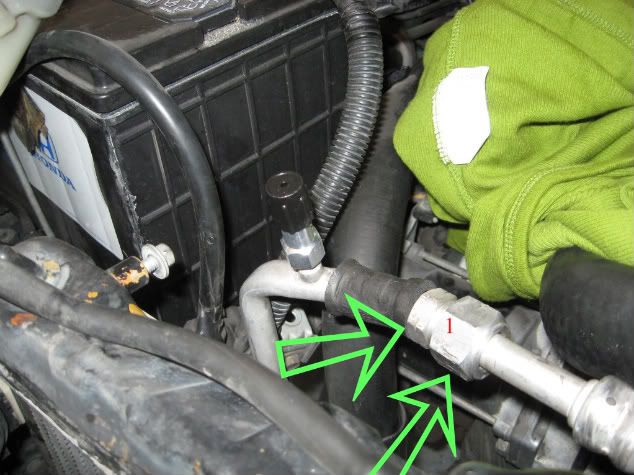
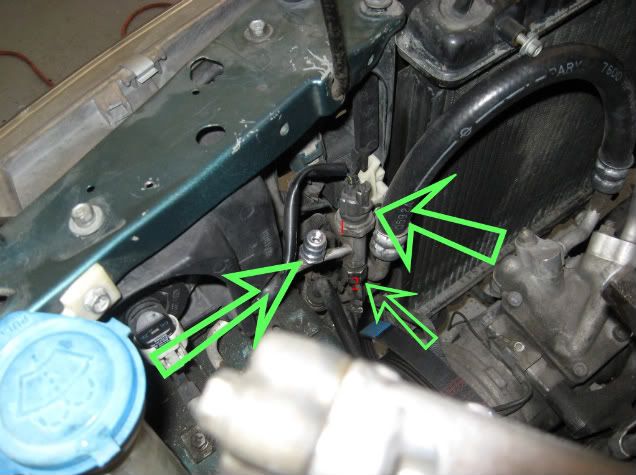












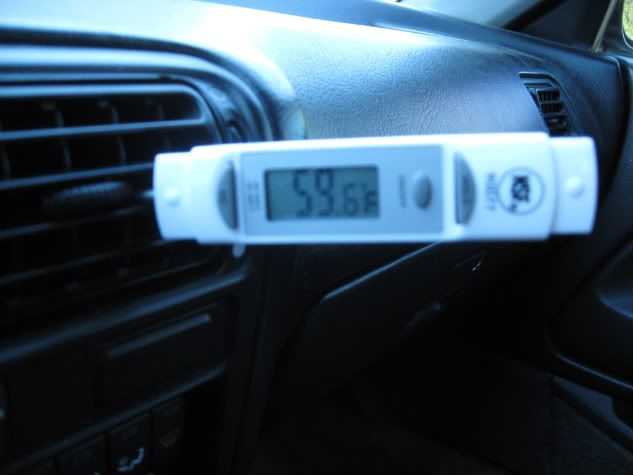
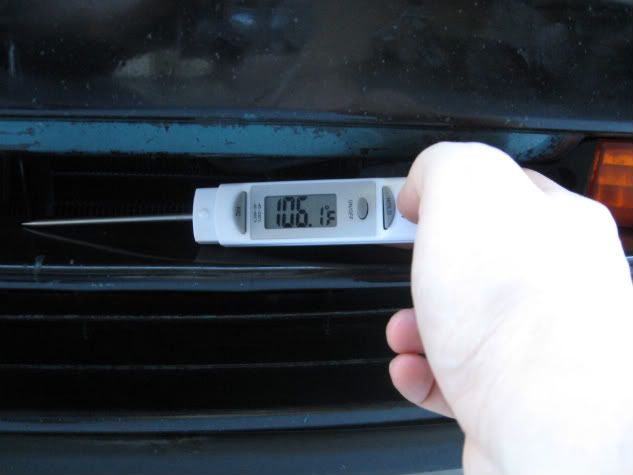

 Also if anyone has any questions reguarding this DIY shoot me a PM and I'll get back to you as soon as i can
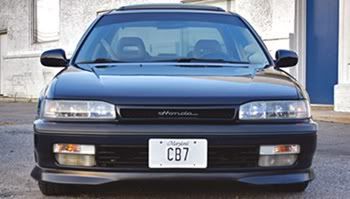

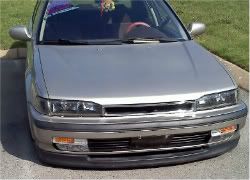


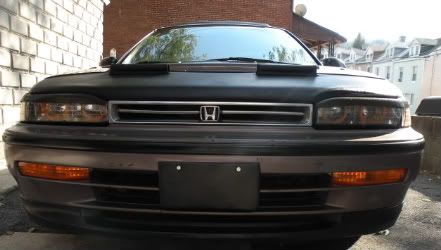
 **Don't b scared be prepared for the worst**
Comment