Howdy I recently needed to paint my VC so I thought I would post up how to do this. Mine isnt as complete but it will give you a basic idea. Saw the other one and no pics of steps =(. Do at your own risk you mess up not my fault.
Materials Needed:
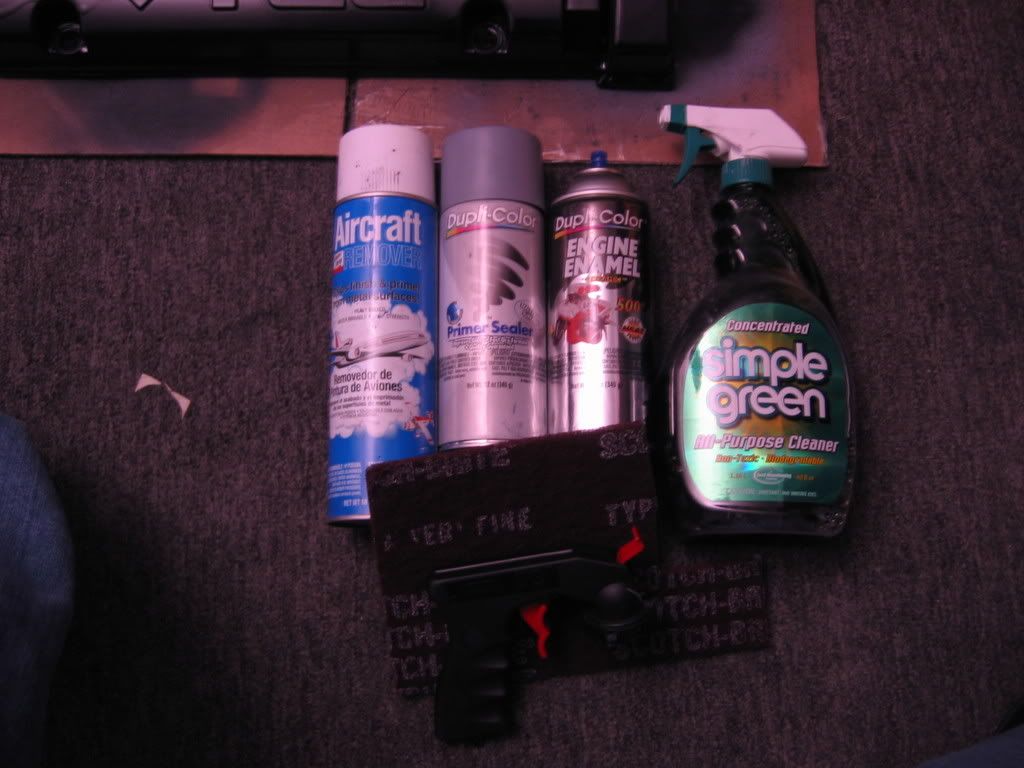
1. Masking Tape (not pictured)
2. Aircraft stripper (pictured in blue [buy this stuff it takes off the stuff on your vc like nothin])
3. Primer (optional)
4. Engine Enamel (whatever color you want)
5. Scotch Brite Medium (Brown cut up thing toward bottom)
6. Spray Handle (Sitting on Scotch Brite)
7. 400, 1000,1500,2000, 2500 Sandpaper (not pictured didnt get at the time)
8. Towels
9. Simple Green or some sort of wax and grease remover.
10. Valve Cover Gasket
Steps:
1. Unbolt valve cover, Remove grounds and whatever is connected to it.

2. Lay it on the ground with something underneath (Cardboard or something) And go at it with the aircraft stripper. The more the merrier and let it sit. [I recommend wearing gloves for this step the stripper might sting] If it doesnt burn the skin it aint workin so yea.
3. Get a towel and wipe it off should come off like nothin.
4. It should look something like this after its stripped

5. Next wash it to get whatever is left over off and then wipe it dry.
6. If you see any imperfections take the 400 and go over it until liking then sand it down with a higher grit to get rid of the scratches. (didnt do that step now I kinda regret it)
7. Next Prep the valve cover to where you dont want the paint to go. Such as cover up holes and all that good stuff. If you want to keep the letters and such free of paint get some vaseline or something and go over the letters with it. This way the paint does NOT stick to it. Another thing is take some simple green and spray down the cover and wipe it off.
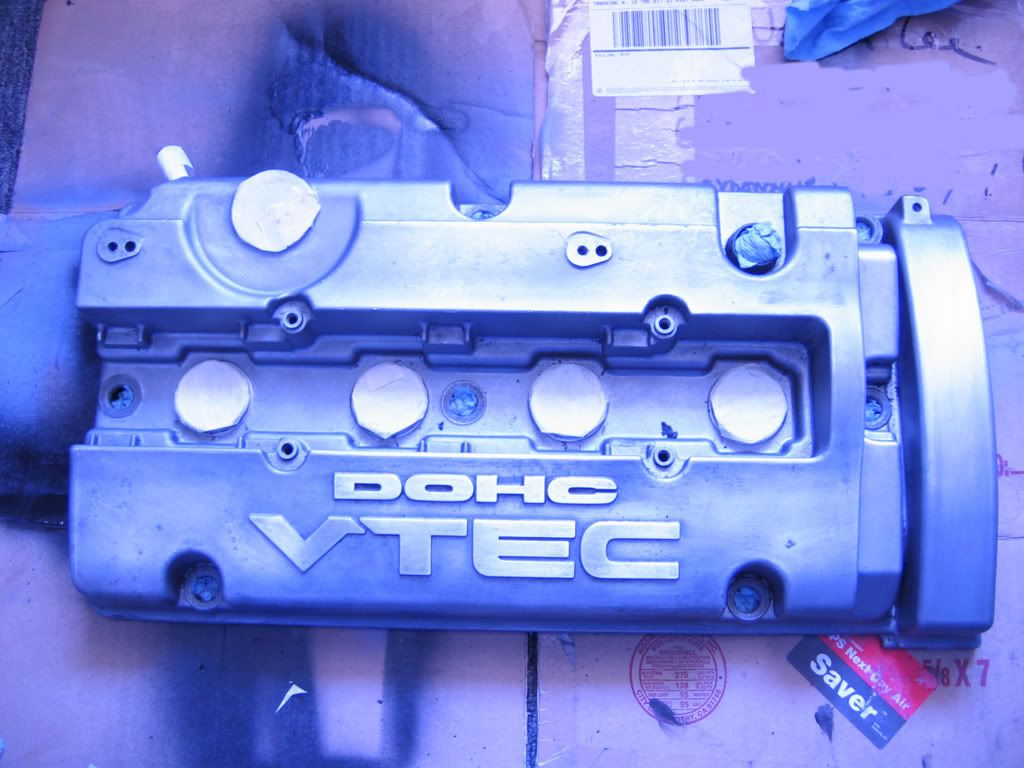
8. Next if you got primer go at it with a 2-3 coats or however many you desire with 10min in between depending on what product you use.
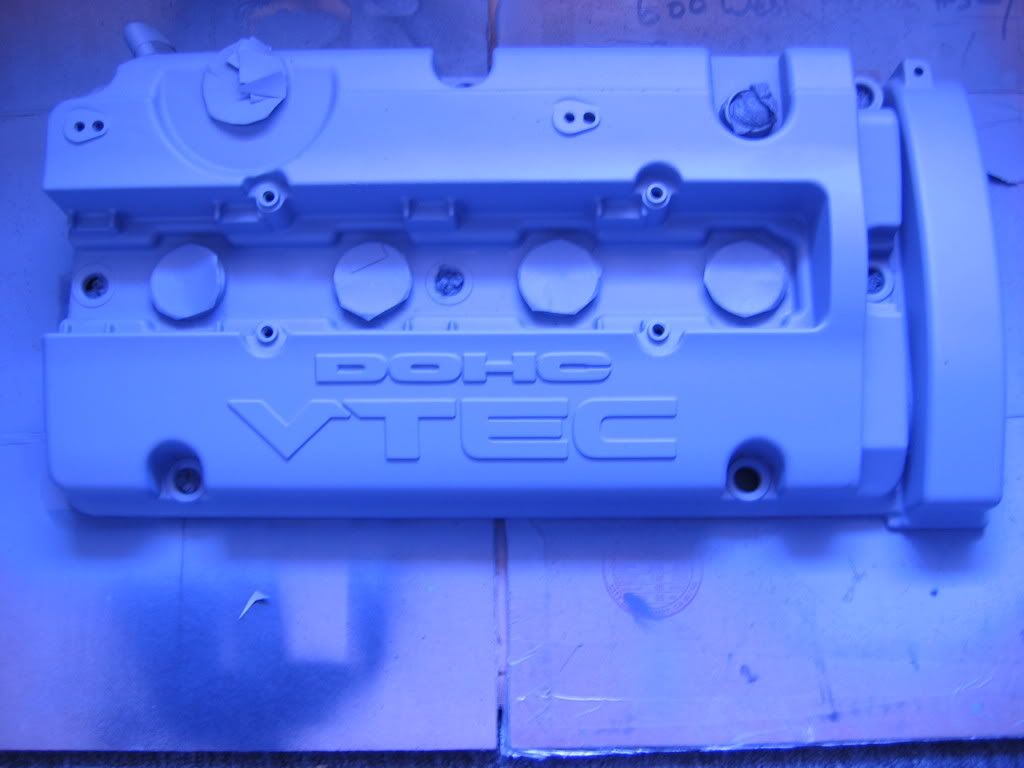
9. If you want this step you can wetsand using the 1500-2500 to sand out the imperfections and to make the surface a bit even if it looks clogged to one side. (Be sure to let it fully cure. The Dupli Color was an hour before it fully dried READ YOUR BOTTLE EVERYONE MIGHT BE DIFFERENT)
10. Next After you are done, make sure you clean up the surface and you are ready to paint! Go over the valve cover with however many coats you like. Usually 2-3 Coats should be good. If you want more go for it just make sure you dont run (mine did)
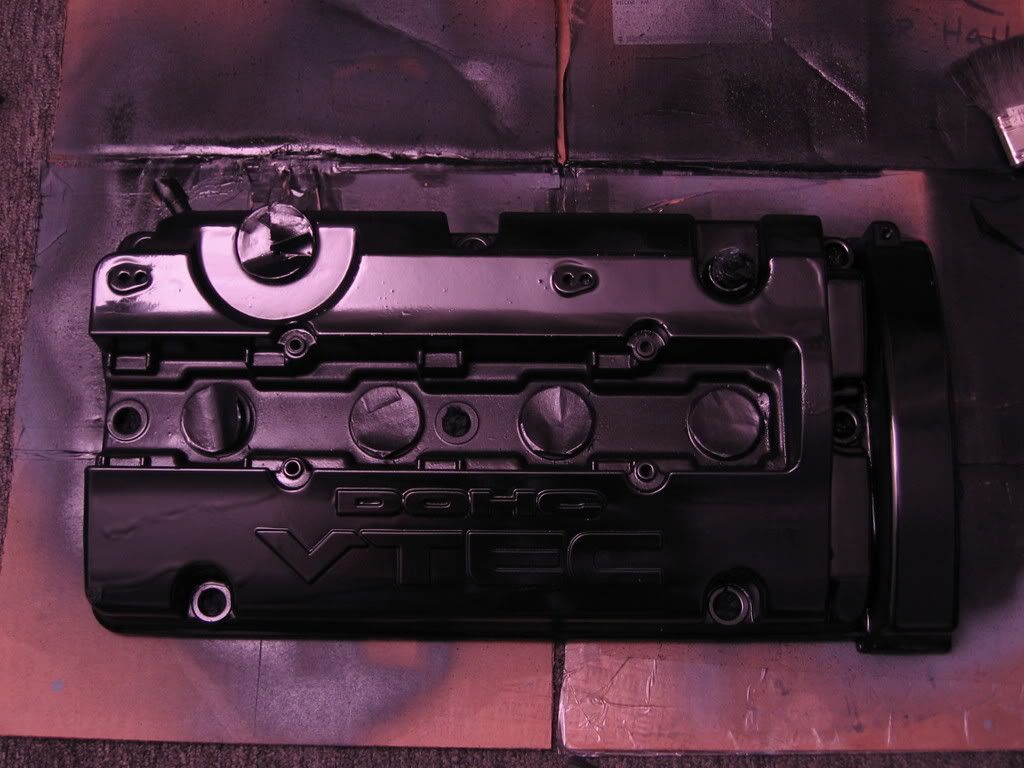
11. Now if you have some runs like me this is where you wetsand (1000-2500 work your way up) down to where the cover looks flat and flush. You can go over with the paint again with a thin layer afterwards.
12. Usually engine enamel is glossy from the start you can polish it and such if you want. This step I am not sure how it works. I am sure you can buy polish/wax at your local parts store and just wipe it on. I am used to using a buffer so not quite sure how to manually do it.
13. After your done and satisfied with your cover reinstall it. Make sure you have a new Valve Cover Gasket and install.
14. Start up your car after everything is tightened and secured. Drive around with engine to operating temp to help "bake" the valve cover. This should help it fully cure quicker.
Final product should be like so:

I hope this helps some of y'all. I will figure out this polishing stuff out eventually lol.
Materials Needed:

1. Masking Tape (not pictured)
2. Aircraft stripper (pictured in blue [buy this stuff it takes off the stuff on your vc like nothin])
3. Primer (optional)
4. Engine Enamel (whatever color you want)
5. Scotch Brite Medium (Brown cut up thing toward bottom)
6. Spray Handle (Sitting on Scotch Brite)
7. 400, 1000,1500,2000, 2500 Sandpaper (not pictured didnt get at the time)
8. Towels
9. Simple Green or some sort of wax and grease remover.
10. Valve Cover Gasket
Steps:
1. Unbolt valve cover, Remove grounds and whatever is connected to it.

2. Lay it on the ground with something underneath (Cardboard or something) And go at it with the aircraft stripper. The more the merrier and let it sit. [I recommend wearing gloves for this step the stripper might sting] If it doesnt burn the skin it aint workin so yea.
3. Get a towel and wipe it off should come off like nothin.
4. It should look something like this after its stripped

5. Next wash it to get whatever is left over off and then wipe it dry.
6. If you see any imperfections take the 400 and go over it until liking then sand it down with a higher grit to get rid of the scratches. (didnt do that step now I kinda regret it)
7. Next Prep the valve cover to where you dont want the paint to go. Such as cover up holes and all that good stuff. If you want to keep the letters and such free of paint get some vaseline or something and go over the letters with it. This way the paint does NOT stick to it. Another thing is take some simple green and spray down the cover and wipe it off.

8. Next if you got primer go at it with a 2-3 coats or however many you desire with 10min in between depending on what product you use.

9. If you want this step you can wetsand using the 1500-2500 to sand out the imperfections and to make the surface a bit even if it looks clogged to one side. (Be sure to let it fully cure. The Dupli Color was an hour before it fully dried READ YOUR BOTTLE EVERYONE MIGHT BE DIFFERENT)
10. Next After you are done, make sure you clean up the surface and you are ready to paint! Go over the valve cover with however many coats you like. Usually 2-3 Coats should be good. If you want more go for it just make sure you dont run (mine did)

11. Now if you have some runs like me this is where you wetsand (1000-2500 work your way up) down to where the cover looks flat and flush. You can go over with the paint again with a thin layer afterwards.
12. Usually engine enamel is glossy from the start you can polish it and such if you want. This step I am not sure how it works. I am sure you can buy polish/wax at your local parts store and just wipe it on. I am used to using a buffer so not quite sure how to manually do it.
13. After your done and satisfied with your cover reinstall it. Make sure you have a new Valve Cover Gasket and install.
14. Start up your car after everything is tightened and secured. Drive around with engine to operating temp to help "bake" the valve cover. This should help it fully cure quicker.
Final product should be like so:

I hope this helps some of y'all. I will figure out this polishing stuff out eventually lol.


 Give it that Mean, Metal look..?


 Do you have the torque specs for those bolts that hold the head on in case I take mine off?
Comment