
The throttle body i installed on my H22 is a Skunk2 68mm. Other TBs may vary.
Fabrication is needed. You must be able to be patient.
Tools: 12mm socket and ratchet
pliers
dremel
eye protection
-First you have to disconnect the negative cable from the battery.
-Take off your radiator cap.(this takes pressure off the colant lines running to the TB.)
-disconnect the intake/breather
-disconnect the throttle cable.
-disconect all lines running to the upper half of the intake manifold**be sure to label or take pictures to ensure that you know where to re install them. Note that two lines running into the stock TB are coolant-Be careful when removing these.
-loosen the 12mm bolts and nuts that hold the upper half of the intake manifold on.
-Take the stock throttle body off.
** You will notice that the aftermarket TB is relatively larger than stock. So much so that you can slide the stock TB into the opening of the Aftermarket TB.
** You will also notice that your new TB doen't have all the crap hanging off of it like that of the stock TB. Don't worry.
-This is where the fabrication comes in. The picture below is where the map sensor would go. Our map sensor is in that neat little black box above the fuel filter.

Here is my solution to that problem. Below is a picture of a missing link from a turbo kit that I fit with a fitting. I also used two scews and an O-ring from the hardware store to hold it on. The vacumn hose that you took off the stock TB will be used here.
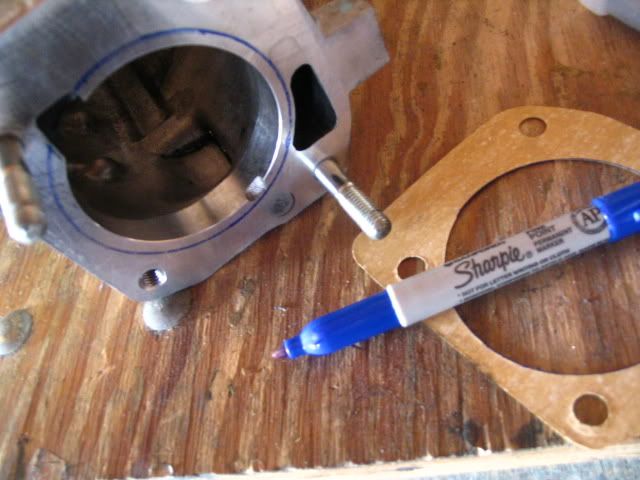
-Next you take the gasket provided and trace the area of material needed for removal.
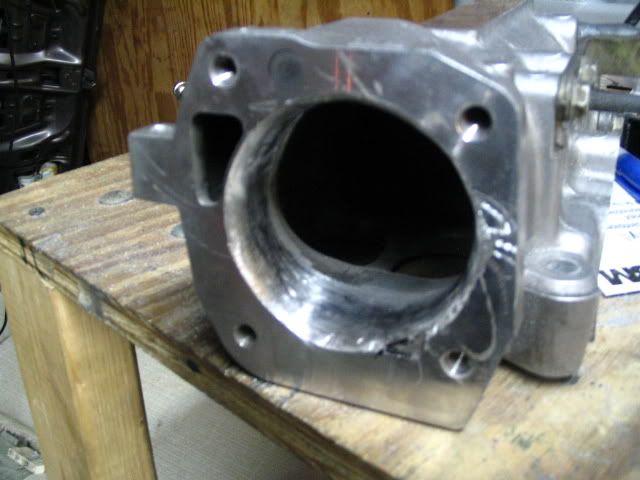
-After you have traced the gasket, now is time to remove the material in order to port match the manifold. WEAR EYE PROTECTION! Use a dremel or compressor driven air drill. Grind the area down smooth all the way back. If you Skip this step, you have wasted your time. It should look like this. Remember to clean all metal shaving before going any further.
-Next install the Tps sensor. Use the factory gasket.
- Loop a hose to both ends of the IACV
- Loop the coolant line into each other (one less thing to mess up your idle)
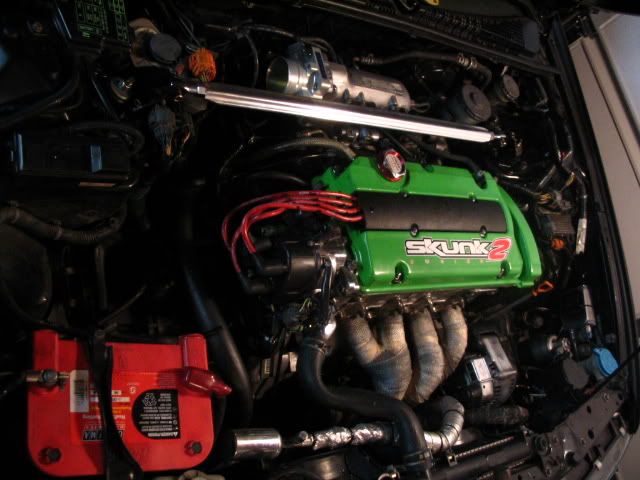
-Install TB onto Manifold and put everything back together.
- Adjust Idle with screw and Tps sensor.
- One thing is I took the red line going to the charcoal canister out. We dont have smog tests, so check on that!
Thats it! Good luck!
Fabrication is needed. You must be able to be patient.
Tools: 12mm socket and ratchet
pliers
dremel
eye protection
-First you have to disconnect the negative cable from the battery.
-Take off your radiator cap.(this takes pressure off the colant lines running to the TB.)
-disconnect the intake/breather
-disconnect the throttle cable.
-disconect all lines running to the upper half of the intake manifold**be sure to label or take pictures to ensure that you know where to re install them. Note that two lines running into the stock TB are coolant-Be careful when removing these.
-loosen the 12mm bolts and nuts that hold the upper half of the intake manifold on.
-Take the stock throttle body off.
** You will notice that the aftermarket TB is relatively larger than stock. So much so that you can slide the stock TB into the opening of the Aftermarket TB.
** You will also notice that your new TB doen't have all the crap hanging off of it like that of the stock TB. Don't worry.
-This is where the fabrication comes in. The picture below is where the map sensor would go. Our map sensor is in that neat little black box above the fuel filter.
Here is my solution to that problem. Below is a picture of a missing link from a turbo kit that I fit with a fitting. I also used two scews and an O-ring from the hardware store to hold it on. The vacumn hose that you took off the stock TB will be used here.
-Next you take the gasket provided and trace the area of material needed for removal.
-After you have traced the gasket, now is time to remove the material in order to port match the manifold. WEAR EYE PROTECTION! Use a dremel or compressor driven air drill. Grind the area down smooth all the way back. If you Skip this step, you have wasted your time. It should look like this. Remember to clean all metal shaving before going any further.
-Next install the Tps sensor. Use the factory gasket.
- Loop a hose to both ends of the IACV
- Loop the coolant line into each other (one less thing to mess up your idle)
-Install TB onto Manifold and put everything back together.
- Adjust Idle with screw and Tps sensor.
- One thing is I took the red line going to the charcoal canister out. We dont have smog tests, so check on that!
Thats it! Good luck!


 2nd motor f22a4
  present motor JDM H22a with m2b4 trans

Comment