Announcement

Collapse
No announcement yet.

ENG: Radiator Install

Collapse
X
 
  • Filter
  • Time
  • Show
Clear All
new posts

    ENG: Radiator Install

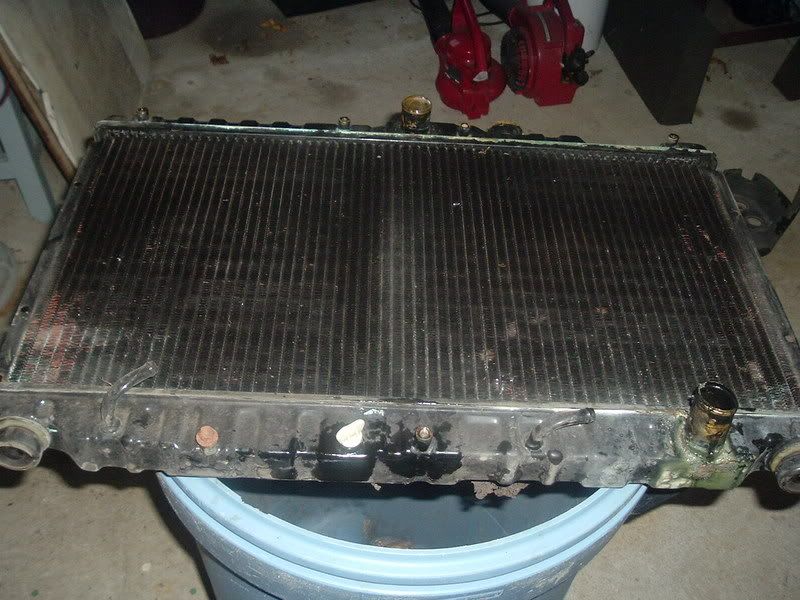
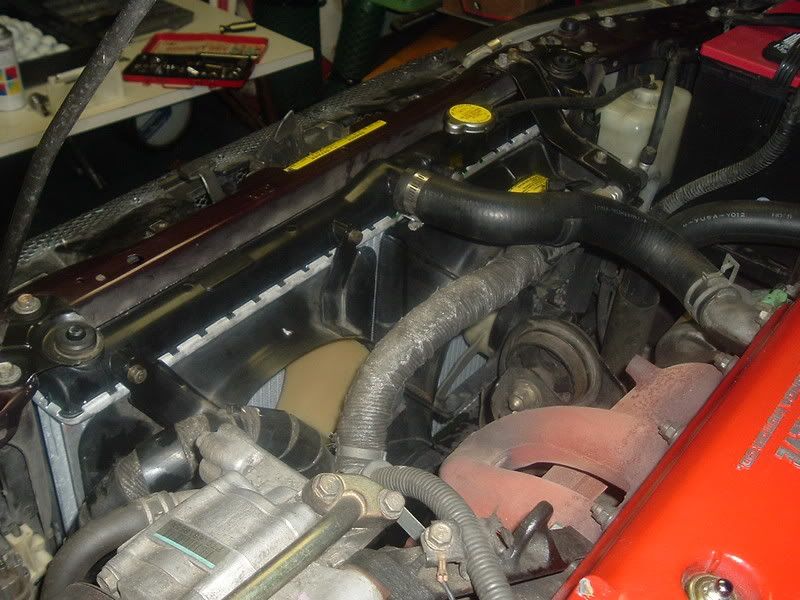
    I was forced to replace a radiator on my wagon since it started leaking. I figure i write a DIY for you guys in case you ever have to do this. Its a pretty easy project and anyone can do it. It took me about an 1 hour - 1 1/2 hour to do this. Since you will lift your car it is also a good time to change your oil

    DISCLAIMER: I AM NOT RESPONSIBLE FOR ANY INJURY YOU MAY INQUIRE OR DAMAGE TO YOUR CAR. IT IS AN EASY PROJECT AND IF YOU SCREW IT UP YOU SHOULDN'T WORK ON CARS LOL - ITS SIMPLE AS CHANGING THE OIL

    What you will need:

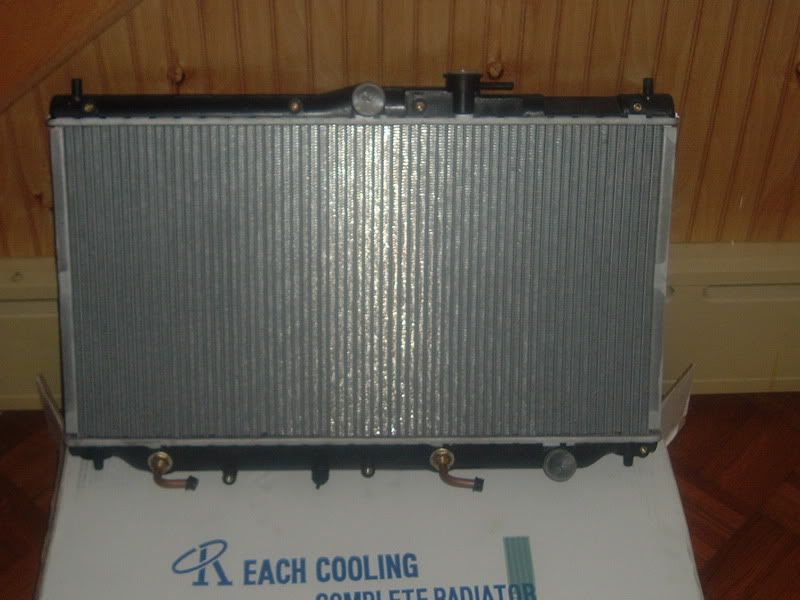
    New radiator
    Gallon of 50-50 diluted coolant
    Flat head screwdriver
    A set of socket wrenches
    A jack and 2 stands or 2 mini ramps(it makes it a lot easier when it is lifted)
    Empty bucket
    Some towels/old rags


    1. Drive up on the ramps or lift your front end enough so you can get under the car and let the engine cool off. You dont want to burn yourself with hot coolant.
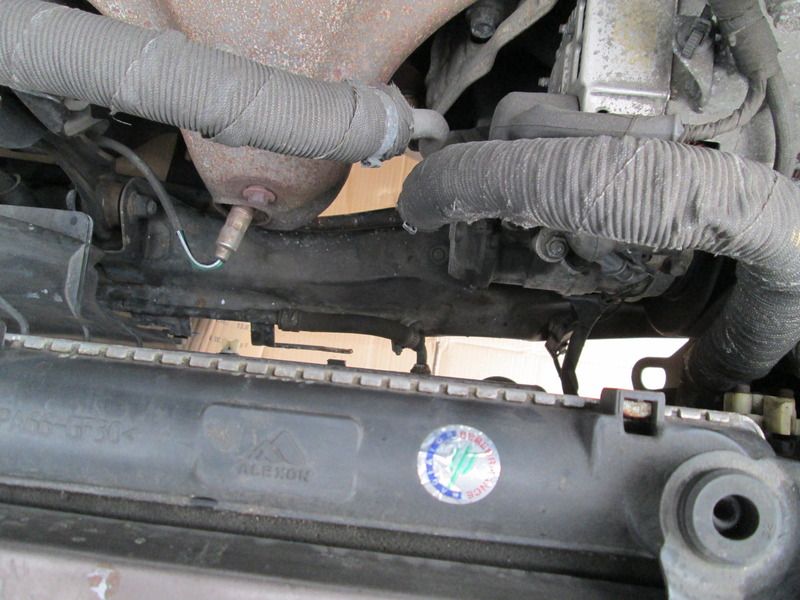
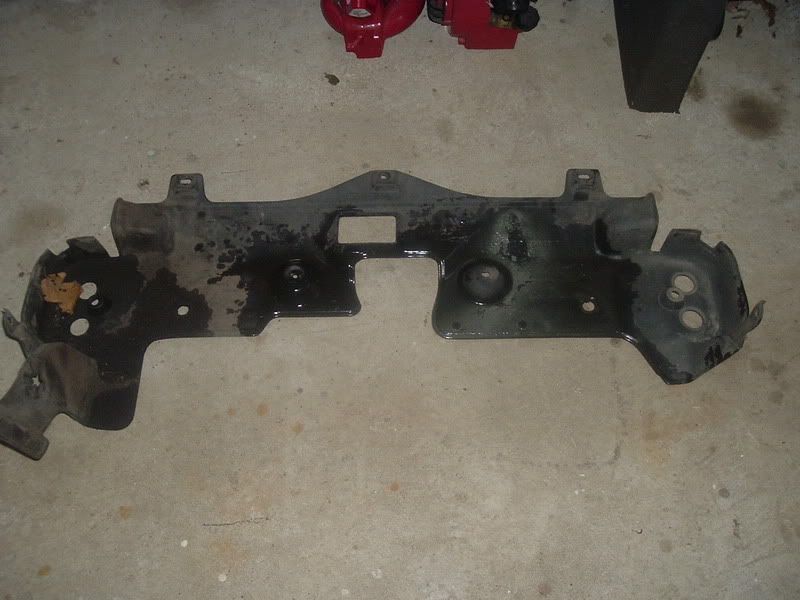
    2. Remove the plastic protective cover from the bottom. It shields the radiators and the hose on the bottom. You will need a 10mm socket i believe.


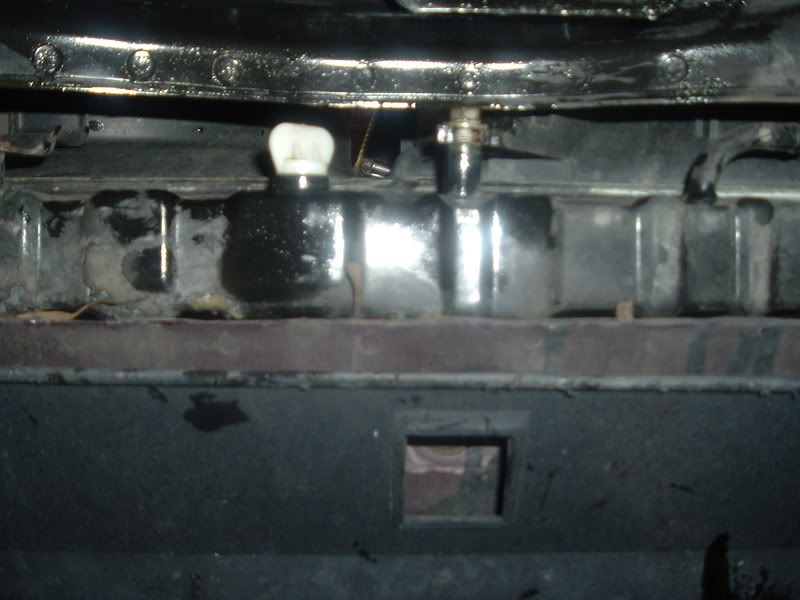
    3. When the cover is off you can take off the radiator cap from the top - the coolant should be warm/cool by now. On the bottom of the radiator you will find a plastic wingnut which drains the radiator. Place some old rags in that are and drain the coolant into the bucket.


    4. After all of the coolant is out you will have to remove the radiator fans. Before removing the radiators disconnect the coolant hose that goes into the engine block since it will be in the way. Each is held by 2 (10mm??) bolts on the top and bottom. BE CAREFULL when disconnecting the fan power sockets. Use a screwdriver to press on a tab to seperate them. When the bolts are out gently pull both fans upwards and put the aside. Remember which fas goes on what side. The mounts are a bit different.

    5. Remove the coolant hose on the bottom. If it is stuck on them use a screwdriver to carefully push it off. If you punture the hose you will have to get a new one.
    The CB9 has been reborn into a CB3
    Members Ride - see my cb3 here - DOHC powah
    Check out my JDM F22B swap
    Watch my CB7 video


    #2
    6. Undo the 2 brackets that hold the radiator in place on the top. After that step there should be nothing else holding the radiator in place. Gently lift up the radiator and place it away.


    7. You may clean out the area from any stuck leaves and othe junk that might have gotten stuck there.

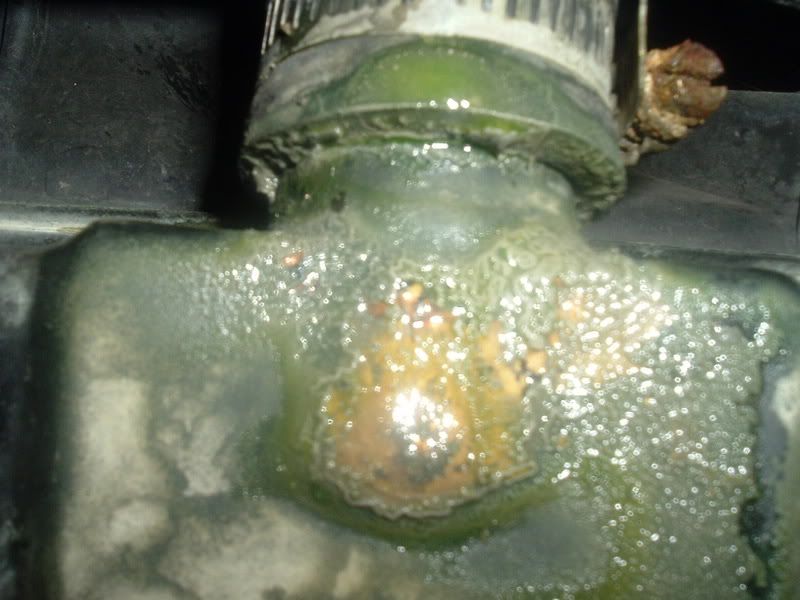
    8. From the bottom of the old radiator remove 2 rubber stands - they will be reused. Here you can also see where my leak was coming from.


    9. Take the rubber pieces and press them on to the bottom of new radiator.


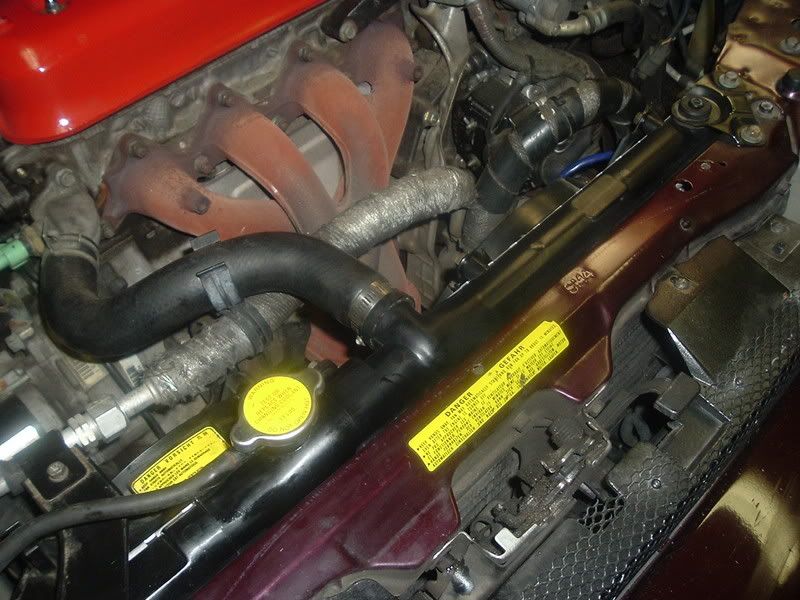
    10. Take the radiator with the rubber stands installed and stand it in the car bay where the old one sat. Next install the 2 brackets that hold the radiator in place.

    11. Connect the bottom hose to the outlet and install the fans in their original positions. Don't forget to replug the connection plugs!!! At last you can connect the top hose. WARNING: PLEASE TIGHTEN THE HOSES CAREFULLY NOT TO CRACK OR BEND THE NECKS USING THE STOCK TIGHTENERS(sp?). IF IT IS TOO LOOSE COOLANT WILL LEAK OUT.

    12. Replace the stock plastic cover to the bottom of the car to shield/protect the radiator and hoses.

    13. Put in new coolant to the top of the neck and into the reservior bottle.

    14. Start the car and let it run till it warms up. During that time check for any leaks. You may need to tighten the hose clamps a bit if there is a leak.

    15. Let the engine cool off again and check the level of coolant - add if necessary.

    16. Stand back and enjoy


    The CB9 has been reborn into a CB3
    Members Ride - see my cb3 here - DOHC powah
    Check out my JDM F22B swap
    Watch my CB7 video


    Comment


      #3
      pretty good explaniation.. only thing, if it's an auto tranny, those two hoses at the bottom of the radiator sticking out will have lines running to them for tranny coolent lines. They took me forever to get un-connected. Kinda suprsing that if you've got a manual that you had those hoses.
      --JDM F22A--

      JDM schmeDM, these lights are DIY-DM.

      Comment


        #4
        yea no hoses for a 5spd. the have caps on the ends.
        The CB9 has been reborn into a CB3
        Members Ride - see my cb3 here - DOHC powah
        Check out my JDM F22B swap
        Watch my CB7 video


        Comment


          #5
          yeah i just left those caps on when i replaced my radiator. since it's being unused on manual cars, can you used the tranny cooler portion of the radiator to cool something else, maybe like oil perhaps? it's just a thought.

          GREAT write up! it is not necessary to remove that plastic spalsh guard but it does make it easier to see what is being done when it's removed. maybe i missed it but it's also important to bleed the coolant just like you would with the brake lines to get rid of any air bubbles. overall good job !
          1cor10:31
          - 92 LX coupe
          - 96 EX wagon (sold)

          Comment


            #6
            Nah, I wouldn't reccomend using the trans cooler fittings to cool the oil or anything else. Main reason that the radiator is used to cool the trans fluid is that the hot coolant is actually cooler than the hot trans fluid, so it acts as a fluid-fluid intercooler. Plus ya have the air running past it also helps cool it. I have a feeling that if ya ran oil through that cooler, it might actually heat it up a bit, rather than cool it. Never tried it myself though, just telling ya what I heard from the teachers at my GM Technician School. If someone tries this and it seems to work well, then im sure those 5 spd kids would love the input.

            Jim

            Comment


              #7
              Nice write up. When I replaced mine May 2004 I did it without lifting the car.

              Be sure to wash the any spilled antifreeze away when complete.

              AUTOMATIC GUYS: be sure to tighten down the tranny oil cooler lines before you put in the radiator, or you'll be taking it right back out to tighten them.
              Former: 90 Accord EX Coupe, 93 10th Anniversary in Frost White

              1985 Volvo 245 manual [IPD lowering springs, IPD sway bars, OEM Virgo wheels, 1977 quad round headlights, 1978 grill]
              2001 Mazda B3000 SE 4x4 extended cab [stock except for CB radio]
              2008 Ford Escape XLT [bone stock]
              2015 Toyota Prius Three with solar roof [rear diffuser, Vision Cross wheels... cheaper than steelies!]

              Comment


                #8
                Originally posted by ACCORDianate
                Nice write up. When I replaced mine May 2004 I did it without lifting the car.

                Be sure to wash the any spilled antifreeze away when complete.

                AUTOMATIC GUYS: be sure to tighten down the tranny oil cooler lines before you put in the radiator, or you'll be taking it right back out to tighten them.
                same here did mine in the driveway without jacking it up.


                "You've done more threatening prescription drugs..."
                "the character of a man can be judged by how he takes his criticism"
                "Quoting yourself is like, masturbation" -Starchland

                Comment


                  #9
                  jacking up is not necesary to do the radiator swap but since i was changing my oil at the same it was a good idea to do so
                  The CB9 has been reborn into a CB3
                  Members Ride - see my cb3 here - DOHC powah
                  Check out my JDM F22B swap
                  Watch my CB7 video


                  Comment


                    #10
                    Good write up...yea those tranny hoses threw me off NTM putting the fans back on; now THAT about pissed me off.

                    Only thing I would add would be bleeding the cooling system and you may want to add in there to replace upper and lower hoses while you're in there, just makes it easier .
                    No more cb7, 7 years of ownership and 196K on the ticker before she was sold

                    Current beast: 98 ej8 on 7psi with a 15g turbo and other goodies!

                    NREMT-B | 300D and some glass

                    Comment


                      #11
                      yea this job is easily twice as aggrivating for Auto Tranny people.

                      especially if yer tools blow.
                      ~~~~~~~~~~1991 ExR alb F22a6~~~~~~~~~~

                      Comment


                        #12
                        nice write up with pics. One thing I'd include is the bleeding part which is pretty important to prevent from bad idling and also to turn the heater knob all the way on hot before you begin.

                        ...adjust accordingly

                        Comment


                          #13
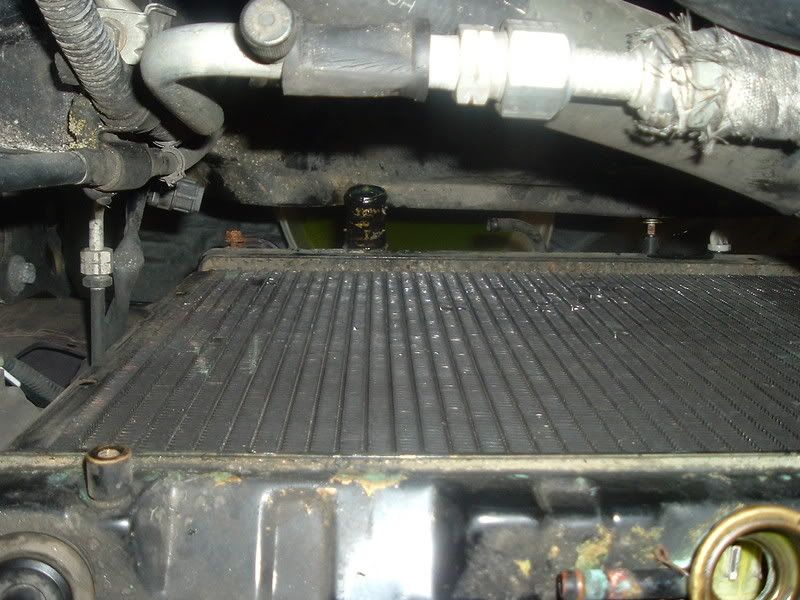
                          Sorry to bump an old DIY but I felt this could help some Auto guys in the future. This DIY helped me a ton this weekend. Here is a picture for guys with automatics. I am sorry I only took one photo. The other line looks exactly the same and it is located below the other fan.

                          It is held onto that brass fitting with a regular hose clamp. On mine there were rubber hoses. The car at the junkyard that I practiced on had braided lines. Not sure what was the oem setup.
                          A tip for the guys with the tranny cooler lines. Have an additional pan because you will lose a little ATF. The way we got them off was to have a person pull/twist on the hose while another guy used a screw driver to push the hoses off. Be careful because if you puncture the hose you will need to replace it.

                          Comment

                          Working...
                          X