Disclaimer: I am not responsible for any damages, by choosing to do this you take on all liability.
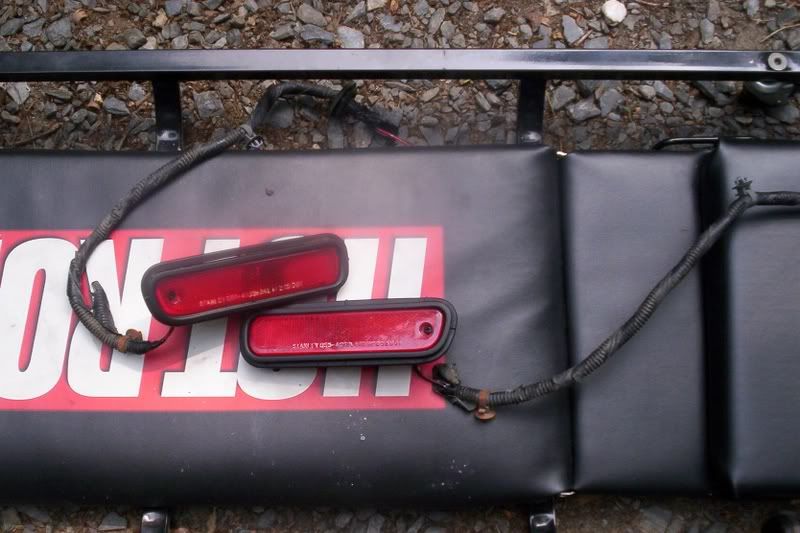
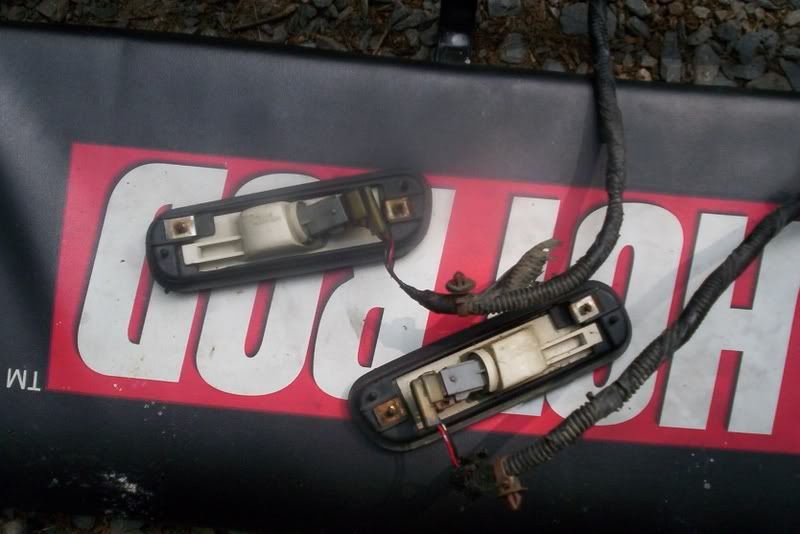
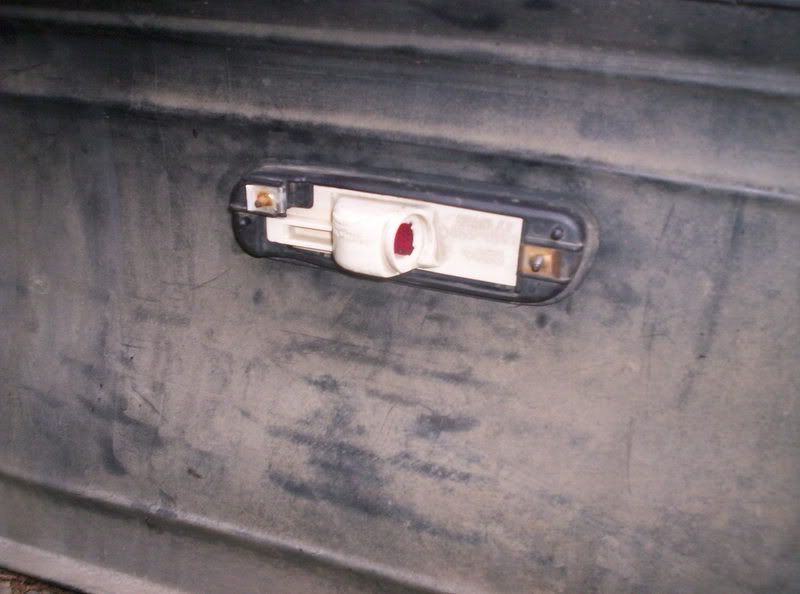
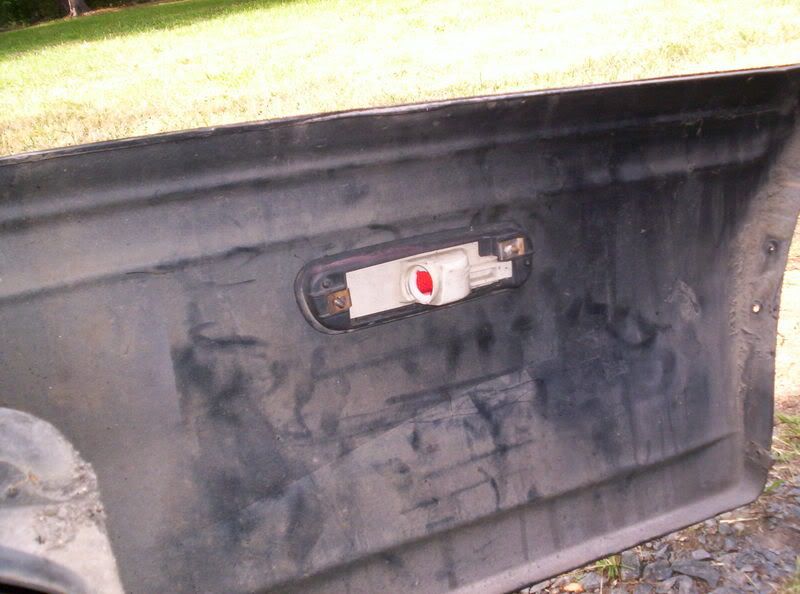
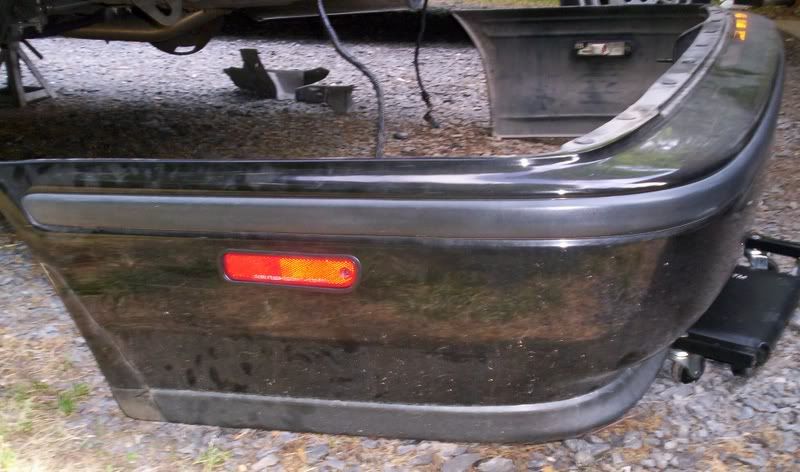
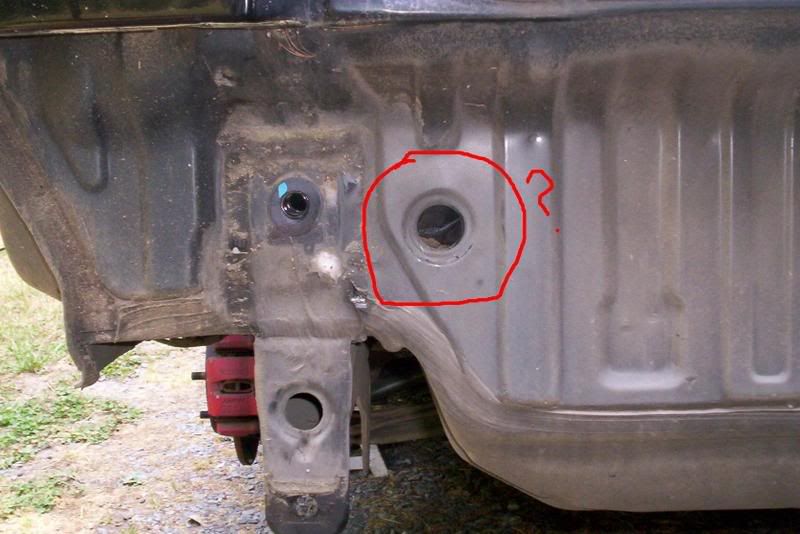
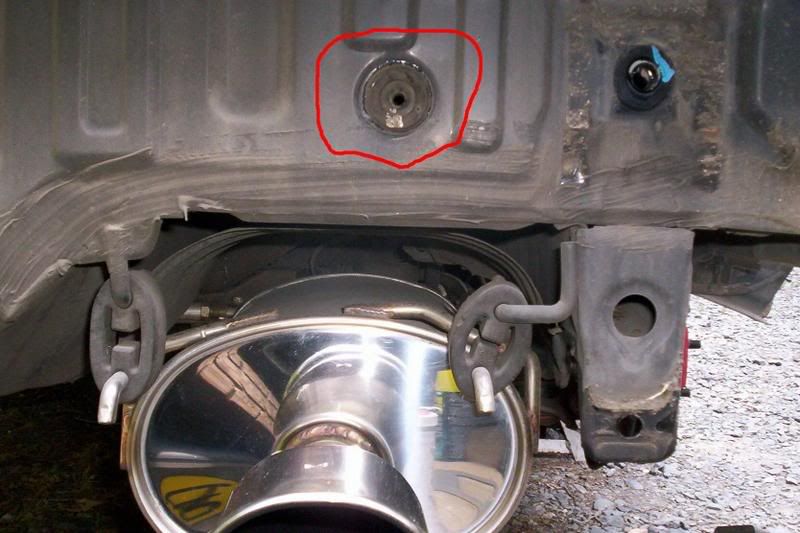
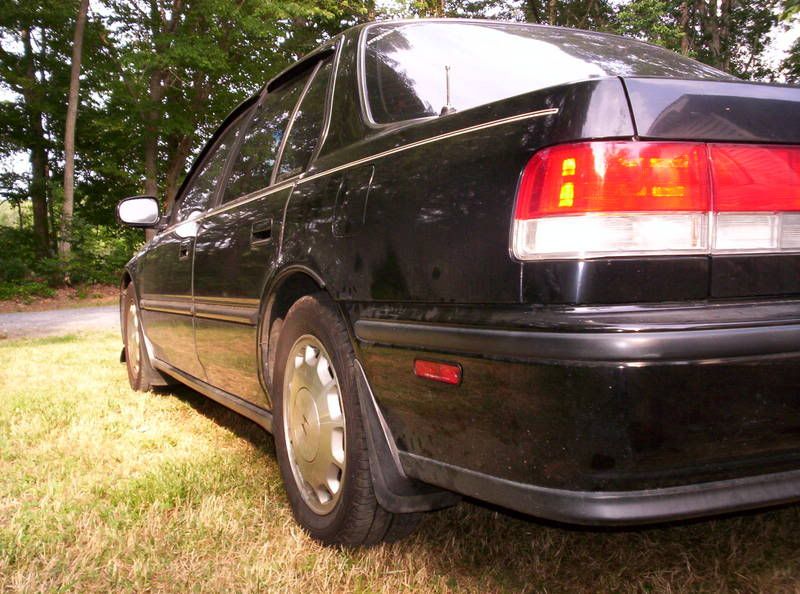
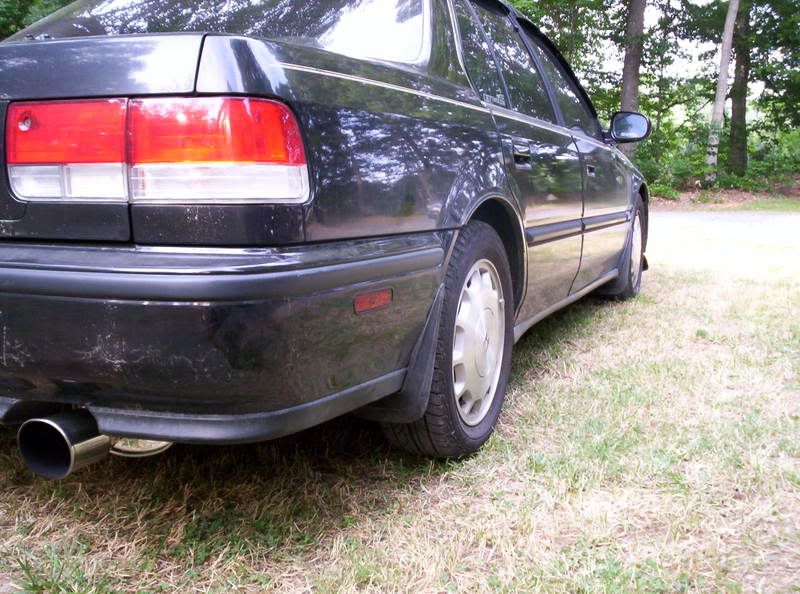
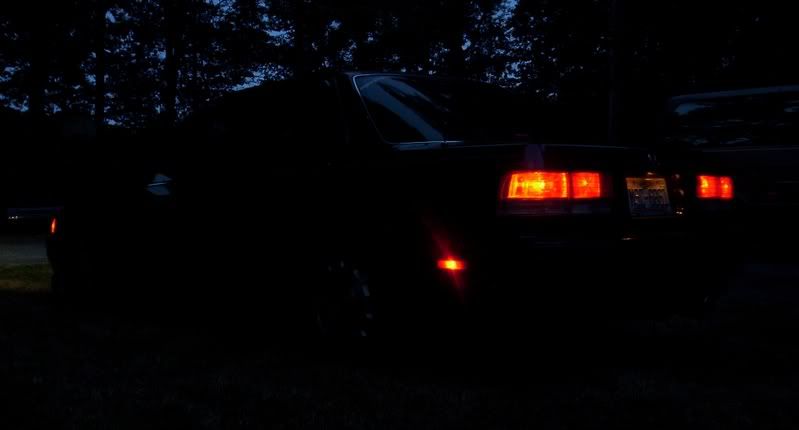
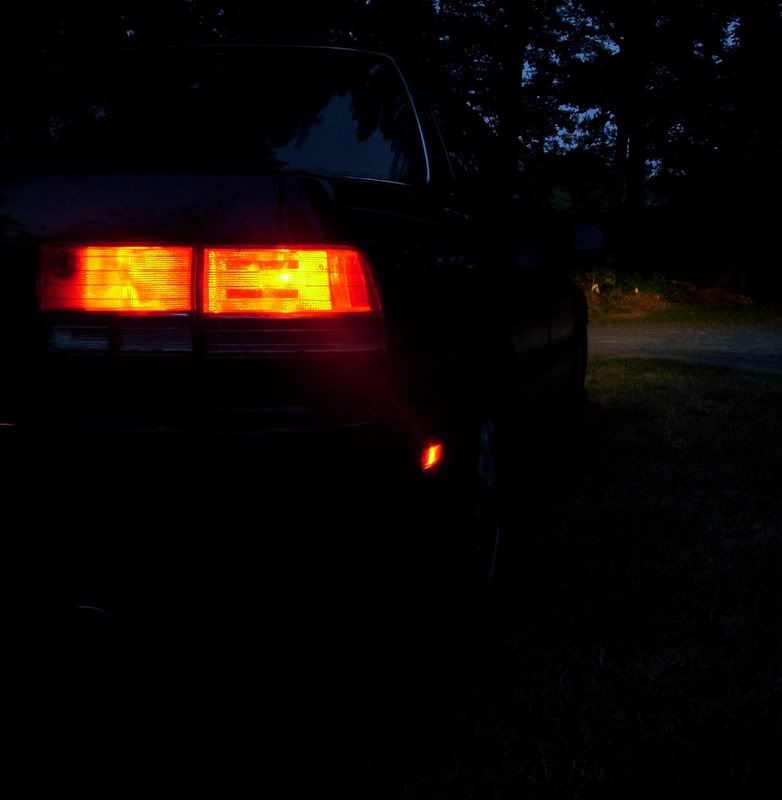
In this case I used the rear sidemarker lights off of a 92 Lude (brackets, grommets, wires, plugs). These are exactly like the ones from a 5thgen Accord, even carry the same Honda Part number.
Tools Used:
1. Dremel with cutting wheels and sanding wheel
2. Spray Paint (Gray)
3. RTV Silicone (Clear)
4. Electrical Test Light
Step 1.
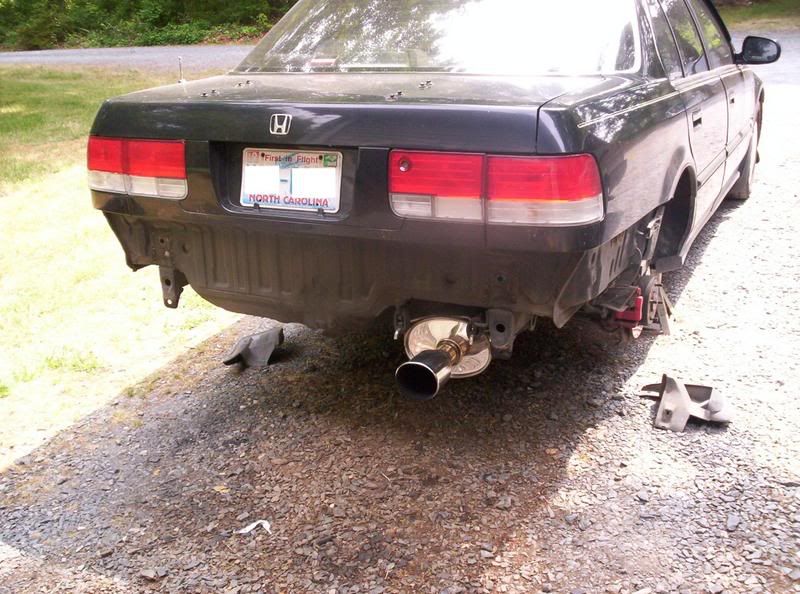
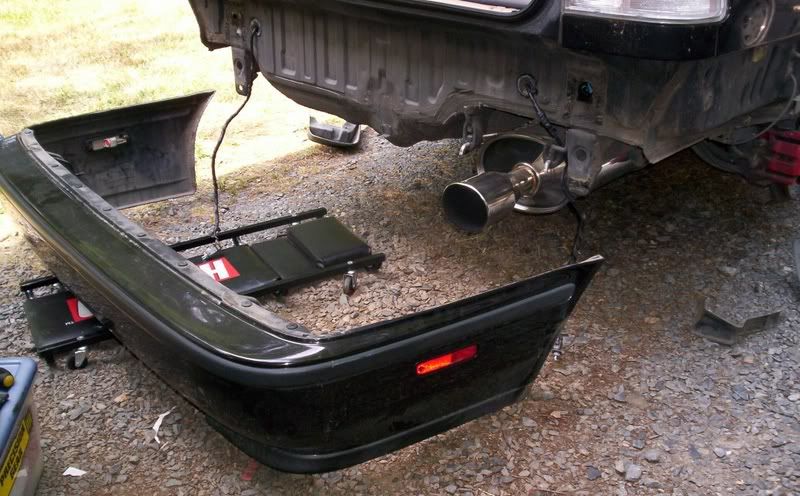
Remove Rear Bumper as shown HERE
Step 2.
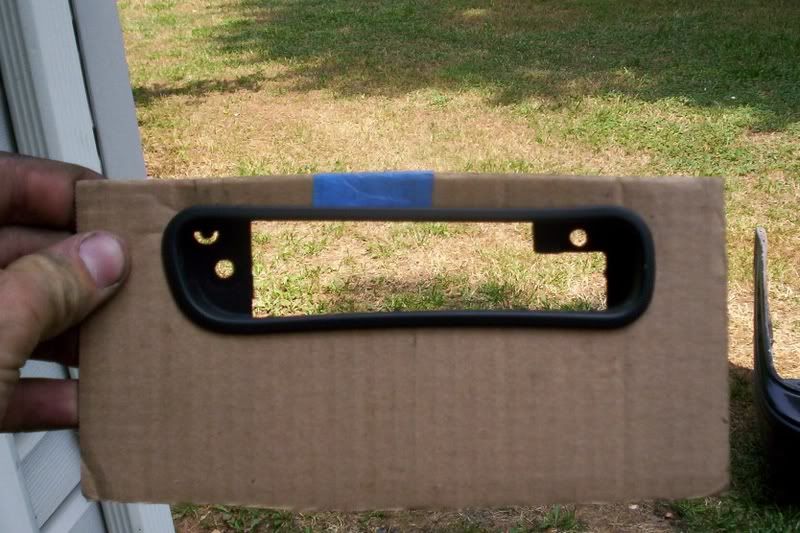
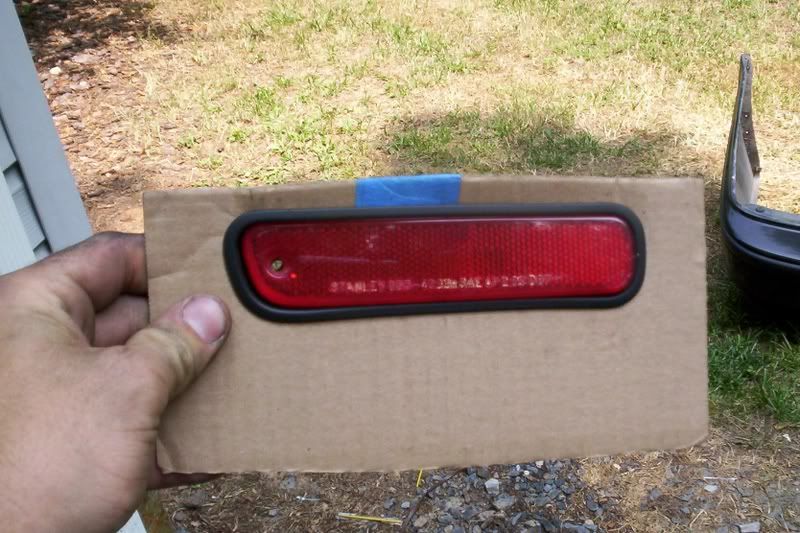
I made a stencil on a piece of cardboard and cut it out. Then test fitted the bracket and housing inside to ensure correct fit. I made this small so that when I cut the hole I donít make it too big.
Step 3.
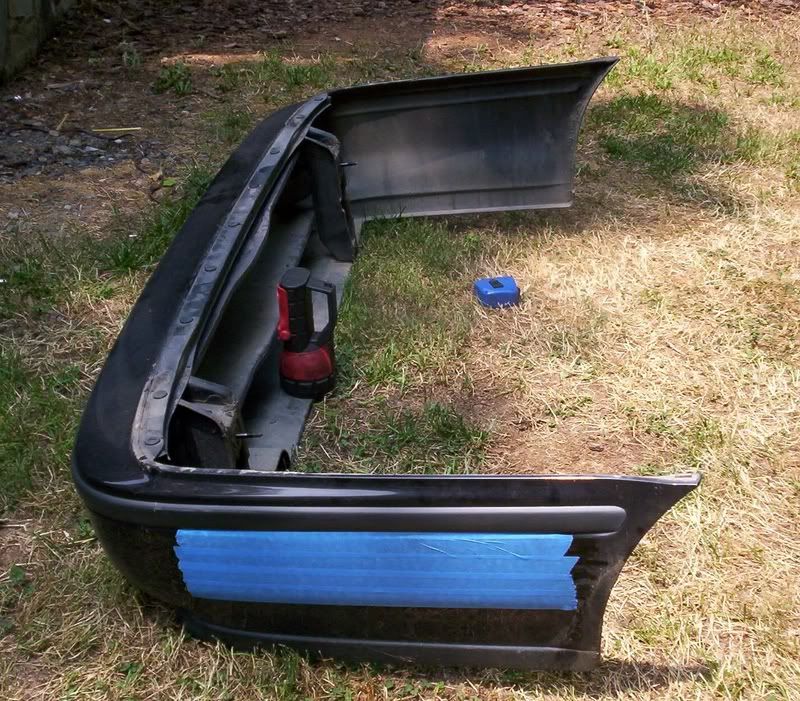
I taped off the outside of the bumper to prevent the chance of the paint cracking while I cut the holes. This is optional I guess, but I didnít want to take an chances.
Step 4.
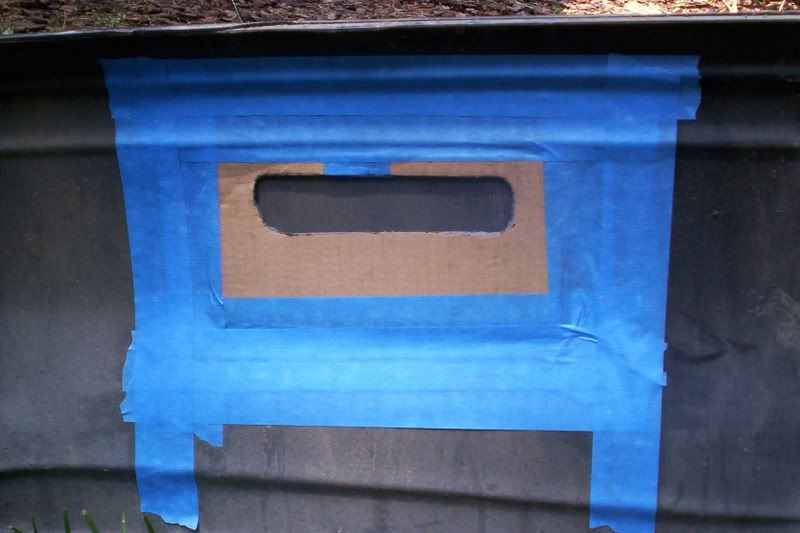
I positioned the stencil where I wanted it, measured to check center, and then re-measured to be sure. After checking several times I taped the stencil to the INSIDE of the bumper.
Step 5.
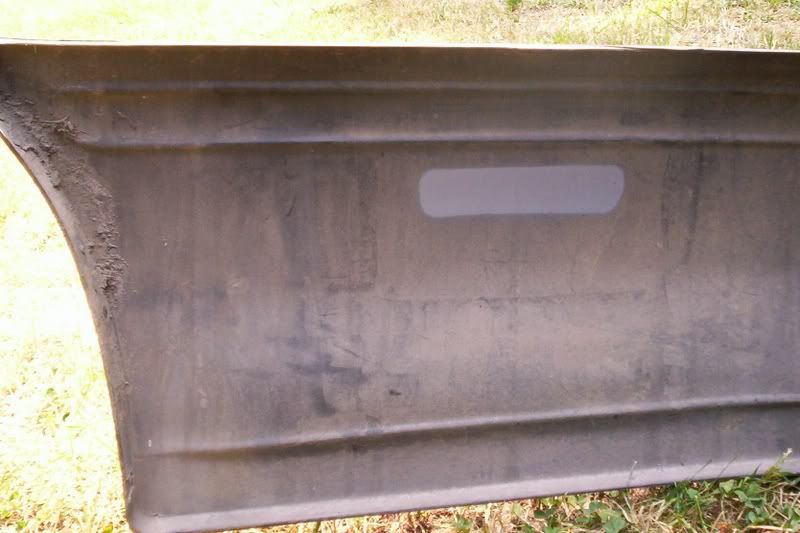
Spray a light coat of paint that will be easy to see (primer gray in this case) while cutting the hole.
Step 6.
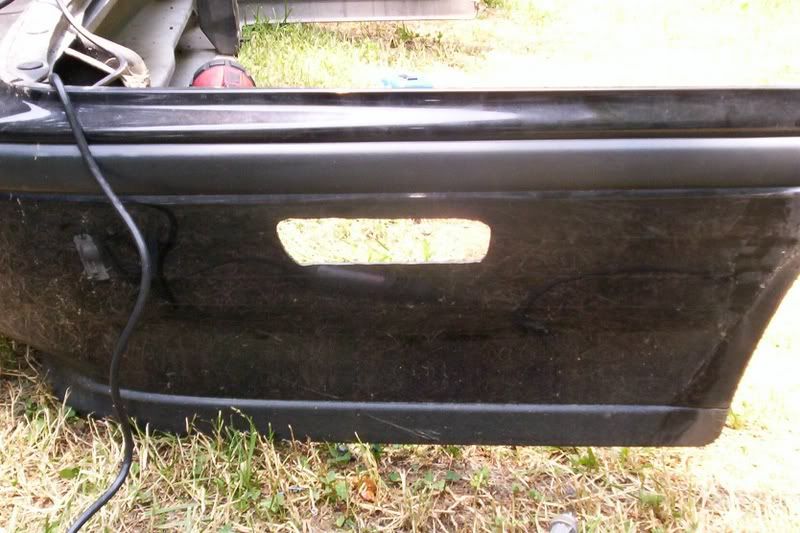
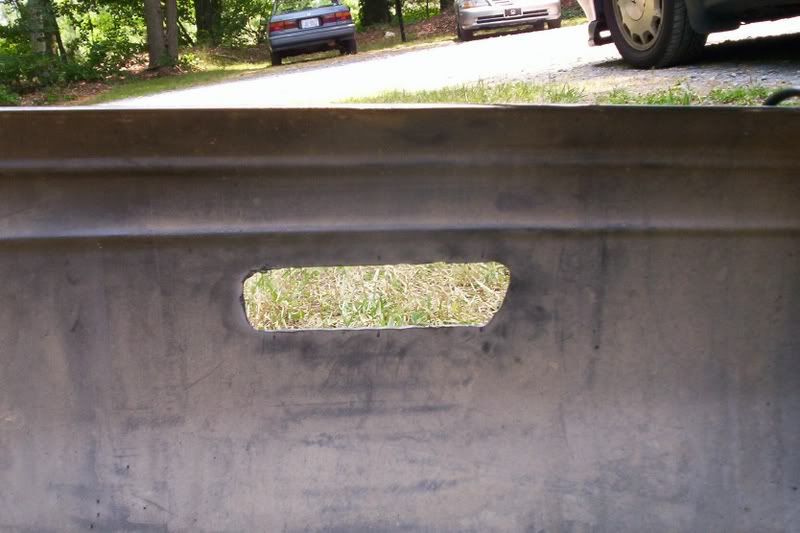
Remove stencil and begin to cut hole. Go slowly, no need to rush this part and make the whole to big. Itís easier to fine tune the hole than to think of a way to fill in a gap.
In this case I used the rear sidemarker lights off of a 92 Lude (brackets, grommets, wires, plugs). These are exactly like the ones from a 5thgen Accord, even carry the same Honda Part number.


Tools Used:
1. Dremel with cutting wheels and sanding wheel
2. Spray Paint (Gray)
3. RTV Silicone (Clear)
4. Electrical Test Light
Step 1.
Remove Rear Bumper as shown HERE

Step 2.
I made a stencil on a piece of cardboard and cut it out. Then test fitted the bracket and housing inside to ensure correct fit. I made this small so that when I cut the hole I donít make it too big.


Step 3.
I taped off the outside of the bumper to prevent the chance of the paint cracking while I cut the holes. This is optional I guess, but I didnít want to take an chances.

Step 4.
I positioned the stencil where I wanted it, measured to check center, and then re-measured to be sure. After checking several times I taped the stencil to the INSIDE of the bumper.

Step 5.
Spray a light coat of paint that will be easy to see (primer gray in this case) while cutting the hole.

Step 6.
Remove stencil and begin to cut hole. Go slowly, no need to rush this part and make the whole to big. Itís easier to fine tune the hole than to think of a way to fill in a gap.








 .
.


Comment