Okay folks just as the title says, this DIY is how I incorporated some tweeters into my plastic pillars. I believe that one is the "B" Pillar from the windshield to the seat belts. Any how I'll just let these pictures explain... in which I didn't take pictures of some things. 
Disclaimer: Do this at your own risk. I'm not responsible for electrical fires. Hand to finger removal. Or anything of these natures.
Materials:
-Rotary Tool
-Drill Bit
-Drum Bit (that's the first thing that came to mind for the name of it)
-Cut Off Wheel (optional)
-Screwdriver (Phillips)
-Ratchet
-17mm Socket
-12mm Wrench
-Sharpie
-Flushmount Tweeters
Beginning to remove you pillars. "C" is right below "B" and simply pulls off. "B" requires a little more work. This is for CB's without powered seat belts. My car is a '92.
First, pull off the "C" pillar and set it aside. Then take your screwdriver and unscrew the screw at the bottom of your "B" pillar. Got it? Cool.
Next CAREFULLY pry your pillar from your chassis. Try not to bend or break any of the clips. "B" is also connected to "C", the pillar towards the rear. I pulled them apart right where they connect as the intersect into each other. If you've gotten all of your clips loose you'll realize that "Hey it's still attached by the seat belt." Which takes me to the next step.
Follow your seat belt down to the floor. Its a piece of rubber that covers a bolt we need to take off. Slide that out of the way, take you 17mm socket and ratchet and get'er done. Got it? Gravy.
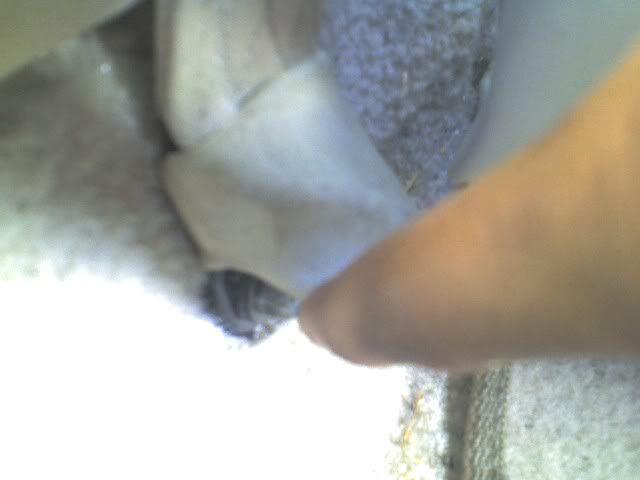
Now look at your slider (seat belt adjuster...whatever) slide it to the bottom, it'll unveil a 12mm bolt. Use your wrench here. Slide it up and get the other bolt.
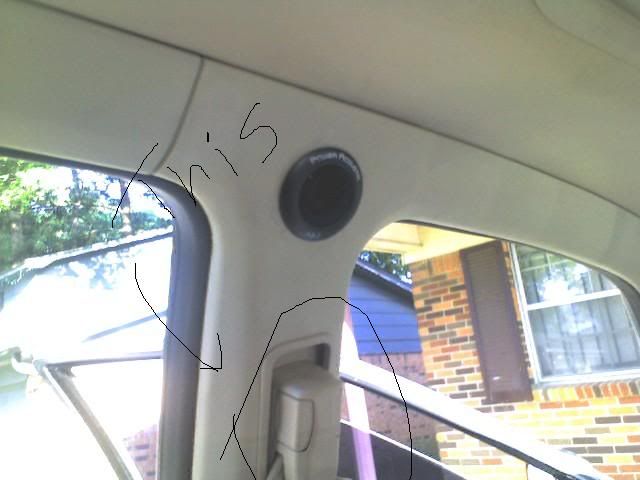
Okay so the trick to getting it out is to turn the piece that swivels to the left or right and squeeze it through. Take you time though, you don't want to break it. It is just plastic. If you got it off congrats, if not you suck at life and need more practice.
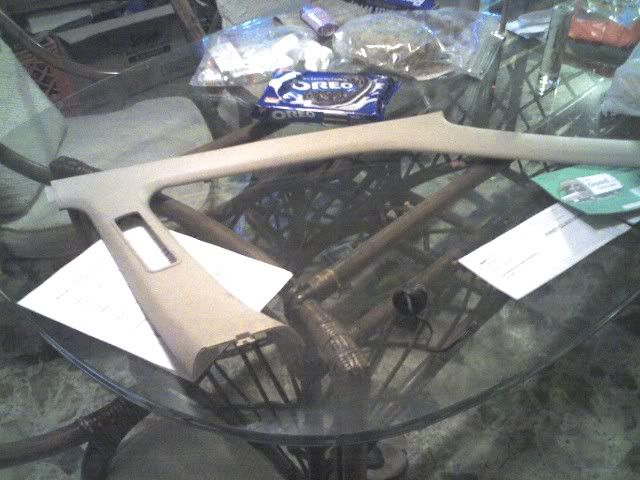
**Measure twice, cut once**
Get to a table, floor, or work bench so that we can get this ish cracking. Take the flushmount part of your tweeter and line it up with where you want it. Take your Sharpie do a decent circle. Be sure to get it right on both sides.
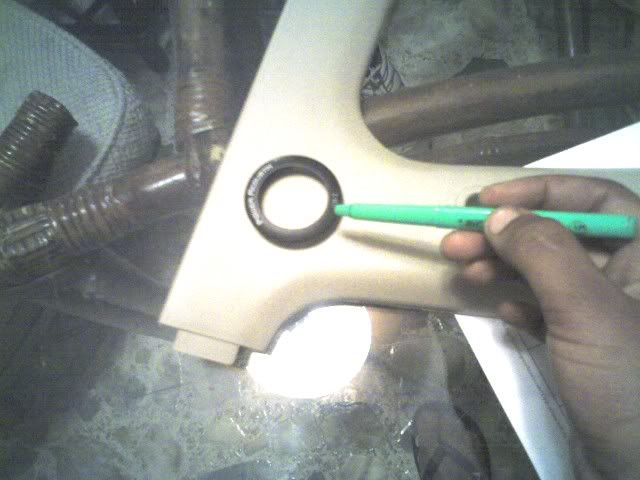
This is how I did mine and for everyone else feel free to do it as easy as it suits you. Take your rotary tool and drill bit. Start a hole next to your outline taking it around full circle with the drill bit. Pop that bit out and put in your drum. Sand away along the outline and be sure to test fit every few cuts.
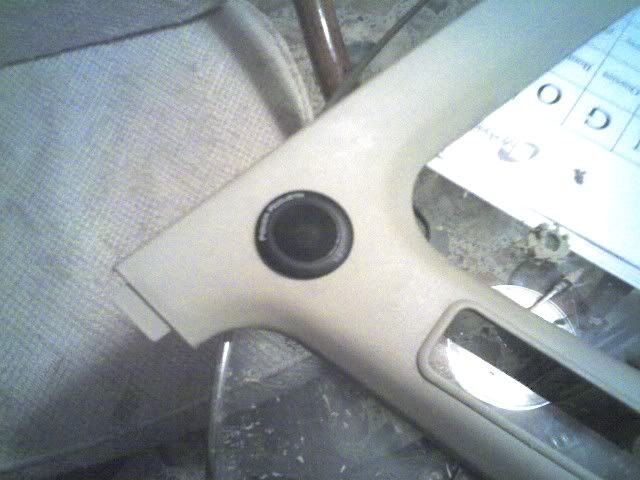
OOOH NICE AND SNUG!
Clean it up. Extend your wires. As of now mine are connected to my rear it'll change in the very near future but that's where they are now.
Installation is reverse of removal. One thing to remember is the seat belt sits on top of the "B" pillar, not behind it.

I'm awesome....

Questions just ask below.
Disclaimer: Do this at your own risk. I'm not responsible for electrical fires. Hand to finger removal. Or anything of these natures.
Materials:
-Rotary Tool
-Drill Bit
-Drum Bit
 (that's the first thing that came to mind for the name of it)
-Cut Off Wheel (optional)
-Screwdriver (Phillips)
-Ratchet
-17mm Socket
-12mm Wrench
-Sharpie
-Flushmount Tweeters
Beginning to remove you pillars. "C" is right below "B" and simply pulls off. "B" requires a little more work. This is for CB's without powered seat belts. My car is a '92.
First, pull off the "C" pillar and set it aside. Then take your screwdriver and unscrew the screw at the bottom of your "B" pillar. Got it? Cool.
Next CAREFULLY pry your pillar from your chassis. Try not to bend or break any of the clips. "B" is also connected to "C", the pillar towards the rear. I pulled them apart right where they connect as the intersect into each other. If you've gotten all of your clips loose you'll realize that "Hey it's still attached by the seat belt." Which takes me to the next step.
Follow your seat belt down to the floor. Its a piece of rubber that covers a bolt we need to take off. Slide that out of the way, take you 17mm socket and ratchet and get'er done. Got it? Gravy.

Now look at your slider (seat belt adjuster...whatever) slide it to the bottom, it'll unveil a 12mm bolt. Use your wrench here. Slide it up and get the other bolt.

Okay so the trick to getting it out is to turn the piece that swivels to the left or right and squeeze it through. Take you time though, you don't want to break it. It is just plastic. If you got it off congrats, if not you suck at life and need more practice.


**Measure twice, cut once**
Get to a table, floor, or work bench so that we can get this ish cracking. Take the flushmount part of your tweeter and line it up with where you want it. Take your Sharpie do a decent circle. Be sure to get it right on both sides.

This is how I did mine and for everyone else feel free to do it as easy as it suits you. Take your rotary tool and drill bit. Start a hole next to your outline taking it around full circle with the drill bit. Pop that bit out and put in your drum. Sand away along the outline and be sure to test fit every few cuts.

OOOH NICE AND SNUG!
Clean it up. Extend your wires. As of now mine are connected to my rear it'll change in the very near future but that's where they are now.
Installation is reverse of removal. One thing to remember is the seat belt sits on top of the "B" pillar, not behind it.

I'm awesome....

Questions just ask below.




 **Don't b scared be prepared for the worst**


 Cheers!
Comment