I got this idea from seeing various cars having a small "running light" in there headlights. So i said, "Why can't our accords have them... mmm." lol
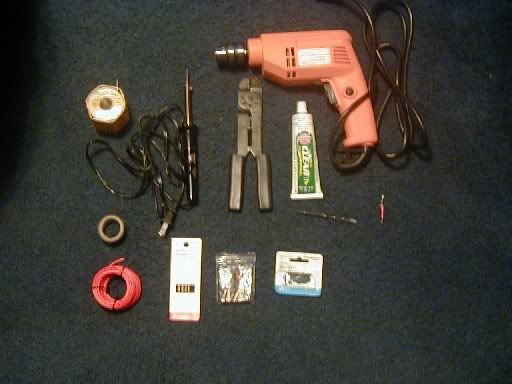
Tools Needed for this project:
Drill
13/64's Drill Bit
Clear Silicone
Wire Stripper's/Cutter
Soldering Iron (Not really necessary)
Electrical Tape
16 Guage Wire
Heat Wrap
220-Ohm Resistors (Part# 271-1111 at Radio Shack, .99 cents for 5)
Blue 5mm LED's (Part# 276-316 at Radio Shack. Something around 4$ for an led. Crazy! isn't it.)
Ok, to start this off. Do this at your own risk... even though it really isn't a risk. Very very very simple DIY. Prolly the only thing dangerous is the soldering gun and thats opional really. I hooked the LED's up to me parking lights so they obviously only work when you either have just the parking lights on or the regular lights. I used 4 LED's (2 for each headlight.)
Also I know many of you might not want blue as a color, So use this site http://www.kpsec.freeuk.com/components/led.htm . It helps you on how they work. Different colors may also use different resistors due to difference in volts, so make sure to remember that to save yourself some time and money.
1. After you have all the tools, LED's, and resistors. You will have to attach the resistor to the LED. You need to attach the resistor to the positive prong with is idenified on an LED by the longer prong. I soldered them together and also placed a red heatwrap over it to make it easier for me to identify.
2. When LED's have been prepped. You will need to drill a hole into your headlights. The 13/64's drillbit worked will with the LED's. I drilled 2 holes at an angle towards the chrome right above the highbeam. Drill slowly and blow a bit so you can remove the debris before it goes into the headlight.
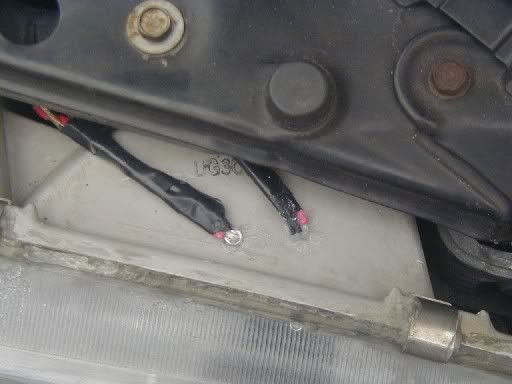
3. Next you will need to start the positive wiring. Take off your corner lights, and you will need to splice into the parking light (The one that doesn't blink... ). I used the wire stripper and just removed the red colored wire's casing. I didn't want to cut it and have to worry about it breaking apart. Attach a wire to the stripped piece, solder and/or tape it up, then run the wire to the holes you drilled. Connect the wire to the resistor side of the LED/'s. Tape it up.
4. The negative side I did a little different. I ran it straight to the ground on the battery. Some might say why not right to the black wire on the running light? Well I tried and I'm not sure if I did somethign wrong, but I ended up blowing a fuze. I prolly touched the + & - together without realizing. So if ya want, try it and hopefully that works. Let me know if it does . If ya dont try, just run a wire to negative terminal on the battery and right to the LED/'s.
5. After the wiring, place the LED/'s in the holes and silicone them in so no water comes in. Clean up, put the parking lights on, and enjoy the glow.
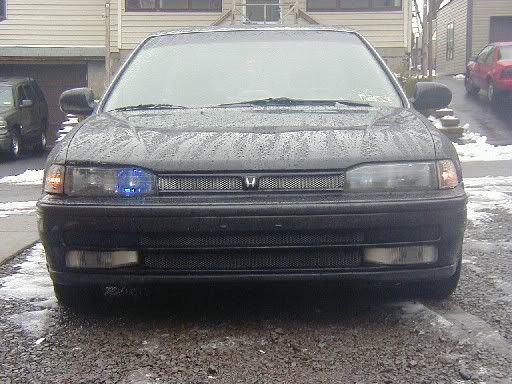
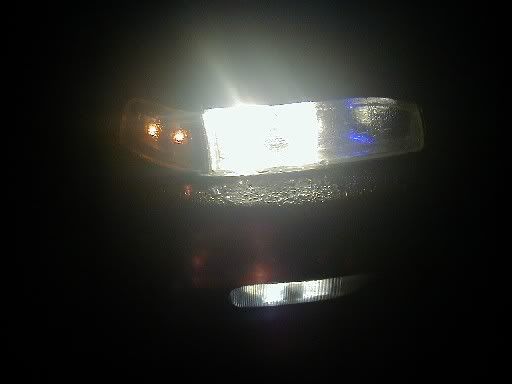
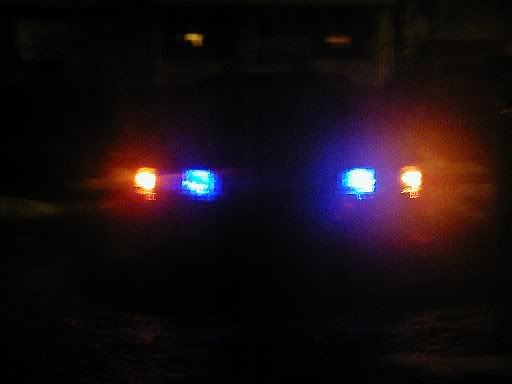
Here's some pictures of the final project. Feel free the do something different and post us some pictures.
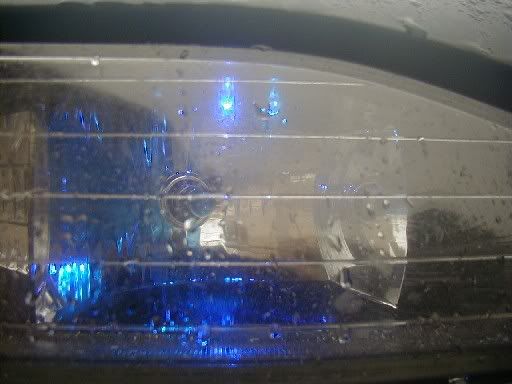
She's winking at ya!

Tools Needed for this project:
Drill
13/64's Drill Bit
Clear Silicone
Wire Stripper's/Cutter
Soldering Iron (Not really necessary)
Electrical Tape
16 Guage Wire
Heat Wrap
220-Ohm Resistors (Part# 271-1111 at Radio Shack, .99 cents for 5)
Blue 5mm LED's (Part# 276-316 at Radio Shack. Something around 4$ for an led. Crazy! isn't it.)
Ok, to start this off. Do this at your own risk... even though it really isn't a risk. Very very very simple DIY. Prolly the only thing dangerous is the soldering gun and thats opional really. I hooked the LED's up to me parking lights so they obviously only work when you either have just the parking lights on or the regular lights. I used 4 LED's (2 for each headlight.)
Also I know many of you might not want blue as a color, So use this site http://www.kpsec.freeuk.com/components/led.htm . It helps you on how they work. Different colors may also use different resistors due to difference in volts, so make sure to remember that to save yourself some time and money.
1. After you have all the tools, LED's, and resistors. You will have to attach the resistor to the LED. You need to attach the resistor to the positive prong with is idenified on an LED by the longer prong. I soldered them together and also placed a red heatwrap over it to make it easier for me to identify.
2. When LED's have been prepped. You will need to drill a hole into your headlights. The 13/64's drillbit worked will with the LED's. I drilled 2 holes at an angle towards the chrome right above the highbeam. Drill slowly and blow a bit so you can remove the debris before it goes into the headlight.

3. Next you will need to start the positive wiring. Take off your corner lights, and you will need to splice into the parking light (The one that doesn't blink...
 ). I used the wire stripper and just removed the red colored wire's casing. I didn't want to cut it and have to worry about it breaking apart. Attach a wire to the stripped piece, solder and/or tape it up, then run the wire to the holes you drilled. Connect the wire to the resistor side of the LED/'s. Tape it up.
4. The negative side I did a little different. I ran it straight to the ground on the battery. Some might say why not right to the black wire on the running light? Well I tried and I'm not sure if I did somethign wrong, but I ended up blowing a fuze. I prolly touched the + & - together without realizing. So if ya want, try it and hopefully that works. Let me know if it does
 . If ya dont try, just run a wire to negative terminal on the battery and right to the LED/'s.
5. After the wiring, place the LED/'s in the holes and silicone them in so no water comes in. Clean up, put the parking lights on, and enjoy the glow.

Here's some pictures of the final project. Feel free the do something different and post us some pictures.

She's winking at ya!




Comment