No pics yet. Sorry. I will see if I can add some in the future.
Rational:
This is far easier than the LED light conversions available on the site, as well having the advantage of retaining the stock light bulbs. That way, if you ever need a replacement bulb, they are readily available, and you won't have to spend time explaining to someone why you need the part you do. They also light extremely uniformly, unlike some of the LED conversions where it takes a lot of effort to avoid splotchiness.
Materials you will need:
1) Various tools to remove the black plastic dash bezel, the climate control unit, and any buttons.
2) An assortment of small flathead screwdrivers.
3) Superglue
4) Paint thinner with Q-tips. It would also be handy to have some flat black model paint and a very fine tip paint brush. I will explain why later.
5) A colored translucent paper folder of your choice. I bought mine at Wal-Mart for about $.50 each. You can find them in the office supply section, and they come in all sorts of different colors. You don't have to do amber, that is just what I did.
6) Qty 3 T5 amber LED wedge bulbs. Again, you can make your own, or you can use a different color. I bought mine on ebay for a couple of $$.
* You are likely to have burnt out dash bulbs. Since you will have everything apart anyway, now is a good time to replace them. Yes, your Hazard switch is supposed to light up. Especially in the climate control. You can get them at some auto parts stores, order them from www.hondaautomotiveparts.com or www.slhondaparts.com, or make your own. You can probably also source LED replacements from someplace like EBAY, but I can't say what the lighting quality will be. Or you can make your own LED replacements.
Procedure:
1) Remove the sunroof/cruise switch, the brightness switch and the foglight (if you have one), rear defrost and hazard switches from the dash.
2) Remove the airvents from the dash.
3) Remove the center console and ashtray.
4) Remove the radio if so equipped.
5) Unplug the cigarette lighter and remove the dash trim bezel. There are screws hidden behind the switches and airvents you pulled out. I think there are 11 or 12 total, but don't quote me on that.
6) Once the dash trim bezel is out, you can remove the climate control unit. There are 2 plugs and 1 cable that need to be removed, so that you can remove it from the car.
7) You can start with the switches. Pop the tabs on the switch so that the case slides off. You will need to remove the button face on the front and replace the greenish filter behind it with an orange one made from your folder.
Repeat this process with all of the switches. Be careful, not to break any of the mounting tabs for the buttons, especially on the cruise control switch as you can't superglue that one back on and have it work properly. If any of the other tabs do happen to break, then just use superglue to put them back on.
8) You will need to disassemble the climate control.
9) Pop the buttons off from the back, being careful not to break the tabs. Replace all of these filters, just like you did with the switches. Try to make the filters as precise as possible so that white light doesn't bleed through. They are small, and there isn't a lot of extra room, so precision is key to a nice finished product. Once you have replaced the filters, simply pop the buttons back on, or if the tabs broke, use a dab of superglue to reattach them. Don't use too much, because you don't want the glue to freeze the button to the side of the unit, causing sticky movement or breakage.
The front defrost button does not need a filter as it is already amber.
10) Now, for the hardest part. The fan speed indicator. Peel the plastic face off of the climate control body. You can use a small screwdriver from behind so that you don't damage the face. It should peel free relatively easily with a little bit of effort. It shouldn't have to be forced, it is thin and fragile, so be careful.
Once you have it off, you will need to get a Q-tip wet with paint thinner.
This piece is essentially a clear piece of plastic, with a black layer for the face and markings, a white layer over the clear indicator for visibility and color uniformity, and then blue paint over the white paint to make the indicator light up that blue/green color.
Honda made this indicator blue by paiting a layer of white paint, and then a layer of blue paint. If you can get the blue paint off without taking the white, great. If not, it isn't that big of a deal. Just be careful once the white paint starts to come off, because if you rub much further, you will start to rub the black face and indicators off, and you will just be left with a clear piece of plastic. It is better if this takes a really long time with soft rubbing vs fast and taking the face off.
11) Once the blue paint has been rubbed off, cut a piece of the folder in an arc/rainbow shape, and glue it over the indicator markings. Make sure it is just a little bit bigger than the indicators so that it doesn't allow white light through.
12) Using the superglue, reattach the face to the climate control base.
13) reassemble the climate control unit, replacing any bulbs if necessary.
14) Re-install the climate control unit into the dashboard.
15) Re-install the trim bezel.
16) Re-install the radio, and switches.
17) We still have to deal with the cigarette lighter, the ignition switch and the ashtray.
Since Honda used colored bulbs for these, you will have to do the same in whichever color you choose to use. This is where the T5 style LED wedge bulbs come in. They don't have to be LED, just as long as they are T5.
That completes the color conversion using the OEM method.
If you have any questions, feel free to PM me. All in all this is a straightforward conversion, and isn't very hard, but IS time consuming to get good results.
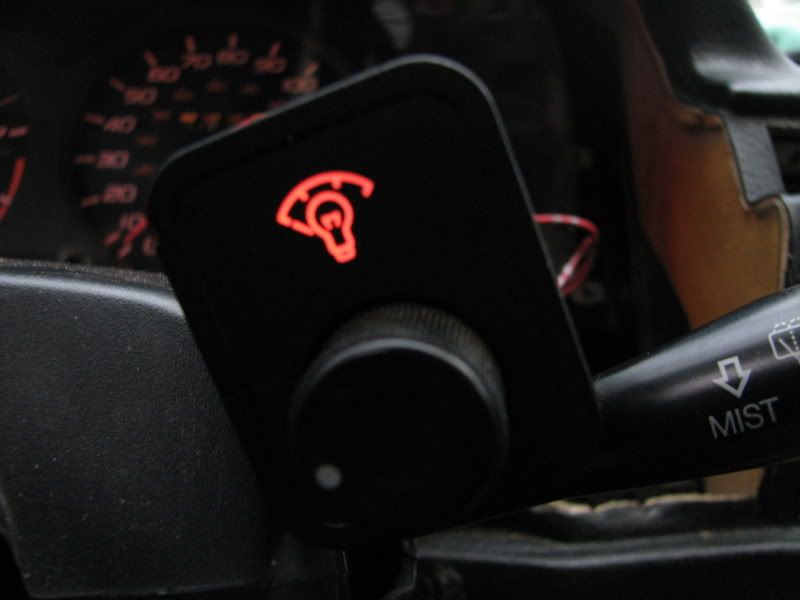
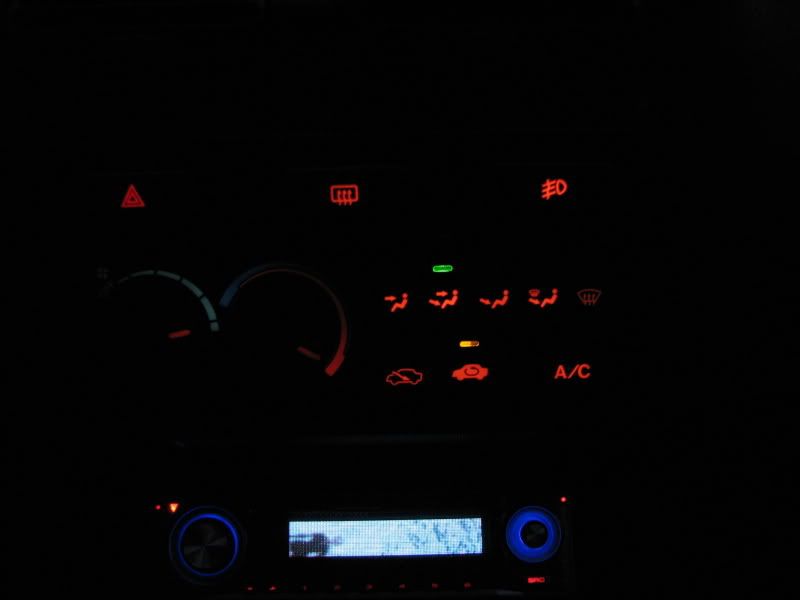
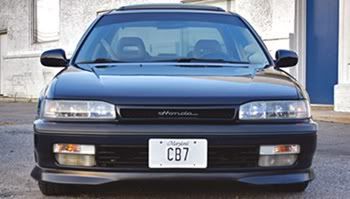
Pics of the finished product:
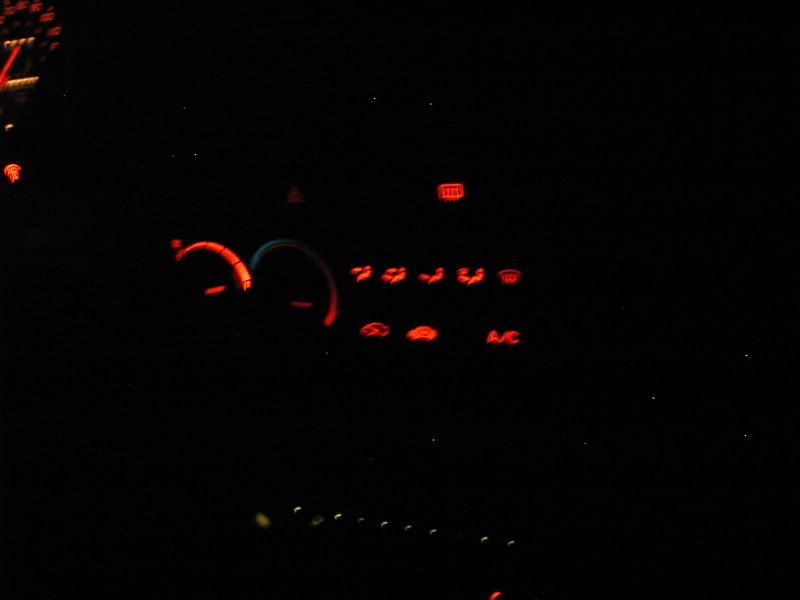
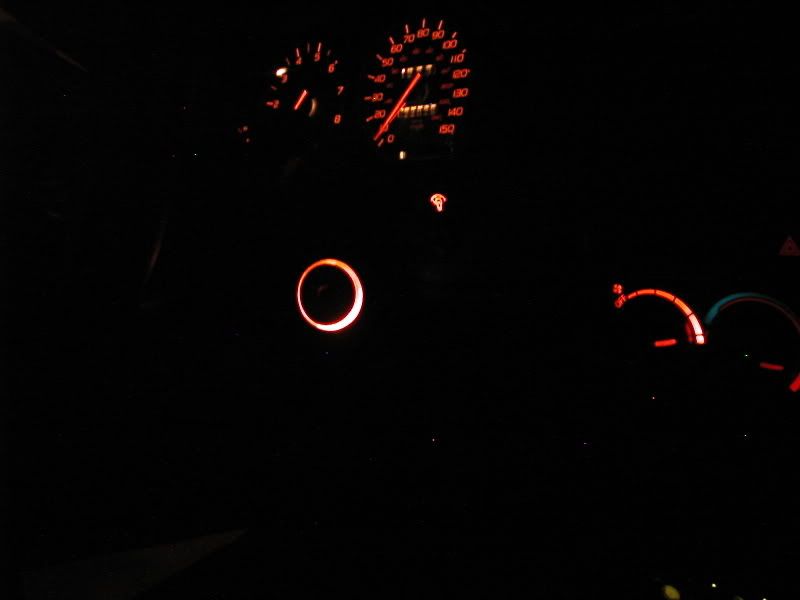
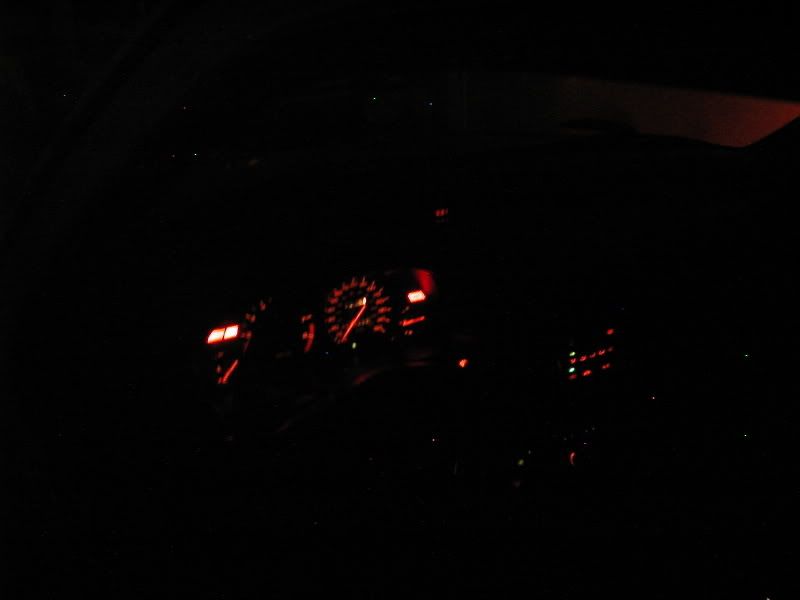
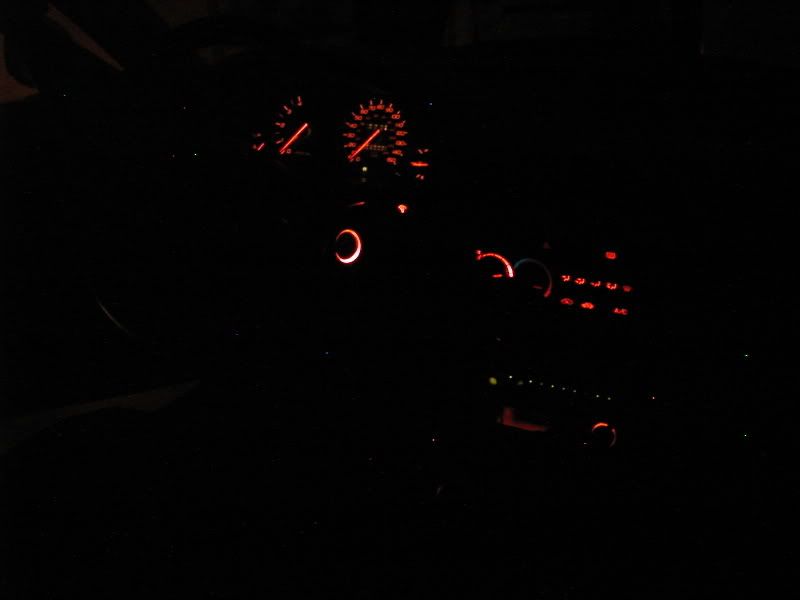




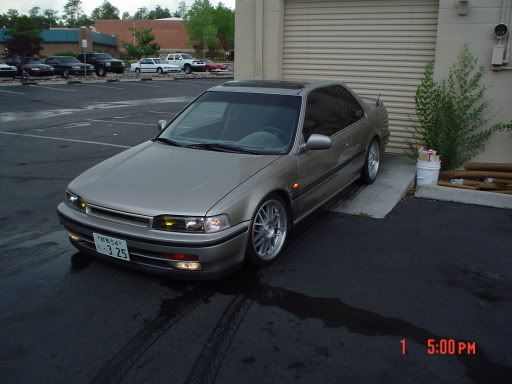
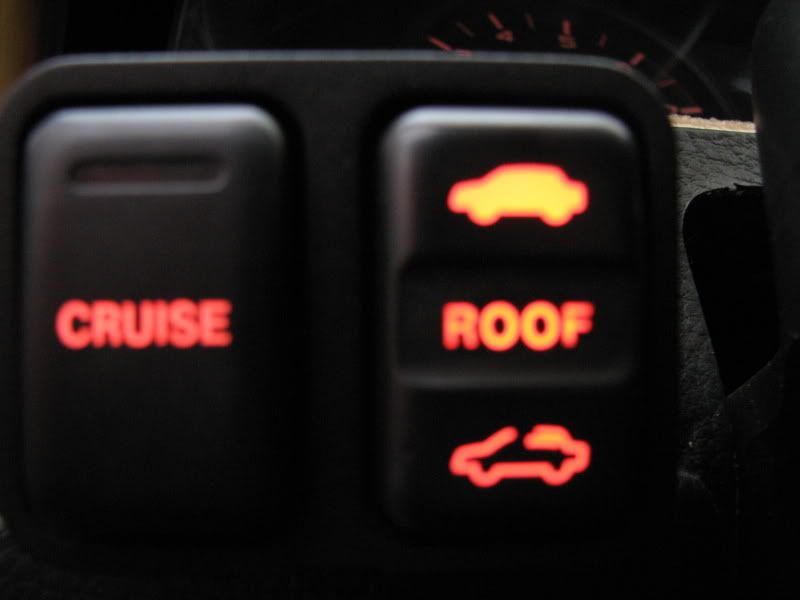




 )
)

Comment