Okay, so in Canada every car is required by law to have daytime running lights. They are a fantastic idea, the only problem is that as soon as the car is put in gear the DRL is the lowest the headlights will go when you try to turn them off. We thought this weekend that it would be neat to be able to not have them, but only in certain occasions.
This is also my first attempt at a DIY
Parts
-About 4' of wire (x2) (I used speakerwire)
- 1 Automotive grade rocker switch.
- 1 10amp fuse holder
- electrical tape
-heatshrink tubing
Tools
-Rotary tool with small carbide type bit
-Phillips screw driver
- Soldering Iron
- Ruler
-Sharp knife
- Wire cutters
- Wire strippers
Other
Safety Glasses
Stage One
Step 1
Pull 10amp fuse in the DLR section of the fuse block.
Check for result before proceeding.
Step Two
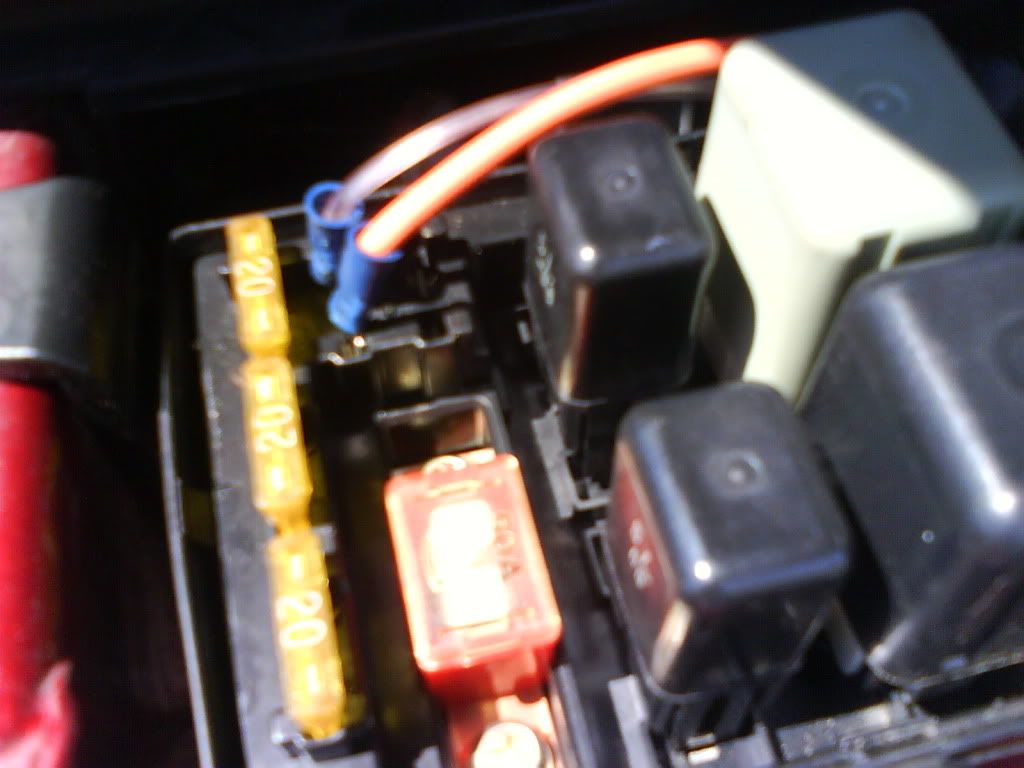
Run one end of the fuse holder into one plug in the original fuse holder. Connect one end of the run of wire to the other end of the original fuse plug.

Step 3
Connect other end of wire to the other end of the fuse holder.
Step 4
Now insert the fuse
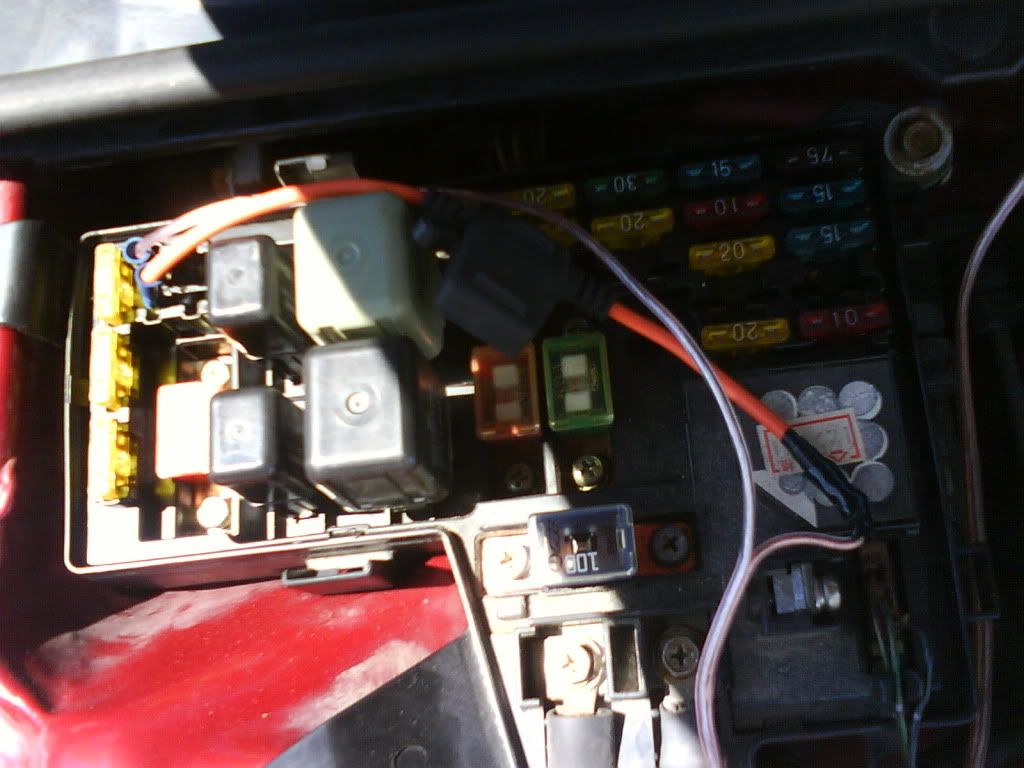
You should have something of a circuit formed running back with two joined wires coming out smilar to this.

Stage two
Step 5
Run those wires out through the opening and back through the grommet in the firewall and then under the dash.
Step 6
Remove the Glove box. There are two little screws on the bottom, as well as one on the arm on the right hand side.
Step 7
Measure your switch, and use the Rotary tool to cut out the right size. I came in through the back side of the box.
Make sure there is room behind the box to fit the switch in
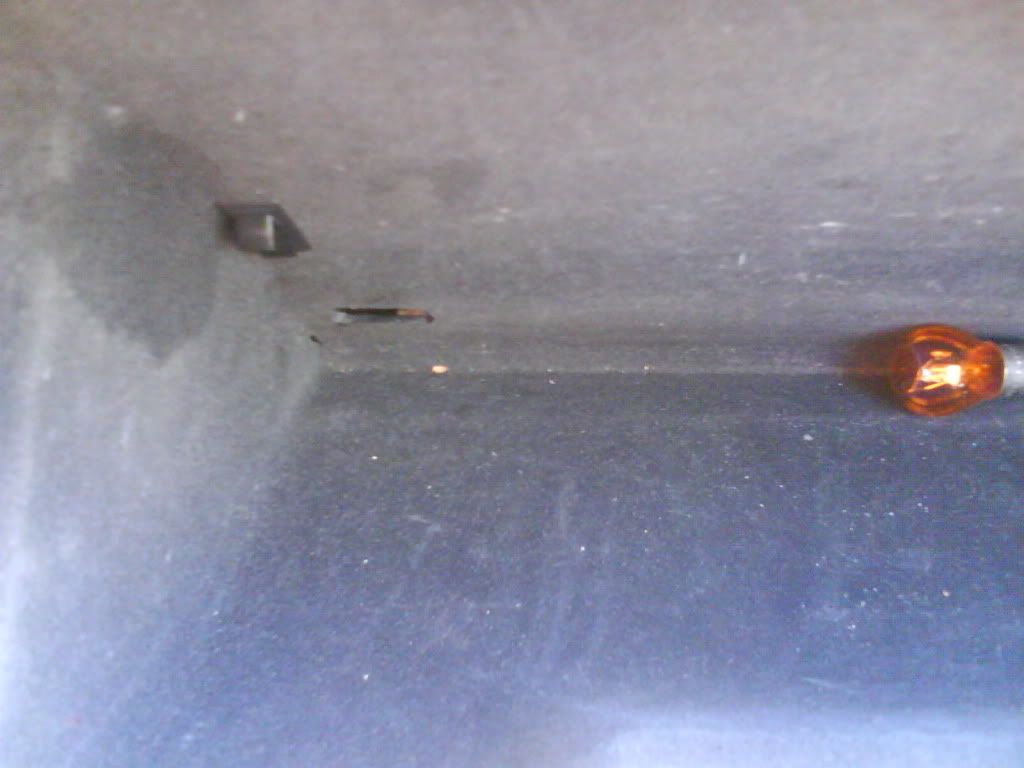
It should look like this. You will notice the hole from not checking my clearance.

Step 8
Then solder on the wire ends to the switch ends. Seal each connection, as I hope you would have on all connections.
Before:

After the switch is hit

Cheers!
This is also my first attempt at a DIY
Parts
-About 4' of wire (x2) (I used speakerwire)
- 1 Automotive grade rocker switch.
- 1 10amp fuse holder
- electrical tape
-heatshrink tubing
Tools
-Rotary tool with small carbide type bit
-Phillips screw driver
- Soldering Iron
- Ruler
-Sharp knife
- Wire cutters
- Wire strippers
Other
Safety Glasses
Stage One
Step 1
Pull 10amp fuse in the DLR section of the fuse block.
Check for result before proceeding.
Step Two
Run one end of the fuse holder into one plug in the original fuse holder. Connect one end of the run of wire to the other end of the original fuse plug.

Step 3
Connect other end of wire to the other end of the fuse holder.
Step 4
Now insert the fuse
You should have something of a circuit formed running back with two joined wires coming out smilar to this.

Stage two
Step 5
Run those wires out through the opening and back through the grommet in the firewall and then under the dash.
Step 6
Remove the Glove box. There are two little screws on the bottom, as well as one on the arm on the right hand side.
Step 7
Measure your switch, and use the Rotary tool to cut out the right size. I came in through the back side of the box.
Make sure there is room behind the box to fit the switch in
It should look like this. You will notice the hole from not checking my clearance.

Step 8
Then solder on the wire ends to the switch ends. Seal each connection, as I hope you would have on all connections.
Before:

After the switch is hit

Cheers!


 TypeG x2
Comment