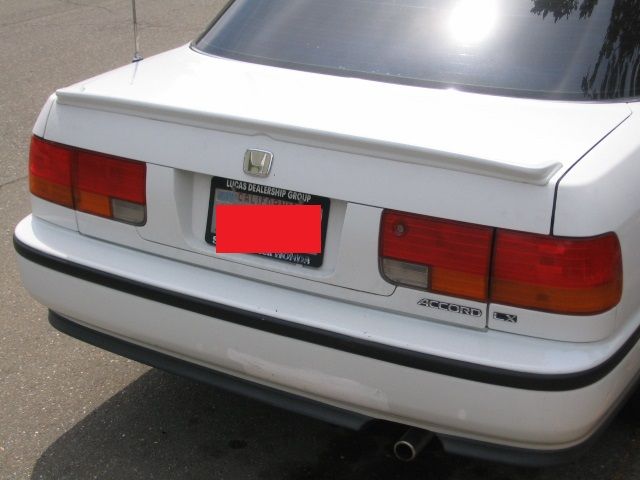
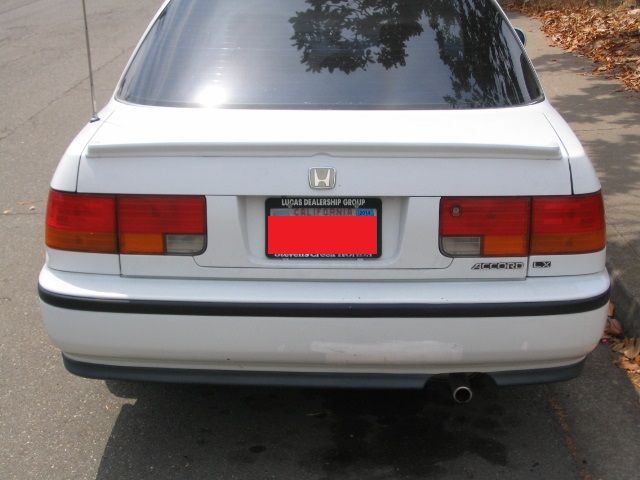
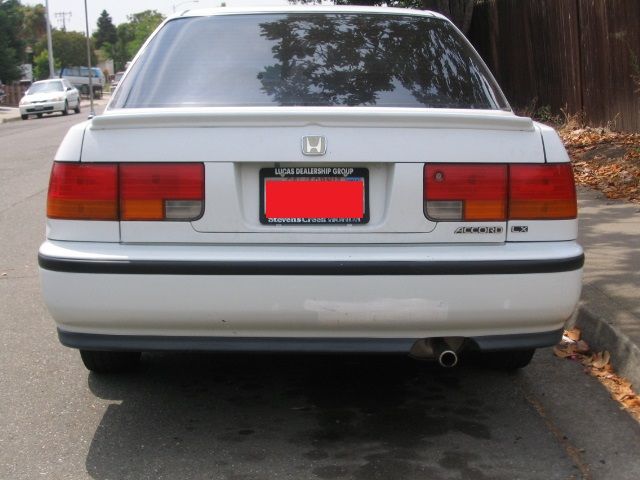
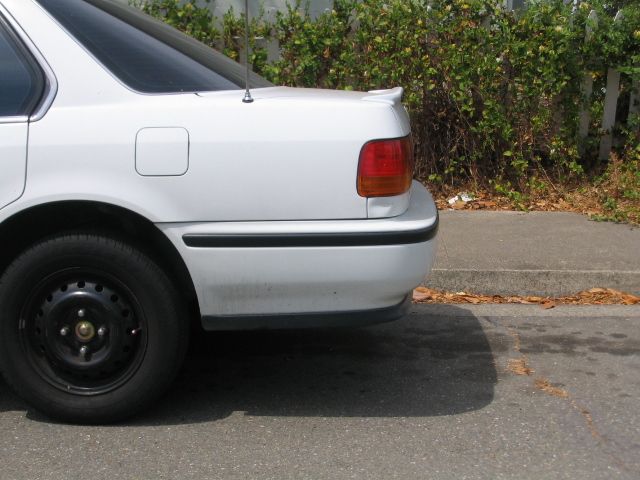
If you've been looking for alternatives to the sought after "OEM Flushmount" you've probably seen this BMW flushie around. First off I would like to say I probably did this in a very ghetto manner, but it worked for me  so this is just how I did mine & I have no prior experience installing any sort of spoiler. I didn't want to use 3m double sided tape in fear that it may get stolen & I don't mind drilling holes into my trunk. The whole process took me about 1-2 hours and I'm satisfied with the results. It also seems very secure, I've had it on for about a month with very high speeds and it hasn't loosened a bit.
*I Apologize in advance for no pictures during the installation*
Difficulty: 2/10
Materials Needed:
If you don't already have it,
-M5 Zinc Plated Lock Washers
-M5-.8 Zinc Plated Hex Nuts
-Painters tape to put onto the trunk to measure
-Loctite blue 242 thread locker (optional)
-A drill with different bits
-Another person to help you out
1. You'll want to set down a couple layers of painters tape onto your trunk just to get a measurement of where you want the flushie mounted. I did this a couple times just to try to get it perfect, please take your time here. (Please take note that the flush mount will be about a 1/2 inch short on both sides of the trunk)
Once I thought it was perfect, I pressed the flushie down onto my trunk with the tape on there to get an outline of where I want to drill. I marked the holes with a sharpie after.
2. Start drilling the markings you've made. Start out with a very small bit, then work your way up of course. After you're able to stick the flushmount in the holes, take off the tape and you're ready to start putting in the nuts! *Don't worry about it not sitting flush yet, when you fasten the nuts it will sit flush.
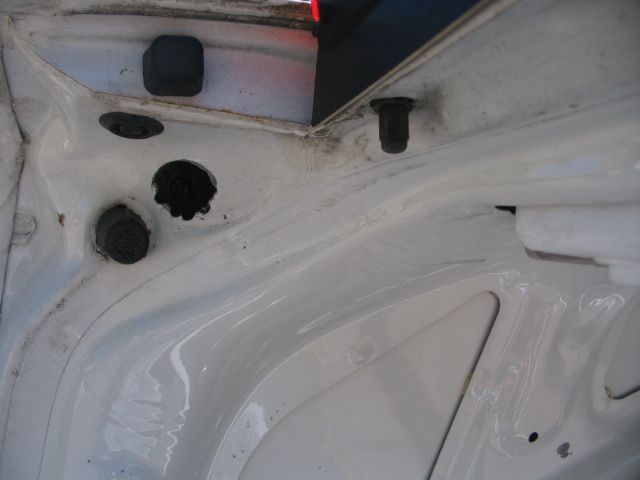
3. This is where I probably didn't do this DIY properly, I found that it was in very hard to reach places to put the washer and nuts in but I still managed. I'm not sure if there's any other way, but I had to cut open little circles from the inside of my trunk to get the end's.
4. After tightening everything, the flushie should sit flush and in my honest opinion it looks great!
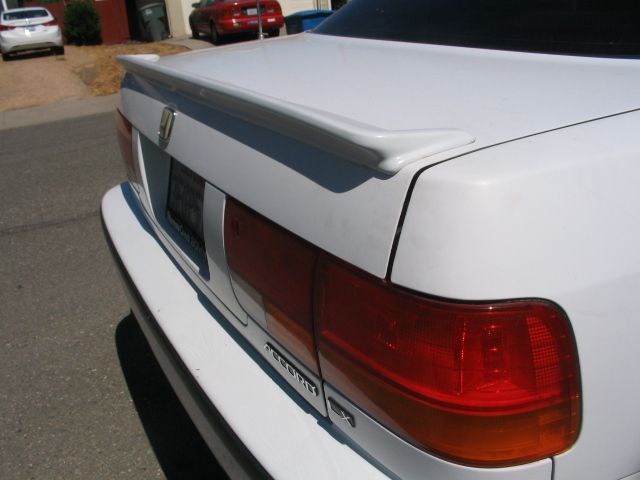
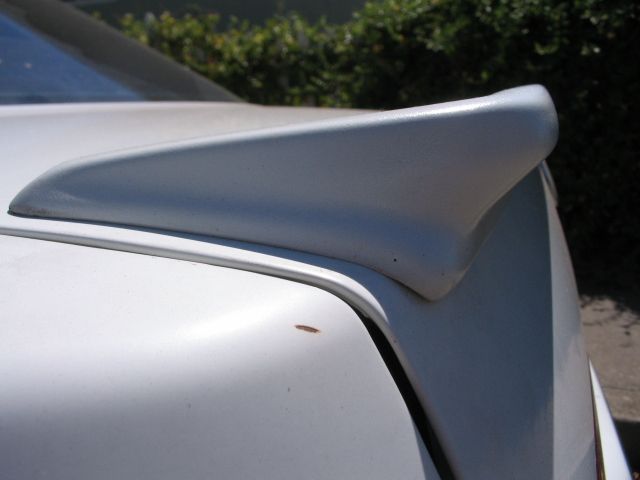
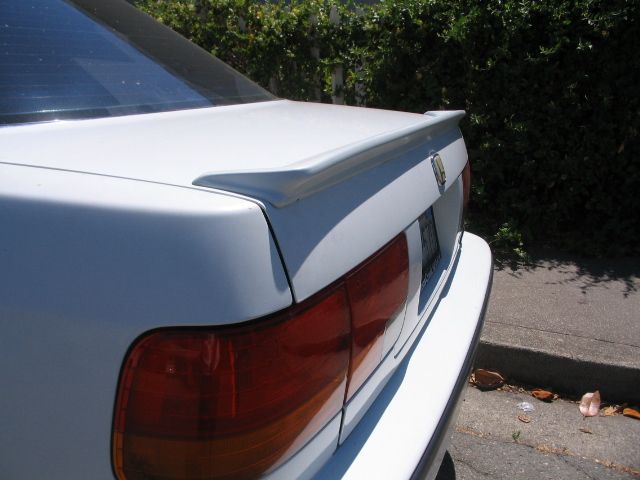
If you would like any more pictures of the spoiler, don't hesitate to ask.
I also realize that I probably did some things wrong, so if you'd like to revise the DIY, then be my guest!
Goodluck.
 so this is just how I did mine & I have no prior experience installing any sort of spoiler. I didn't want to use 3m double sided tape in fear that it may get stolen & I don't mind drilling holes into my trunk. The whole process took me about 1-2 hours and I'm satisfied with the results. It also seems very secure, I've had it on for about a month with very high speeds and it hasn't loosened a bit.
*I Apologize in advance for no pictures during the installation*
Difficulty: 2/10
Materials Needed:
If you don't already have it,
-M5 Zinc Plated Lock Washers
-M5-.8 Zinc Plated Hex Nuts
-Painters tape to put onto the trunk to measure
-Loctite blue 242 thread locker (optional)
-A drill with different bits
-Another person to help you out

1. You'll want to set down a couple layers of painters tape onto your trunk just to get a measurement of where you want the flushie mounted. I did this a couple times just to try to get it perfect, please take your time here. (Please take note that the flush mount will be about a 1/2 inch short on both sides of the trunk)
Once I thought it was perfect, I pressed the flushie down onto my trunk with the tape on there to get an outline of where I want to drill. I marked the holes with a sharpie after.
2. Start drilling the markings you've made. Start out with a very small bit, then work your way up of course. After you're able to stick the flushmount in the holes, take off the tape and you're ready to start putting in the nuts! *Don't worry about it not sitting flush yet, when you fasten the nuts it will sit flush.
3. This is where I probably didn't do this DIY properly, I found that it was in very hard to reach places to put the washer and nuts in but I still managed. I'm not sure if there's any other way, but I had to cut open little circles from the inside of my trunk to get the end's.

4. After tightening everything, the flushie should sit flush and in my honest opinion it looks great!


If you would like any more pictures of the spoiler, don't hesitate to ask.
I also realize that I probably did some things wrong, so if you'd like to revise the DIY, then be my guest!
Goodluck.


 **Don't b scared be prepared for the worst**

 )))) pm me for details!!!




Comment