Looking to get a rear lip for your car, but not sure what? Here's a DIY that you can do to give your car's rear end a more aggressive look, but yet still remains clean and OEM looking.
In this DIY, we will be getting a 5th Gen Accord Rear Lip from the years 94-95 to fit onto our bumpers and mount up with OEM hardware (cleaner install than self-tapping screws all over). The bumper the lip will be mounted onto in this DIY is 92-93. I am positive this lip will work for all Accords, 90-93, to settle any concerns with it only working on 90-91s.
Special thanks goes out the Ronald Type_R, whose picture I came across way back when I first got into CB7s and I was looking for a rear lip. His accord showed me that this project could be done.
Special thanks especially goes out to Darkcloud, who was the one I communicated with about problems that we might've encountered when installing the lip. His DIY gave me motivation as well as key ideas needed to perform this DIY confidently.
You can view Darkcloud's DIY by following this link:
http://www.cb7tuner.com/vbb/showthread.php?t=147314
*NOTE: If using a dremel (which I did) to cut/trim the rear lip, remember to wear some sort of eye protection. Hot plastic in your eyes is not fun (figured that out when a speck hit my face and i was like "gahhh FFUUU---!!!" and I promptly slapped on some sunglasses, haha. yes, it impairs my vision, but it's all that I had available ). Also, eye protection will also help when you're under your bumper and stuff starts fallin', like dirt and rocks. Yeah, rocks. I found hella rocks lodged in my bumper.
*END NOTE*
Tools Needed

Marking/Measuring/Alignment
1)sharpie or colored pencil. Preferably colored pencil, because your markings can be erased.
2)Vice Grip Clamp things (you'll see what I mean when the pictures come up). the things that are like super strong clothespins.
~x2 Big ones
~x3 Small ones
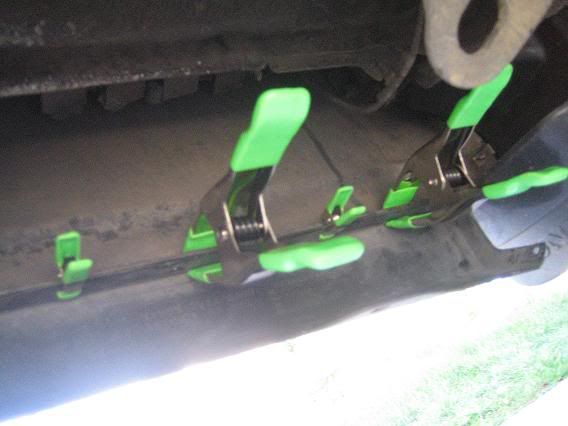
*I got these at Home Depot, with all the vice grips. really cheap, like under a dollar each for the big ones, and a couple quarters each for the small ones
Cutting/Trimming
1) Small hacksaw
2) Dremel with cutting attachment (the attachment I used was a wheel... and it cut about the thickness of a pencil) you probably know more about dremels than I do. I just know they cut, haha
3) File, to smooth edges
Drilling/Reaming/Mounting
*NOTE: The methods I used for drilling and reaming are probably not what you're expecting, haha but because I was under my bumper by myself, I was not gonna let ANY power tool be near me or my head while installing this lip *
*
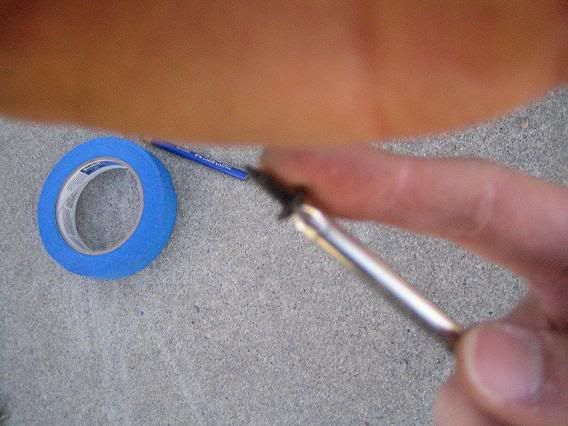
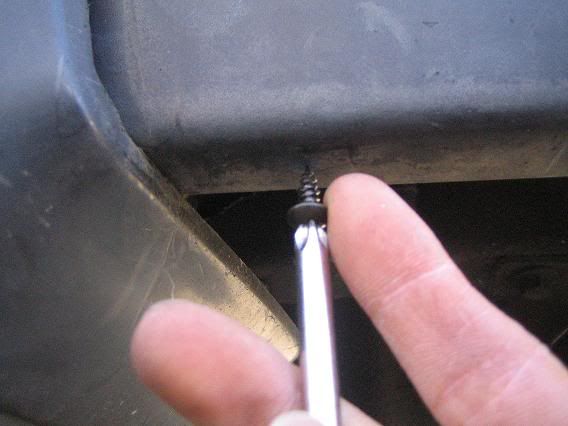
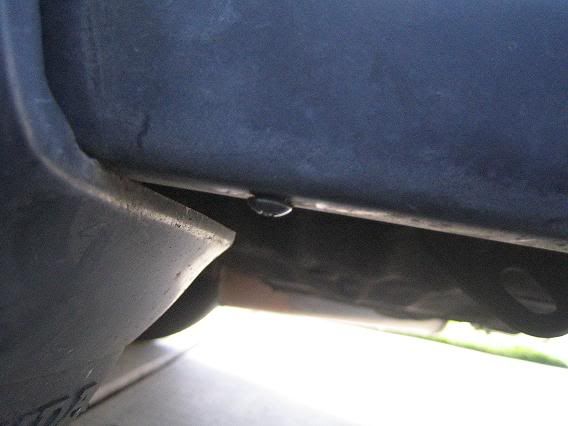
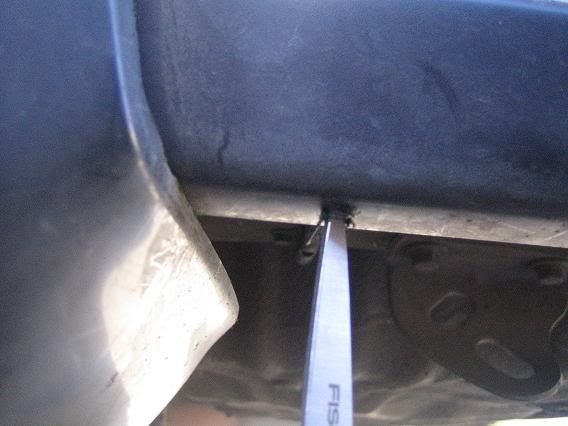
1)Self-Tapping Screw, for drilling a pilot hole
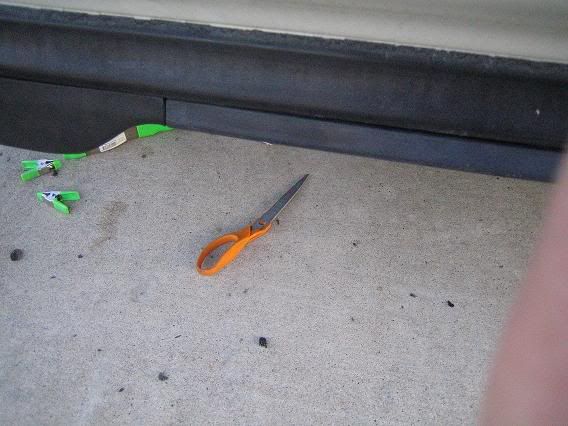
2)Scissor, for widening and reaming the hole (I had half a scissor, because it broke during one of my other projects earlier that month, haha! I prefer using half a scissor, easier to manage, but it's on YOU if you wanna break one or not ;D)
3)OEM Mounting Hardware, the stuff you use to mount lips and things. 10mm bolts, the mounting clips, the works.
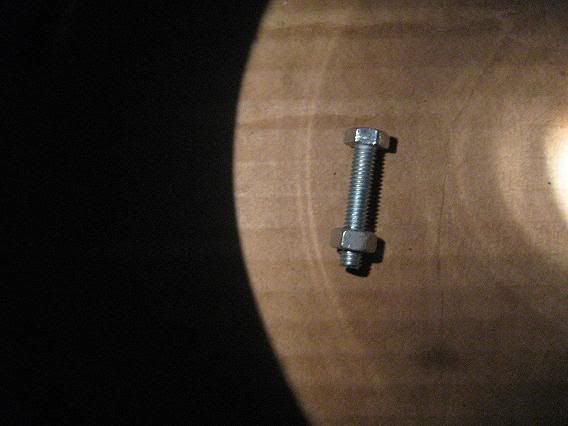
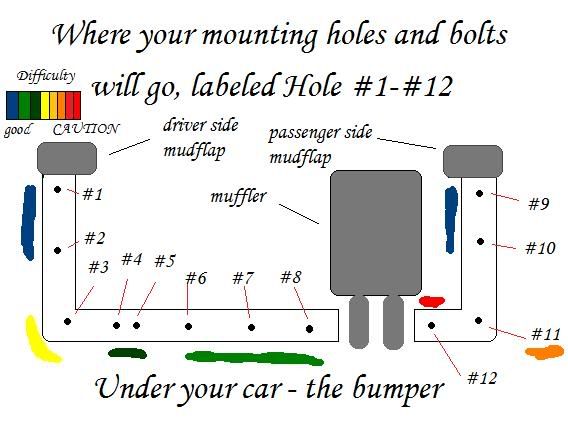
*NOTE: Longer bolts are a must. I ran out of long bolts by the time I reached the passenger side, and I was unable to mount the lip until I got more. You will ESPECIALLY need longer bolts on Hole #12, which is the bitchiest last mounting point you will need to do.
I got this bolt variety pack from AutoZone, for "Asian Vehicles" lol
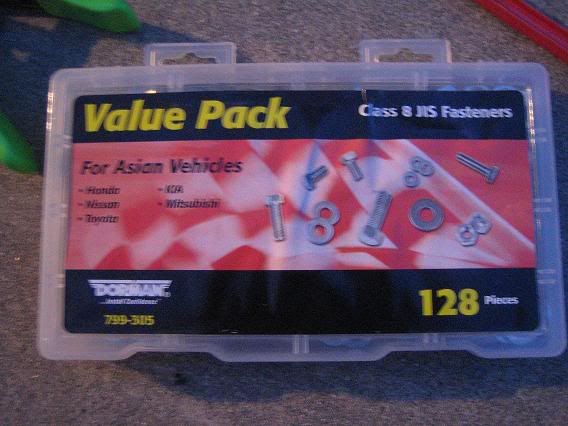
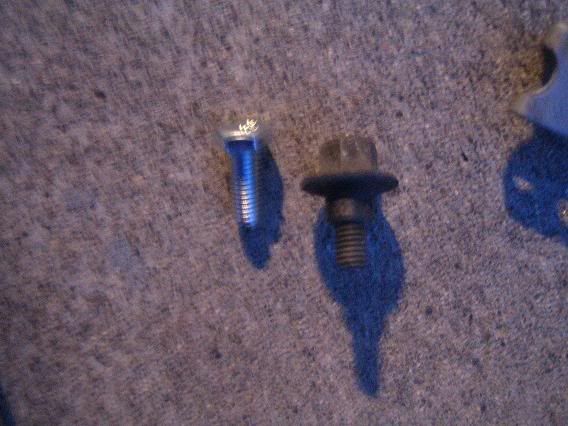
and in it contains a variety of bolts. pull out the bolt that fits the mounting clips, and use washers as well(i stacked my washers, small one by the head and a bigger one wherever it was sitting with the bumper/lip)
You're gonna need one nut for hole #12 as well. This is included in that variety pack.
Parts Needed
1) All three parts of the 94-95 Honda Accord Rear Lip. Three piece lip, make sure you get all pieces for a complete look. And take all the mounting hardware too while you're at it. In fact, scope around the junkyard and pull a bunch of those mounting clips and bolts for the hell of it! GO NUTS BUDDY!
HERE WE GO!
General overview of where the holes will be made for mounting the lip
Cutting the driver-side and passenger-side rear lips
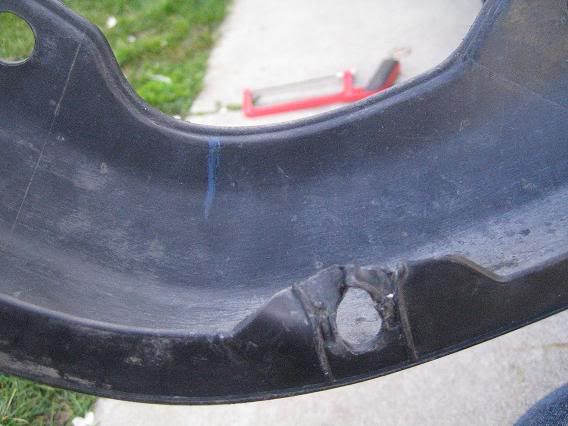
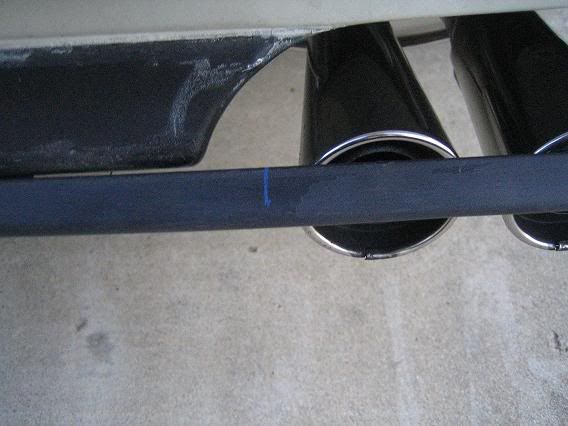
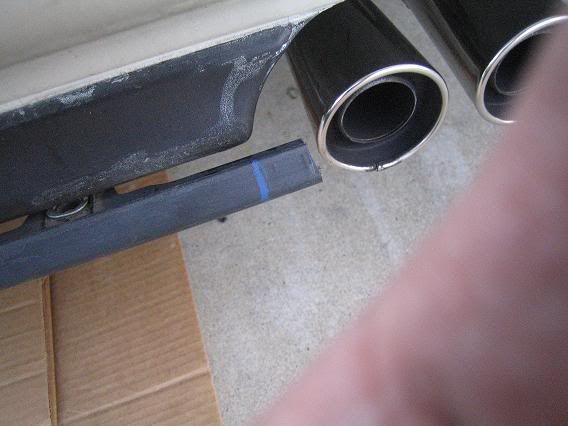
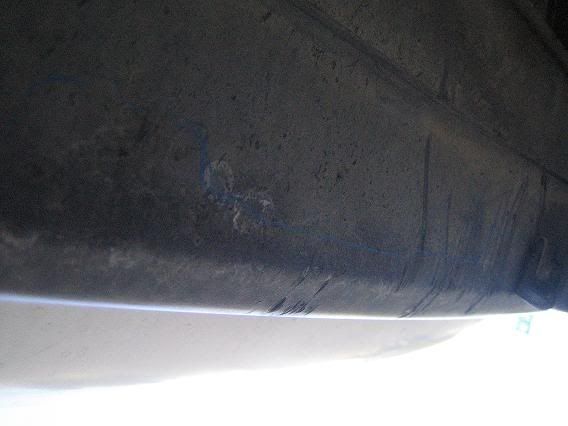
Step 1) Flex one of the side lips. Note where it bends up the highest, then make note of that point. hack a straight line down that point.
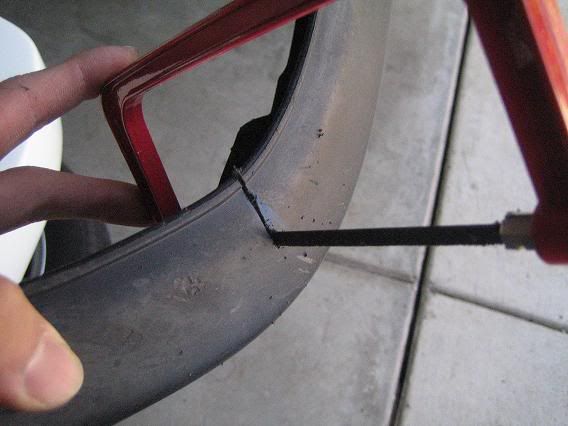
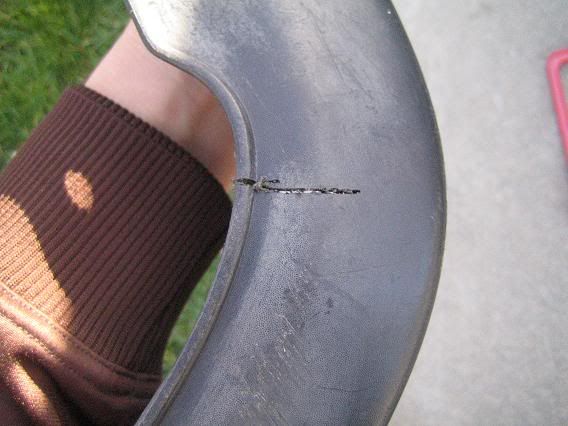
Step 2) Now that you have one marked and cut, you're gonna want to make sure the other side is cut in the same spot. There are probably other ways to go about this, more professional ways, but I'm doing this with things that are laying around in my garage, haha! They work though!
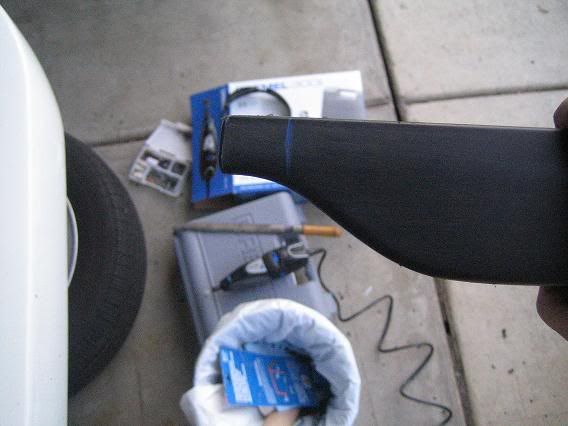
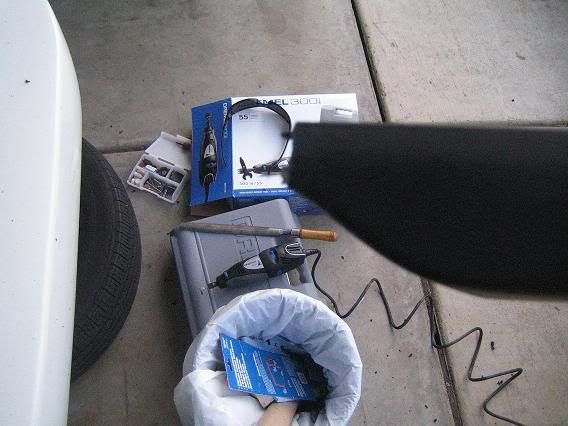
Lay a piece of cardboard (or cardboard box) on an inclined surface (the handle of a lawnmower), then position both lips mirroring each other. The inside corner of the lips should sit at the edge of the cardboard, and kinda "hook" onto it. Line up the "cut" with the edge of the cardboard box and trace it back to the other side. mark it, and cut the other lip.
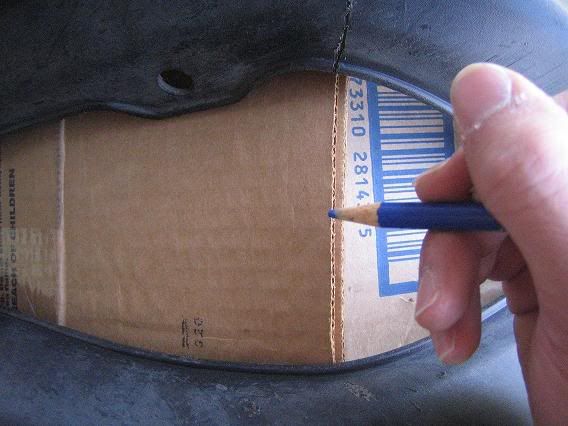
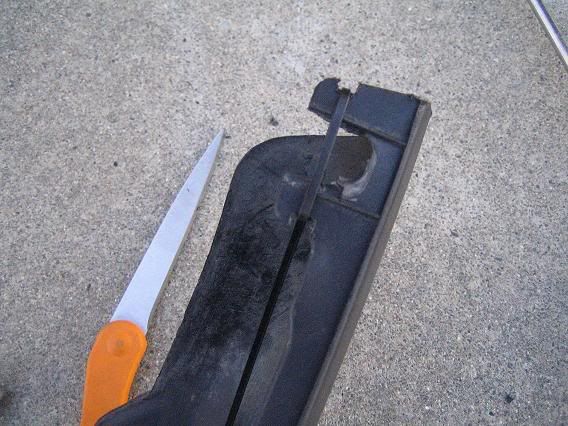
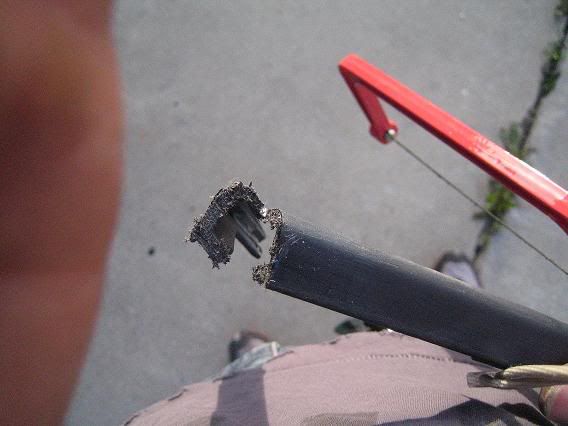
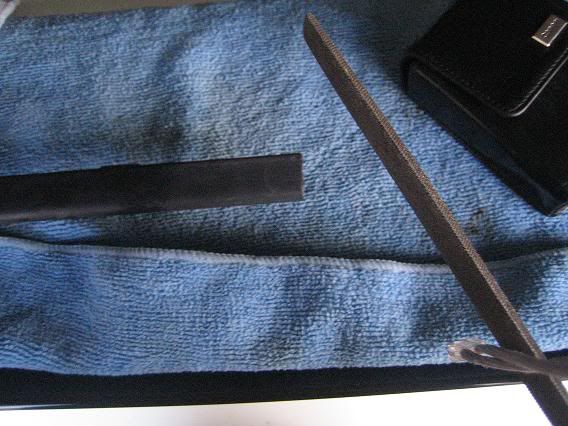
Step 3) Now that both your lips have been slotted, it's time to widen that slot enough so that it has enough room to flex to the angle of the bumper, but not take off excess material. you still want to maintain as solid of a lip as possible. Take a dremel/razor and gut it until it's about this wide of a gap. Taper the inside end of the lip so that it can bend in, kinda like how the corner of a picture frame looks.
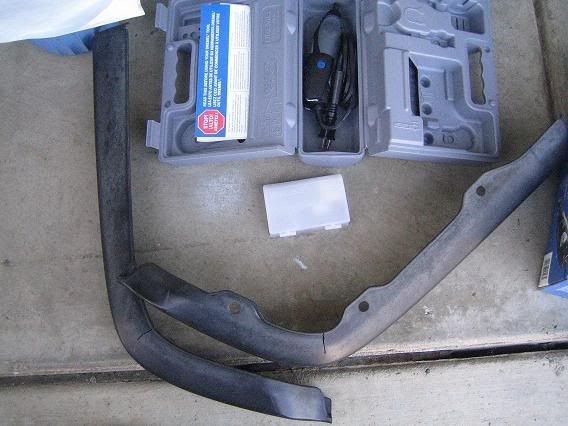
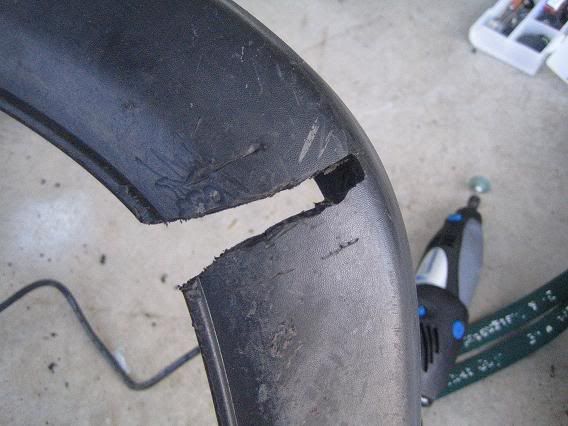
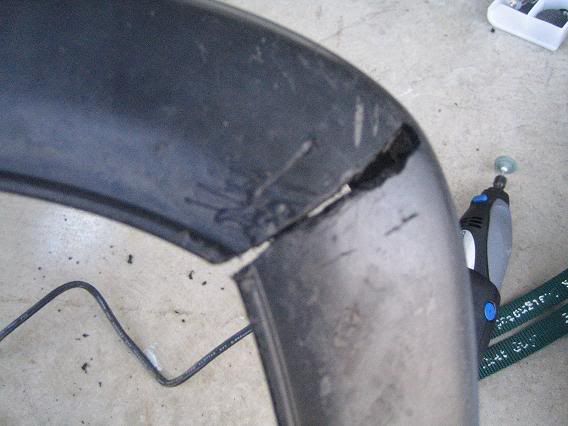
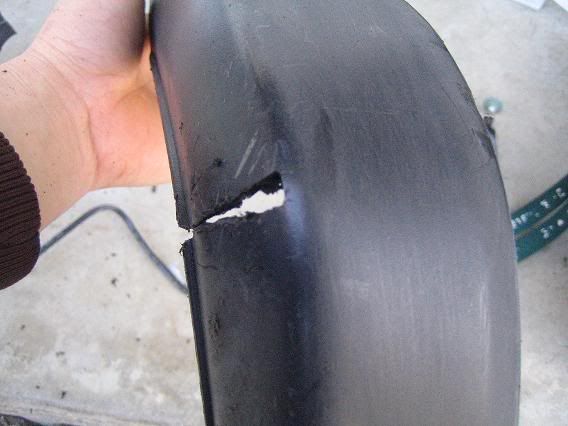
*TAKE NOTE OF HOW FAR I SLOTTED IT TO THE END OF THE CORNER. I just gutted enough for it to bend without cutting up side of the lip, notice how, from a top-down perspective, theres still some thickness at the outside corner? you want that, because if you cut that, its gonna look bad. just be careful of what you cut and be sure to cut only enough.*
Mounting Driver Side Lip (Setting up the vice grips, making holes, bolting your lip in)
Step 4) I hope you have your mudflaps on. The CD5 lip isn't long enough to cover the whole side of the bumper, so a mudflap is required to fill in the space it leaves (see darkcloud's DIY for images). With this knowledge in mind, I recommend lining up the lip FLUSH with the mudflap. So let's do just that: Line up your driver side lip with your mudflap.
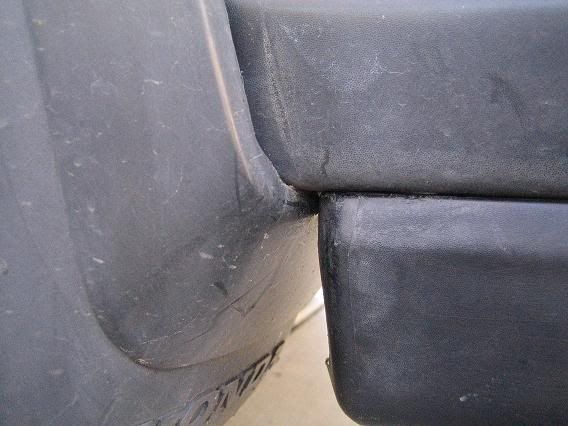
Step 5) Now that you have an image of what it should look like mounted up flush to your mudflaps and flush with the side of the bumper, we're gonna vice grip it up to your bumper so that you can make the appropriate mounting holes. MAKING SURE ALL SAFETY PRECAUTIONS ARE EXERCISED, cuz i told you earlier i'm not responsible if something bad happens when you're under your car (you know... E-Brake at least! you can get those wheel stoppers too), get your vice grips and clip your bumper and lip together. NOTE where i used the big clips. That's where I found they were most effective.

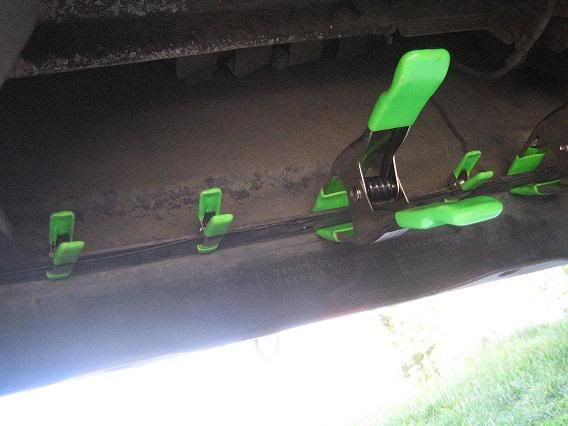
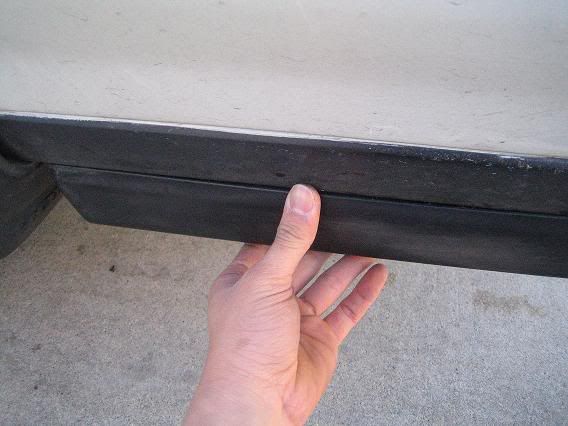
Step 6) Come back from underneath your car, inspect/admire your mounted lip, and adjust it as necessary to be where you want it to be, sitting flush with the bumper and such. Be very anal about this, you want a perfect, OEM-quality install.
In this DIY, we will be getting a 5th Gen Accord Rear Lip from the years 94-95 to fit onto our bumpers and mount up with OEM hardware (cleaner install than self-tapping screws all over). The bumper the lip will be mounted onto in this DIY is 92-93. I am positive this lip will work for all Accords, 90-93, to settle any concerns with it only working on 90-91s.
Special thanks goes out the Ronald Type_R, whose picture I came across way back when I first got into CB7s and I was looking for a rear lip. His accord showed me that this project could be done.
Special thanks especially goes out to Darkcloud, who was the one I communicated with about problems that we might've encountered when installing the lip. His DIY gave me motivation as well as key ideas needed to perform this DIY confidently.
You can view Darkcloud's DIY by following this link:
http://www.cb7tuner.com/vbb/showthread.php?t=147314
*NOTE: If using a dremel (which I did) to cut/trim the rear lip, remember to wear some sort of eye protection. Hot plastic in your eyes is not fun (figured that out when a speck hit my face and i was like "gahhh FFUUU---!!!" and I promptly slapped on some sunglasses, haha. yes, it impairs my vision, but it's all that I had available
 ). Also, eye protection will also help when you're under your bumper and stuff starts fallin', like dirt and rocks. Yeah, rocks. I found hella rocks lodged in my bumper.
*END NOTE*
Tools Needed

Marking/Measuring/Alignment
1)sharpie or colored pencil. Preferably colored pencil, because your markings can be erased.
2)Vice Grip Clamp things (you'll see what I mean when the pictures come up). the things that are like super strong clothespins.
~x2 Big ones
~x3 Small ones

*I got these at Home Depot, with all the vice grips. really cheap, like under a dollar each for the big ones, and a couple quarters each for the small ones
Cutting/Trimming
1) Small hacksaw
2) Dremel with cutting attachment (the attachment I used was a wheel... and it cut about the thickness of a pencil) you probably know more about dremels than I do. I just know they cut, haha
3) File, to smooth edges
Drilling/Reaming/Mounting
*NOTE: The methods I used for drilling and reaming are probably not what you're expecting, haha but because I was under my bumper by myself, I was not gonna let ANY power tool be near me or my head while installing this lip
 *
*1)Self-Tapping Screw, for drilling a pilot hole
2)Scissor, for widening and reaming the hole (I had half a scissor, because it broke during one of my other projects earlier that month, haha! I prefer using half a scissor, easier to manage, but it's on YOU if you wanna break one or not ;D)
3)OEM Mounting Hardware, the stuff you use to mount lips and things. 10mm bolts, the mounting clips, the works.
*NOTE: Longer bolts are a must. I ran out of long bolts by the time I reached the passenger side, and I was unable to mount the lip until I got more. You will ESPECIALLY need longer bolts on Hole #12, which is the bitchiest last mounting point you will need to do.
I got this bolt variety pack from AutoZone, for "Asian Vehicles" lol


and in it contains a variety of bolts. pull out the bolt that fits the mounting clips, and use washers as well(i stacked my washers, small one by the head and a bigger one wherever it was sitting with the bumper/lip)
You're gonna need one nut for hole #12 as well. This is included in that variety pack.

Parts Needed
1) All three parts of the 94-95 Honda Accord Rear Lip. Three piece lip, make sure you get all pieces for a complete look. And take all the mounting hardware too while you're at it. In fact, scope around the junkyard and pull a bunch of those mounting clips and bolts for the hell of it! GO NUTS BUDDY!
HERE WE GO!
General overview of where the holes will be made for mounting the lip

Cutting the driver-side and passenger-side rear lips
Step 1) Flex one of the side lips. Note where it bends up the highest, then make note of that point. hack a straight line down that point.


Step 2) Now that you have one marked and cut, you're gonna want to make sure the other side is cut in the same spot. There are probably other ways to go about this, more professional ways, but I'm doing this with things that are laying around in my garage, haha! They work though!

Lay a piece of cardboard (or cardboard box) on an inclined surface (the handle of a lawnmower), then position both lips mirroring each other. The inside corner of the lips should sit at the edge of the cardboard, and kinda "hook" onto it. Line up the "cut" with the edge of the cardboard box and trace it back to the other side. mark it, and cut the other lip.

Step 3) Now that both your lips have been slotted, it's time to widen that slot enough so that it has enough room to flex to the angle of the bumper, but not take off excess material. you still want to maintain as solid of a lip as possible. Take a dremel/razor and gut it until it's about this wide of a gap. Taper the inside end of the lip so that it can bend in, kinda like how the corner of a picture frame looks.


*TAKE NOTE OF HOW FAR I SLOTTED IT TO THE END OF THE CORNER. I just gutted enough for it to bend without cutting up side of the lip, notice how, from a top-down perspective, theres still some thickness at the outside corner? you want that, because if you cut that, its gonna look bad. just be careful of what you cut and be sure to cut only enough.*
Mounting Driver Side Lip (Setting up the vice grips, making holes, bolting your lip in)
Step 4) I hope you have your mudflaps on. The CD5 lip isn't long enough to cover the whole side of the bumper, so a mudflap is required to fill in the space it leaves (see darkcloud's DIY for images). With this knowledge in mind, I recommend lining up the lip FLUSH with the mudflap. So let's do just that: Line up your driver side lip with your mudflap.

Step 5) Now that you have an image of what it should look like mounted up flush to your mudflaps and flush with the side of the bumper, we're gonna vice grip it up to your bumper so that you can make the appropriate mounting holes. MAKING SURE ALL SAFETY PRECAUTIONS ARE EXERCISED, cuz i told you earlier i'm not responsible if something bad happens when you're under your car (you know... E-Brake at least! you can get those wheel stoppers too), get your vice grips and clip your bumper and lip together. NOTE where i used the big clips. That's where I found they were most effective.


Step 6) Come back from underneath your car, inspect/admire your mounted lip, and adjust it as necessary to be where you want it to be, sitting flush with the bumper and such. Be very anal about this, you want a perfect, OEM-quality install.



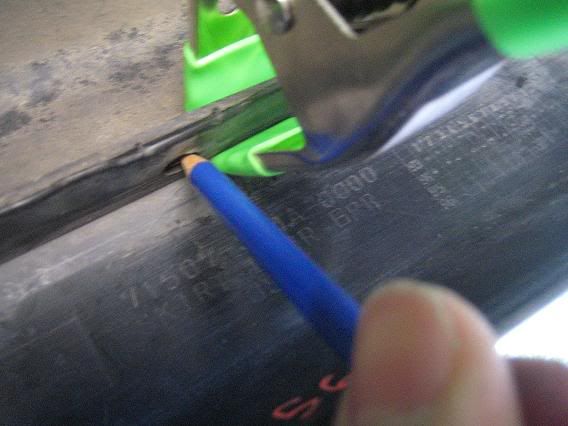
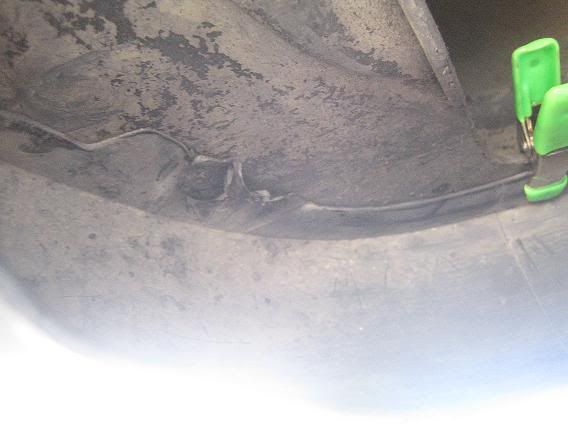
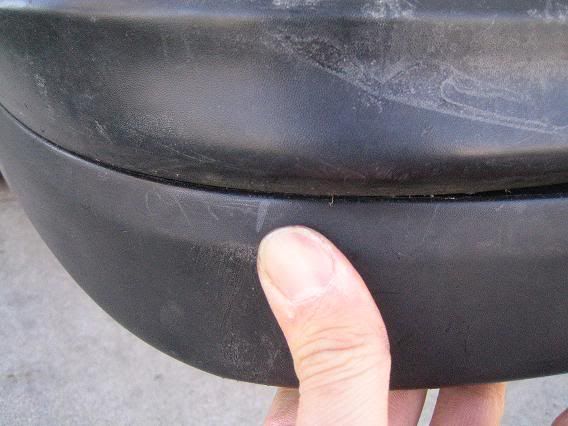
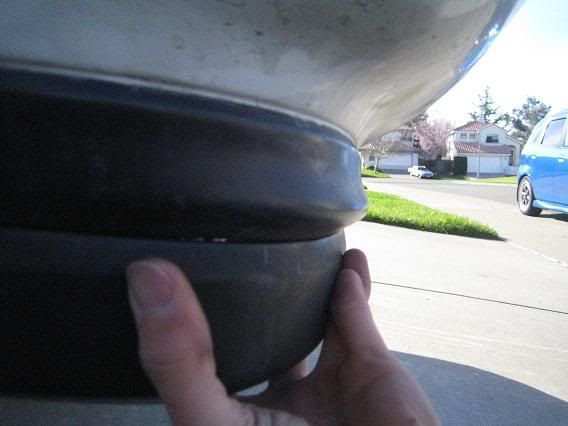
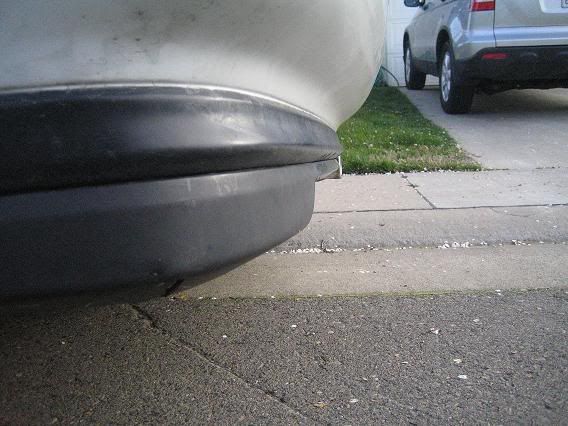
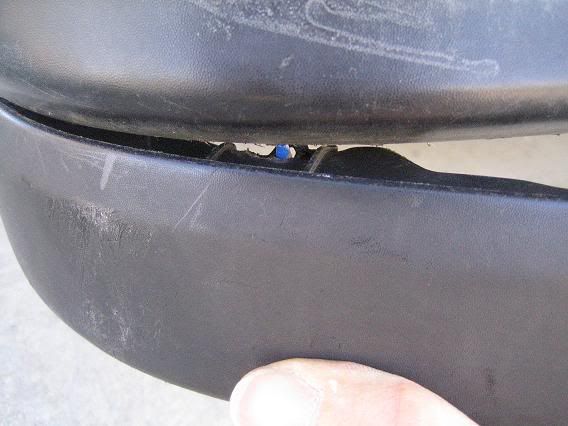
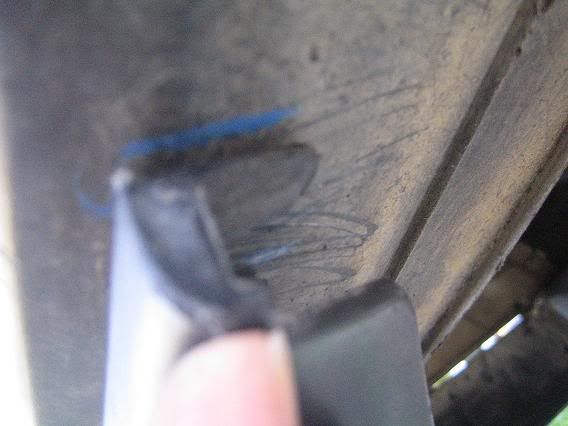
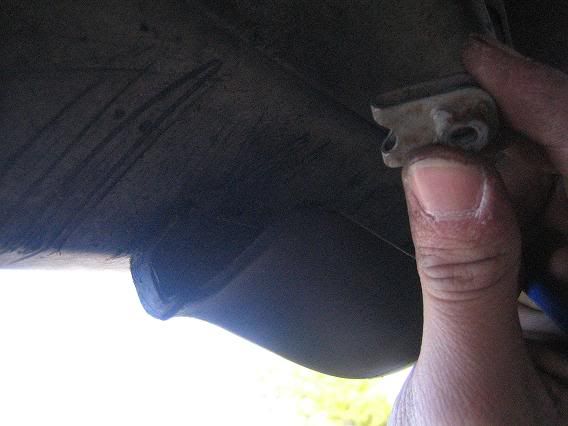
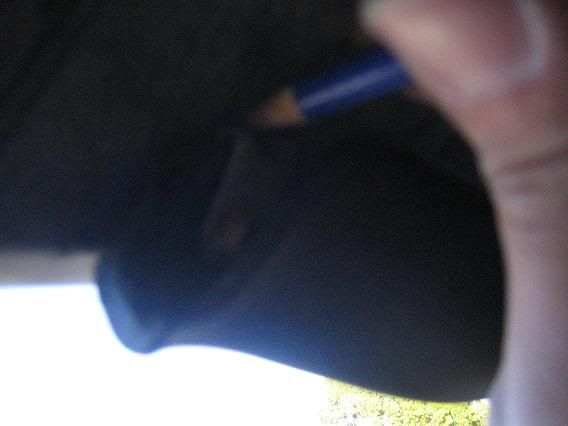
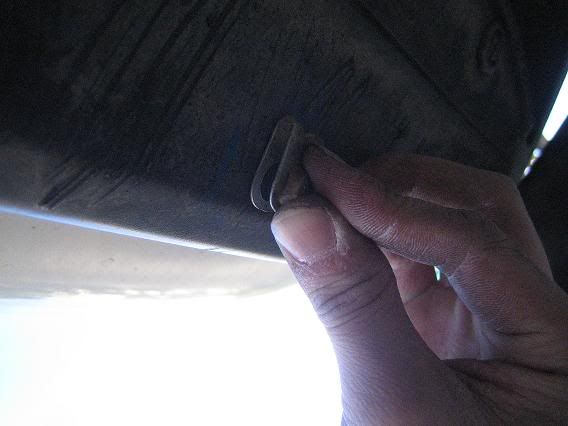
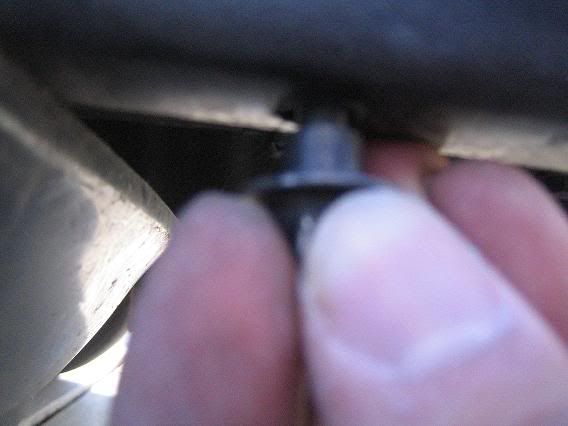
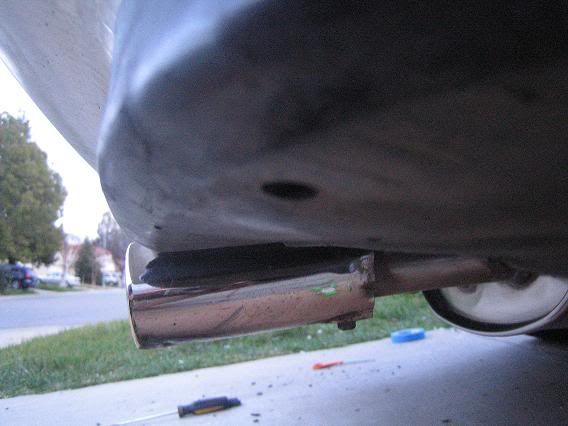
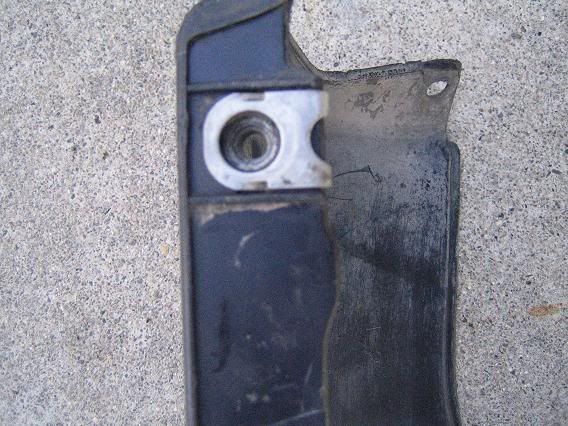
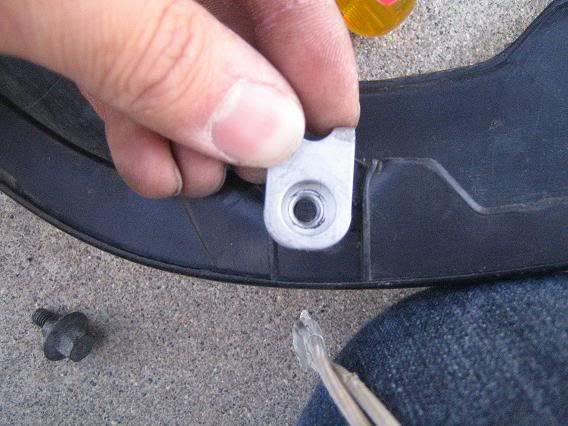
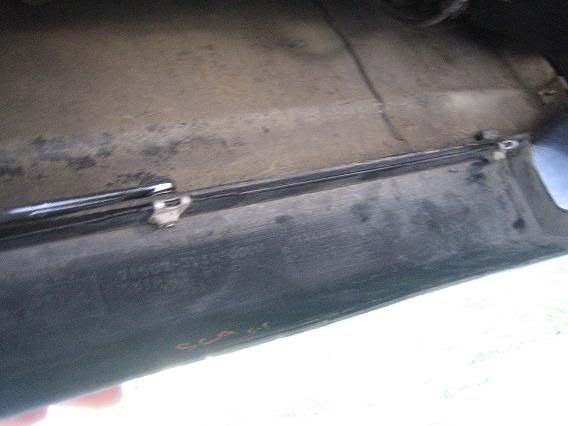
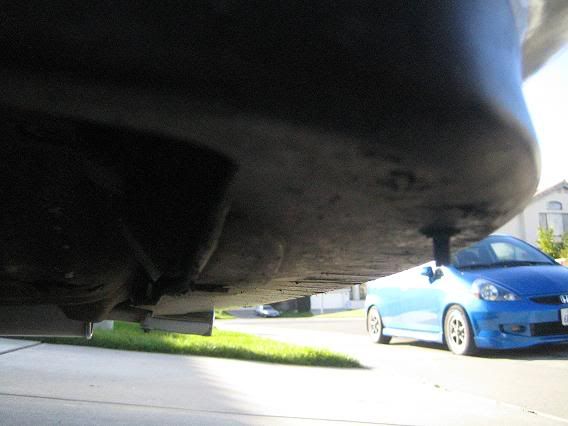
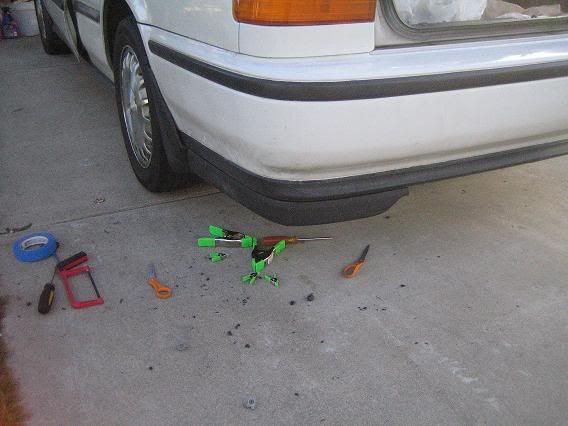

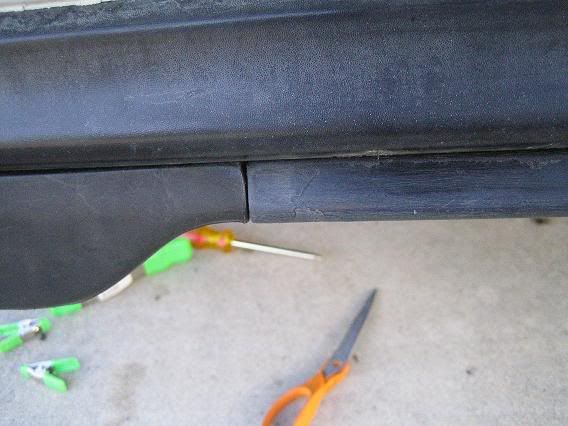
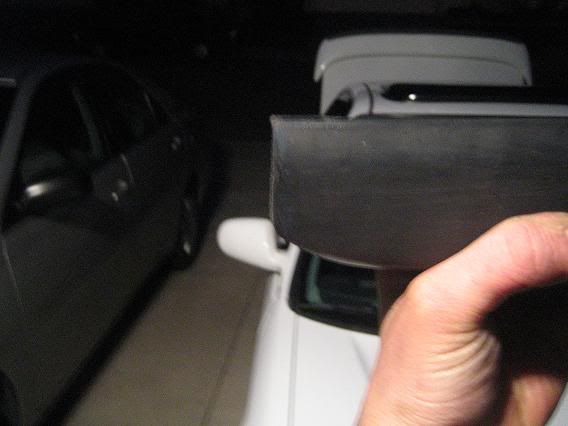
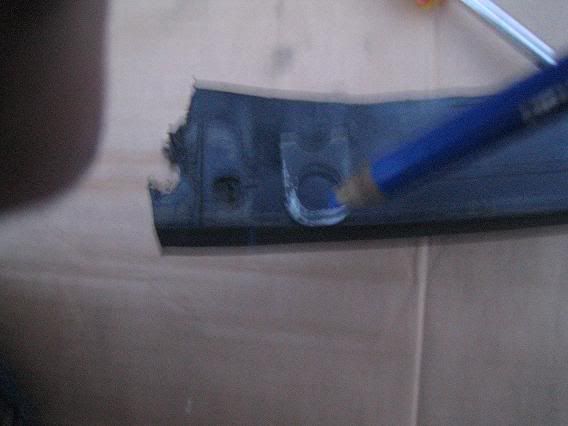
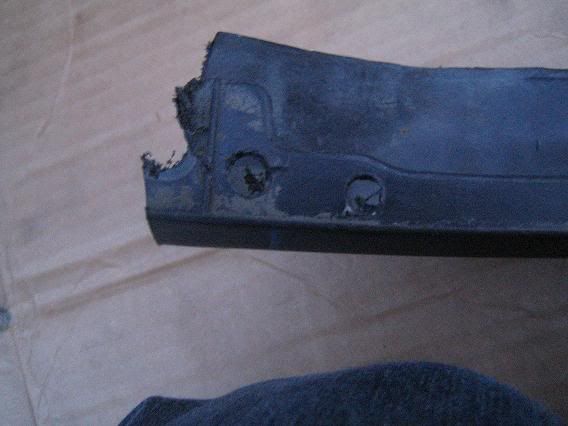
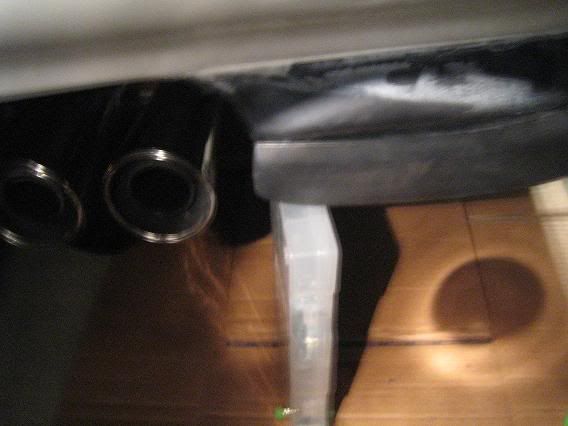
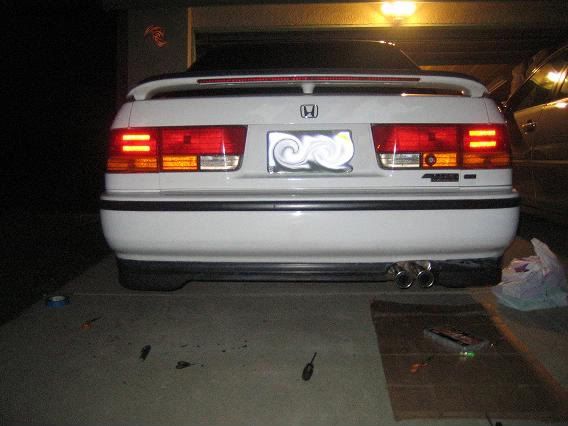




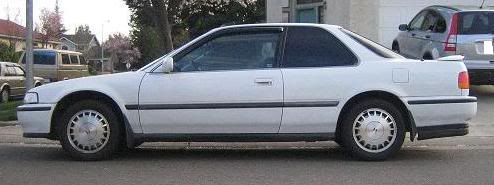
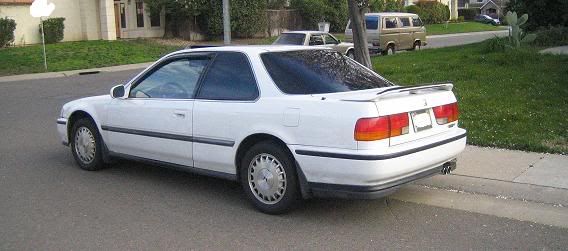
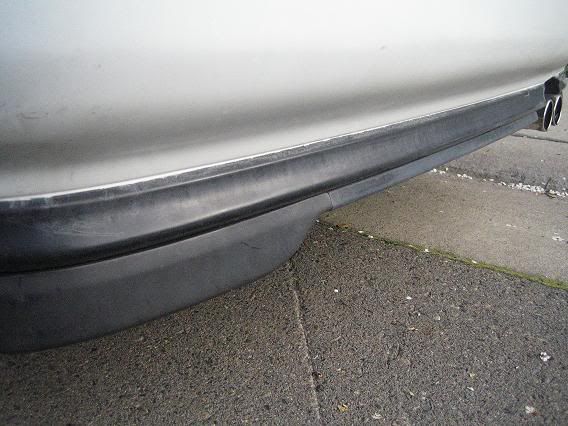
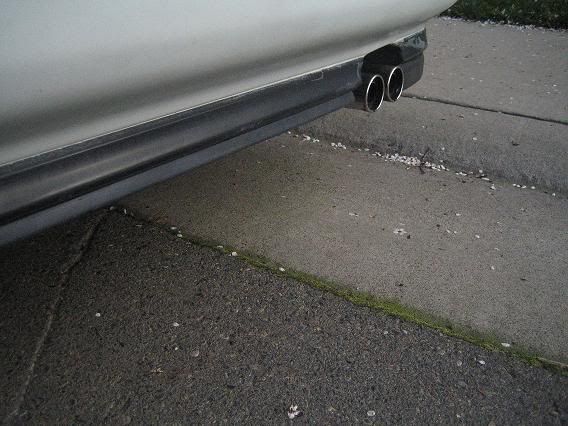
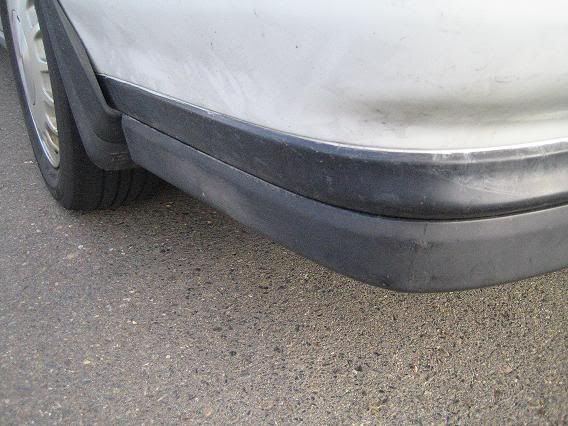
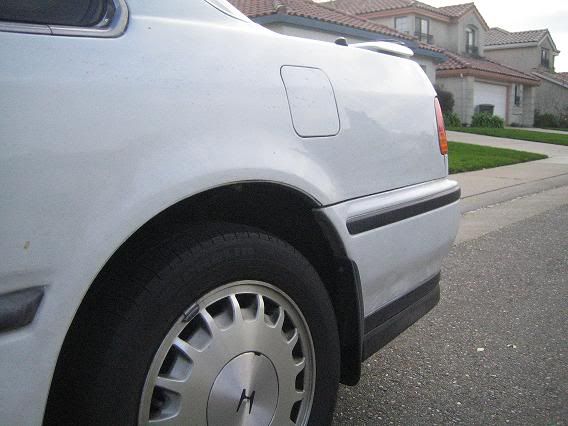
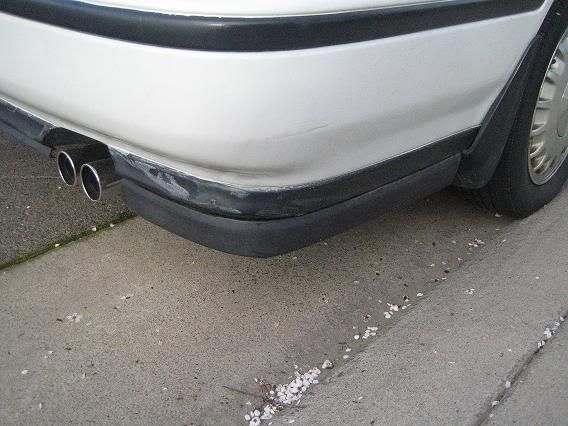


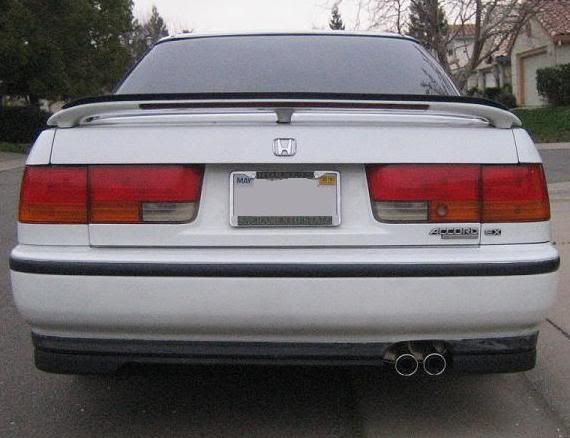
 i'm pretty damn excited, my car is looking lower and lower and i haven't done anything with the suspension! i might just keep it stock height!
Comment