
Here guys, insted of going to some other website and looking for instructions, here they are, on here. This was very simple, took me about an hour and a half. (ish)
Tools you will need
Phillipshead screwdriver.
Wire cutters/strippers
Splice connects.
8mm Ratchet.
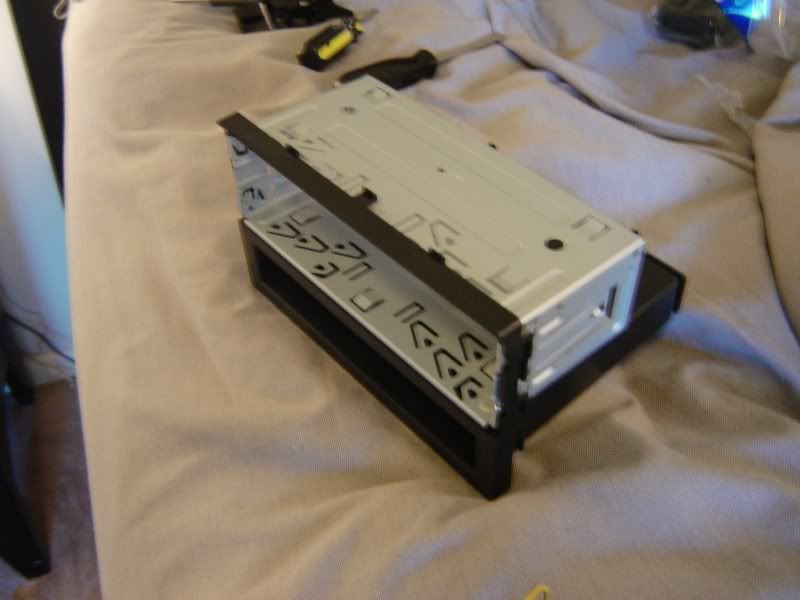
Stereo installation kit.
Wire harness.

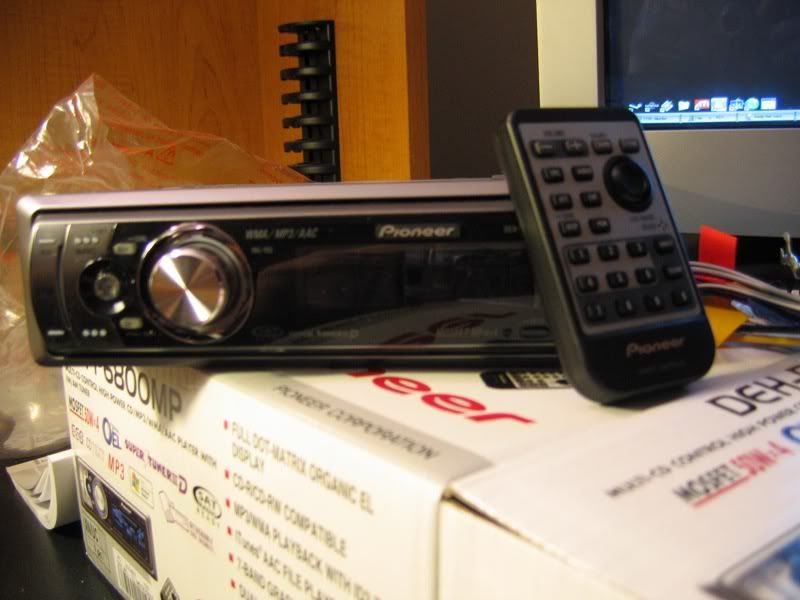
and a new stereo would help too. :P
Step one
Disconnect negative battery cable. (black one)
Step two
Move the passenger/driver seats as far back as they can both go.
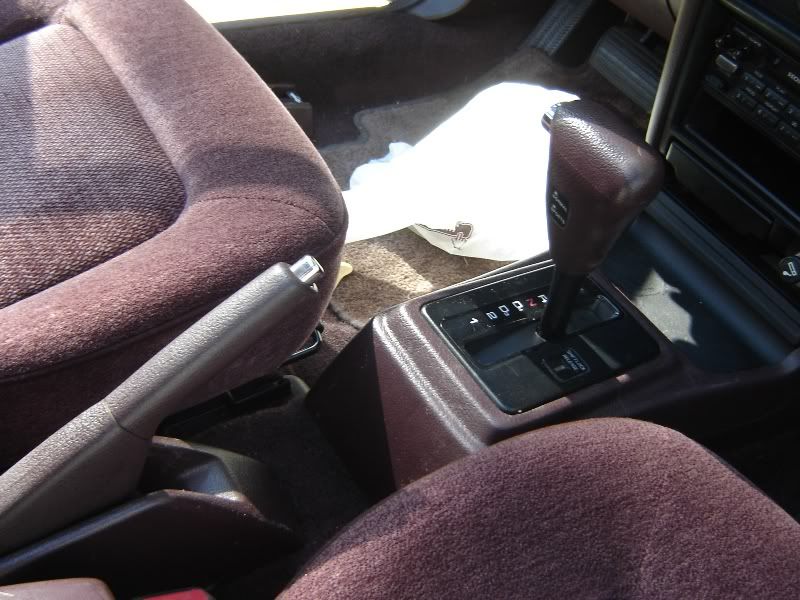
Take the phillips head screwdriver, and you will locate 4 screws on the housing around your (in my case) automatic shifter.
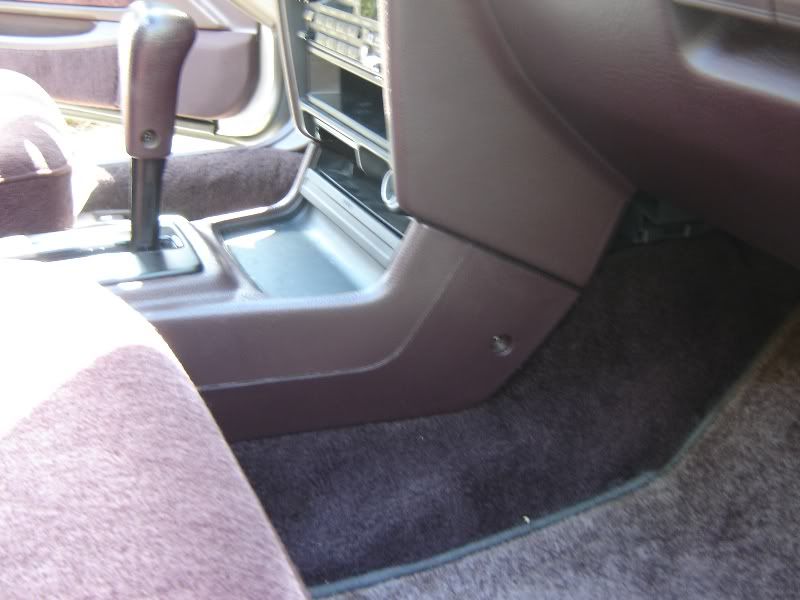
There are two screws on each side, remove them all.
Step three.
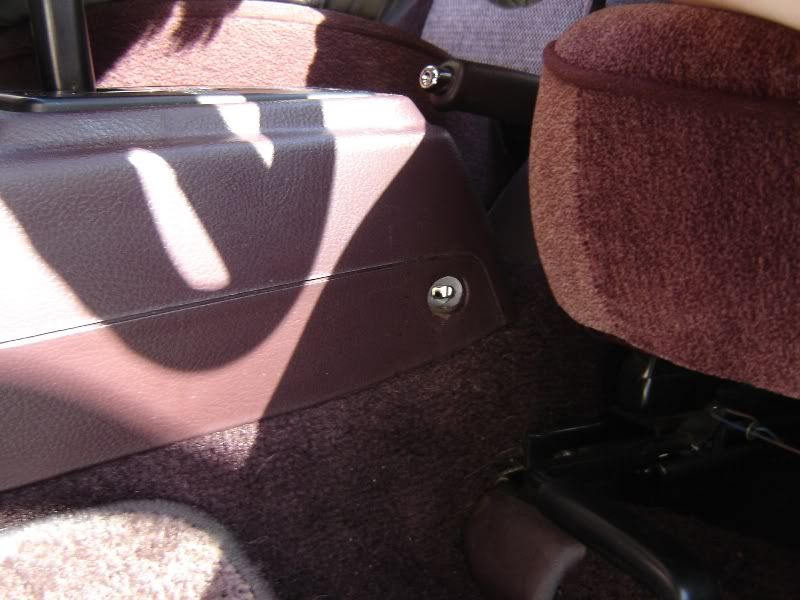
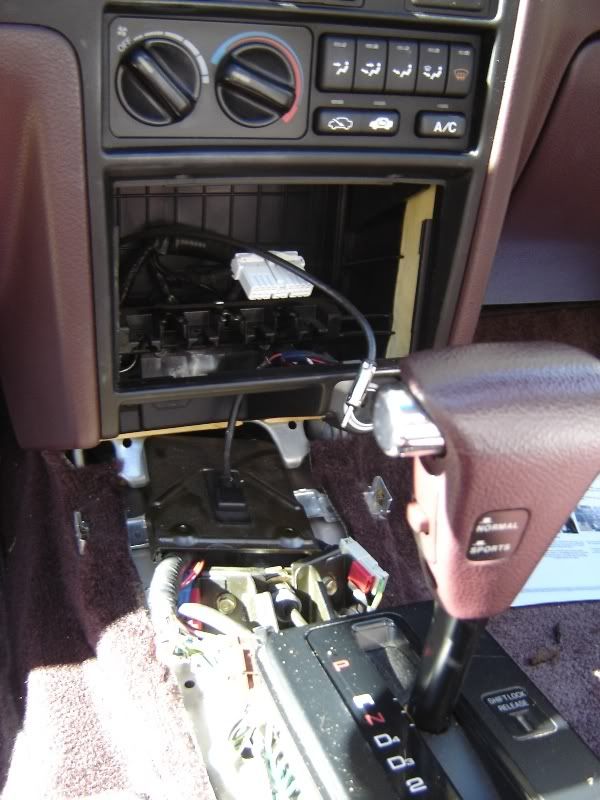
Insert your key into your "shift lock" slot on your automatic shifter, move it to N. You will be doing this, to get the housing from around the shifter. Pull the emergency break, so you won't roll away. Remove the ash tray. Now, just lift the housing off. It should come off with no problem.
You should look like this now.
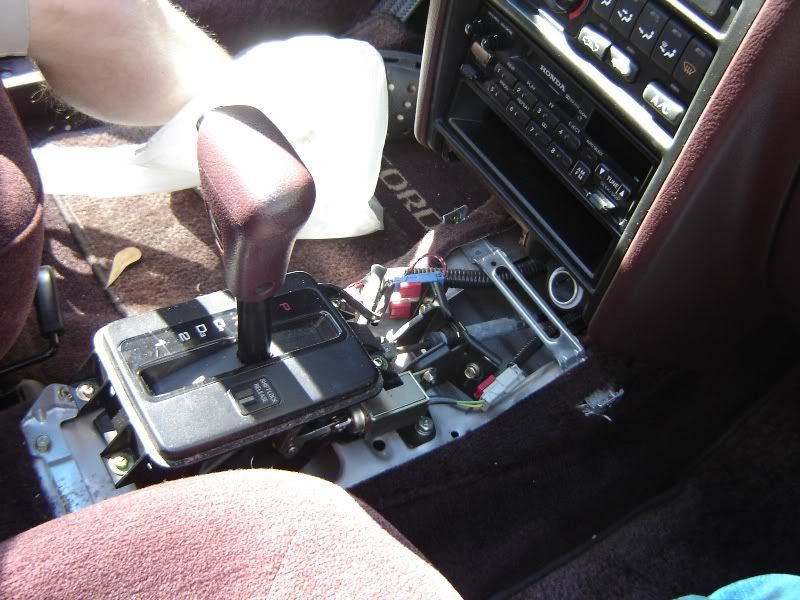
Step four.
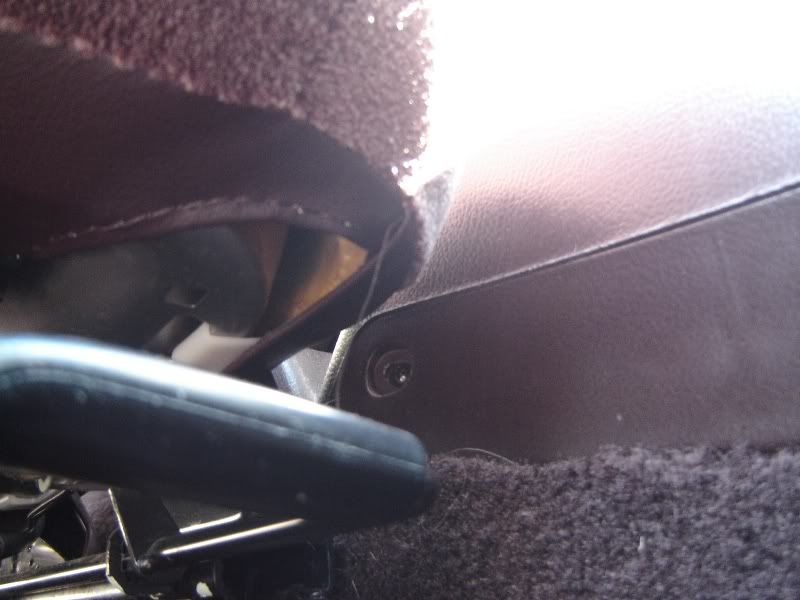
You need to remove the "metal thing" that the ash tray was at.
The three screws that are holding it in place, remove them. Pull it down, but don't go crazy and rip it, because theres a light attached to it for the ash tray. Just let it hang.
You should look like this.
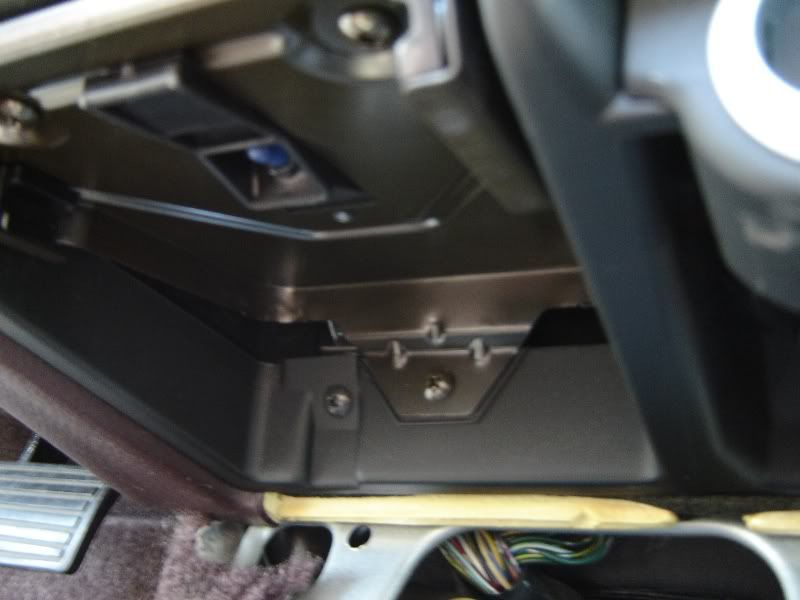
Step Five.
If you look up in there, you should see two gold bolts. Thats whats holding that stock stereo in place.
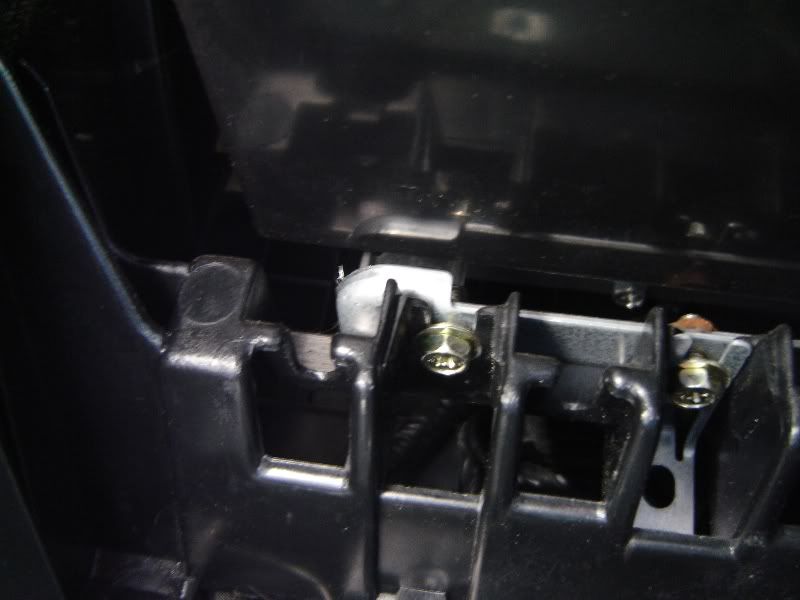
Take that 8mm ratchet, and remove them. (**note** if you don't have an 8mm ratchet handy, you can use your screwdriver.)
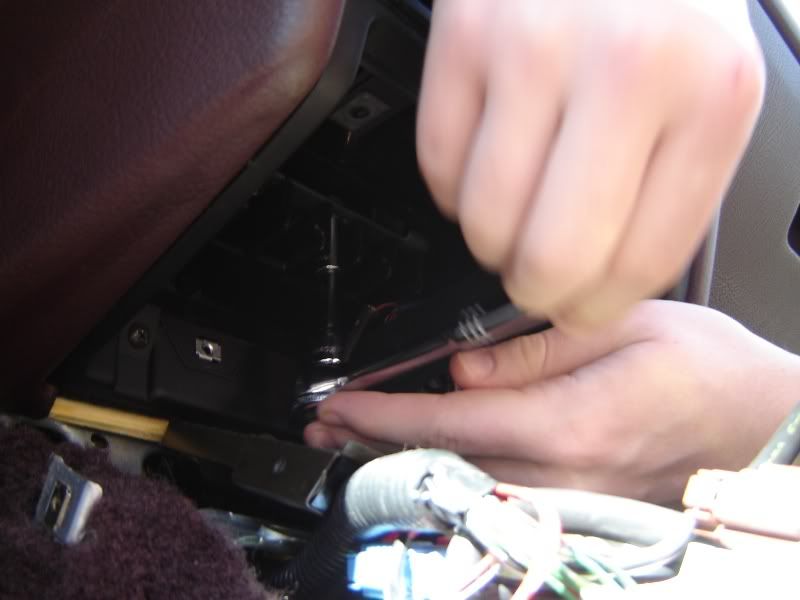
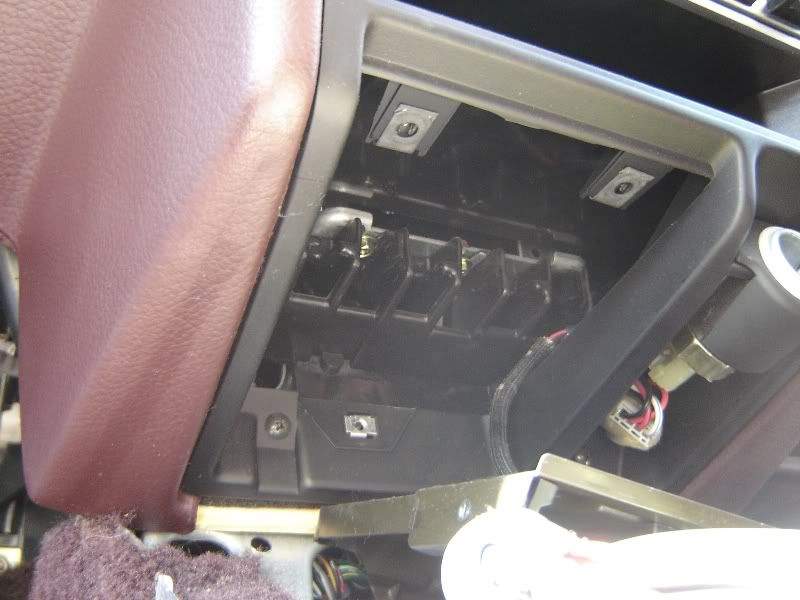
Step Six.
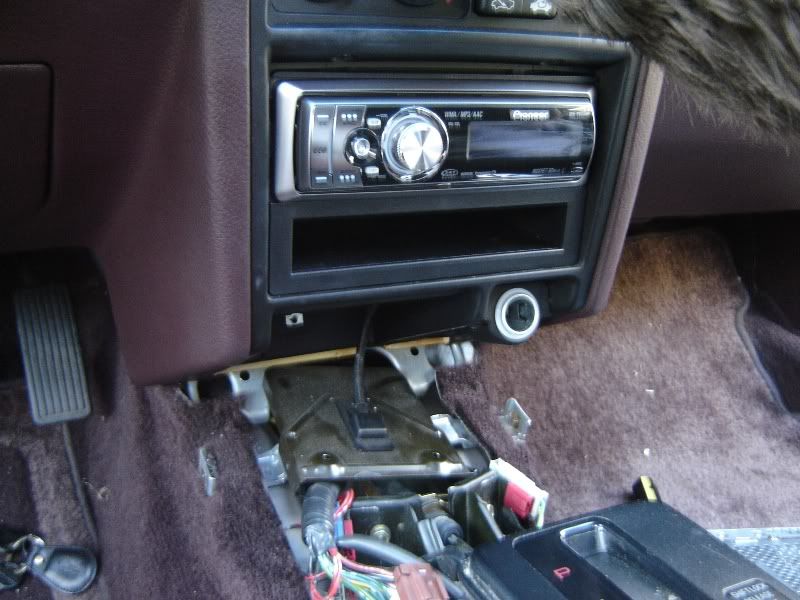
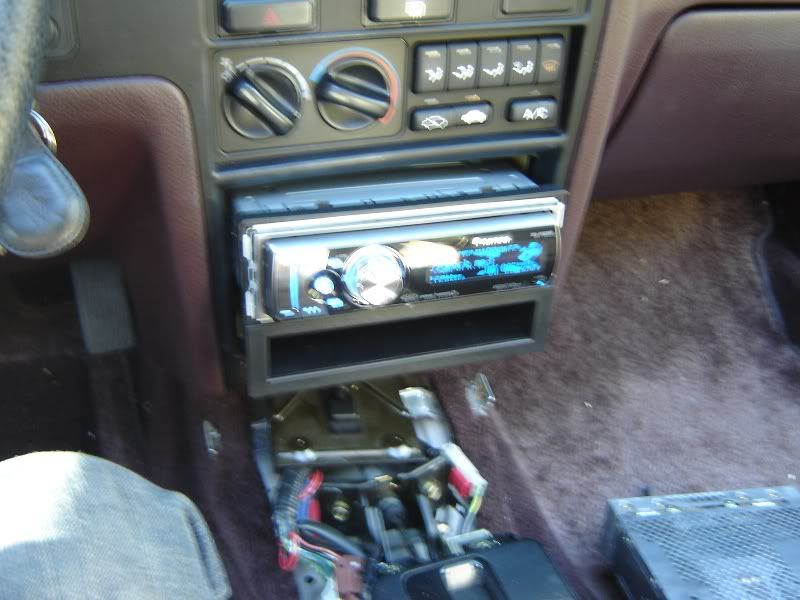
Your stock stereo should just come right out now.
Pull it a little, to disconnect the antenna, and wire harness.
It shouldn't take much effort to get it out.
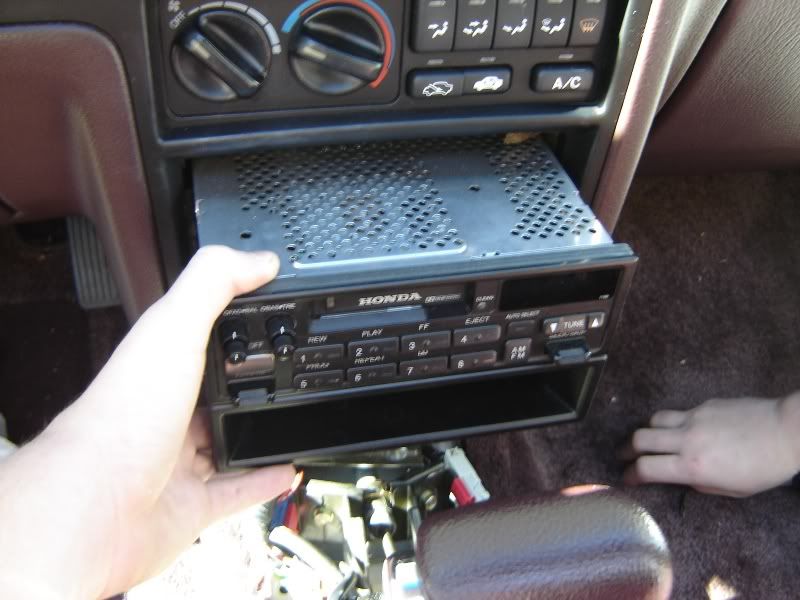
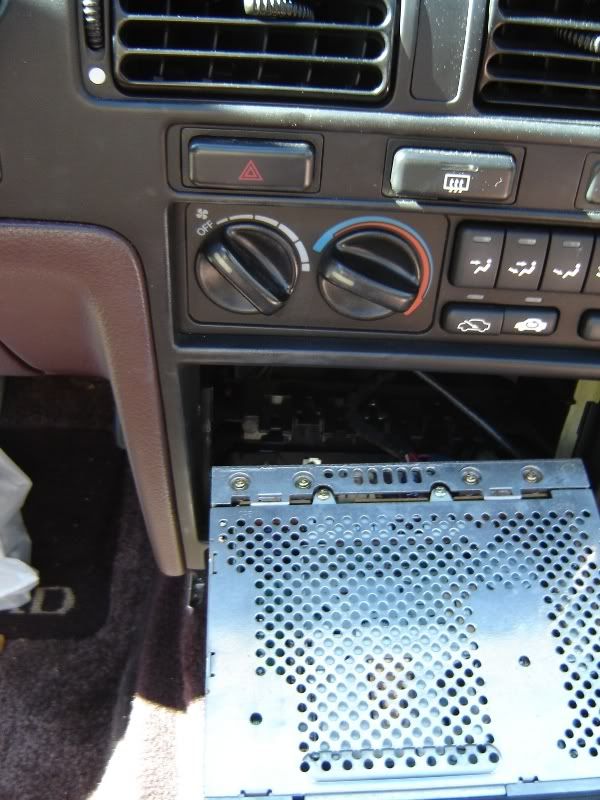
You should look like this now.
edited by steelbluesleepR to replace images.
Tools you will need
Phillipshead screwdriver.
Wire cutters/strippers
Splice connects.
8mm Ratchet.
Stereo installation kit.
Wire harness.
and a new stereo would help too. :P
Step one
Disconnect negative battery cable. (black one)
Step two
Move the passenger/driver seats as far back as they can both go.
Take the phillips head screwdriver, and you will locate 4 screws on the housing around your (in my case) automatic shifter.
There are two screws on each side, remove them all.
Step three.
Insert your key into your "shift lock" slot on your automatic shifter, move it to N. You will be doing this, to get the housing from around the shifter. Pull the emergency break, so you won't roll away.
Remove the ash tray. Now, just lift the housing off. It should come off with no problem. You should look like this now.
Step four.
You need to remove the "metal thing" that the ash tray was at.
The three screws that are holding it in place, remove them. Pull it down, but don't go crazy and rip it, because theres a light attached to it for the ash tray. Just let it hang.
You should look like this.
Step Five.
If you look up in there, you should see two gold bolts. Thats whats holding that stock stereo in place.
Take that 8mm ratchet, and remove them. (**note** if you don't have an 8mm ratchet handy, you can use your screwdriver.)
Step Six.
Your stock stereo should just come right out now.
Pull it a little, to disconnect the antenna, and wire harness.
It shouldn't take much effort to get it out.
You should look like this now.
edited by steelbluesleepR to replace images.


Comment