Painting Bezel DIY
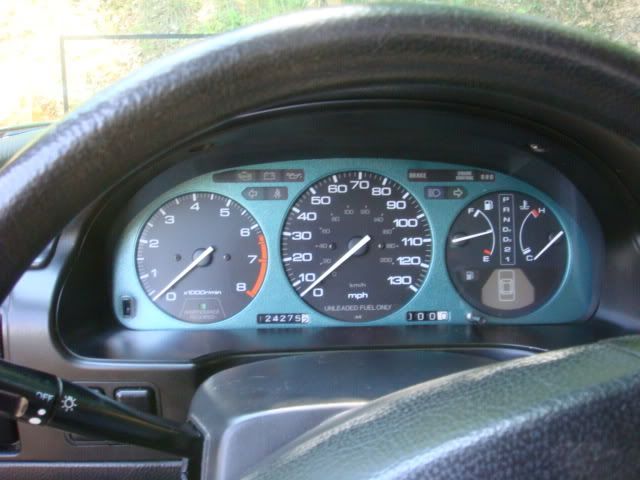
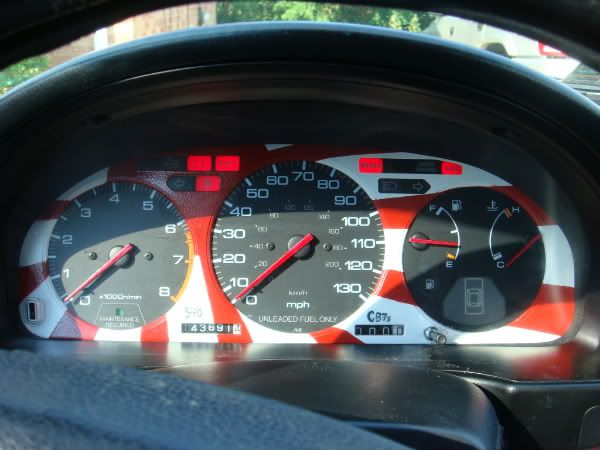
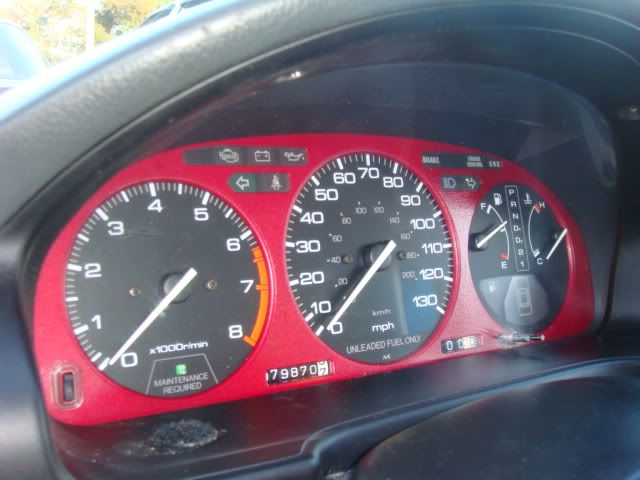
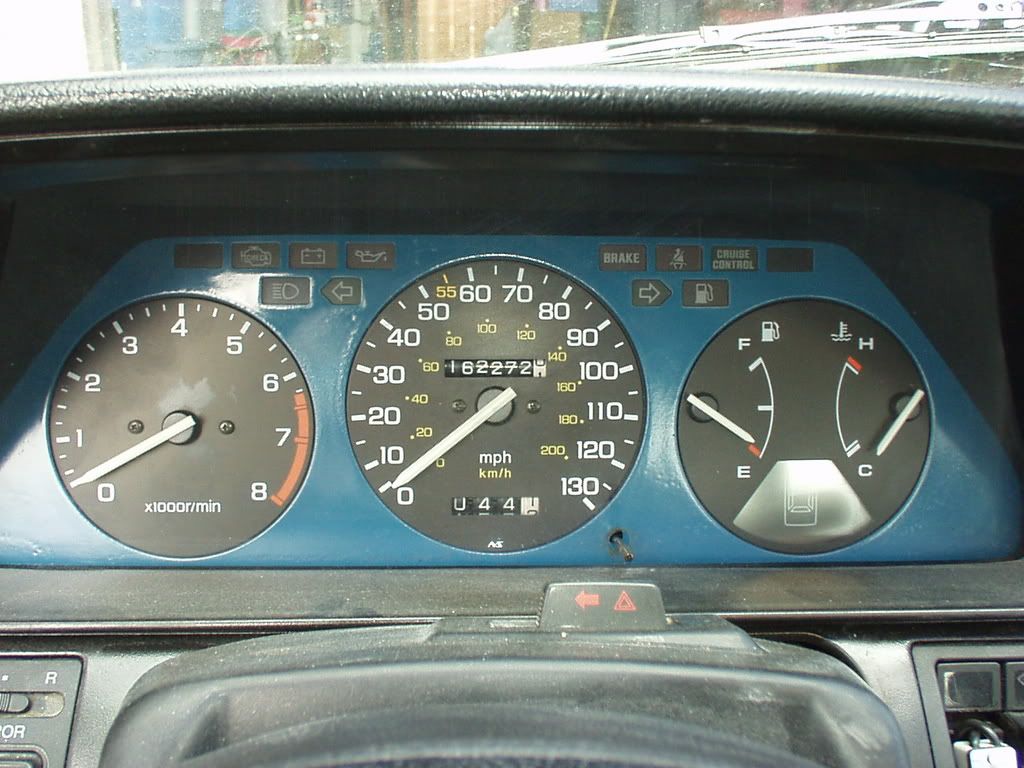
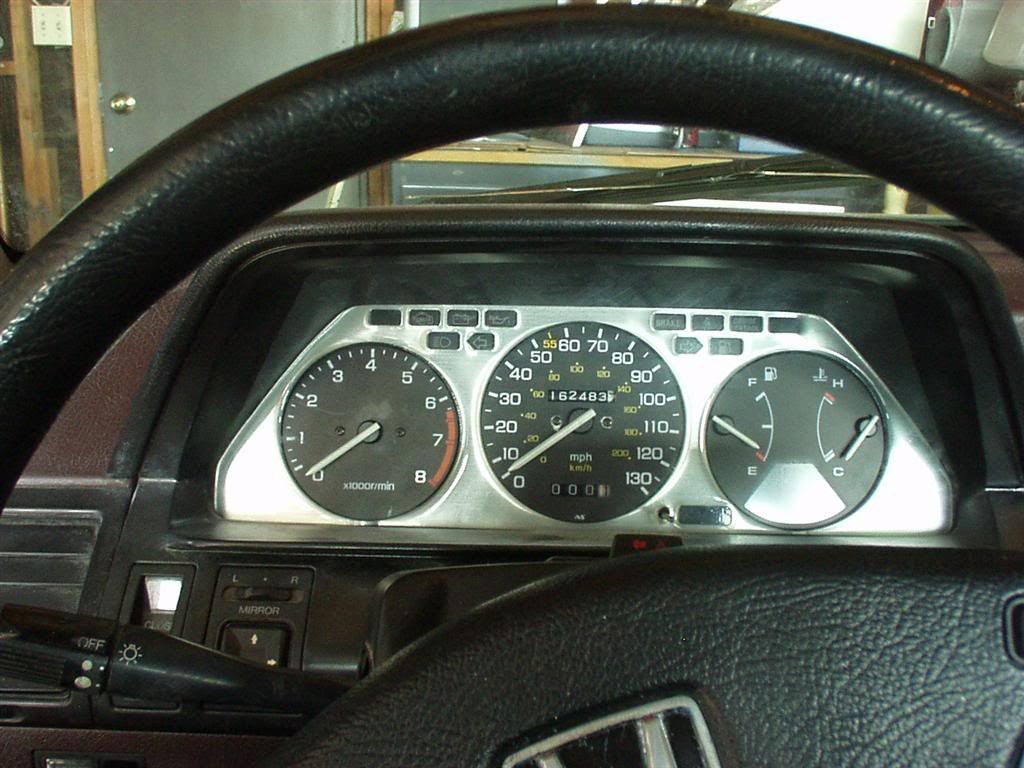
Due to alot of PM's and people calling me asking me how to remove the trim. here you go..i couldn't find an old one, with working pictures. hope this is good =)
This DIY is good for
-Painting your Bezel
-Replacing or Repairing your Cluster
-if you want to Remove Trim.
Disclaimer: I am not Resposible, if you break anything in
your car while doing this, hurt yourself, blow up the car, cut your finger
off, get dumped. Anything This is for infomational purposes only. do this
at your own risk
Tools
-Phillips Screwdriver
-Flathead Screwdriver
^^Various Size will be needed^^
-Desired paint
-Time: 45 minutes to 2 hours depending how slow you are
REMOVING THE TRIM
1. Remove the Coin box to the Left near the Door.
2. Pry the Cruise Control Master Switch / Sunroof Switch Assembly (EX, SE Models) and Disconnect, and Put that to the Side
3. Pry out the Instrument Panel Brightness Controller with a Flathead Screwdriver, and Disconnect, and put it to the Side.
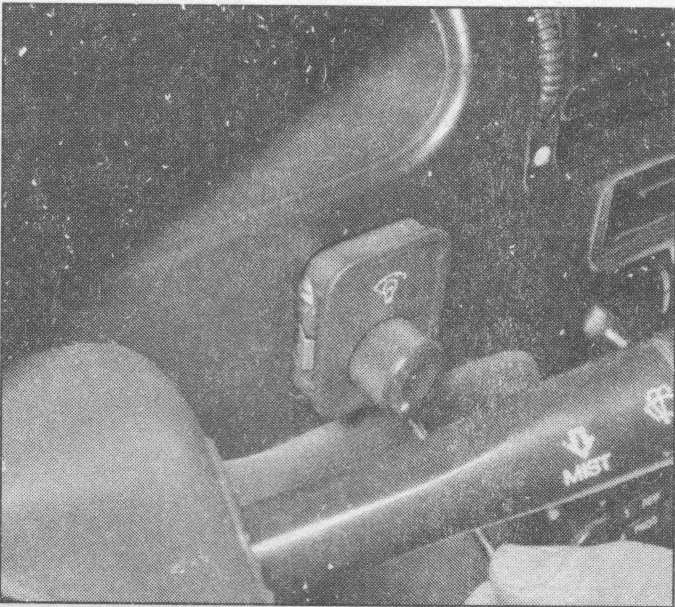
4. Pry out the Hazard Warning Switch, Rear Window Defrogger Switch, and Disconnect, and Put them to the Side.
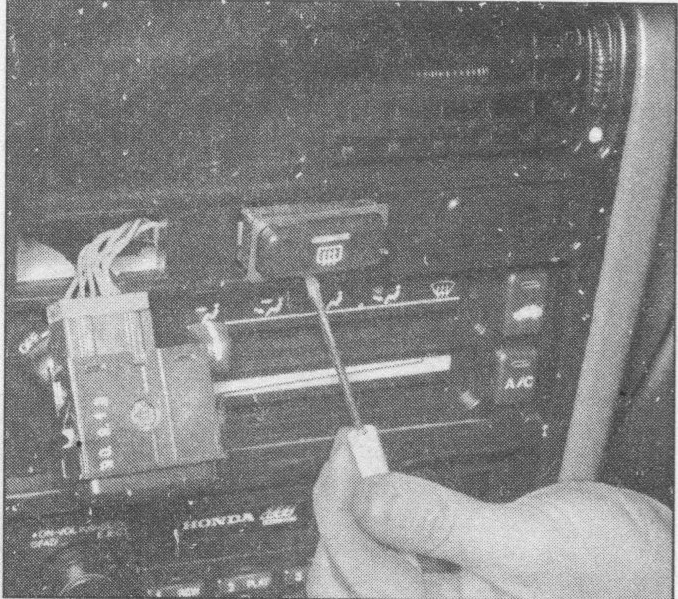
5. Remove the Ashtray, and You will see 2 Screws. you can remove the whole Ashtray assembly but you don't have to. Just Take the Left Screw out. and Behind the Ciggarete lighter remove that screw too. (you do not have to remove the ones with "X"s)
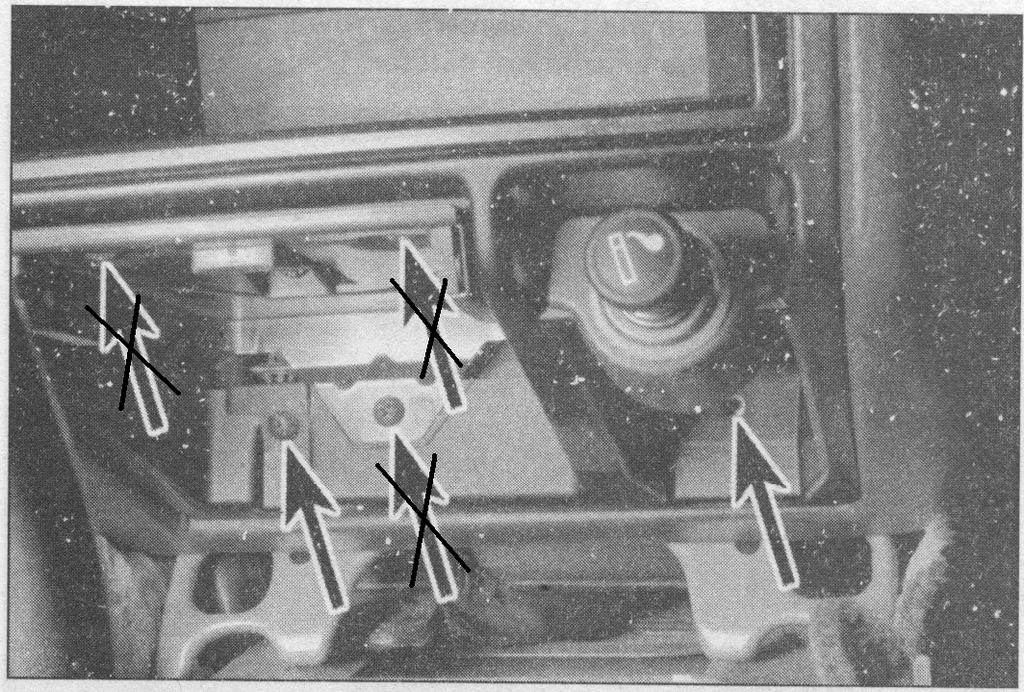
6. Pry out the Left Side, and Center Air vents with a Small Flathead Screwdriver. Be careful to not scratch the plastic.
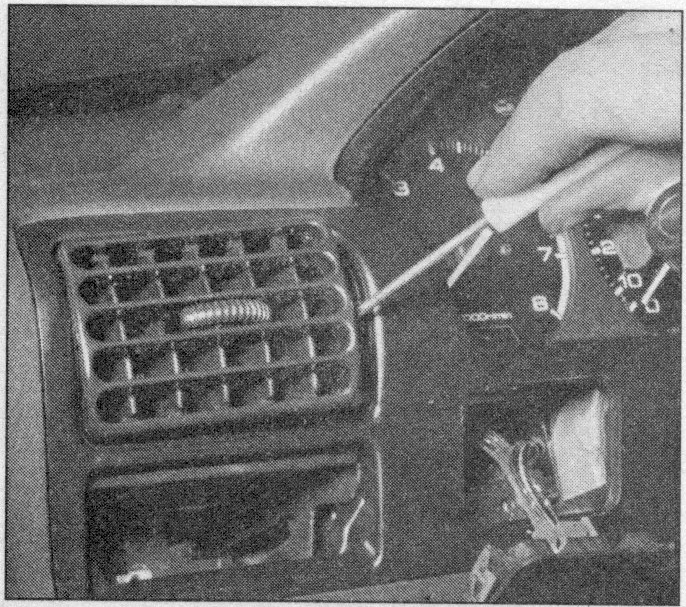
7. Remove the Screw behind Air vent you pryed out earlier. should be on top. close the air vent to make sure that if you drop the screw it doesn't fall into the hole.
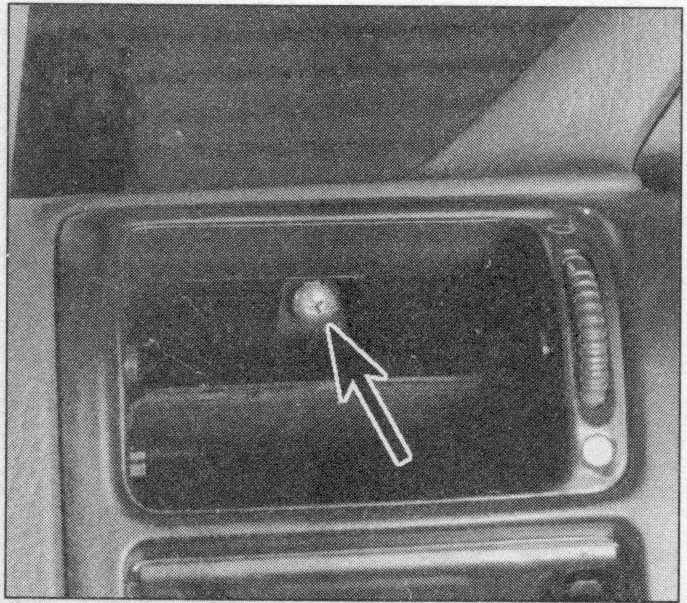
8. Remove the 1 Screw where you removed the Coin Tray. Easier with a Magnetic Screwdriver.
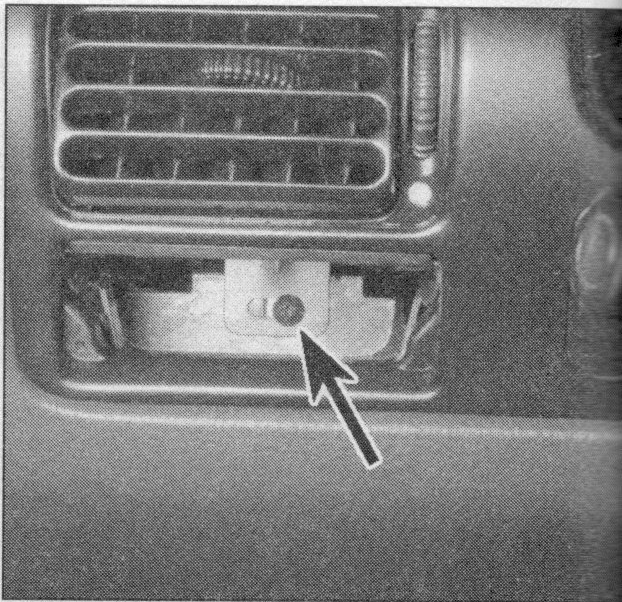
9. Remove the 1 Screw where you removed the Cruise Control Switch.
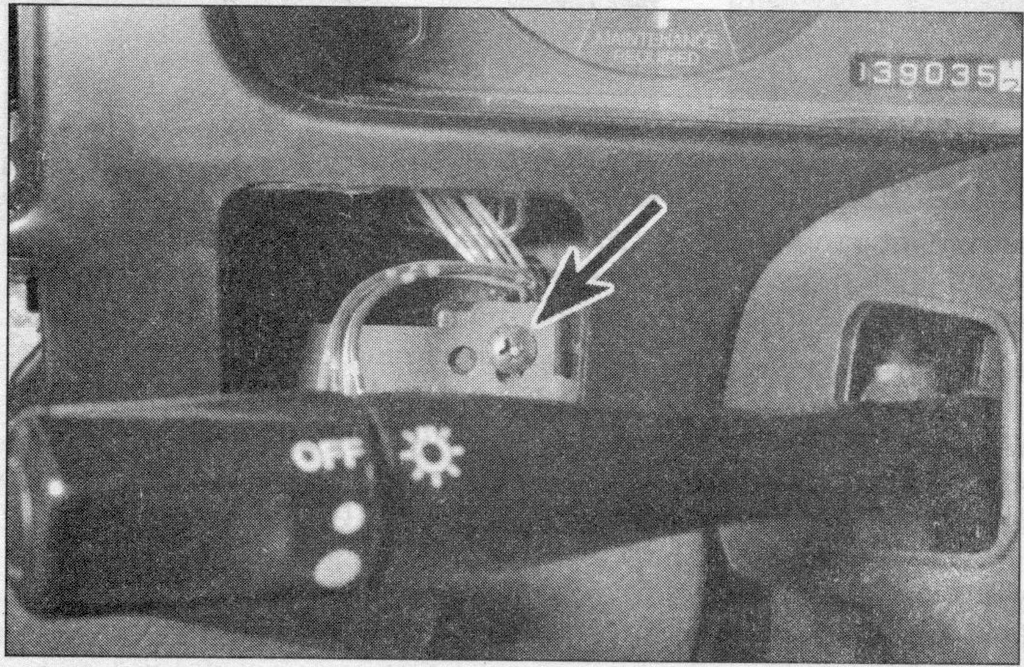
10. Remove the 2 Screws Right Above the Intrusted Clutster.
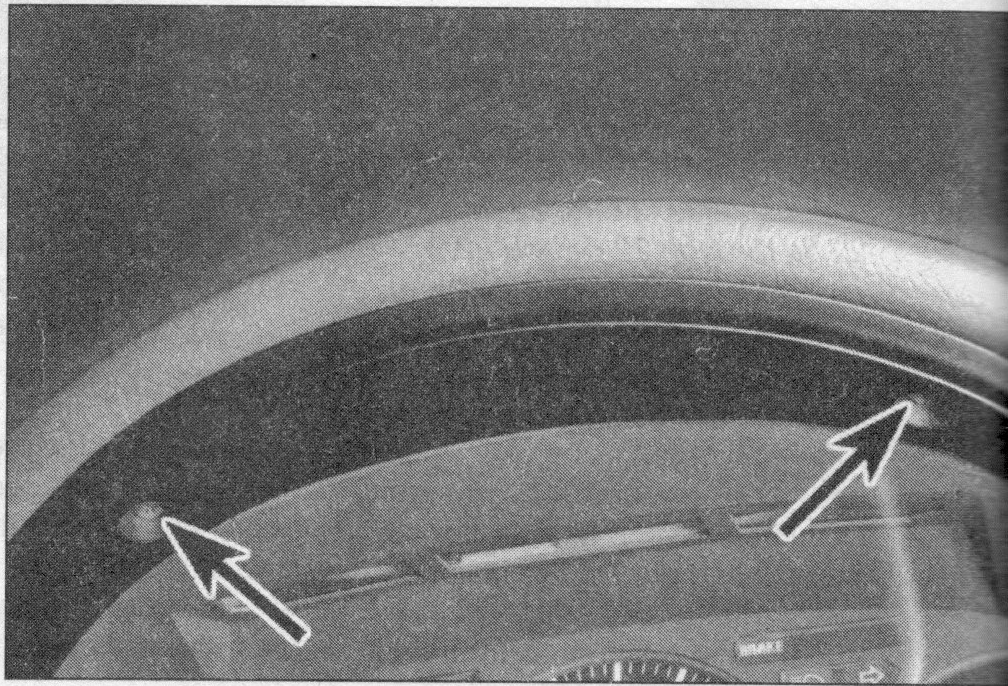
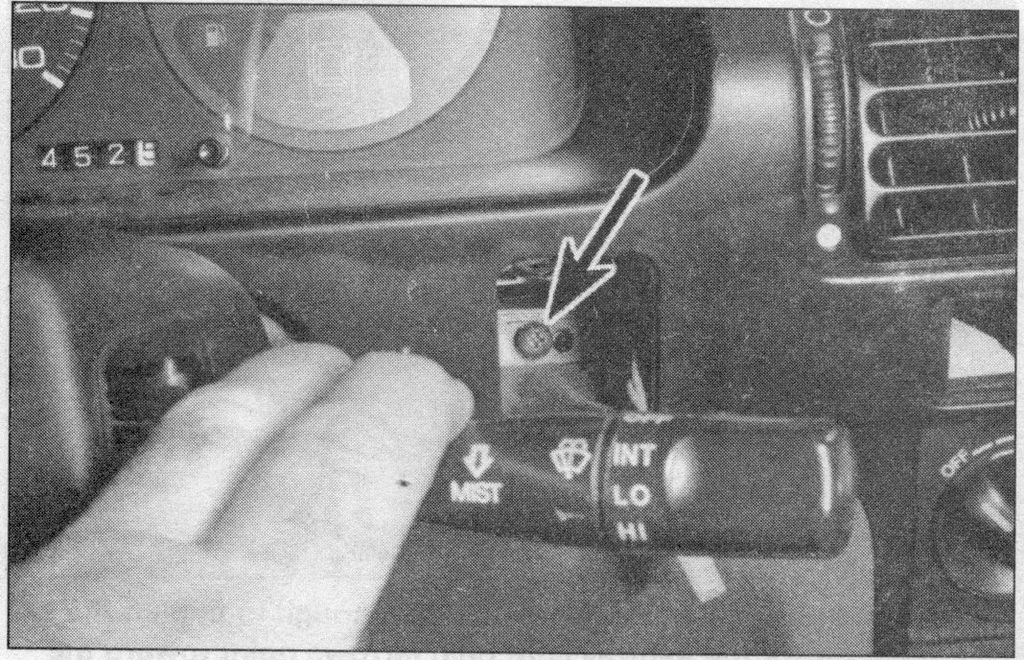
11. Remove the 1 Screw where you removed the Clutster Brightness Controller.
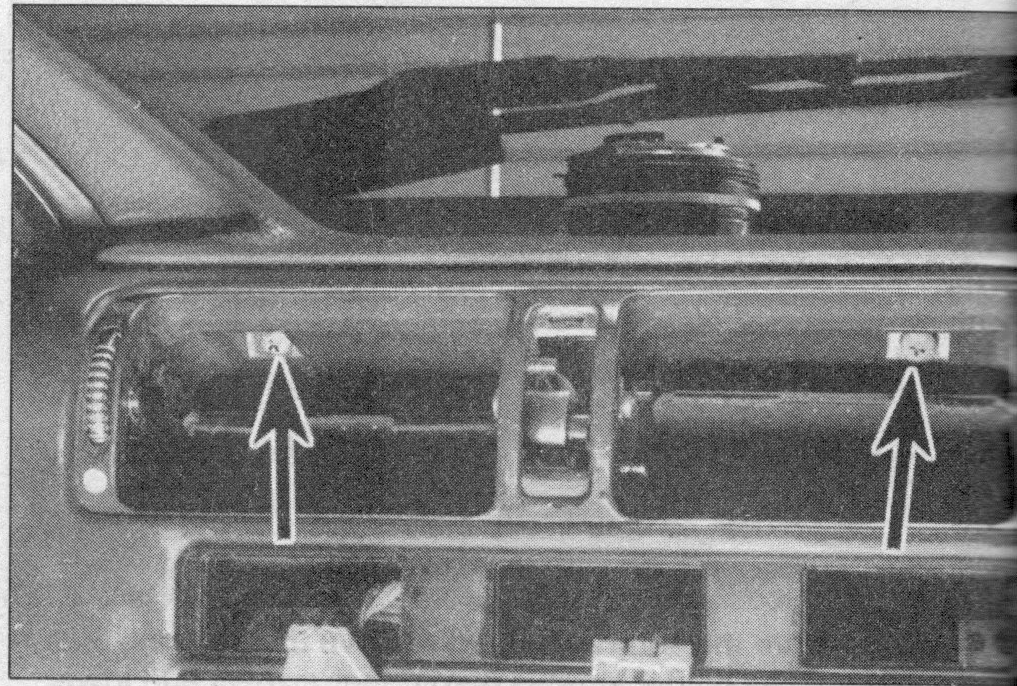
12. Removed 2 Screws on top of the air vents you removed earlier (center)
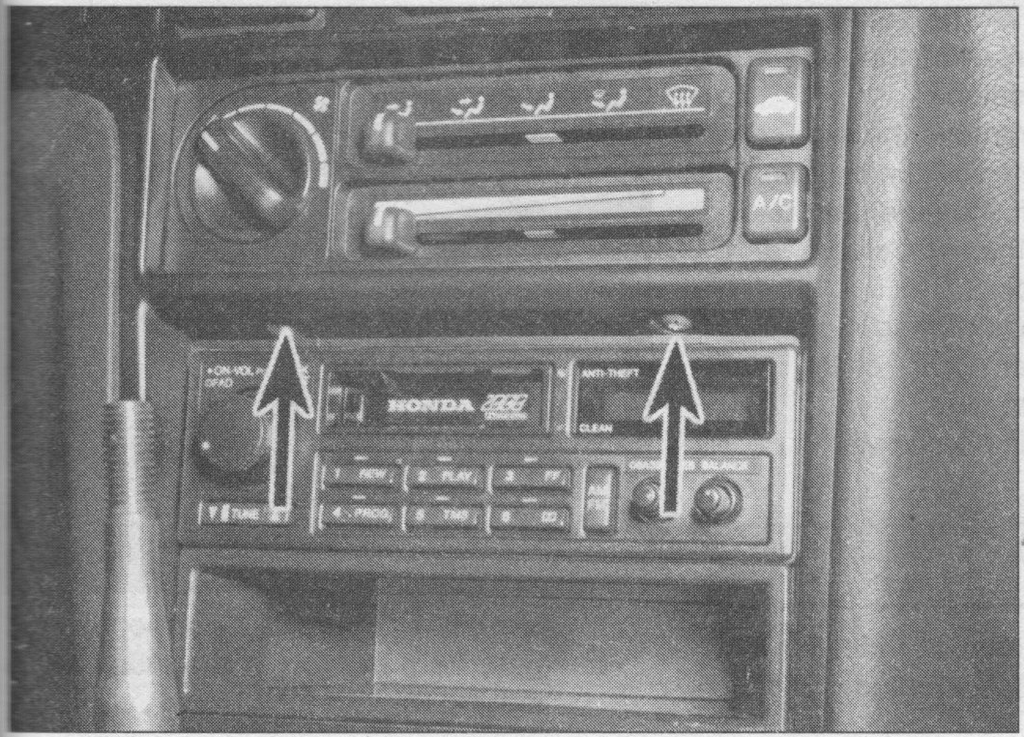
13. Remove the 2 Screws Below the Heater/ Air Conditioner and Above the Stereo
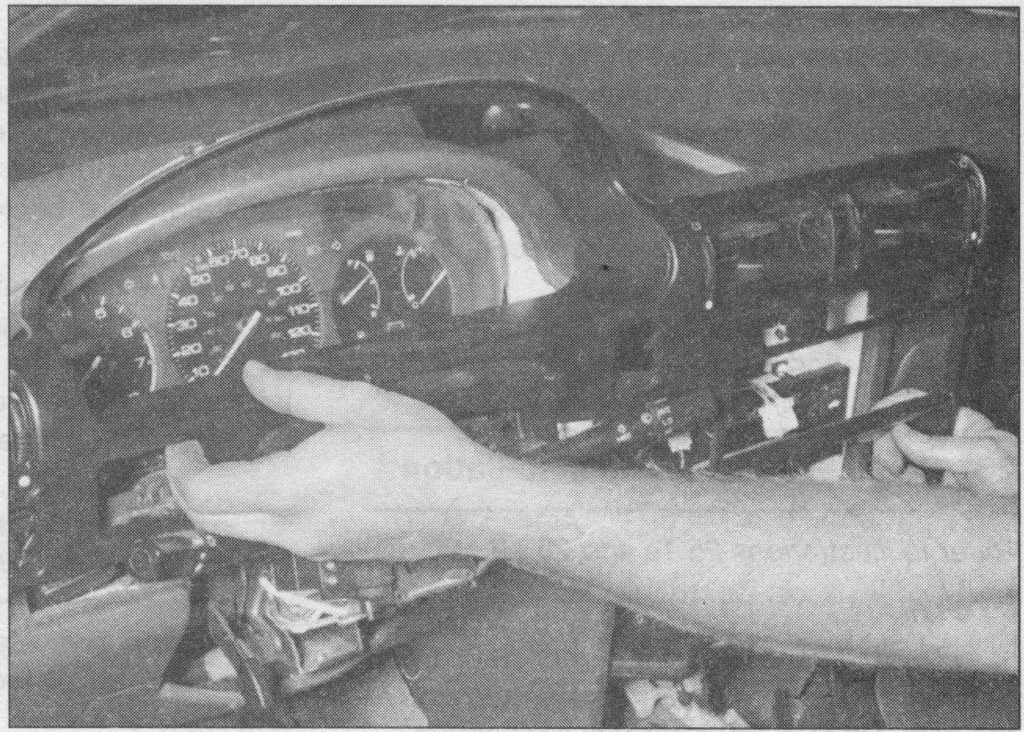
14. Cluster Should Come out Easy. Be Careful not to Break it.
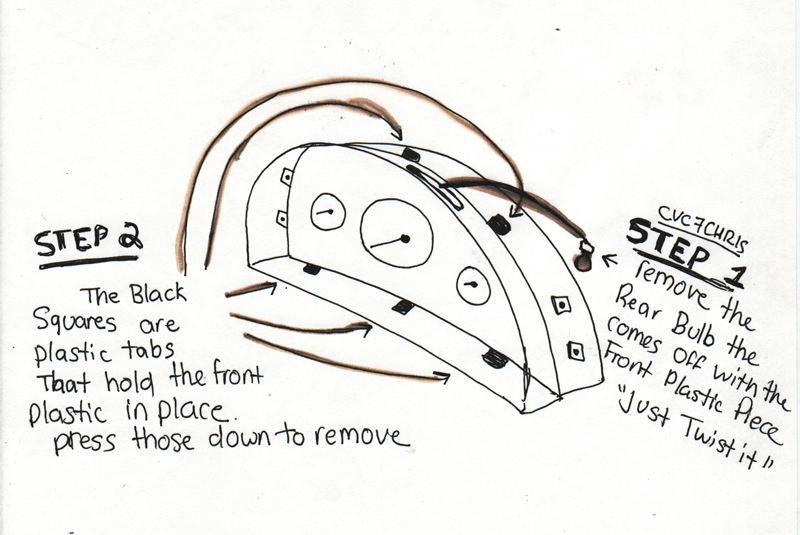
i had/found no pics, so i got haynes to help me
*hope i don't get sued* i take no credit for these ^ pictures*
im just trying to help a brotha out
Due to alot of PM's and people calling me asking me how to remove the trim. here you go..i couldn't find an old one, with working pictures. hope this is good =)
This DIY is good for
-Painting your Bezel
-Replacing or Repairing your Cluster
-if you want to Remove Trim.
Disclaimer: I am not Resposible, if you break anything in
your car while doing this, hurt yourself, blow up the car, cut your finger
off, get dumped. Anything This is for infomational purposes only. do this
at your own risk
Tools
-Phillips Screwdriver
-Flathead Screwdriver
^^Various Size will be needed^^
-Desired paint
-Time: 45 minutes to 2 hours depending how slow you are
REMOVING THE TRIM
1. Remove the Coin box to the Left near the Door.
2. Pry the Cruise Control Master Switch / Sunroof Switch Assembly (EX, SE Models) and Disconnect, and Put that to the Side
3. Pry out the Instrument Panel Brightness Controller with a Flathead Screwdriver, and Disconnect, and put it to the Side.

4. Pry out the Hazard Warning Switch, Rear Window Defrogger Switch, and Disconnect, and Put them to the Side.

5. Remove the Ashtray, and You will see 2 Screws. you can remove the whole Ashtray assembly but you don't have to. Just Take the Left Screw out. and Behind the Ciggarete lighter remove that screw too. (you do not have to remove the ones with "X"s)

6. Pry out the Left Side, and Center Air vents with a Small Flathead Screwdriver. Be careful to not scratch the plastic.

7. Remove the Screw behind Air vent you pryed out earlier. should be on top. close the air vent to make sure that if you drop the screw it doesn't fall into the hole.

8. Remove the 1 Screw where you removed the Coin Tray. Easier with a Magnetic Screwdriver.

9. Remove the 1 Screw where you removed the Cruise Control Switch.

10. Remove the 2 Screws Right Above the Intrusted Clutster.

11. Remove the 1 Screw where you removed the Clutster Brightness Controller.

12. Removed 2 Screws on top of the air vents you removed earlier (center)

13. Remove the 2 Screws Below the Heater/ Air Conditioner and Above the Stereo

14. Cluster Should Come out Easy. Be Careful not to Break it.


i had/found no pics, so i got haynes to help me

*hope i don't get sued* i take no credit for these ^ pictures*
im just trying to help a brotha out






Comment