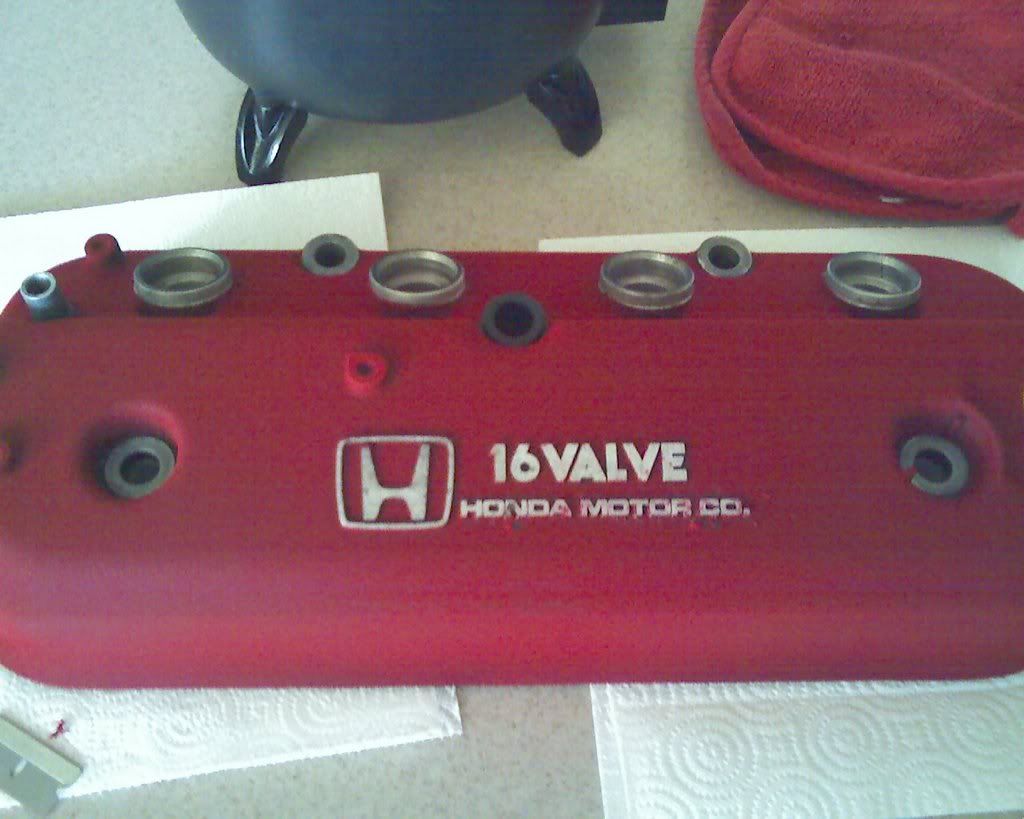
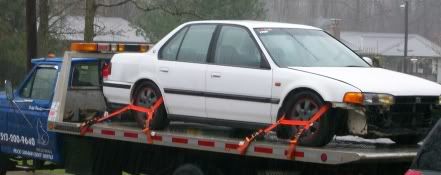
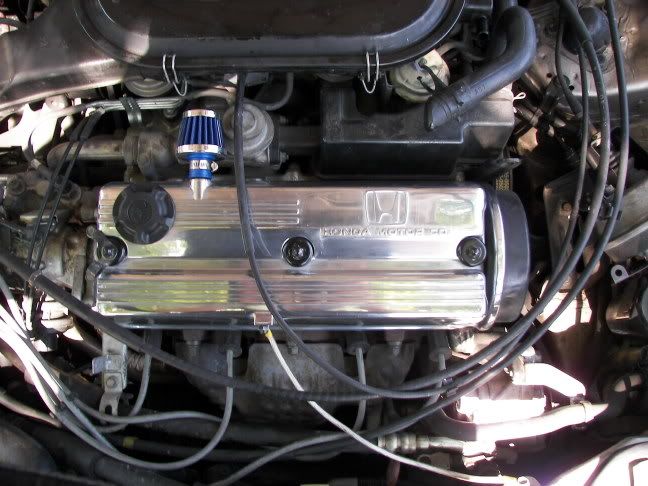
to start off this is a thread dedicated to valve covers and their appearence.. the ones i post are ones i have done for some of you and for others.
Please post your setup with yours.
show them off!!!
Their are many ways to prep your cover, and in time i will post up my step by step process... goodluck on your covers
step 1. obtain preffered cover.
step 2. clean the heck out of the cover top and bottom with degreasers such as, oven cleaner, laquere thinner, mineral spirits, gasoline, paint stripper, etc.. their shouldn't be any grease residue on it at all when you have finished.
step 3. shave any leatters or holesdown flush, and use an angle grinder with either 36 grit or 50 grit to do this, also be sure to go around all the edges and clean them up to a smoothfinish, before either sandblasting or orbital sanding, or heck sanding by hand. *make sure all oem paint is off.*
here are some photos of some of the stripping process i use... alot of times i shave the back lip on the h22 cover, but this time i will be intensifying the line instead.


every edge gets smoothed..


step 4. obtain ppg self etching primer, *it helps eat into the alluminum*
put 2 coats of etch primer and then 4 coats of ppg high build primer.

step 5. I sand down all the pieces with 180 grit paper and normally reprime 3 coats.


step 6. i use a 3m soft block and block the cover with 320 grit and then. Making sure all imperfections that bother me are gone.
step 7. I now by hand wetsand the cover with 3m 500 grit sand paper, the finish should not have any orange peal whatso ever. that includes no runs, no dry spots or rough texture at all.
ok like i said prep work is what makes the slick sweet cover so slick and sweet. i will add photos in the how 2 asap.
more steps will be added.
I use the same area and tools that i work on cars to also do these valve covers.
I also use our soda blast machine to clean them.
Please post your setup with yours.

show them off!!!
Their are many ways to prep your cover, and in time i will post up my step by step process... goodluck on your covers
step 1. obtain preffered cover.
step 2. clean the heck out of the cover top and bottom with degreasers such as, oven cleaner, laquere thinner, mineral spirits, gasoline, paint stripper, etc.. their shouldn't be any grease residue on it at all when you have finished.
step 3. shave any leatters or holesdown flush, and use an angle grinder with either 36 grit or 50 grit to do this, also be sure to go around all the edges and clean them up to a smoothfinish, before either sandblasting or orbital sanding, or heck sanding by hand. *make sure all oem paint is off.*
here are some photos of some of the stripping process i use... alot of times i shave the back lip on the h22 cover, but this time i will be intensifying the line instead.


every edge gets smoothed..


step 4. obtain ppg self etching primer, *it helps eat into the alluminum*
put 2 coats of etch primer and then 4 coats of ppg high build primer.

step 5. I sand down all the pieces with 180 grit paper and normally reprime 3 coats.


step 6. i use a 3m soft block and block the cover with 320 grit and then. Making sure all imperfections that bother me are gone.
step 7. I now by hand wetsand the cover with 3m 500 grit sand paper, the finish should not have any orange peal whatso ever. that includes no runs, no dry spots or rough texture at all.
ok like i said prep work is what makes the slick sweet cover so slick and sweet. i will add photos in the how 2 asap.
more steps will be added.
I use the same area and tools that i work on cars to also do these valve covers.
I also use our soda blast machine to clean them.


Comment