Although I am posting this like a diy in the diy section, this is should NOT be taken as a diy or a how to guide. I am documenting how I did mine so there will be a better understanding of what is required to do this. A lot of people want to do this but the information I found was when searching is either incomplete or unsafe. I don't recommend anyone attempt this. There are NO mounting points for any of the bolt holes and none of points where the bolts normally go is reinforced. If not done properly serious injury will occur. The correct way to do this is to replace the inner structure with 92-93 pieces. I did not do it this way.
Tools needed
philips screwdriver
ratchet with 10,12,14 17,18mm sockets
air saw
cut off wheel
die grinder
angle grinder
drill and drill bits
plasma cutter
welder
nutsert tool
7/16-20 Tap
6x1.0mm Tap
Parts needs
92-93 manual seat belts with mounting bolts
92-93 upper pillar mount with mounting bolts
92-93 upper front pillar trim
92-93 center lower pillar trim
92-93 seat buckles
92-93 seat buckle trim
92-93 outer seat trim
92-93 plastic pillar wiring router
2- 7/16-20 nuts
4- 7/16-20x3/4 button head bolt
6- 6x1.0mm bolts(from old track)
4- 5x.8mm bolts
4- 8x1.25mm nutserts
2- 6x1.0mm nutserts
4- 5x.8mm nutserts
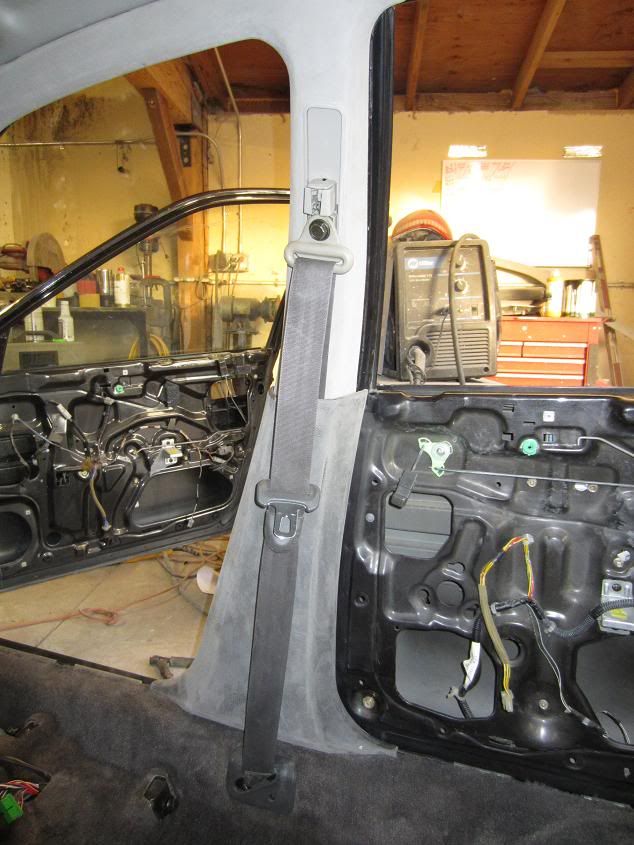
Remove the center lower pillar trim, upper pillar trim, sunvisors, rearview mirror, grab handles, and coat hook. Drop the front of the headliner to gain access and remove motorized assembly. Reinstall the headliner, sunvisors, mirror, grab handles, and coat hook.
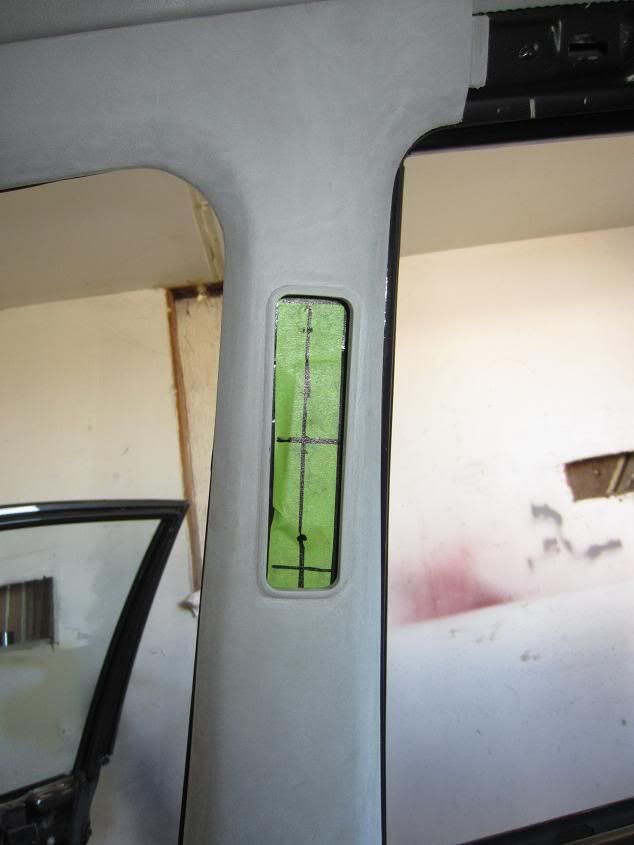
Install the 92-93 upper trim. Place some tape through the opening and mark out center lines. Remove the upper trim and determine where you want the upper mount to be located. The sheet metal for the upper mount is not thick enough to tap, and it will be very difficult to reinforce and weld a nut from behind. I decided to weld the upper mount to the pillar. In order to get it perfectly aligned, I would start by installing the upper mount with nutserts. When it is just right, weld it on permanately. Mark out the bolt locations and drill out holes for M8 threaded nutserts.
You will notice that the pillar is raised in areas and not flat as in 92-93. This prevents the upper mount track from sitting correctly. The mount sticking out prevents the pillar trim from going on without distortion and pressure against the slider makes it difficult to move. If this kinda thing doesn't bother you great, bolt up the sliders and move on. It bothers the crap out of me and my panels will be painted so it needs to be dealt with.
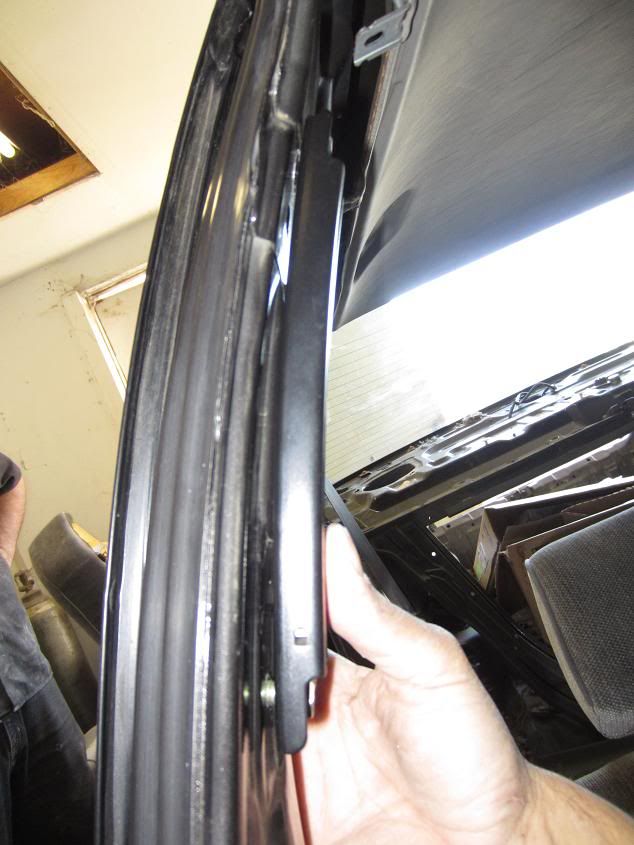
Place the track in its location and mark around the track in the raised areas. All of this metal needs to be removed. I used a combination of air saw, drilling, and a cut off wheel. Only the outer sheet metal is removed, I left the existing seat belt track nut. I did drill out 2 spot welds so the nut could flex back a bit giving a fraction more room when bolted down. With raised area removed the track will sit almost perfect. The pillar trim goes on properly and the slider moves freely.
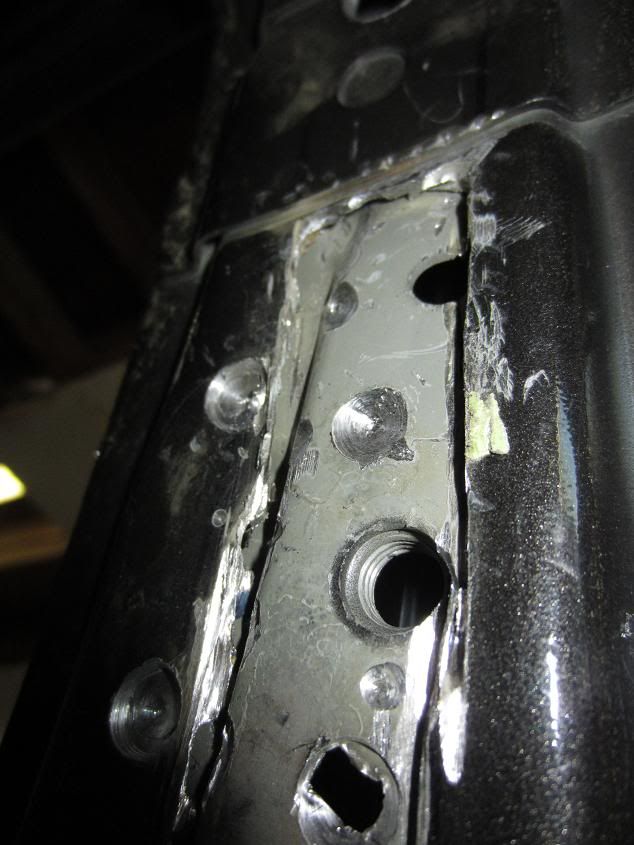
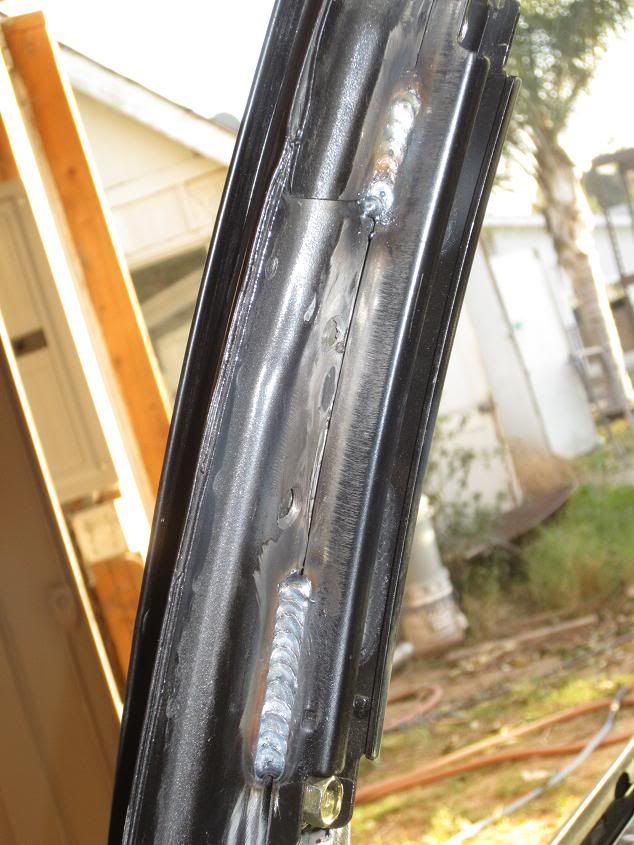
Install the nutserts and bolt in the track. Place the pillar trim on and make sure the track is centered properly. If not slot the track holes as needed. Once it is where you want, weld the track to the pillar. Spray a bit of paint on so it doesn't rust.
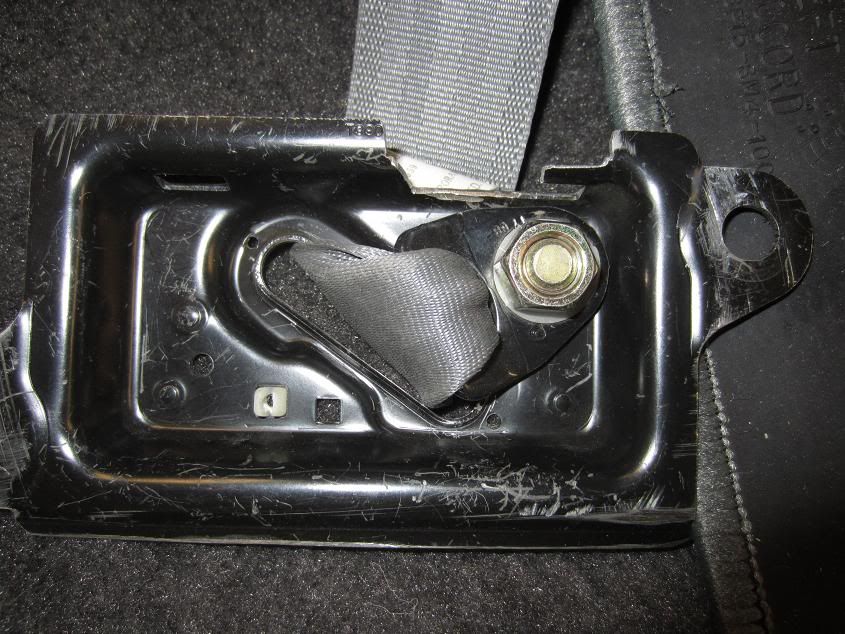
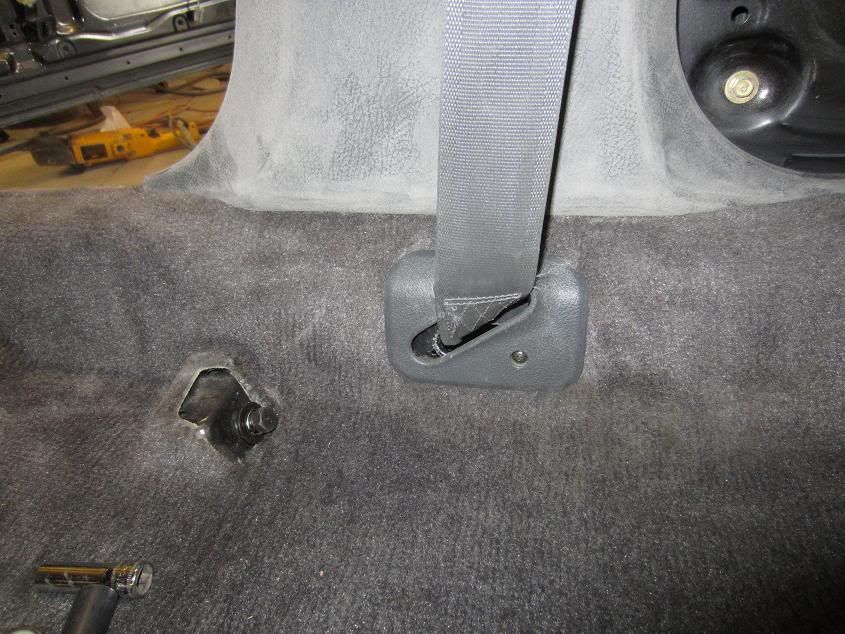
Remove the lower lap belt. Drill out the 2 rivets holding the belt to mounting plate. Pry off the plastic protector in the opening and remove the belt. This mount is going to be reused, the lower seat belt anchor will be bolted to it. This will allow the trim cover to be reused so it will still look finished. The drawback is the belt will not rotate like it is supposed to. Drill out the forward rivet hole for the selt belt bolt. Also Grind the head of the bolt down so the lap belt cover will fit properly.
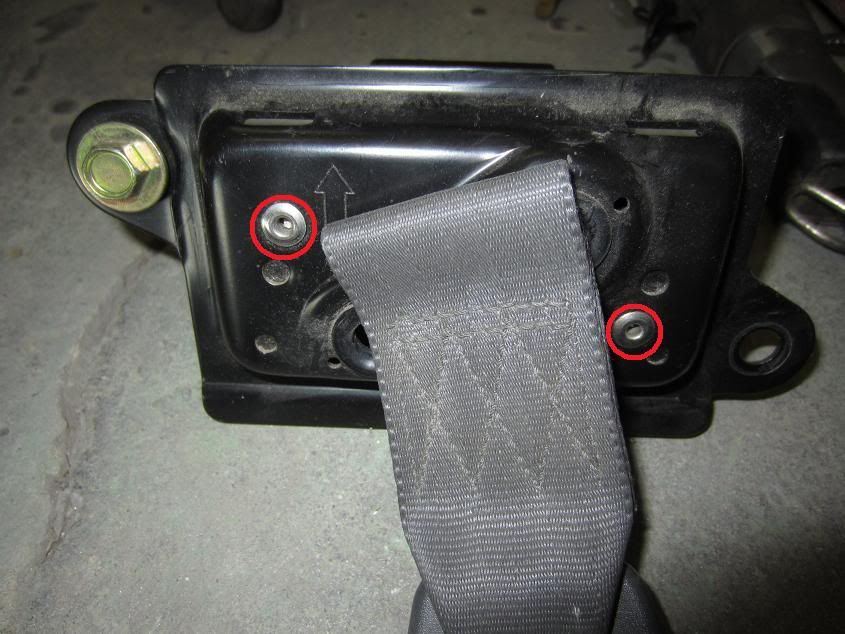
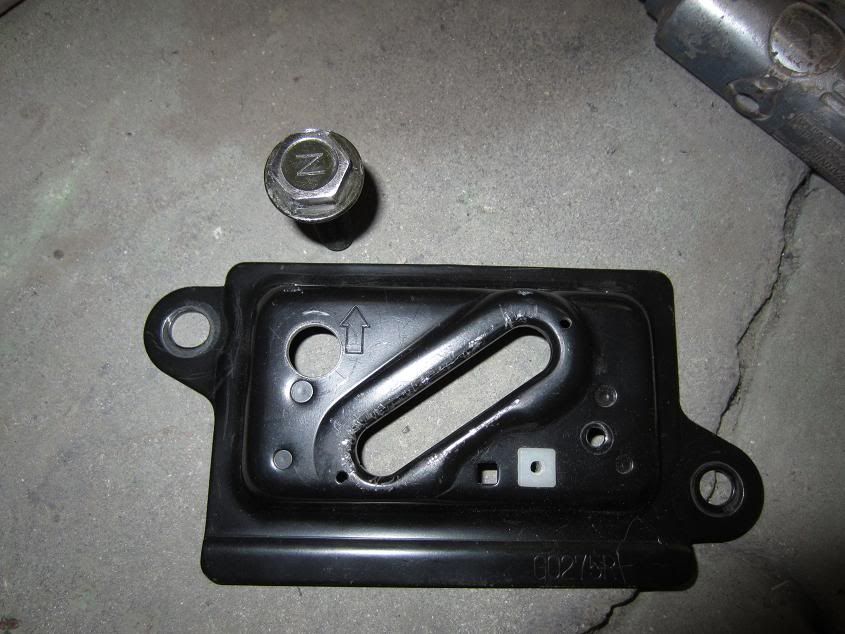
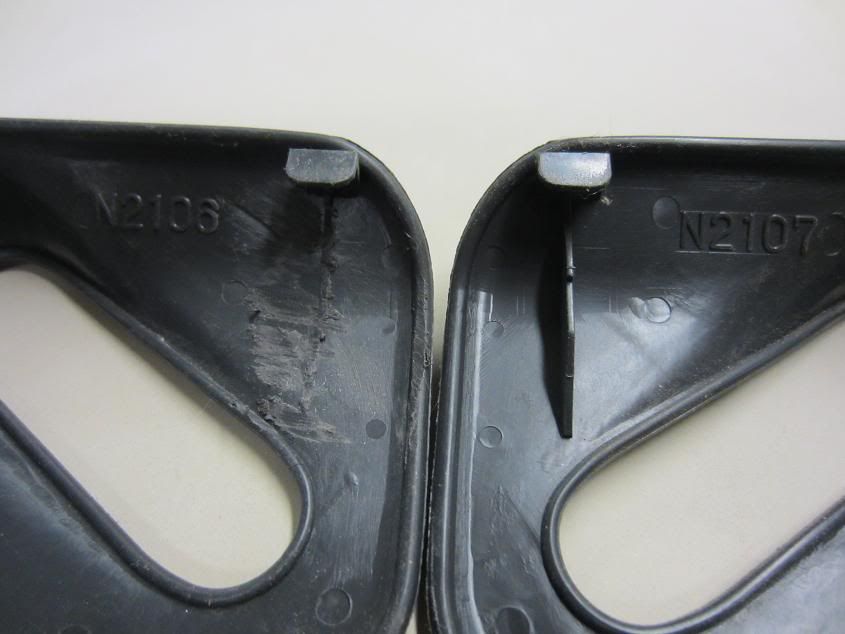
Remove a reinforcement rib on the back of the lap belt trim cover so it will clear the bolt.
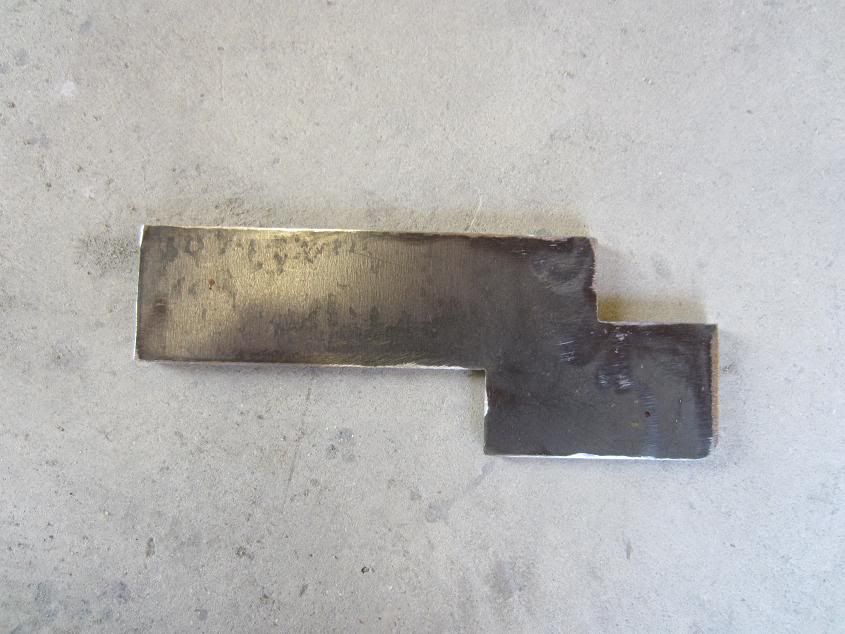
The retractor also has nothing for it to attach to. For the main bolt, take some thick steel to make a mount. This will sandwich between the lapbelt mount and vehicle. Make a template of what you want and cut it out. Place the lap belt mount on top and drill out matching holes. Install the plate you just cut and mark the hole for the retractor. Drill and tap to 7/16-20. A little bit of metal will need to be removed from the car for the bolt fit.
Bolt in the retractor with a 7/16-20 bolt. Set the lap belt mount in place and mark where it contacts the retractor mount and bolt. Cut it out so the lap belt mount fits properly. Also some metal will need to be removed for the retractor sit down lower
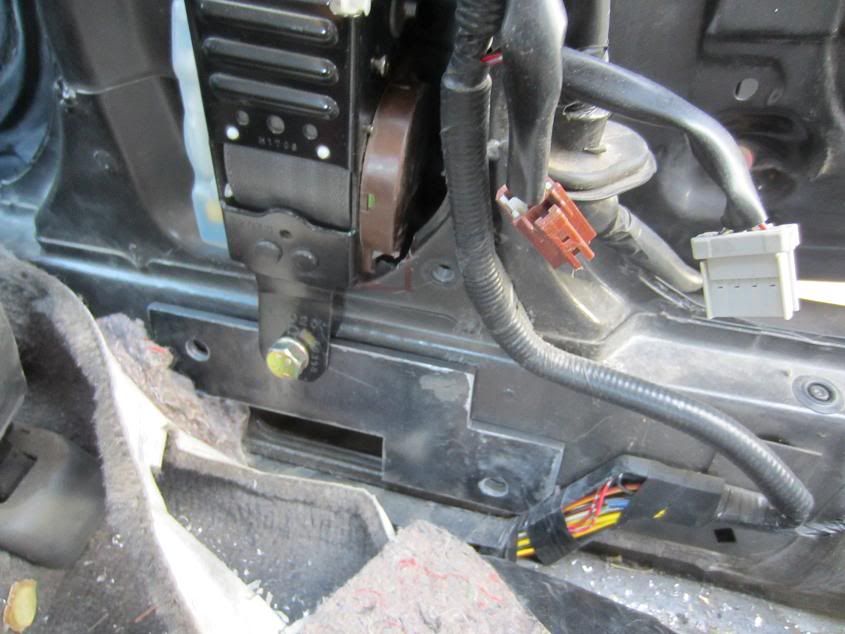
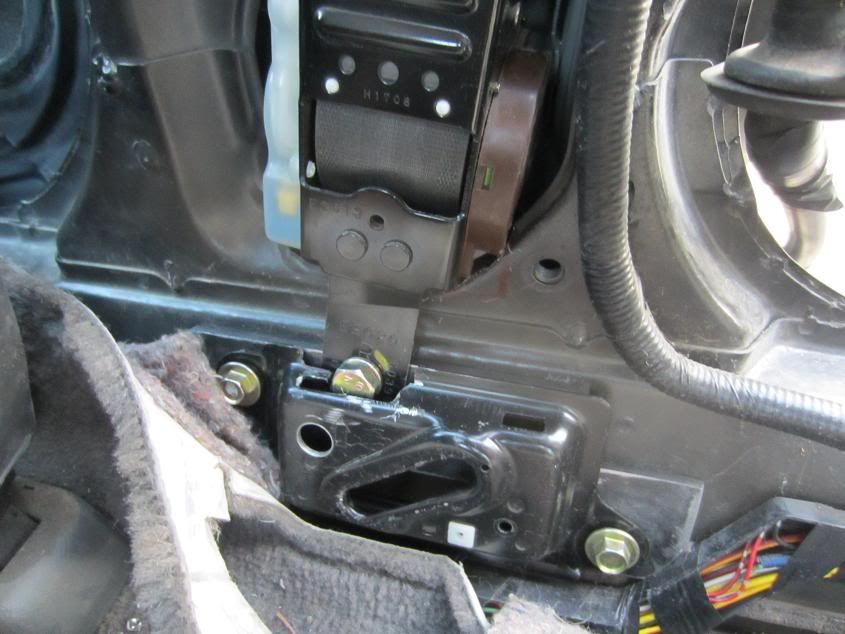
Use an unibit to enlarge the seatbelt retractor upper hole and install a 6x1.0mm nutsert. Take some steel and make a strap across the pillar for the upper mount. Bolt the retractor to the strap and bolt the forward side into existing 6mm hole. Mark the rearside and drill a hole in pillar for a 6mm bolt them mark, drill, and tap the strap to 6x1.0mm.
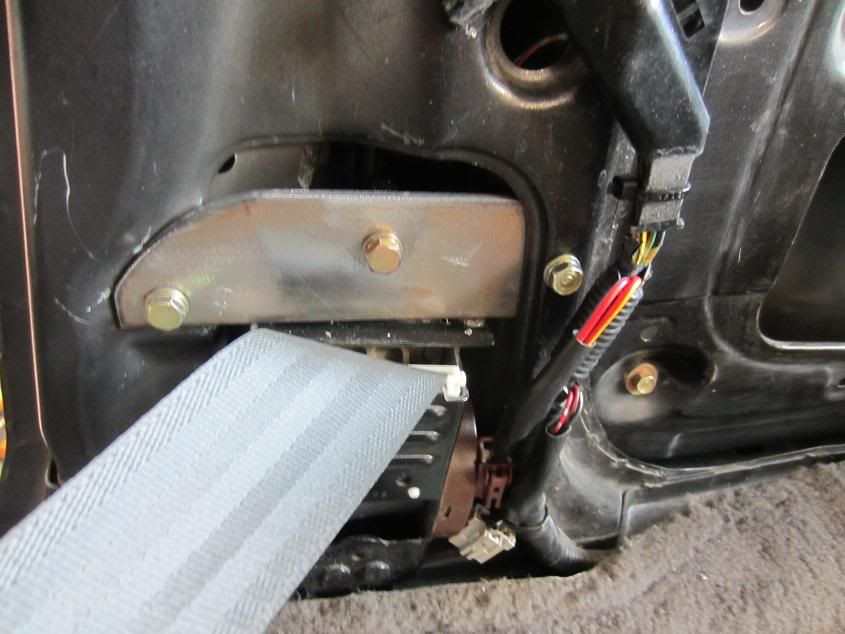
Slide the lap belt cover and mounting plate over the seat belt. Cut the plastic protector in half and reinstall. Bolt belt to the plate using the stock shoulder bolt, flat washer, lock washer, and 7/16-20 nut. Cut the bolt even with the nut. Bolt the lap belt mount to the car.
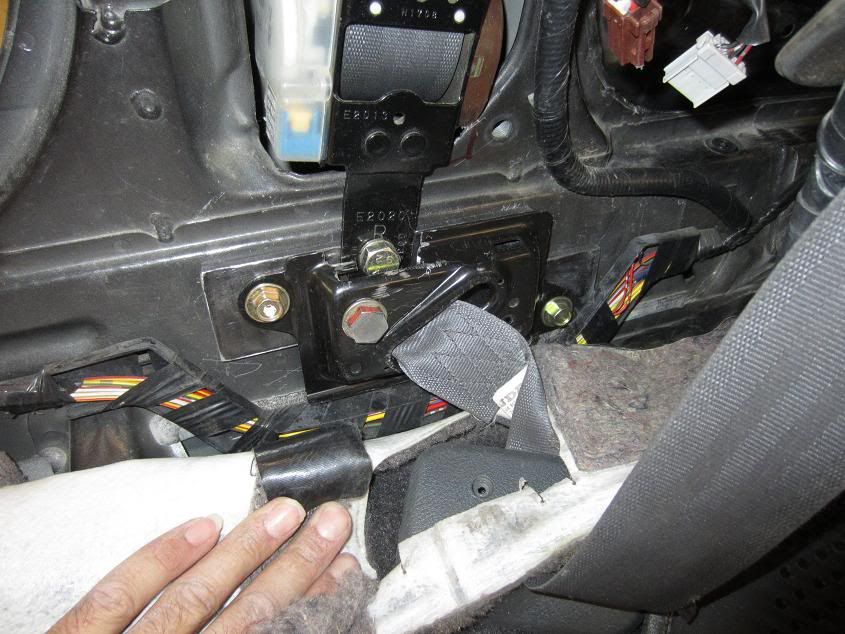
The seat belt contacts the wires so they will need to be rerouted. The 92-93 has a wire router to hold the wires. Of course this needs to be modified to fit. I snapped it into the upper opening then cut off the middle mount. I drilled a hole in the middle mount and bolted it to the pillar with a 5x.8mm nutsert and bolt
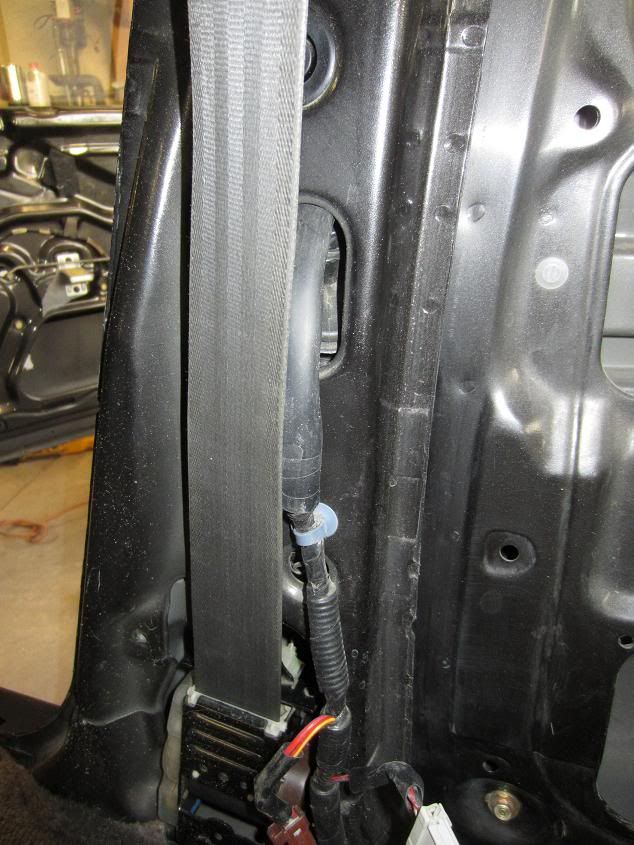
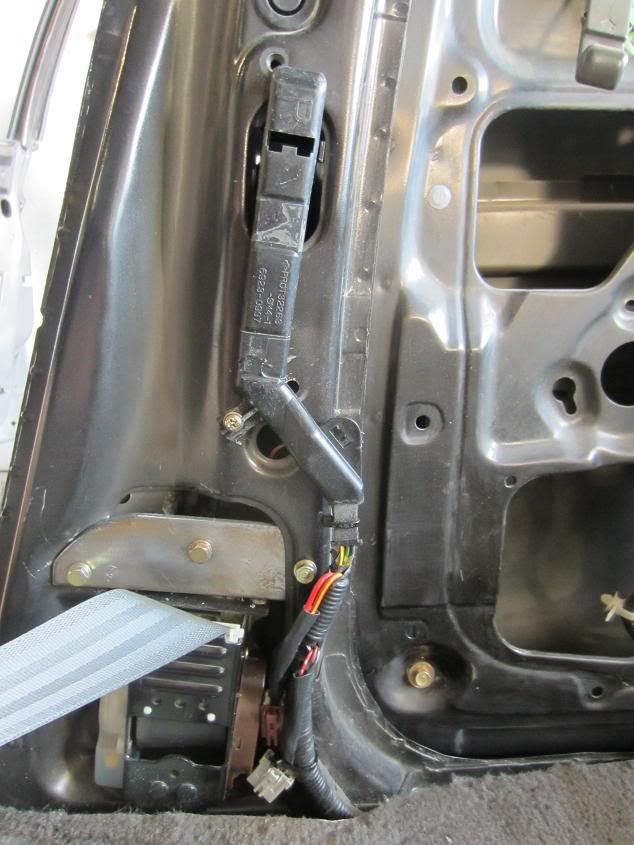
The upper trim mounting screw does not line up. Drill a new hole and install 5x.8mm nutsert.
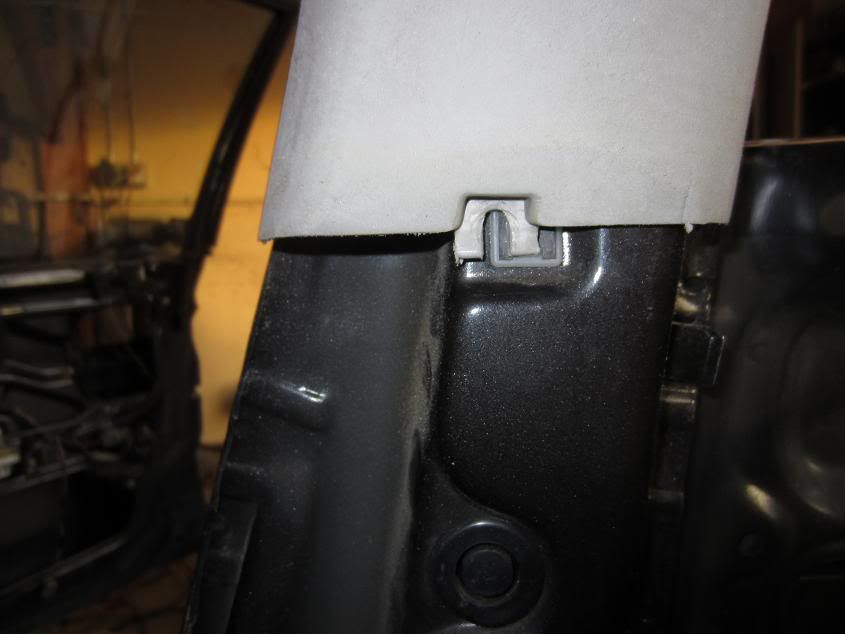
Reinstall upper and lower trim pieces.
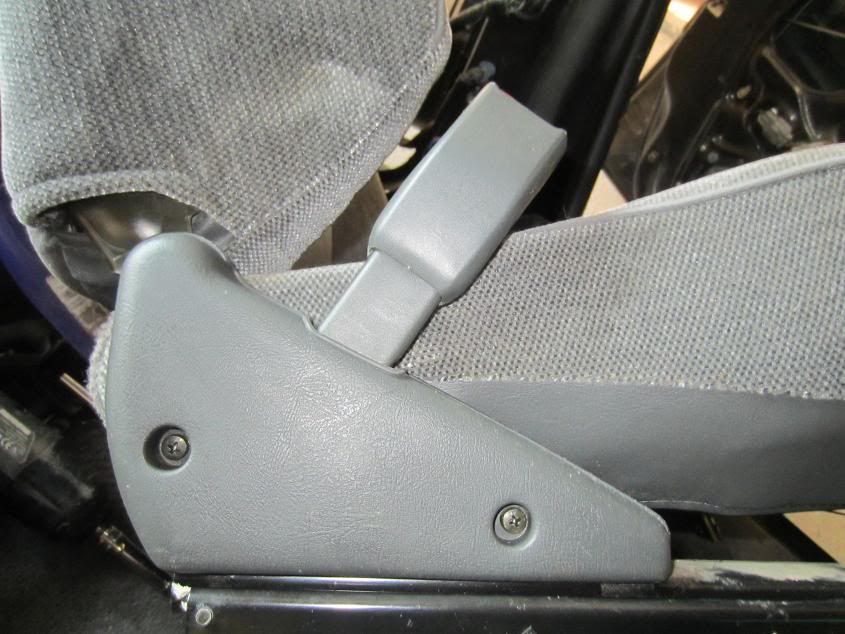
Remove the seats, then remove 2 philips screws and the buckle trim. Remove the two nuts for the belt/buckle. Remove the 6 pin connector off the drivers 90-91 belt/buckle and replace the 2 pin connector on the 92-93 buckle with the 6 pin. The red wire matches up to the white/green on car side. The black wire matches up with any of the black wires on the car side. Install the 92-93 buckle onto the rear stud making sure the alignment tab is locked in place. Install the 92-93 buckle trim.
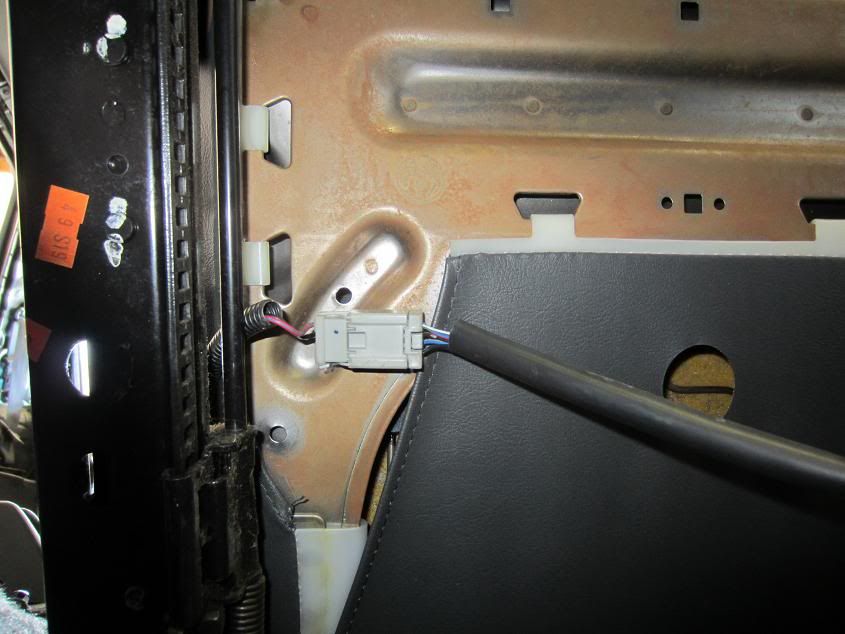
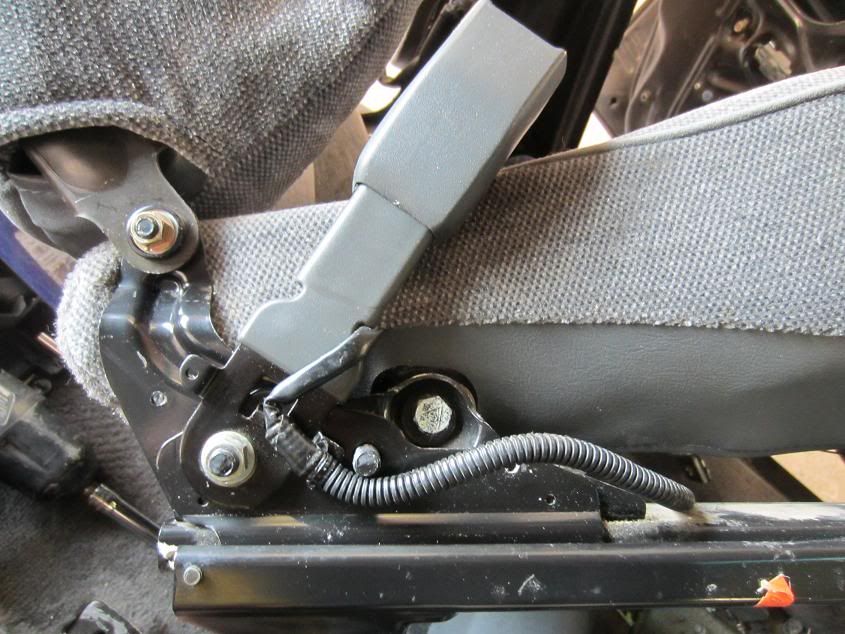
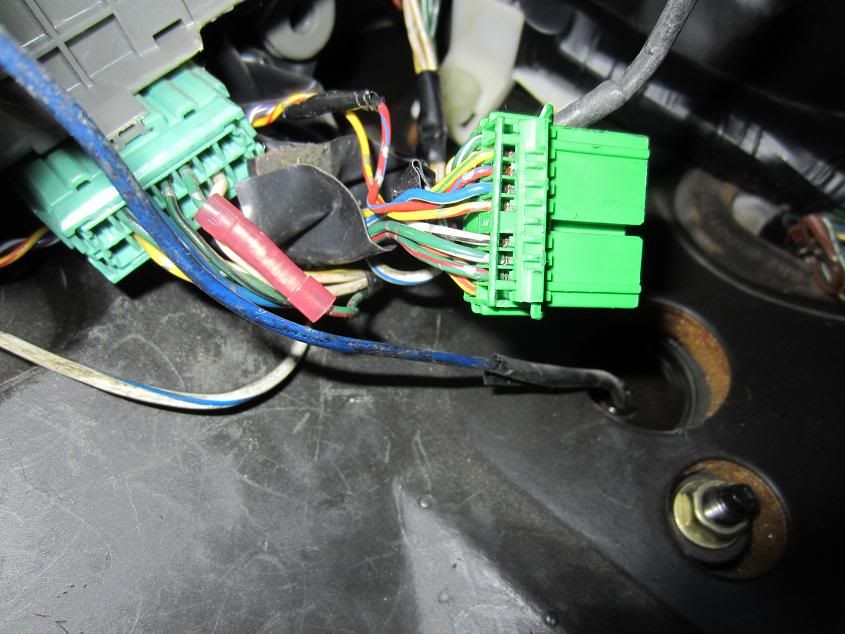
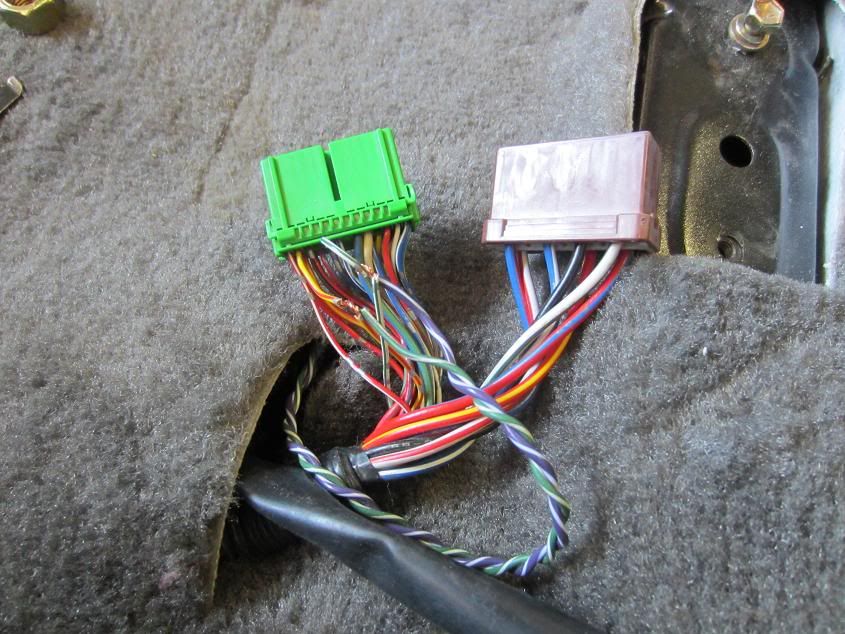
Now once you remove the seatbelt control unit, the seat belt chime and indicator light will stop functioning. The two control wires need to be rerouted to the icu. The icus are same from 90-93 so the 90-91 icus will have the needed functions
Add wire into pin 14 of icu and run wire to shoulder belt control green connector unit under passenger seat and connect to white/green wire. This makes the seat belt chime work. Add wire into pin 12 at icu and run wire to shoulder belt control unit green connector and connect to yel/red wire. This makes the seat belt light work.

 Very thorough DIY
Comment